Cherry Chocolate Swirl Ice Cream
This post may contain affiliate links. See my disclosure policy.
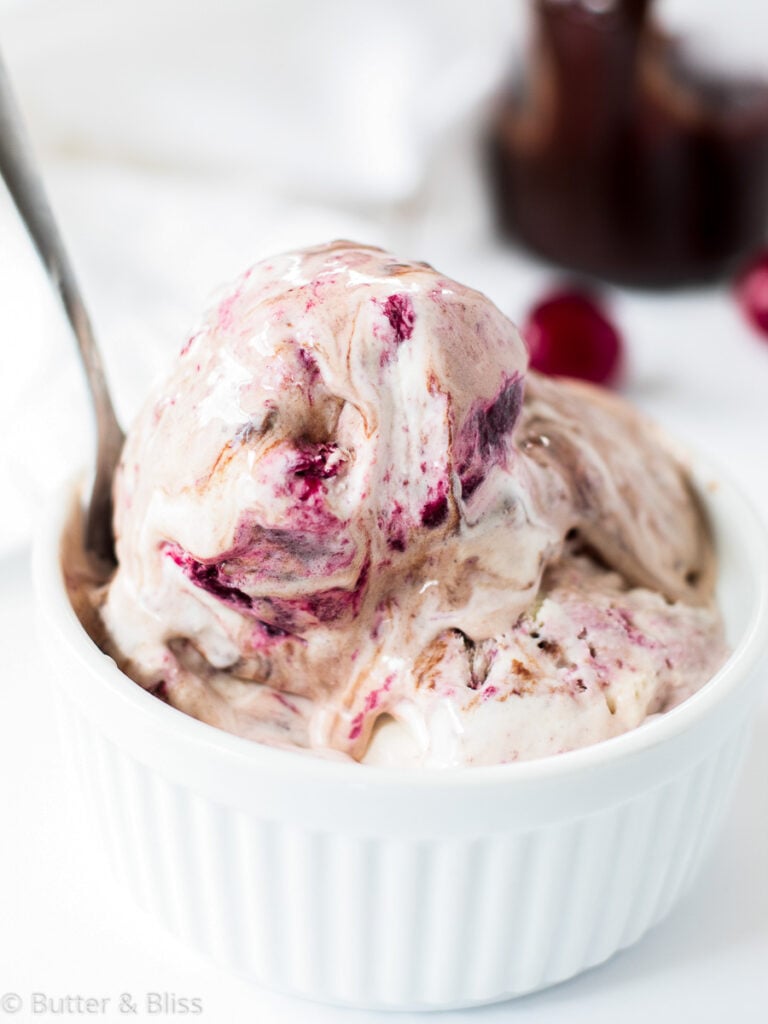
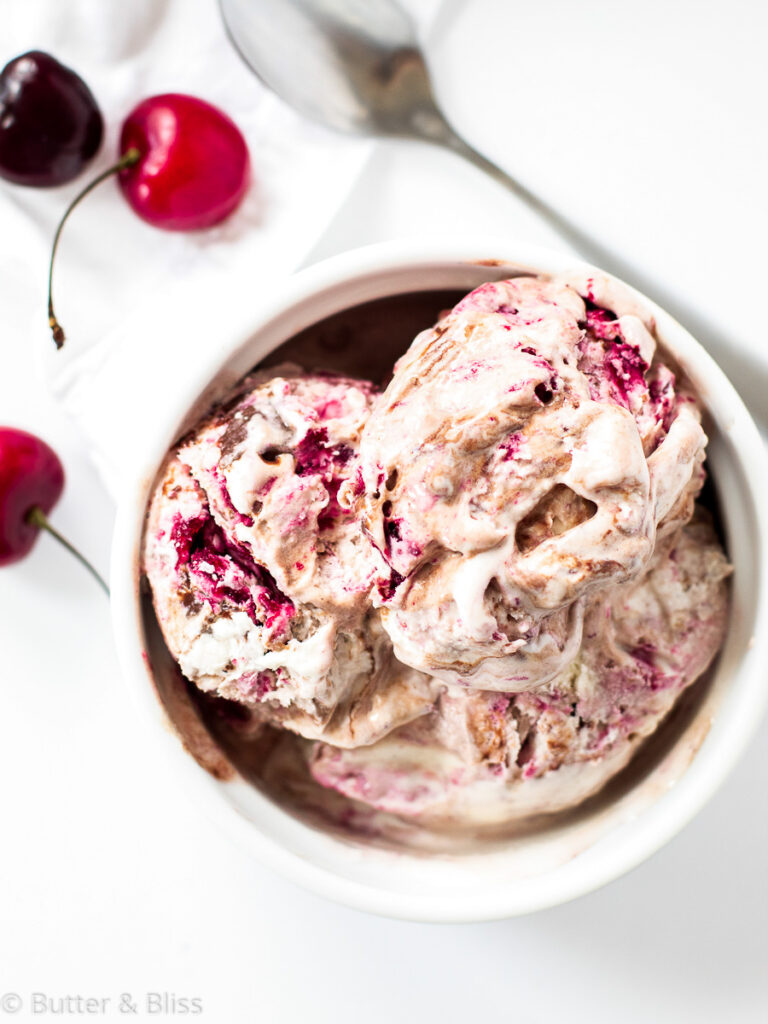
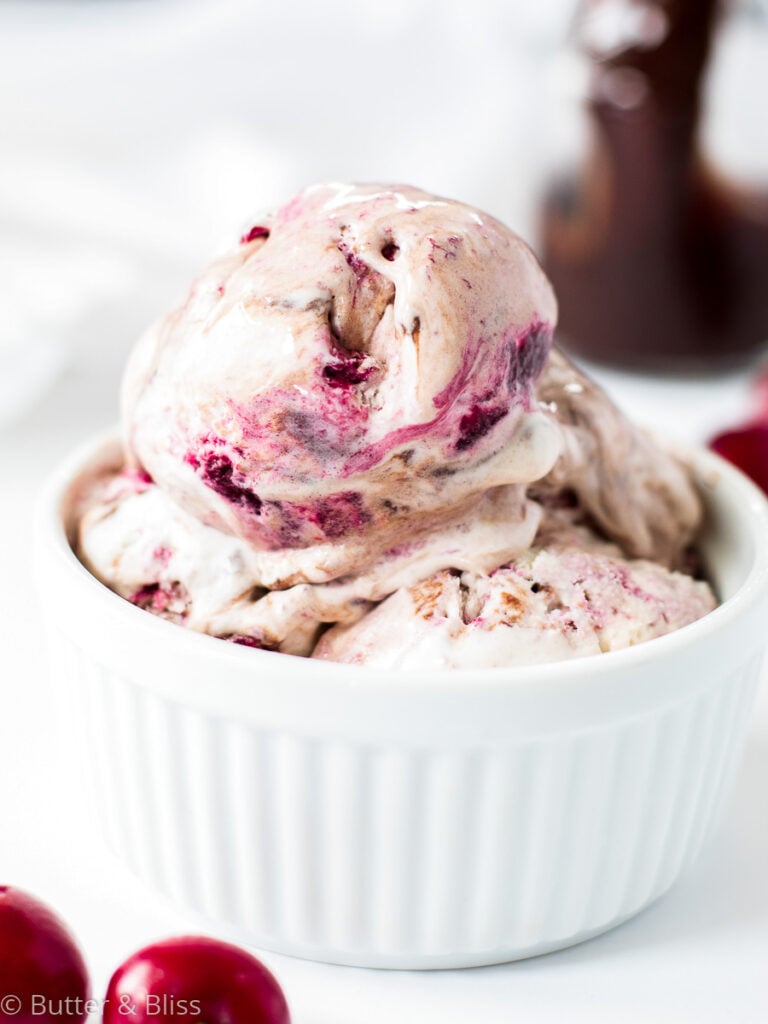
You don’t need an ice cream maker to make this Cherry Chocolate Swirl Ice Cream! This is an easy, no-churn recipe for vanilla ice cream streaked with a fresh cherry syrup and rich chocolate swirl.

No-Churn Ice Cream
Yes, it’s true, you can make rich and creamy ice cream without an ice cream maker. Trust me, I have tried what seems like a thousand different recipes until I got it right. So, what is the secret you ask? Dairy. In the form of sweetened condensed milk and heavy cream.
Thanks to the lifestyle brand goddess, Martha Stewart, it appears she may have discovered this perfect concoction. And all of us food bloggers are the lucky recipients of this genius!
I have attempted to make no-churn ice cream with coconut milk – essentially dairy alternatives. And I still need to do more testing. The problem you may run into if you try to swap the dairy for non-dairy is the water content in the non-dairy products.
Water will freeze (obvs), thus creating icey ice cream. I have seen recipes where you stir the ice cream periodically while it is freezing, but let’s face it, I’m not that patient. So I’ll keep testing.
In the meantime, this fully loaded dairy ice cream is an awesome, easy way to make homemade ice cream. The result is smooth and creamy ice cream – just like you get at an ice cream shop, or out of your ice cream maker.
Making The No-Churn Ice Cream Base
To start, this is a smaller batch of ice cream. I only use half of the can of sweetened condensed milk, but by all means, you can double the ingredients to make more ice cream!
The base of this ice cream starts out as good old vanilla. You could stop there if you wanted to. The sweetened condensed milk and vanilla give the ice cream a sweet and rich flavor. But if you want to add flavors – like the cherry and chocolate swirls – the base can take on any flavor combo you like.
Making the vanilla ice cream couldn’t be easier:
- Make whipped cream with the heavy cream.
- Whisk the vanilla and salt in the sweetened condensed milk.
- Fold the sweetened condensed milk into the whipped cream.
- Cover and freeze the ice cream. If keeping the flavor as vanilla, freeze for at least 6 hours. If adding flavors, freeze until the ice cream is the consistency of soft-serve – at least 2 hours.
- Fold in your flavors at soft-serve consistency, and freeze for at least 4 more hours.
- Enjoy!
Adding Fruit Flavor To The Ice Cream
Remember how I mentioned that the non-dairy alternatives have a lot of water which equals icey ice cream. Well, the same is true for fruit. For the cherry swirl in this recipe, I cooked down the cherries to make a syrup. Cooking the fruit will help to evaporate most of the water in the fruit. Plus it gives it a thick syrupy consistency.
When To Add The Flavors To The Ice Cream
I prefer to freeze the vanilla ice cream base for at least 2 hours before adding any flavors. This way the add-ins won’t sink to the bottom and the ice cream has a good solid base to add flavors.
When you add your flavors, you can thoroughly mix them in. Or dollop them on top and swirl them in. It really depends on if you want little flavor surprises in your ice cream, or if you want to transform the vanilla to a different flavor.
How To Freeze Homemade Ice Cream
Ideally, freezing the ice cream in a container made for homemade ice cream is the best. These containers are insulated, which will help prevent ice crystals from forming on the top of the ice cream.
If you do not have an ice cream container, you can cover the ice cream with plastic wrap. I have made and stored ice cream in a cake pan, covered with plastic wrap, and sealed tightly with a rubber band. That is the key – make sure the ice cream container is covered tightly!
That’s it! It’s summer and you need to celebrate with a little homemade, no-churn ice cream!

Cherry Chocolate Swirl Ice Cream
by Erin Cernich
Equipment
Ingredients
Ice Cream
- 1 cup heavy whipping cream
- ⅔ cup sweetened condensed milk (this is about 1/2 of a 14-ounce can)
- 1 teaspoon vanilla extract
- ¼ teaspoon kosher salt
Cherry Swirl
- 2 cups fresh cherries, pitted and chopped
- 1 tablespoon pure maple syrup (or any sweetener)
- 2 teaspoons lemon juice
Chocolate Swirl
- 4 ounces semi-sweet chocolate chips
- 3 ounces milk
Instructions
Ice Cream
- In a medium mixing bowl, use a hand mixer to whip the heavy cream until firm peaks form – about 3 to 5 minutes.1 cup heavy whipping cream
- Add the sweetened condensed milk, vanilla, and salt to the whipped cream and slowly fold the mix together until thoroughly incorporated. Note – You will have extra sweetened condensed milk that you can use use for another batch of ice cream.2/3 cup sweetened condensed milk, 1 teaspoon vanilla extract, 1/4 teaspoon kosher salt
- Transfer the ice cream base to the ice cream container. Freeze for at least 30 minutes before adding the cherry and chocolate swirl.
Cherry Swirl
- While the ice cream is freezing, make the cherry and chocolate swirl.
- In a small saucepan, add the cherries, maple syrup and lemon juice. Cook over medium-low heat, periodically mashing the cherries with a wooden spoon. Cook until the juices have been released cherries becomes slightly thick – about 10 minutes.2 cups fresh cherries, pitted and chopped, 1 tablespoon pure maple syrup, 2 teaspoons lemon juice
- Press the cherry puree through a fine mesh strainer set over a small bowl. Scrape the underside of the strainer to collect all the cherry juice!
- Place the cherry puree in the fridge to cool until ready to swirl into the ice cream.
Chocolate Swirl
- In a microwave safe bowl, add the chocolate chips and milk. Heat in the microwave for about in 10 second increments until the milk is just heated – do not overheat. Stir until the chocolate chips have completely melted. Set aside at room temperature to cool until ready to swirl into the ice cream. Do not place in the fridge, or it will set up too firm to swirl.4 ounces semi-sweet chocolate chips, 3 ounces milk
- Remove the ice cream from the freezer after at least 30 minutes. The ice cream should be the consistency of soft serve.
- Using a rubber spatula, drop dollops of the cherry puree and chocolate sauce into the ice cream. Swirl into the ice cream with a knife or toothpick – as much or as little as you like. The less you swirl, the more pure cherry and chocolate you will have. The more you swirl, the more the cherry and chocolate will mix in with the vanilla ice cream.
- Cover the ice cream and freeze for at least 6 more hours, or overnight.
Notes
- Serving Size – This recipe will yield approximately 3 cups of ice cream. It is easily doubled.
Nutrition Estimates


About the Author …
Hi, I’m Erin! With years of experience baking for two in my own small household, I know about the love for desserts without the leftovers. I’ve tested, written, and photographed every one of the 300+ recipes on my website. And even had some of my desserts featured on Taste of Home, The Spruce Eats, ELLE, Parade, and more! From traditional to gluten free desserts for two, I have the recipe for you.
Click here to learn more about me →