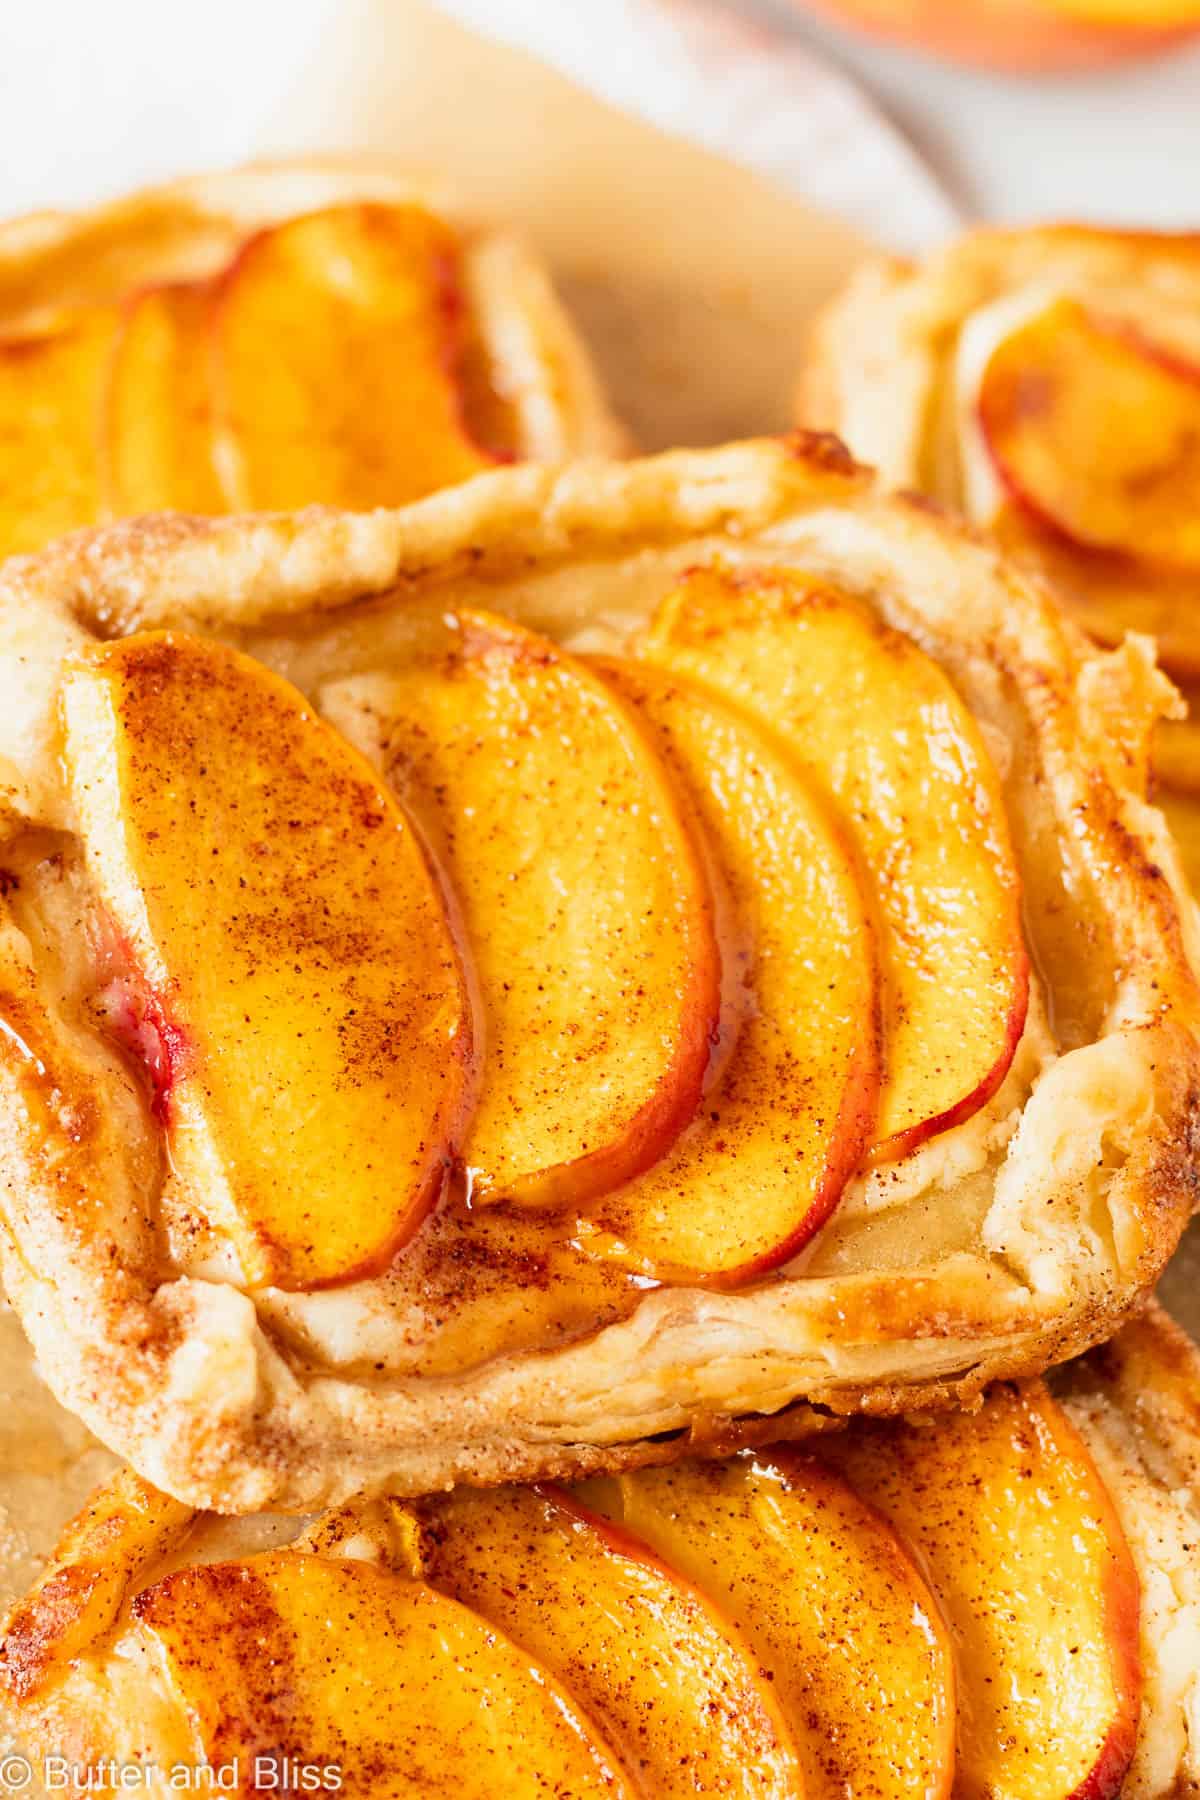
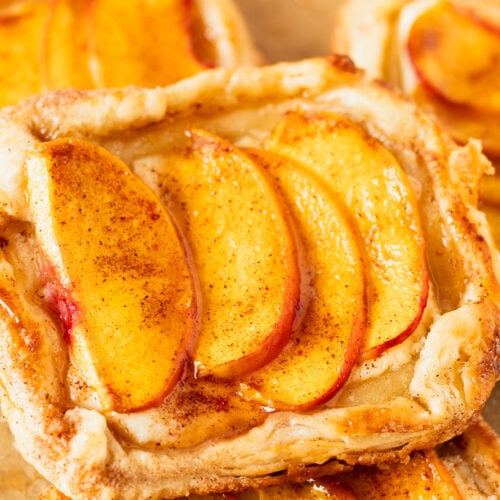
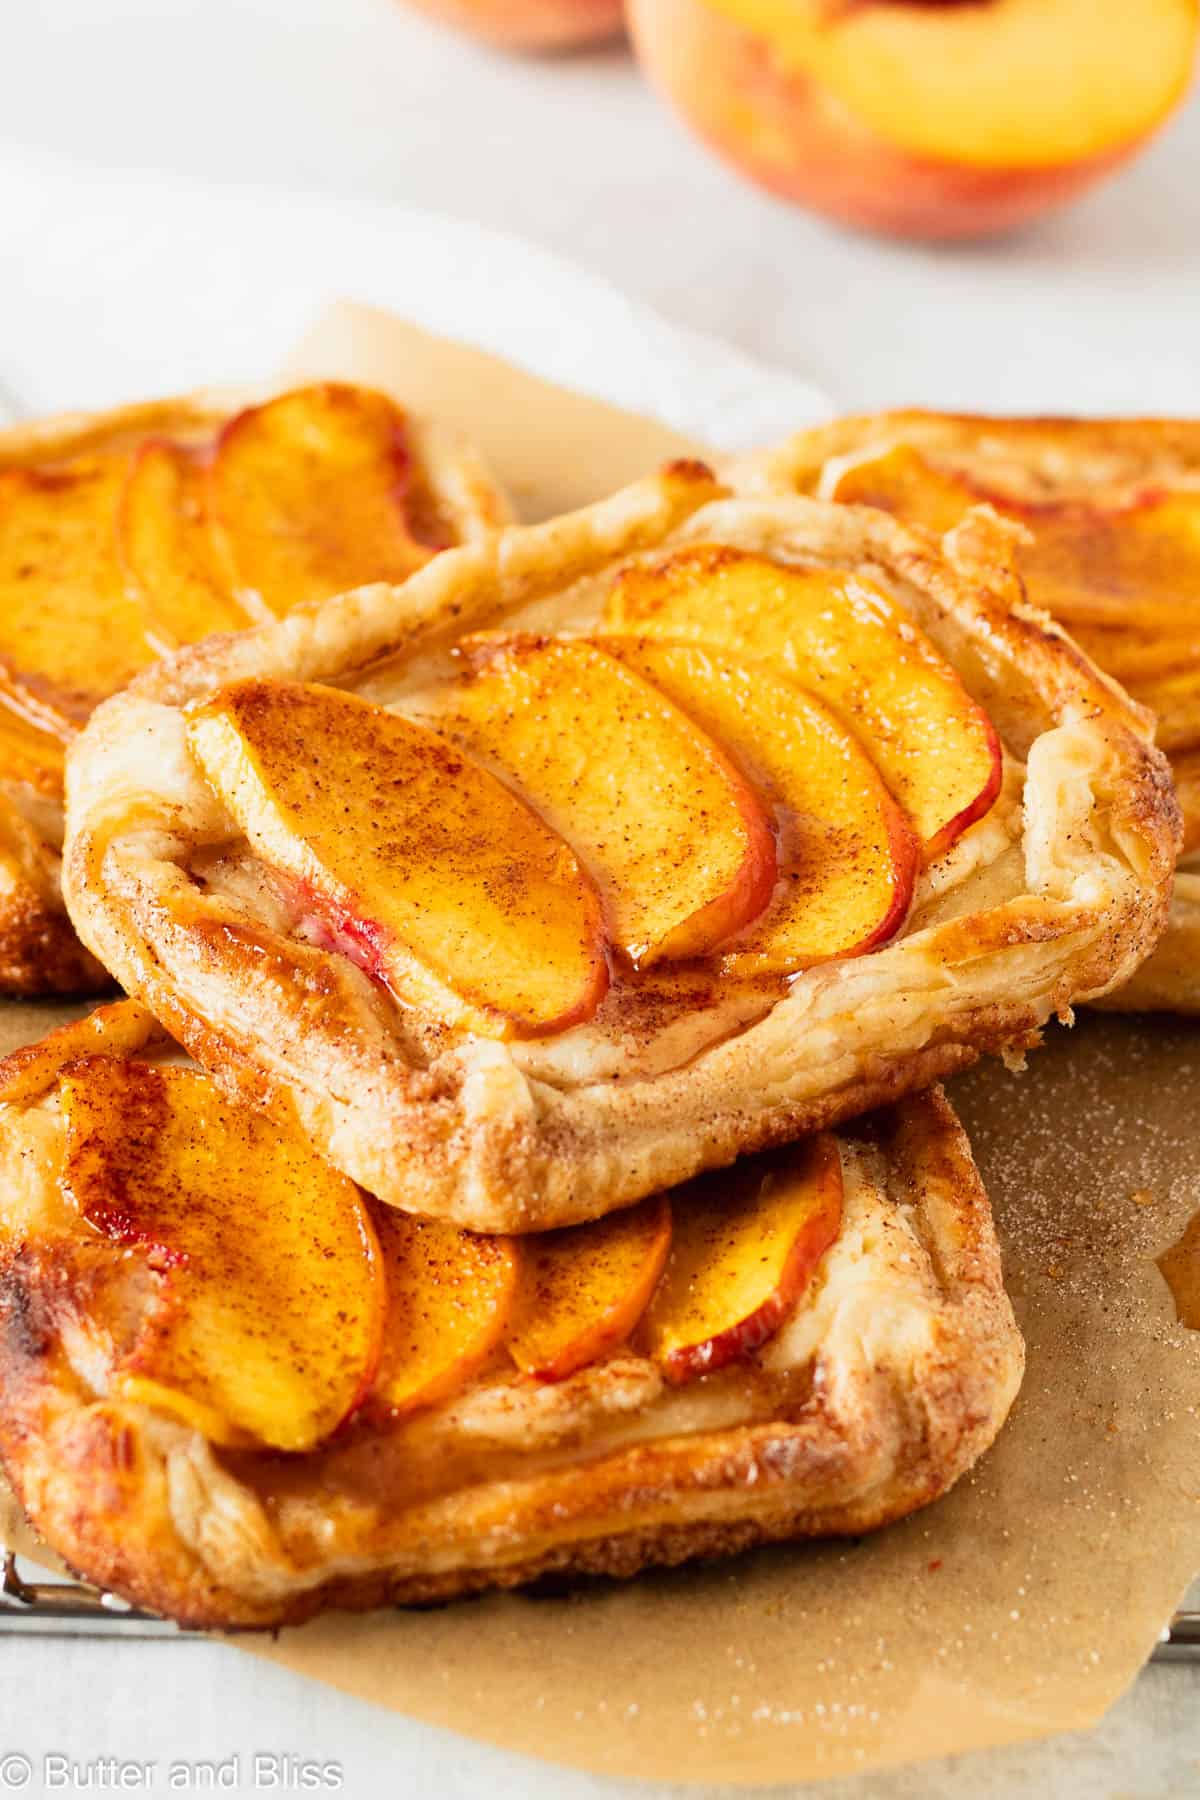
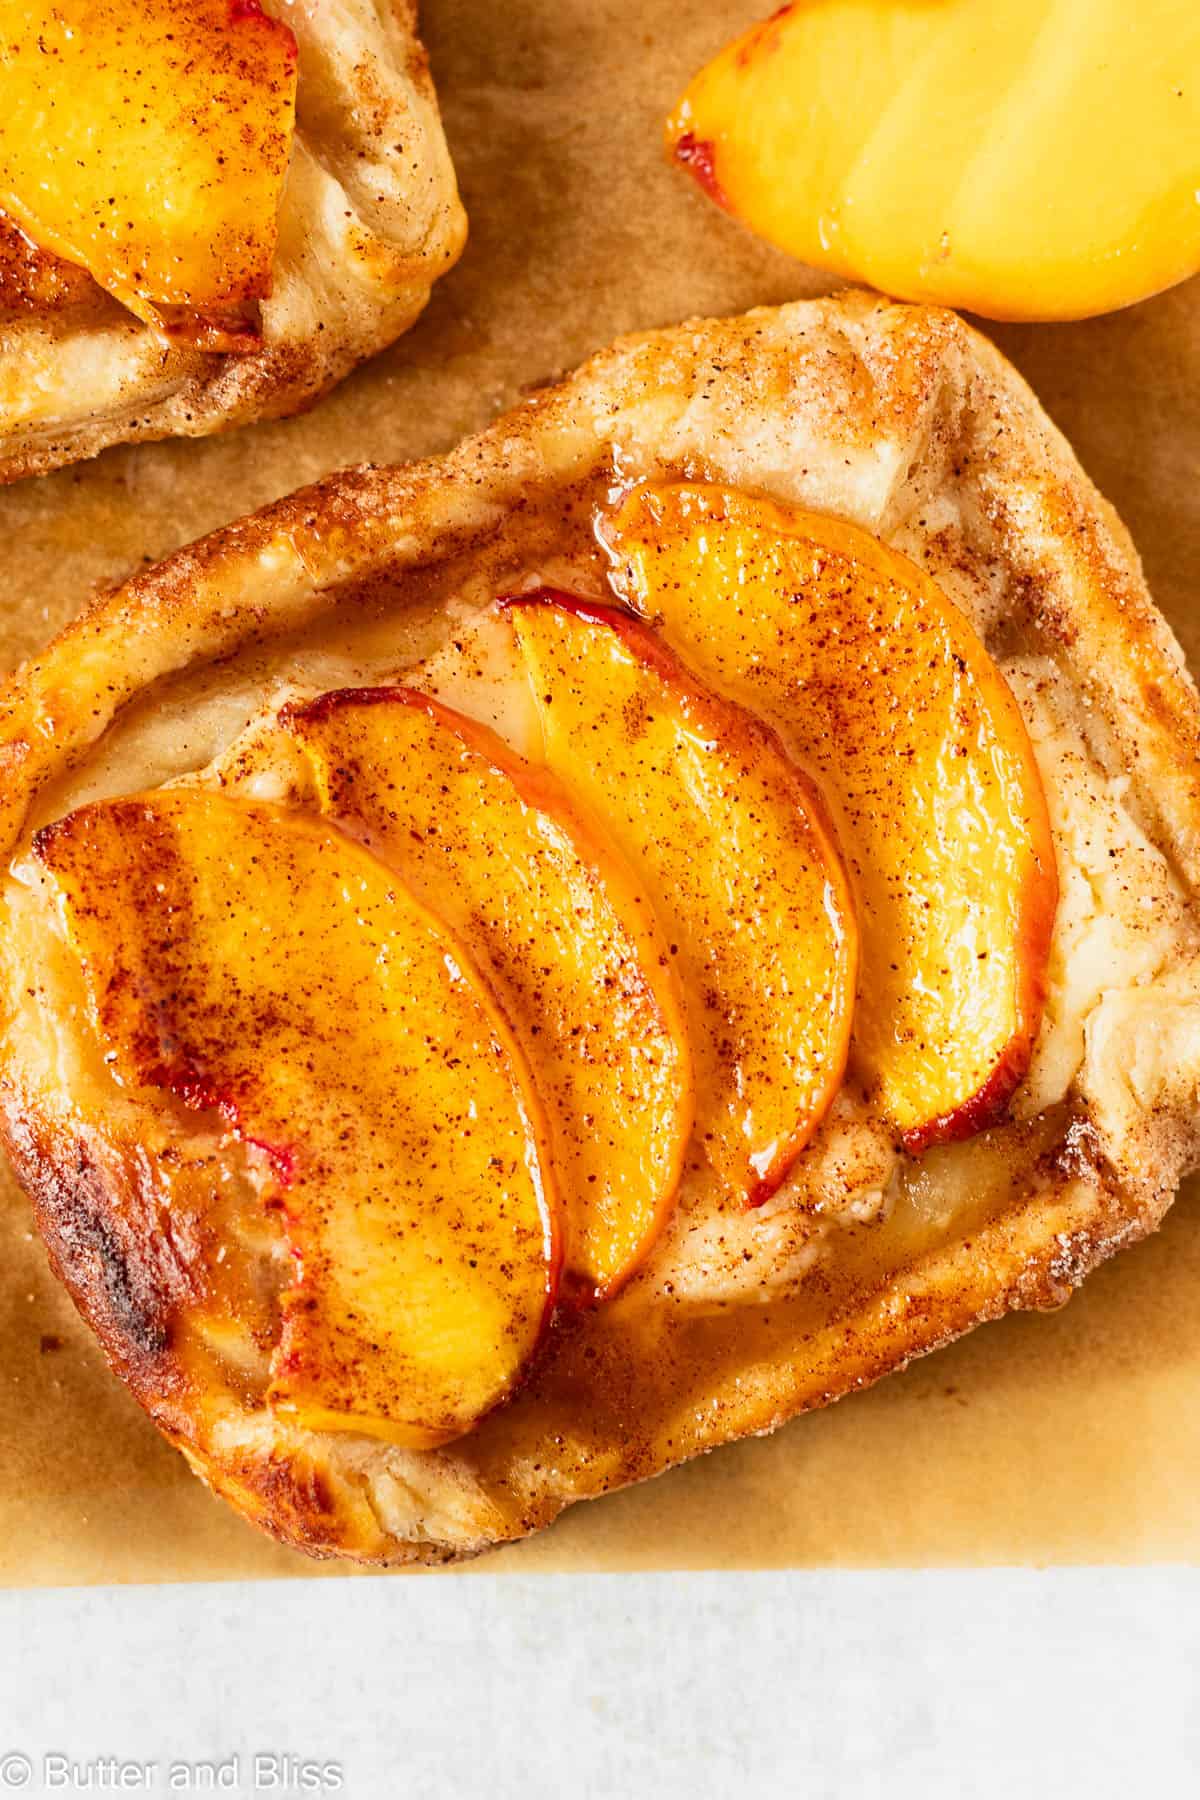
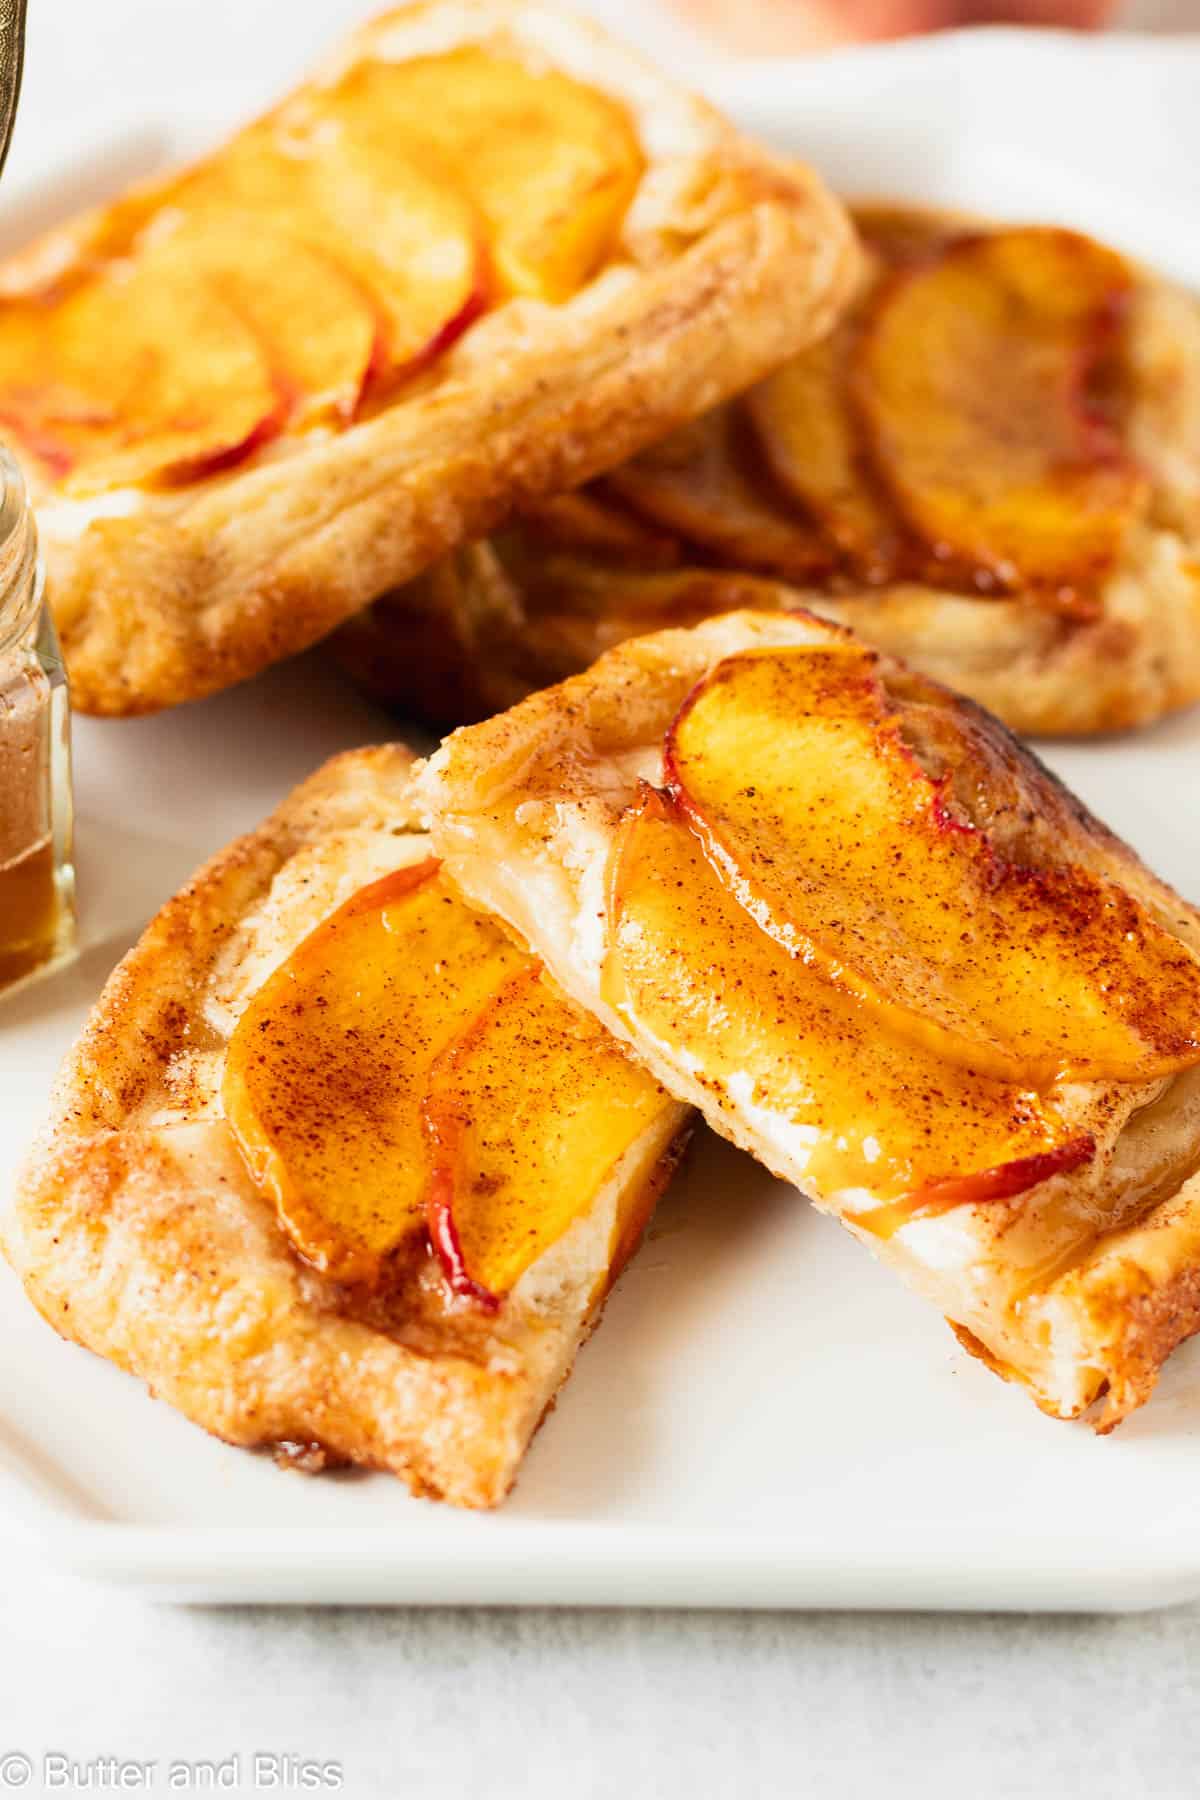
Celebrate summer peaches with flavor-packed mini peach and cream cheese tarts! This is a small batch recipe for rustic mini tarts made with homemade pastry, freshly sliced peaches, cream cheese slices, and a cinnamon + lemon + honey glaze.
Fresh Peach Mini Tarts
Two of my favorite things about summer: peaches and cream. For example my mini peach kuchen and peach mousse trifle. Add in a wonderfully tender and buttery dough – like the peaches and cream mini pies and peach monkey bread muffins – and you have an utterly peachy-keen dessert!
These mini peach and cream cheese tarts take peaches and cream to a different level. We keep the pure integrity of the peach and cream cheese intact. This means there are no added ingredients to either because when baked and combined, they create their own masterpiece.
And when you add a spiced honey drizzle, you’ll have a dessert that has incredible layers of flavors, where each is allowed to shine!
Everything To Love About These Mini Peach Tarts
- Not too sweet – The cream cheese adds a savory balance to the juicy peaches and flavor bomb drizzle.
- Easy to make – This is a simple no-yeast pastry dough and the filling is 2 simple ingredients. Along with a pantry-staple honey drizzle – which is also used as a dipping sauce for my homemade pretzels!
- Full of peach flavor – We are not caramelizing, soaking, or pureeing the peaches. The fresh peach flavor shines in this dessert.
- Rustic dessert – This means you have the creative authority to make the tarts any shape and size you like. Similar to my cherry galette.
- A small batch recipe – No unnecessary leftovers here! Besides, these tarts are best enjoyed the day they are baked.

Ingredient Notes
- Fresh Peaches – For these tarts, I must insist on fresh peaches so they retain their texture and flavor.
- Cream Cheese – I recommend full-fat cream cheese for the flavor. You can try lower fat, but it may crumble when baked.
- All-Purpose Flour – You could try to swap in my gluten free pie dough recipe to make the tarts gluten free.
- Granulated Sugar – To add flavor to the tart dough and for cinnamon sugar topping
- Salt – Salt is a great flavor enhancer in the tart dough.
- Butter – I recommend unsalted butter since we add salt. The butter should be cold which makes the tart dough tender and flaky.
- Ice Water – To keep the butter cold while you’re making the dough!
- White Vinegar – A little white distilled vinegar helps to tenderize the tart dough.
- Heavy Cream – Brush the edges of the dough before baking so it gets golden brown and delicious!
- Honey – For the honey drizzle. I recommend a good-quality raw honey.
- Lemon Juice – The lemon juice is a wonderful counterbalance to the sweet honey.
- Cinnamon + Ginger – The spices add a little extra zing to the honey drizzle.

Easy To Make
You will want to follow the full recipe card below. But these steps will give you an idea of just how easy it is to make these mini tarts!
- Make the tart dough – This is a no-yeast dough and will come together easily. The most important part of the dough is to use cold butter and water. Once you have the flour, sugar, and salt in the bowl, you will cut in the cold butter using a pastry cutter. You can also use two forks, but I find the best tool is your fingers! You then drizzle the water and vinegar over the dry ingredients and mix to a scrappy dough.
- Refrigerate the dough – Wrap the dough tightly in plastic wrap and chill for 30 minutes. This gives the dough time to hydrate and the flavors to develop.
- Slice the peaches – The peach slices should be relatively thin so they bake all the way through. The number of peach slices is totally up to you!
- Slice the cream cheese – Again, thin slices. Unless you prefer the thicker slices, just keep your peach/cheese/dough ratios even. Just keep in mind the cream cheese doesn’t necessarily ‘melt’, but more caramelizes.
- Make the honey drizzle – Easy. Mix the honey, lemon juice, and spices in a bowl.
- Make the tart squares – The tarts are rustic, so the rules are just suggestions! You do want to fold up the edges to create a pastry wall to keep the fillings in place. Don’t forget to brush the edges with cream and sprinkle with cinnamon sugar!
- Drizzle, drizzle, drizzle – The cream cheese and peaches should get a drizzle of the honey drizzle before baked.
- Bake
- Drizzle some more – More honey drizzle before serving the tarts!
- Enjoy! – I do recommend enjoying them while warm and the day they are baked.
Helpful Tips
- Make the dough ahead of time – The dough can be made and refrigerated the night before. Not necessarily a must, but it is nice to have the dough ready to go.
- Use cold butter in the dough – The butter releases moisture when baked, which causes the dough to be flaky. So, the colder the butter, the more moisture in it.
- Don’t be afraid to use your hands – For this dough recipe in particular, I use my fingers to ‘cut’ the butter into the flour. Just be careful not to overdo it (i.e. melt the butter).
- You will have a leftover peach – Not a tip, but a note. You can certainly slice more peach, and just eat the rest while you wait for the tarts to bake. I did.
- Be liberal with the cinnamon sugar – Specifically, lots of sprinkle on the tart dough edges. I like a sweet and crunchy bite for this tart dough. I think you will too.
- Enjoy the tarts fresh from the oven – Trust me. These tarts are so much better when they are freshly baked. I have re-heated leftovers, but it is just not the same.
Recipe FAQ
Frozen peaches will likely release too much liquid and make the tarts soggy. Canned peaches will probably bake to mush. I recommend fresh peaches for these reasons.
You can! If you want to sweeten the cream cheese or add some spices or vanilla, you can mix it and then dollop it on the dough.
I would recommend freezing the dough, rather than the whole tart – baked or un-baked.
Wrap tightly in plastic wrap then place in a Ziploc bag. Freeze for up to 2 to 3 months and defrost in the refrigerator.
More Small Batch Summer Peach Recipes
Recipe
Mini Peach and Cream Cheese Tarts
INGREDIENTS
Tart Dough
- ¾ cup, plus 2 tablespoons all-purpose flour
- 2 teaspoons granulated sugar
- ¼ teaspoon salt
- 4 tablespoons unsalted butter, cold (cut into cubes or grate)
- 3 to 4 tablespoons ice water
- ¼ teaspoon white distilled vinegar
- 1 tablespoon heavy cream (for brushing dough)
- cinnamon sugar (for sprinkling dough)
Peach Tart Filling
- 1 fresh peach, one half cut into slices
- 3 to 4 ounces cream cheese, room temperature
Honey Drizzle
- 2 tablespoons honey
- 1 teaspoon lemon juice
- ⅛ teaspoon ground cinnamon
- ⅛ teaspoon ground ginger
INSTRUCTIONS
Tart Dough
- In a medium mixing bowl, add the flour, sugar, salt, and butter. Begin to 'cut' in the butter with a pastry cutter or your fingers until the butter is about the size of peas. Note – You can also grate the cold butter and gently stir it into the flour. I find this is easier and it distributes the butter more evenly.3/4 cup, plus 2 tablespoons all-purpose flour, 2 teaspoons granulated sugar, 1/4 teaspoon salt, 4 tablespoons unsalted butter, cold
- In a liquid measuring cup, add 2 tablespoons of the ice water and vinegar. Add to the dough and stir with your fingers or a fork until you have a rough dough. If the dough still seems too dry, add more ice water – 1 teaspoon at a time. Note – The dough is supposed to be rough and scrappy. You will know you have added enough water when you squeeze some of the dough in your hands and it holds together.1/4 teaspoon white distilled vinegar, 3 to 4 tablespoons ice water
- Pour the dough onto a sheet of plastic wrap and form into a ball, then flatten into a small disc. Wrap tightly and refrigerate for at least 30 minutes.
Peach Tart Filling
- Slice the peach into even slices – about 4 slices per tart. You can add more or less, depending on your preference. Reserve the other half of the peach for another recipe, smoothie, or just eat fresh.1 fresh peach, one half cut into slices
- Slice the cream cheese into 8 even, thin, slices. You can use more or less cream cheese, depending on your preference. Each mini tart will get 2 slices of cream cheese.3 to 4 ounces cream cheese, room temperature
Honey Drizzle
- In a small mixing bowl, add the lemon juice, cinnamon, and ginger. Stir. Add the honey to mixture and stir until well incorporated.2 tablespoons honey, 1 teaspoon lemon juice, 1/8 teaspoon ground cinnamon, 1/8 teaspoon ground ginger
- Preheat the oven to 425F degrees and adjust the oven rack to the middle position.
- Lightly flour your work surface. We are going to roll and fold the chilled dough twice. This will give the dough flaky layers.
- Roll the dough into a rectangle. Then, fold the dough like a business letter – into thirds on op of itself. Roll and fold one more time. For the last roll, roll the dough into approximately a 9×9-inch square. Cut into 4 even pieces.
- Place the cut pastry squares on your prepared baking sheet. Fold up each edge of the pastry square – about 1/4 inch. This will create a 'wall' around the edges of the tart. Place two slices of cream cheese in the center of each pastry square. Drizzle a little honey drizzle over the top of the cream cheese.
- Next, evenly arrange peach slices on top of each tart. Brush the edges of the dough with the heavy cream, then sprinkle cinnamon sugar over the top of each tart – with a good amount directly on top of the dough edges. Drizzle more of the honey drizzle over the tarts.1 tablespoon heavy cream, cinnamon sugar
- Bake for 18 to 22 minutes, or until the tarts are golden brown. Transfer the tarts to a wire cooling rack to cool slightly. The tarts are best enjoyed warm, and the day they are baked. Drizzle even more honey drizzle over the tarts before serving. Enjoy!
RECIPE NOTES
- Serving Size – This is a small batch recipe that can be doubled.
- Tart Shape + Size – The tarts are rustic, so you can make them any shape or size you prefer.
- Peaches – I highly recommend fresh peaches for this recipe because they will retain texture and firmness when baked.
- Cream Cheese – I prefer thin slices of cream cheese, but slice however thick you prefer.
- Honey Drizzle – The drizzle is very versatile and can take on other flavors: cardamom, nutmeg, and even clove would be nice flavors.
- Freezing the Dough – You can freeze the dough for up to 3 months. Wrap tightly in plastic, then place into a freezer bag. Thaw in the refrigerator.
NUTRITION ESTIMATES

about the author ...
With years of experience baking for two in my own small household, I know about the love for desserts without the leftovers! I’ve tested, written, and photographed the hundreds of small batch dessert recipes on my website. From traditional to gluten free desserts for two, I have the recipe for you!

