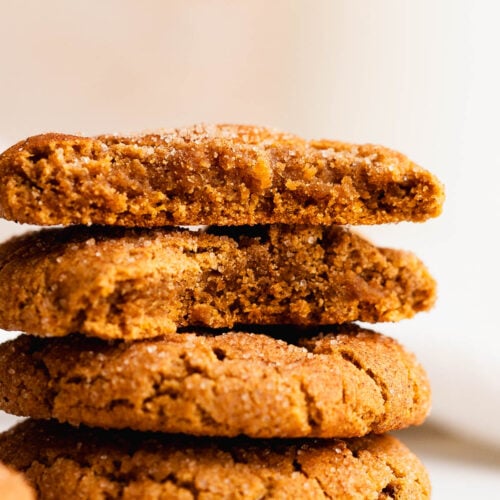
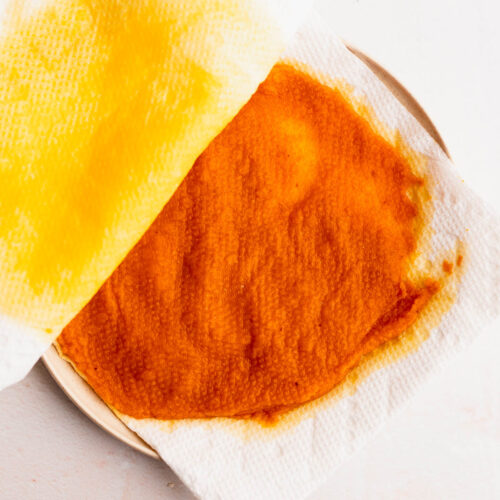
Soft and chewy gluten free pumpkin cookies are the perfect fall treat. This is a small batch recipe that is easy to make with simple ingredients and no eggs! The cookies are rich in pumpkin flavor and have a perfectly chewy texture. Whether you’re gluten-free or not, you’re sure to love these delicious cookies!
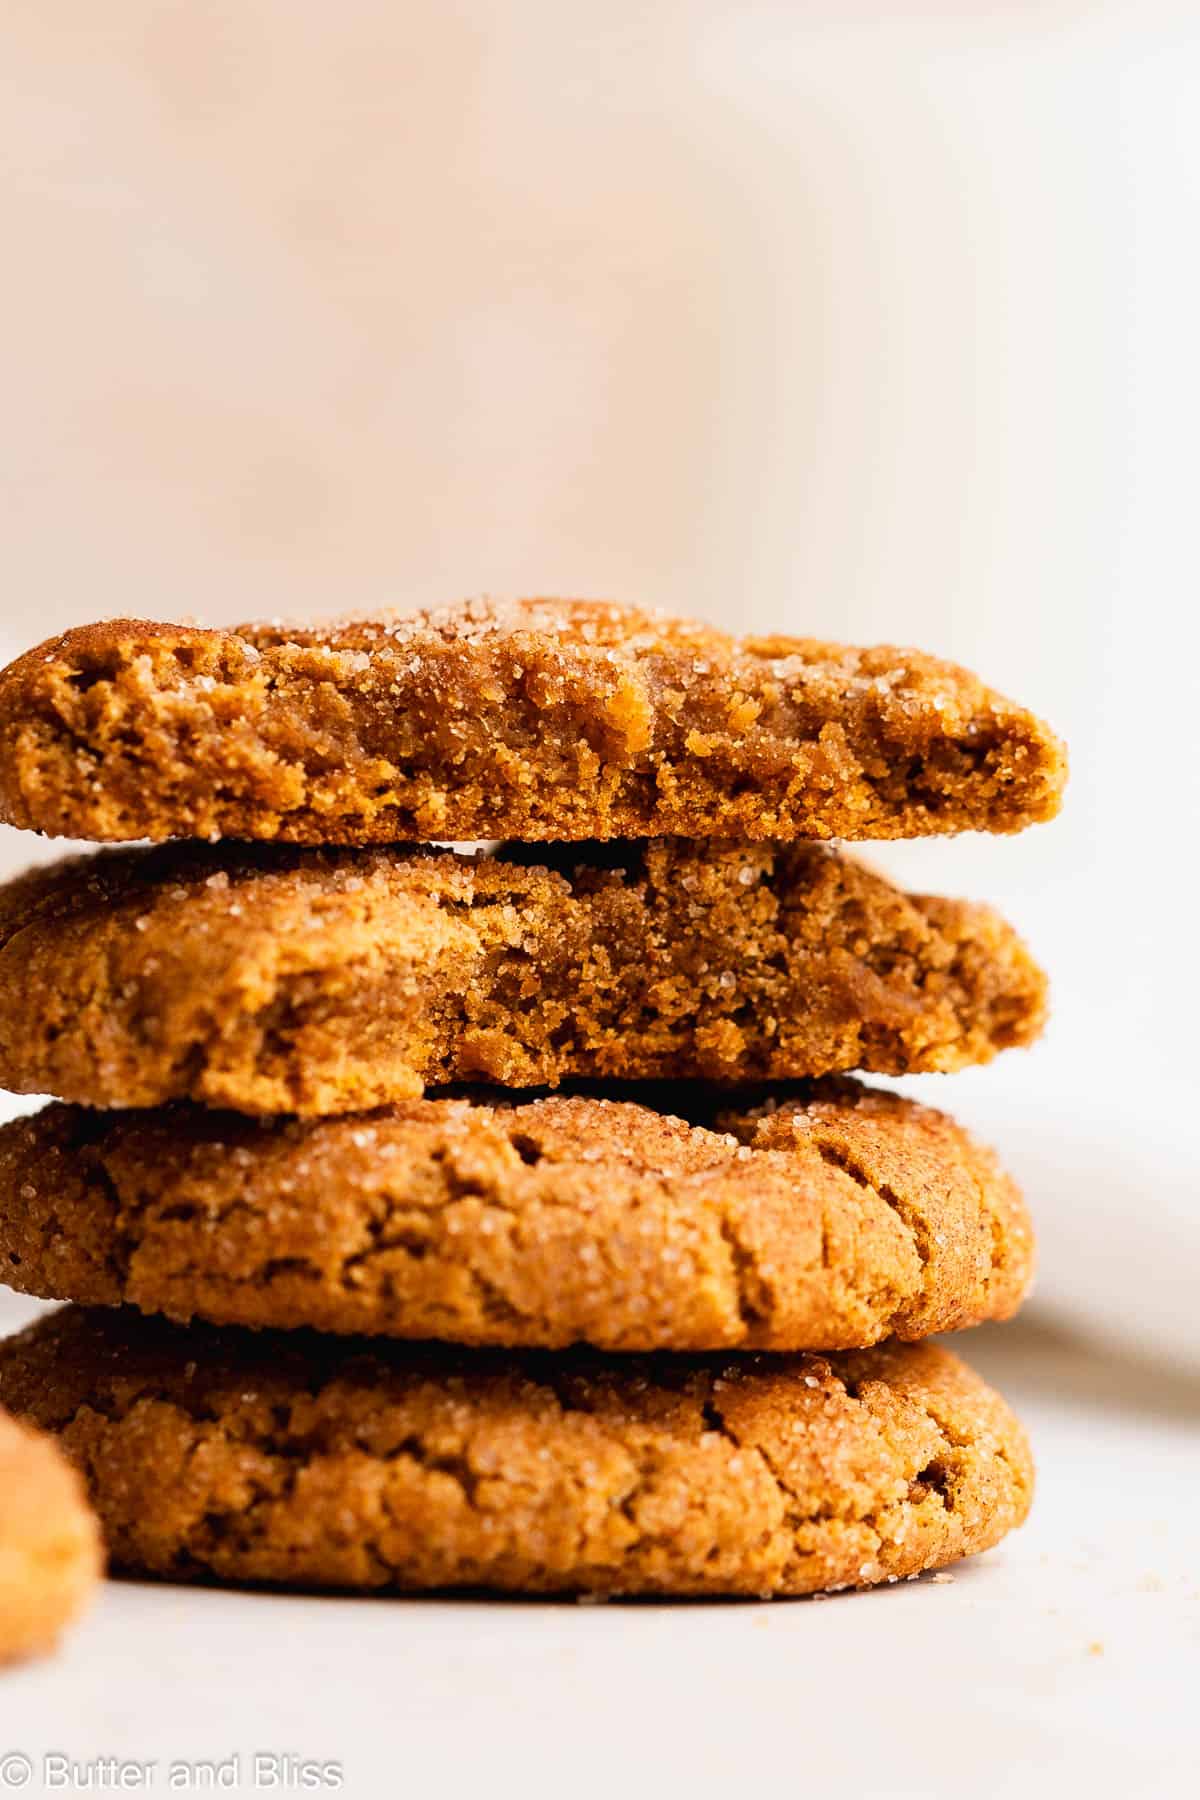
Gluten Free Pumpkin Cookies
Calling all pumpkin lovers! I’m pretty excited about these super chewy pumpkin cookies that just happen to be gluten free! Even better – this is an egg-free cookie recipe!
Why You’ll Love These Cookies Too
- The perfect chewy texture – We have brown sugar, pumpkin puree, melted butter, and a flavorful oat flour blend to thank for the delightful texture of these cookies.
- Caramelized exterior – Like any bakery-style cookie, the sweet caramelized texture should be the hallmark of a good cookie! We roll the pumpkin cookies with a little cinnamon sugar to give them an extra dose of texture and sweetness.
- An abundance of flavor – Much like a pumpkin gluten free muffin and pumpkin gluten free cupcake, these cookies shine with pumpkin flavor with the pairing of cozy pumpkin pie spice.
- No egg needed – I have a few small batch cookie recipes that don’t require an egg. The pumpkin in these cookies makes up for its absence!
- Easy to make – We don’t need a hand mixer, stand mixer or any kind of mixer for this recipe!

Ingredients To Make Gluten Free Pumpkin Cookies
- Canned Pumpkin – We blot the pumpkin with a paper towel to remove excess moisture. With that, I would recommend a regular can of pumpkin. Organic pumpkin may have too much moisture. Just make sure it is not pumpkin pie filling!
- Oat Flour – Oat flour provides the structure and texture for the cookies. It is a little more absorbent, which makes it great to combine with pumpkin!
- Sweet Rice Flour – Sweet rice flour mimics gluten, and gives the cookies their soft texture.
- Tapioca Flour – Tapioca flour combines with the other flour to make the cookies soft, tender, and with a little chew!
- Baking Soda – Baking soda will aid in texture and make the cookies spread into their cookie form.
- Salt – A must to balance and enhance the flavors.
- Pumpkin Pie Spice – Store-bought works great.
- Cinnamon – I like to add just a little more cinnamon to give the cookies a flavor punch.
- Brown Sugar – I tested with dark brown sugar and prefer it over light. Either will work, but dark brown sugar has a stronger flavor and helps with the wonderful chew.
- Organic Cane Sugar – We balance the brown sugar with a little cane sugar. My preference as it has a rich flavor. Granulated white sugar will also work.
- Unsalted Butter – Unsalted because we add our on salt. And, melting the butter is also key to the chewy texture in the pumpkin cookies.
- Vanilla Extract – For a little extra flavor.
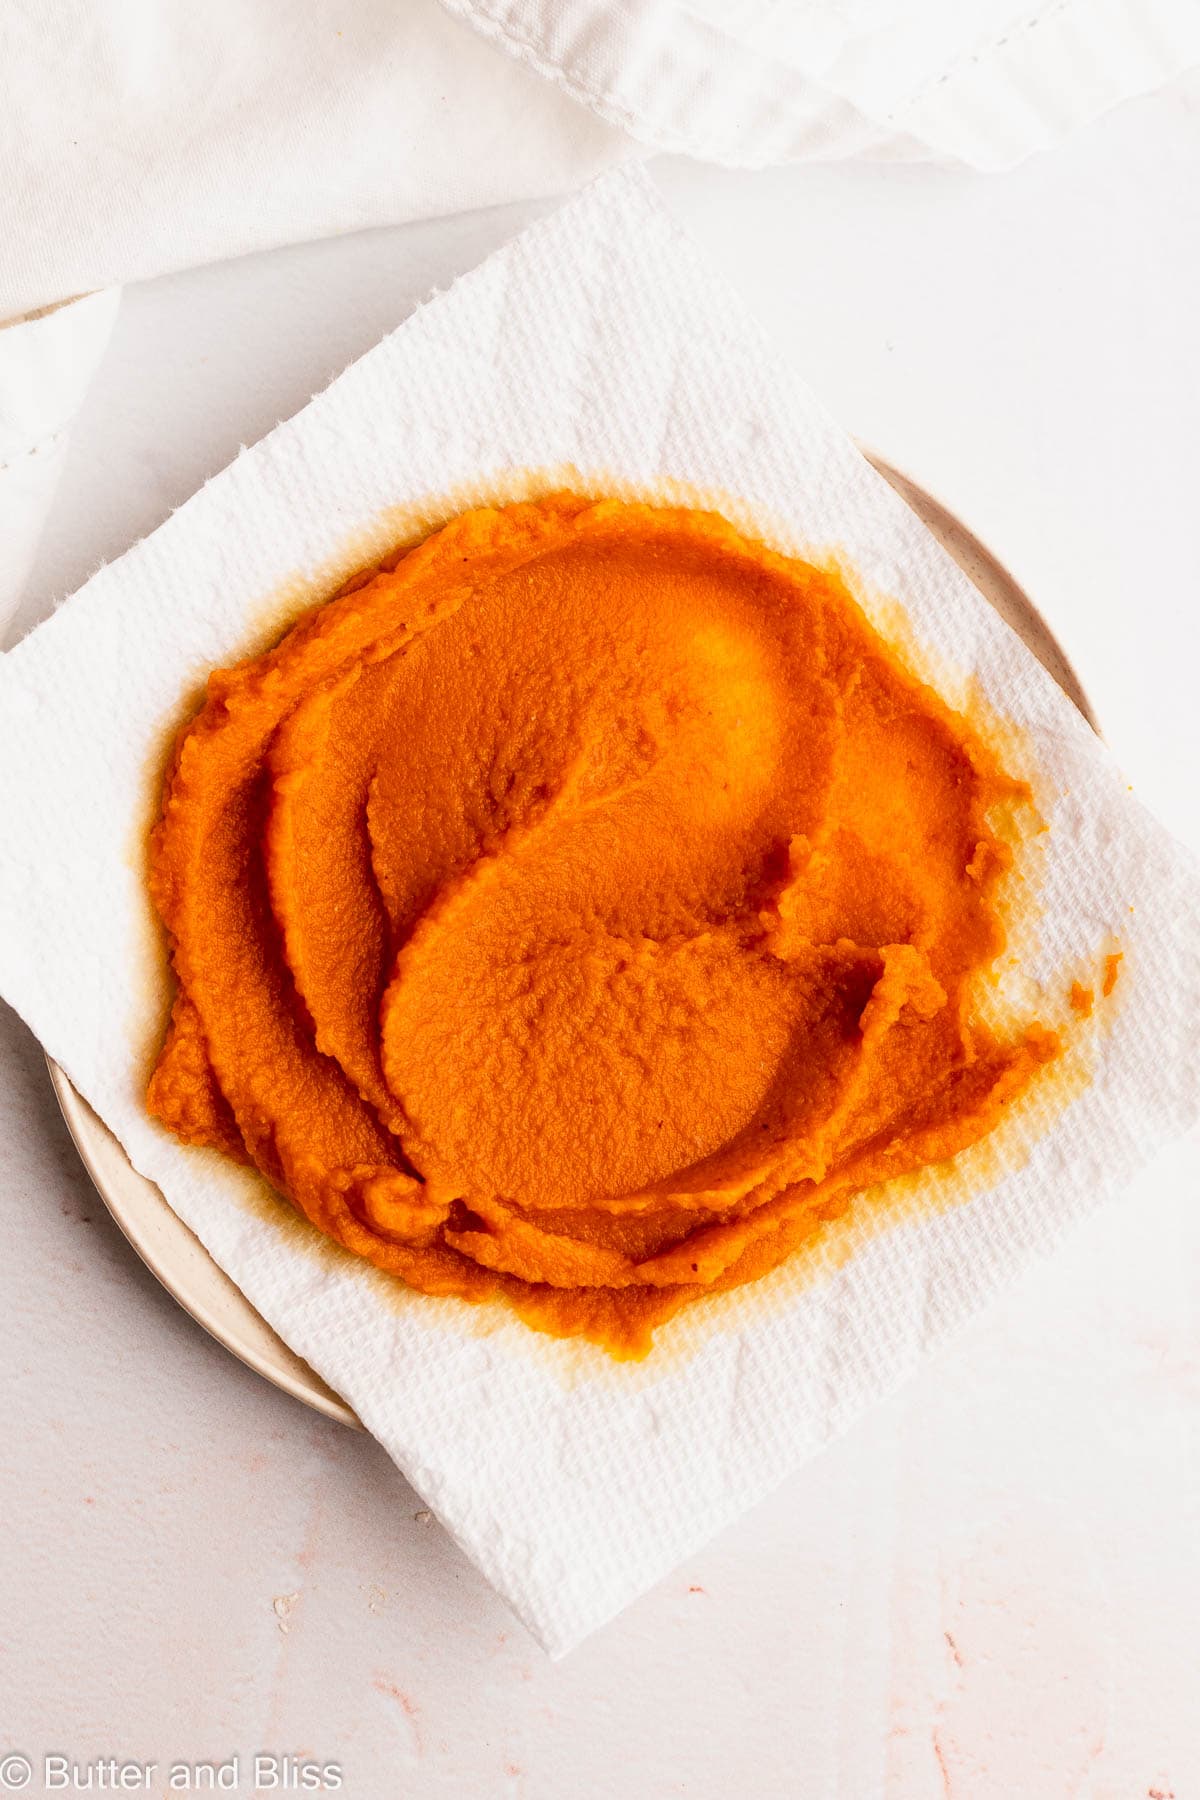
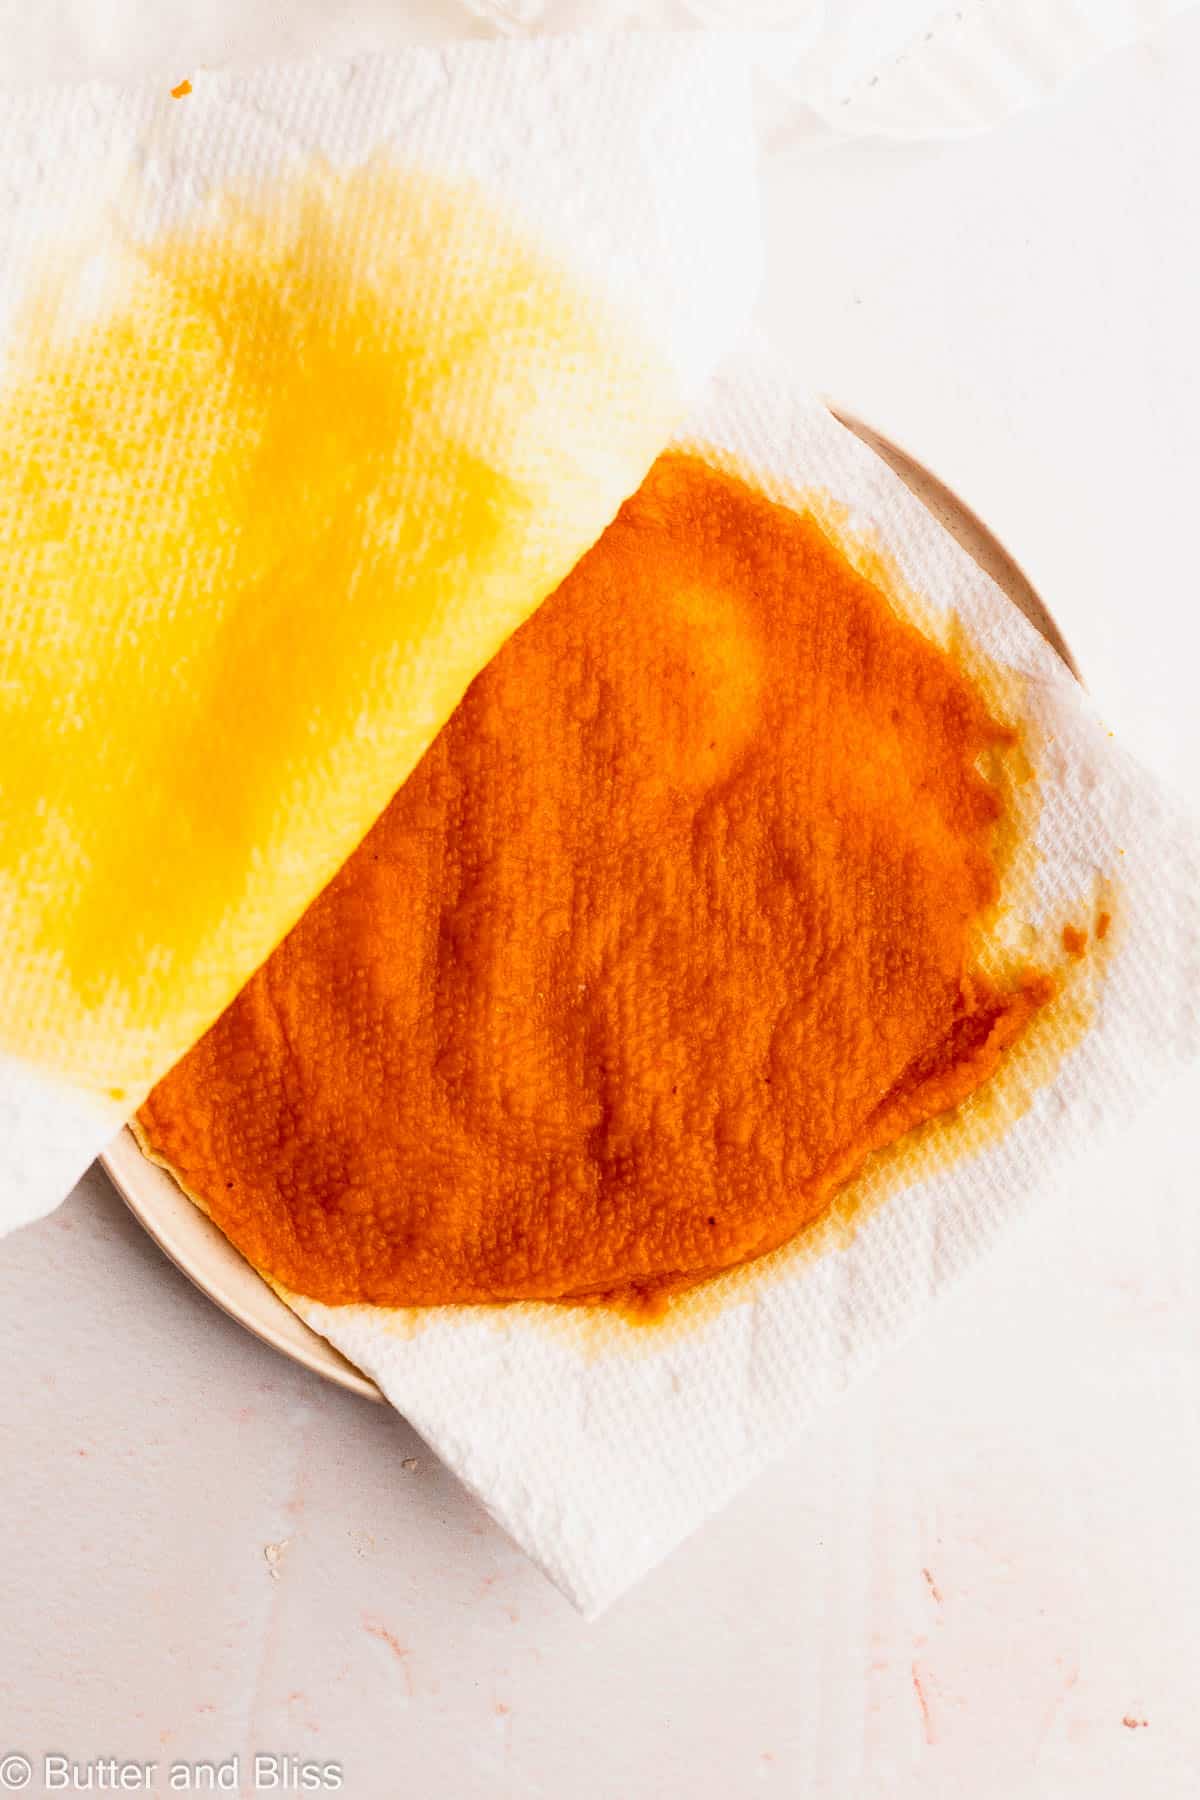

Blotting Pumpkin Puree To Make Cookies
Canned pumpkin (or even fresh pumpkin puree) contains a lot of moisture. I will say significantly more than 50% of what is in the can is water. And when we are looking for a chewy cookie texture, all that water doesn’t help. In fact, it can contribute to a cakey-cookie. Still delicious, but not chewy.
That is why we blot the pumpkin. Remove the excess moisture to yield a cookie with a chewy and gooey center.
There is no best way to remove the excess moisture from pumpkin puree. I’ve seen bakers wring it through cheesecloth or heat it.
For this recipe, we use what I consider, the easy way:
- Place a folded paper towel on a small plate (I use the smaller make-a-size paper towel).
- Spread your measured pumpkin onto the paper towel.
- Take another folded paper towel and press it into the pumpkin.
- Repeat 1 more time.
You could easily keep blotting the pumpkin, but we leave a little moisture to help with the soft texture of the cookies. The end result will be just a little more than half of what you put on the paper towel!

Tips For Cookie Success
- Use canned pure pumpkin puree – And not pumpkin pie filling. The latter contains a whole host of ingredients we don’t need (or want) in the pumpkin cookies.
- Try Libby’s pumpkin – Through my rounds of testing, I found that Libby’s pumpkin gave me the best results because it was noticeably thicker. This is great because I’ve seen this brand proudly on display at my grocery!
- Blot the pumpkin to remove moisture – If you want a chewy cookie, this is a must.
- Chill the cookie dough – This pumpkin cookie dough is sticky. Between the melted butter and pumpkin, the dough needs time in the refrigerator to set up. Plus, the gluten free flour benefits with time to hydrate and develop flavor.
- Do not overbake – To keep the chewy centers, 10 minutes is all you should need for the cookies.
- Enjoy the cookies the day they are baked – To enjoy the superior texture of caramelized edges with a chewy center! The cookies will store fine for up to 3 days, but they may start to get soft.
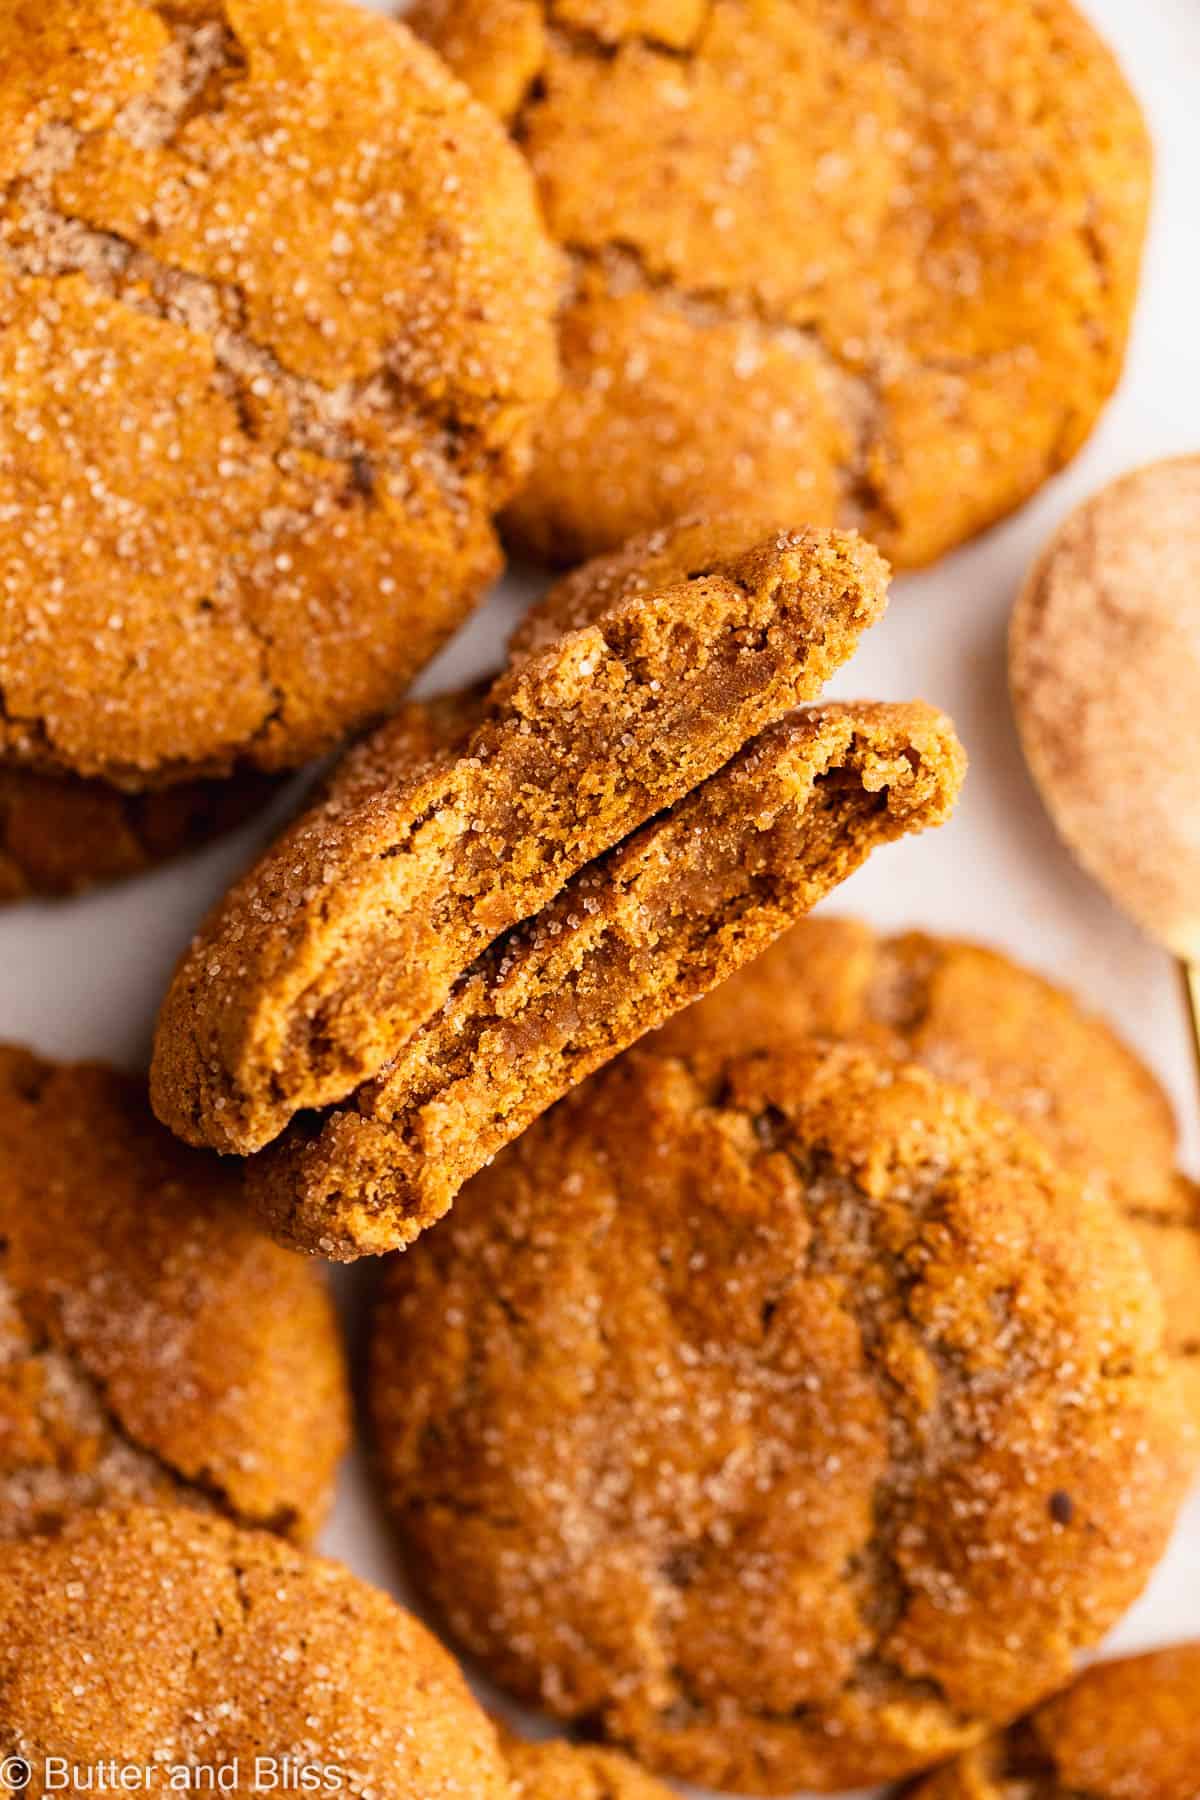
How To Make Gluten Free Pumpkin Cookies
- Blot your pumpkin with paper towels!
- Whisk together the dry ingredients.
- Melt the butter and mix with the sugars and vanilla.
- Stir the blotted pumpkin into the wet ingredients.
- Sprinkle the flour mix over the wet ingredients. Combine until no streaks remain.
- Refrigerate the dough! For at least 30 minutes.
- Scoop the cookie dough and roll it into balls.
- Run the cookie dough balls with a little cinnamon sugar!
- Bake for 10 minutes.
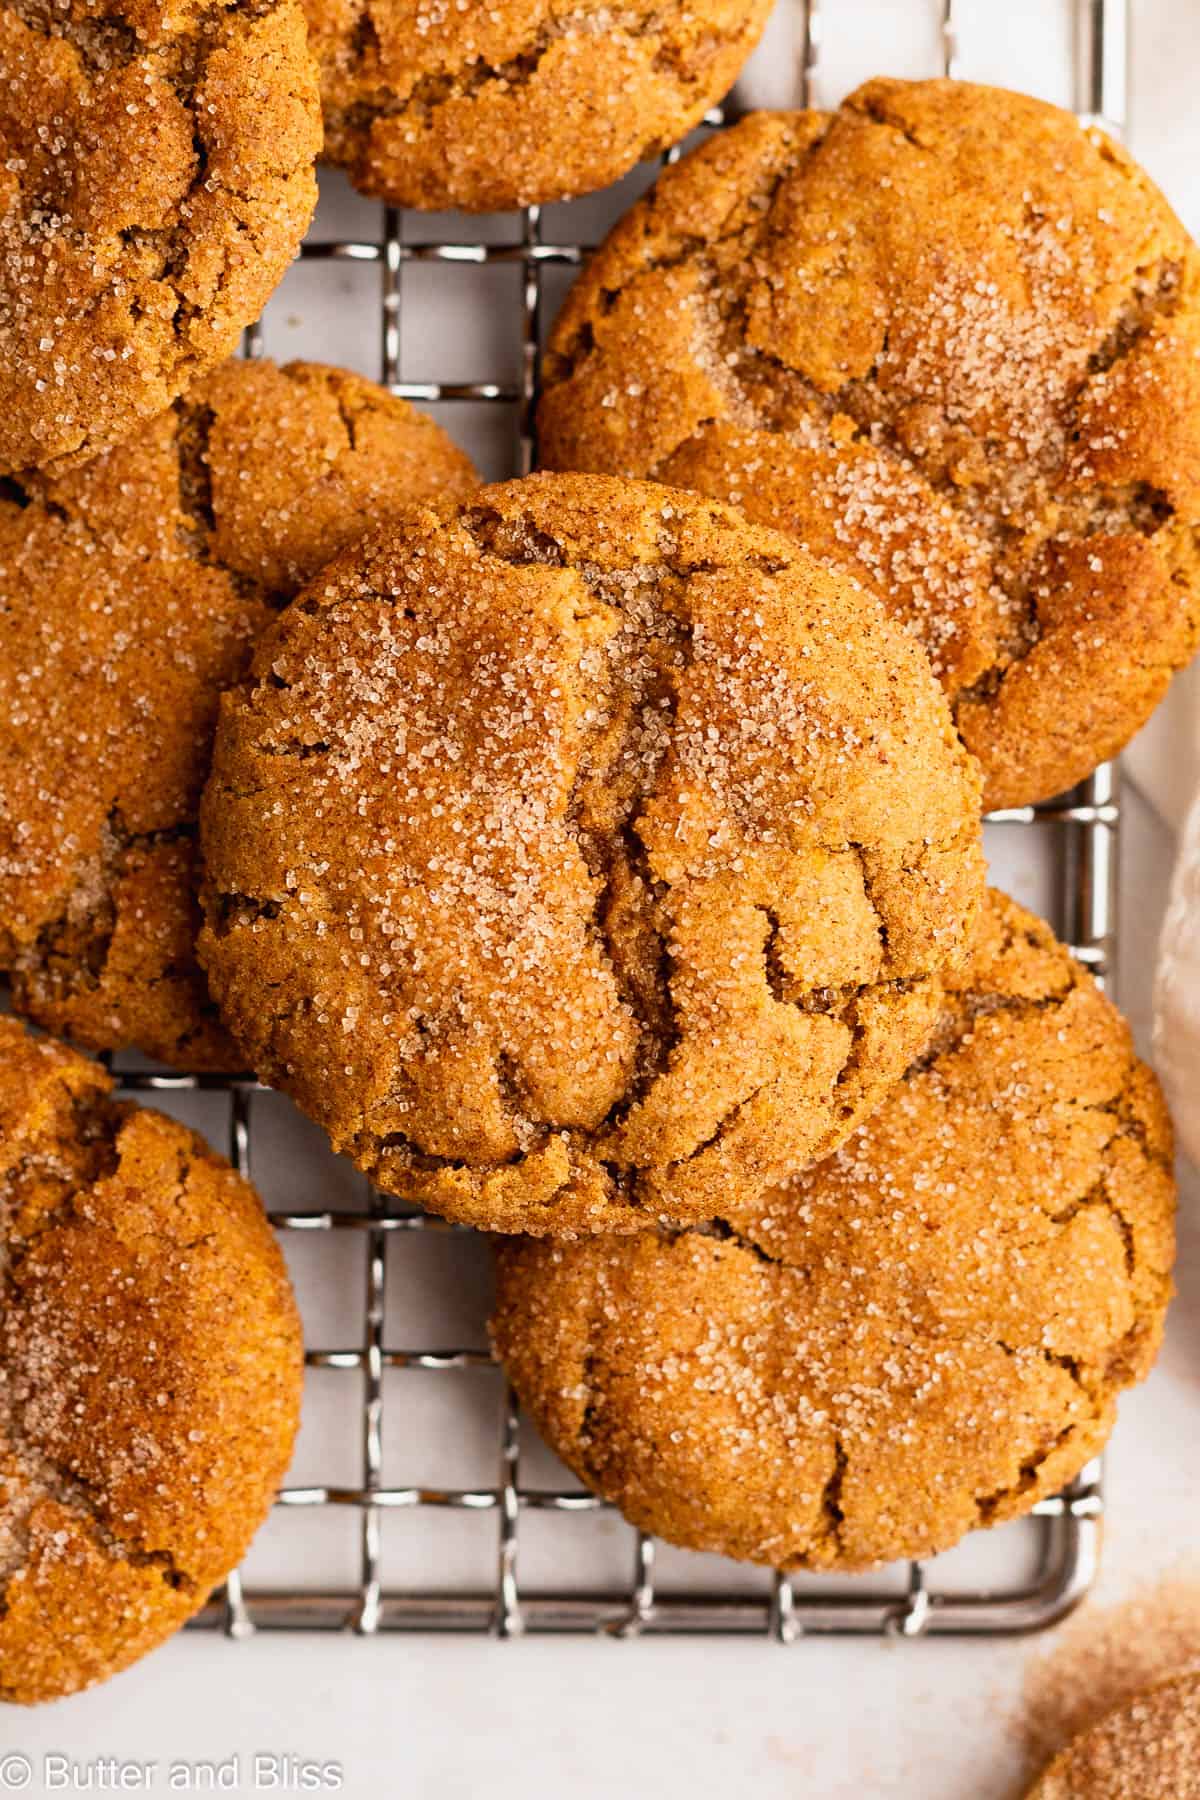
Recipe FAQ’s
Yes! You just may find other brands have more moisture, thus more paper towels are needed to blot the pumpkin.
You can certainly try it! Fresh pumpkin will probably have quite a bit more moisture – which will require more paper towels to blot it.
Yes, to achieve the chewy texture. Otherwise, the cookies will spread into puddles when baked.
The cookies can be covered at room temperature for up to 3 days. Beyond that, they will get softer, and even a little crumbly.
Yes! Wrap tightly in plastic wrap, place in a freezer bag, and freeze for up to 3 months. Thaw cookie dough in the refrigerator, and baked cookies at room temperature.
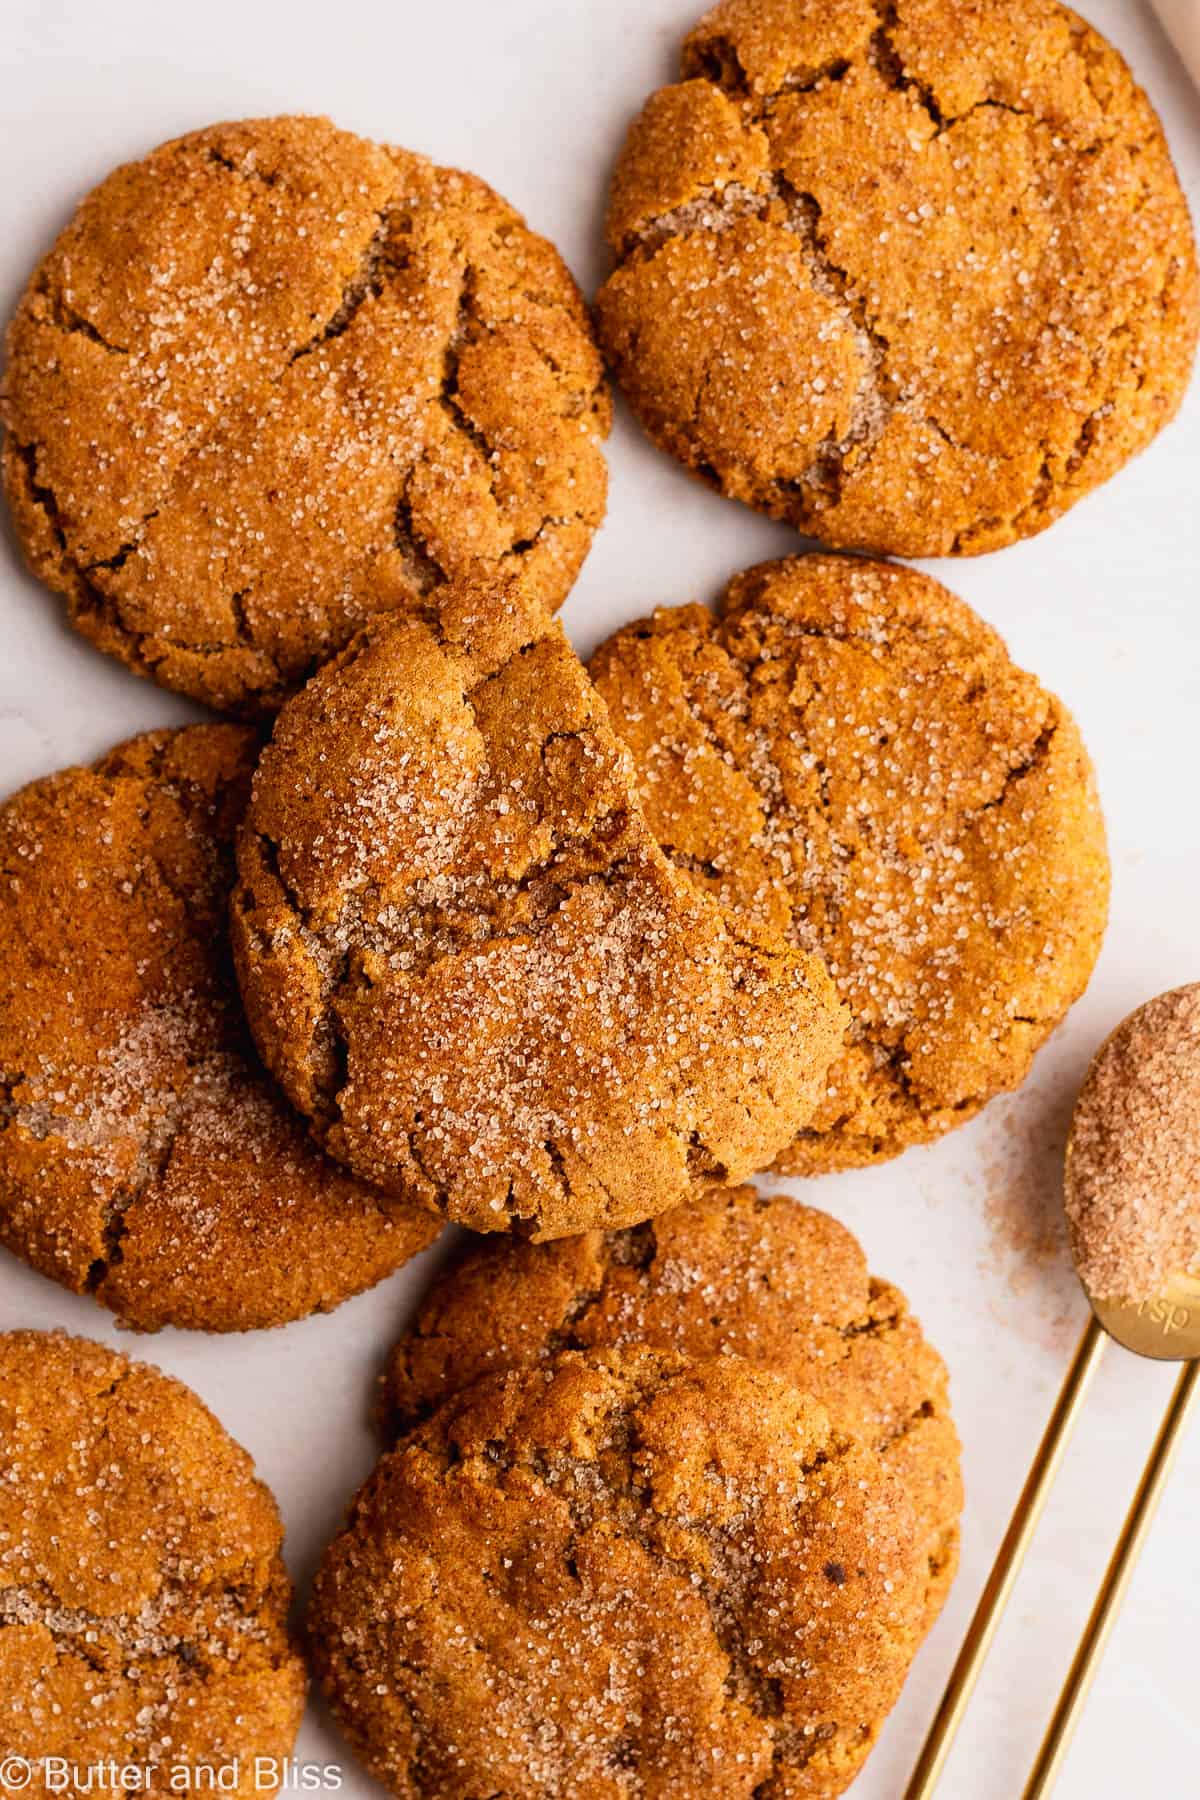
Gluten Free Chewy Pumpkin Cookies Small Batch
INGREDIENTS
- 1/4 cup gluten free oat flour
- 1/4 cup sweet rice flour
- 2 tablespoons tapioca flour
- 1/4 teaspoon baking soda
- 1/4 teaspoon salt
- 1/2 teaspoon pumpkin pie spice
- 1/4 teaspoon ground cinnamon (optional)
- 1/4 cup pure canned pumpkin
- 2 ½ tablespoons unsalted butter, melted
- 3 tablespoons brown sugar, light or dark
- 2 tablespoons organic cane sugar (or granulated sugar)
- 1/2 teaspoon vanilla extract
- 2 tablespoons Cinnamon Sugar
INSTRUCTIONS
- In a small mixing bowl, whisk together the oat flour, sweet rice flour, tapioca flour, baking soda, salt, pumpkin pie spice, and cinnamon.1/4 cup gluten free oat flour, 1/4 cup sweet rice flour, 2 tablespoons tapioca flour, 1/4 teaspoon baking soda, 1/4 teaspoon salt, 1/2 teaspoon pumpkin pie spice, 1/4 teaspoon ground cinnamon
- Blot the pumpkin to remove excess moisture – Fold a half-sheet of paper towel in half and place on a small plate. Add the pumpkin puree to the paper towel. Take another half-sheet of paper towel, fold in half, and press on top of the pumpkin to remove moisture. Repeat with another half-sheet of paper towel. You should have about 2 tablespoons, plus 1 teaspoon of pumpkin after blotting it.1/4 cup pure canned pumpkin

- In a medium mixing bowl, add the melted butter, both sugars, and vanilla. Stir to combine.2 ½ tablespoons unsalted butter, melted, 3 tablespoons brown sugar, light or dark, 1/2 teaspoon vanilla extract, 2 tablespoons organic cane sugar
- Use a spatula to scrap the pumpkin off the paper towel and add to the wet ingredients. Stir to combine thoroughly and smooth.
- Sprinkle the dry ingredients over the wet. Stir until no dry streaks remain. The dough will be sticky. Refrigerate and chill the dough for at least 30 minutes (or up to overnight) to allow the dough to hydrate, flavors develop, and the butter to firm.
- With 10 minutes left to chill, preheat the oven to 350F degrees and adjust the oven rack to the middle position. Line a baking sheet with a piece of parchment paper.
- Add the cinnamon sugar to a small dish or bowl.2 tablespoons Cinnamon Sugar
- Scoop the chilled dough into 7 equal portion cookies using a medium cookie scoop. (or any size cookie scoop you prefer), and roll into a ball in your hands. Roll the cookie dough balls through the cinnamon sugar, and place 2-inches apart on the baking sheet.
- Bake the cookies for 10 minutes, or until the edges are just set and the middles look soft – almost underbaked. Cool the cookies on the baking sheet set on a wire cooling rack for 10 minutes. Then transfer to the rack to cool completely. Tip – You can sprinkle a little more cinnamon sugar over the top of the cookies as soon as they come out of the oven.
- The cookies can be stored covered at room temperature for up to 3 days. Beyond that, and they may start to get crumbly.
RECIPE NOTES
- Serving Size – This is a small batch recipe that can be doubled.
- Yield – Using a medium cookie scoop, you will get 7 cookies. Smaller or larger cookie scoops will change how many cookies you get.
- Pumpkin – Be sure it is pure pumpkin and not pumpkin pie filling. The latter has added ingredients we don’t need for this recipe. I prefer Libby’s canned pumpkin because it doesn’t contain as much moisture as other brands.
- Fresh Pumpkin – I have not tested using fresh pureed pumpkin. It should work as long as you blot out the excess moisture.
- Blotting the Pumpkin – This is required to achieve the chewy, gooey cookie. Otherwise, the cookie will be more cakey – still tasty – without blotting it.
- Chill the Dough – This cookie dough does require chilling. It is a sticky dough and needs time for the butter to firm and so the cookies don’t spread into puddles.
- Cinnamon Sugar – My ratio for cinnamon sugar is 1 teaspoon of cinnamon for every tablespoon of sugar.
- Storing Baked Cookies – The cookies can be stored covered at room temperature for up to 3 days. Beyond that, and they may start to get crumbly.
- Freezing Baked Cookies – Place baked cookies in a freezer bag – squeeze out excess air – and freeze for up to 3 months. Thaw at room temperature.
- Freezing Cookie Dough – Wrap the cookie dough tightly in plastic wrap and place in a freezer bag. Freeze for up to 3 months and thaw in the refrigerator.
NUTRITION ESTIMATES

about the author ...
I'm Erin and I'm all about desserts - and a little bit of butter!
I've tested, written, and photographed hundreds of recipes on my website. Here you'll find the tastiest small batch desserts - all homemade, all simple, and all for you! Click here to learn more about me!

