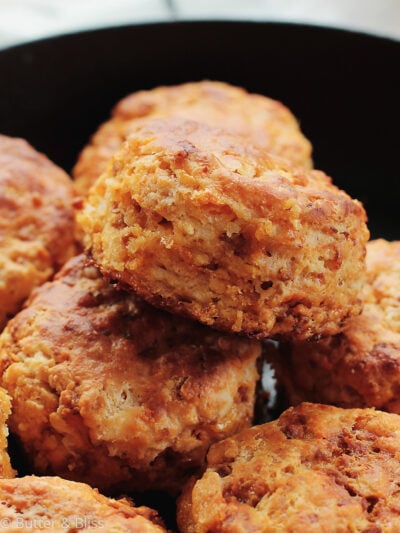
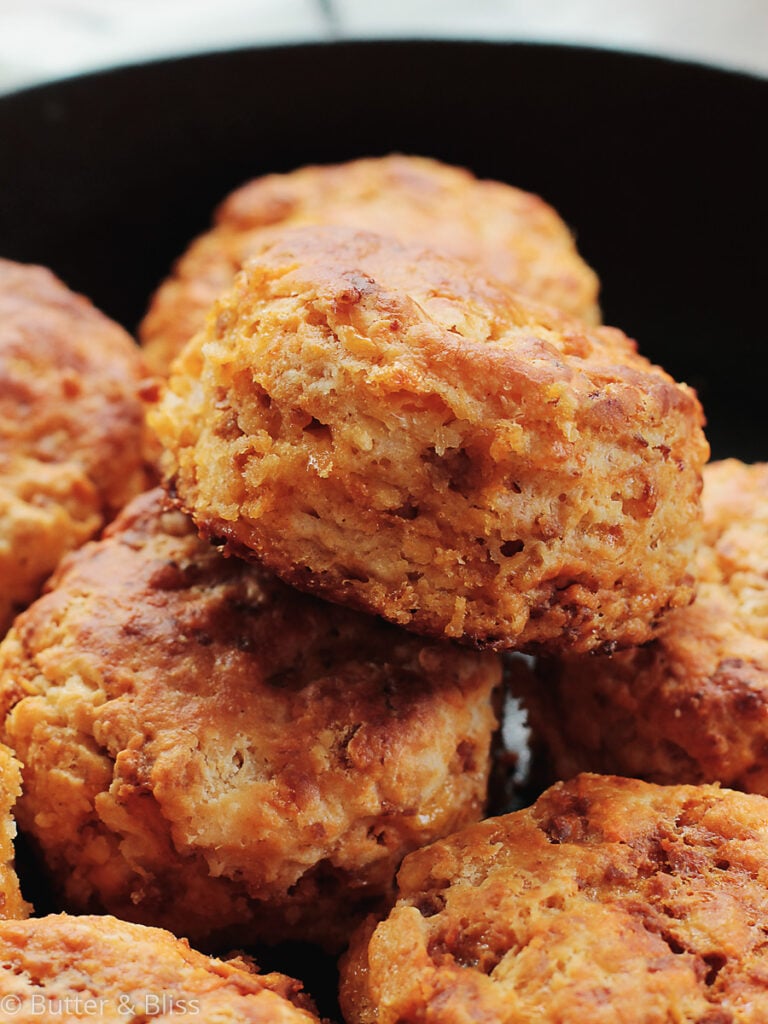
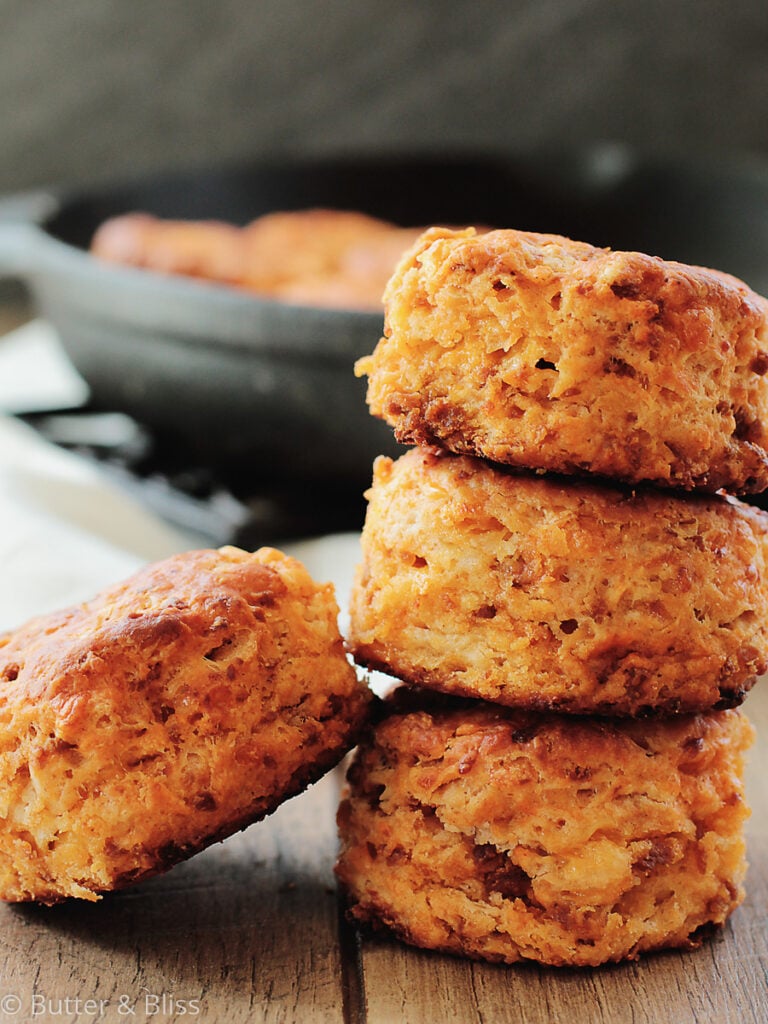
These Chorizo and Cheddar Buttermilk Biscuits are an upgraded version of flaky buttermilk biscuits. These tender biscuits feature spicy vegetarian chorizo crumbles and sharp cheddar cheese. Making these chorizo and cheddar buttermilk biscuits perfect for breakfast, lunch, and even a delectable side dish!
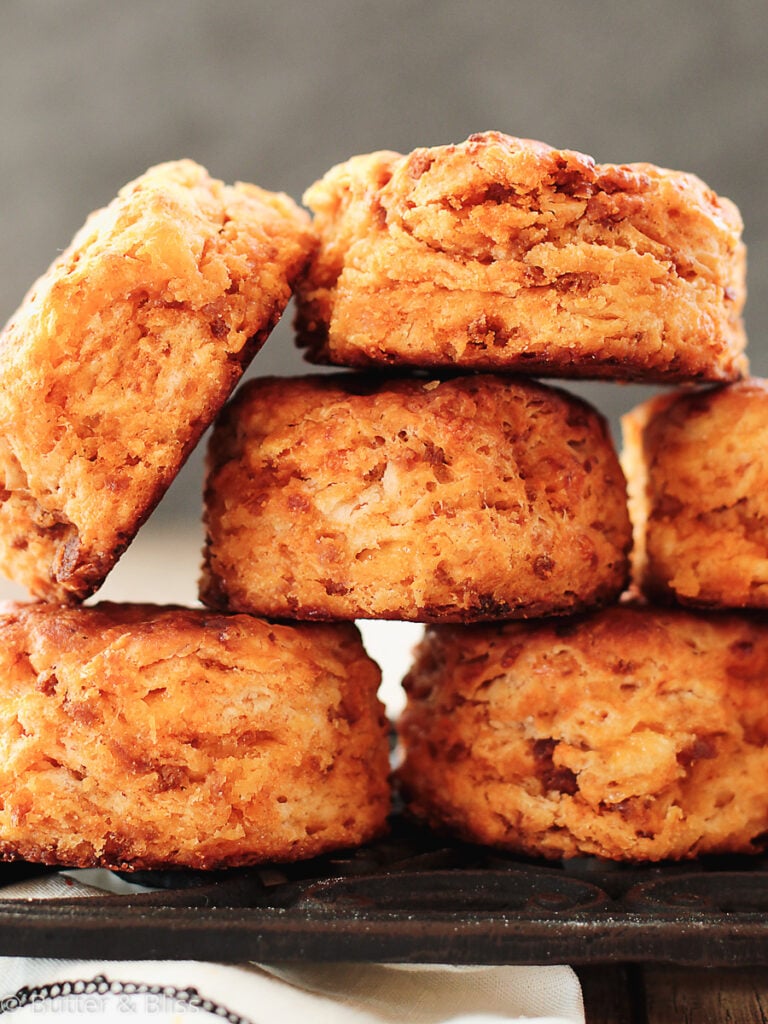
Cheddar Cheese In Biscuits
To make sure the flavor of the cheese really shines through, I like to use sharp cheddar cheese. I also use the blocks of fresh cheese and grate it.
Some pre-shredded cheese is coated with cellulose to keep it from clumping. This also may inhibit it from melting completely. Plus, I don’t think there is anything better than fresh cheese!
For the cheese flavor, you can swap in other cheeses if you prefer.
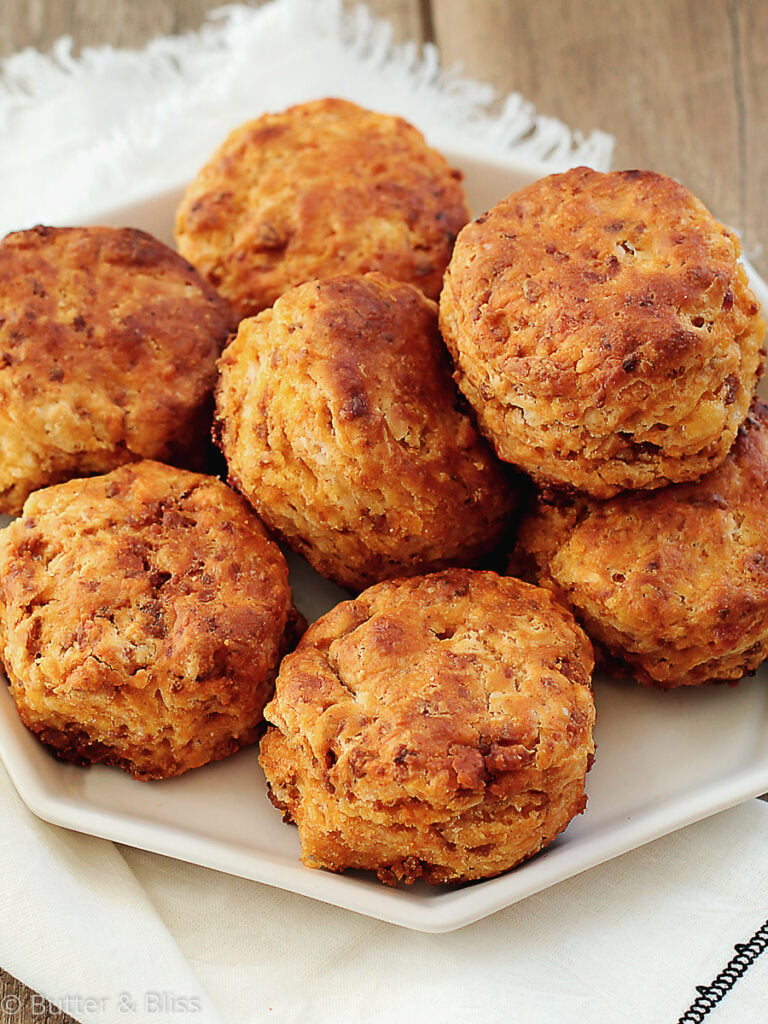
Preparing The Chorizo and Cheddar Buttermilk Biscuits
Making the chorizo and cheddar buttermilk biscuit dough is pretty easy. No need for a mixer, proofing any yeast, or waiting for the dough to rise. It is often referred to as a short dough. Meaning there is no yeast, and there is a lot of butter!
- With any biscuit dough, you do want your liquids and fats to be very cold. Because of this, I usually put the butter in my freezer about 10 minutes ahead of time. That is if I do not already have a couple of sticks in the freezer.
- You do not need to have the buttermilk come to room temperature before using. It can come directly from the fridge and into the mix.
- There is no need to sift your dry ingredients since this is a pretty rough dough. Everything can be measured into one bowl and mixed with a wooden spoon. I always use a wooden spoon when mixing my biscuit dough (or any dough for that matter). They are easy on the dough yet sturdy enough to mix through the rough dough.
Why Grated Cold Butter For Biscuits
You can use a traditional pastry cutter to mix in your butter. However, I have found that grating the butter on a cheese box grater is a more efficient way of getting the butter incorporated evenly into the flour.
Use the large grating holes and grate the stick of butter as far down as you can. Speaking from experience, I try to go too far and end up scraping my fingers, so be careful! Any leftover pieces can be cut up with a knife.
Cutting & Baking The Chorizo and Cheddar Buttermilk Biscuits
Once you are ready to cut out the chorizo and cheddar buttermilk biscuits, the key thing to remember is to go straight down into the dough with the biscuit cutter. You do not want to twist the cutter as you are cutting. Twisting will cause the layers to close up, and the result will be a flatter, less flaky biscuit.
After you have your biscuits cut out, you can bake them on a baking sheet, or in a cast-iron skillet. I have done both, and the results are great on both. The advantage of using a cast-iron skillet is you will get yummy crispy bottoms.
I like to place my biscuits so they are just touching. This helps them rise because the steam and heat coming off each help the one next to it. Just be careful not to smoosh them together, or you may get lopsided underdone sides.
With this chorizo and cheddar buttermilk biscuit recipe, you can use it as a base to add any flavors you like! I think my next one will be pepper and caramelized onion. Yum!
Chorizo and Cheddar Buttermilk Biscuits
Ingredients
- 2 cups (plus more for dusting) all-purpose flour (spoon and level to measure)
- 2 teaspoons baking powder
- 1/4 teaspoon baking soda
- 1 teaspoon salt
- 6 tablespoons unsalted butter, cold
- 3/4 cup (plus 1 tablespoon for brushing) cold buttermilk
- 1 tablespoon honey
- 3/4 cup Morningstsar Farms Chorizo Crumbles
- 1 cup cheddar cheese, grated
Instructions
- Preheat oven to 450F degrees and adjust the oven rack to the middle position. Line a baking sheet with parchment paper or silicone baking mat. You can also use a cast iron skillet to bake the biscuits.
- In a large bowl, add the flour, baking powder, baking soda, and salt. Using a wooden spoon, stir to combine and set aside.
- Using a box cheese grater, grate the butter onto a piece of parchment paper. If you have a small piece remaining that is too small to grate (don’t grate your fingers!), use a knife to cut into small pieces.
- Add the butter, Chorizo crumbles, and grated cheese to the flour mixture and mix until just combined. The mixture will resemble coarse crumbs. Note: using a pastry cutter to cut the butter into the flour will also work.
- Add the buttermilk and honey. Mix the dough gently until all ingredients are just combined. Don’t overwork the dough.
- Turn the dough out onto a lightly floured work surface, and using your hands, gently work the dough together and form into a rough rectangle. If the dough is sticky, lightly flour the top of the dough.
- Once the dough has come together, fold the dough in half and with your hands, gently flatten the layers. Rotate the dough 90 degrees and fold in half again, gently flattening the layers again. Repeat this step 5 more times. Keep the surface lightly floured as needed to avoid the dough sticking to your work surface. This process is called laminating the dough which gives you all the flaky layers.
- Using your hands, gently flatten the dough to 1/2 inch thick. Lightly flour a 3-inch biscuit cutter. Starting in one of the corners of the dough, gently press the biscuit cutter straight down. Repeat, making close cuts to get as many biscuits as you can before having to re-work the dough. Place the biscuits next to each other, so they are touching, on the prepared baking sheet.
- Re-work any leftover dough following the folding and flattening technique above – until you get about 6 – 8 biscuits. Do not re-work the dough more than twice, otherwise, you will get a tough biscuit.
- With a pastry brush, brush the reserved buttermilk on top of each biscuit. Place the biscuits on the baking pan so they are just touching.
- Bake the biscuits until the tops are golden brown, about 15 minutes. Remove from the oven and serve warm. You can also brush on some melted butter before serving. Enjoy!
RECIPE NOTES
- Making your own buttermilk is easy and a great option if you don’t want to have extra buttermilk sitting in your fridge. The recipe is 1 tablespoon of distilled white vinegar or lemon juice for every 1 cup of milk. Whole milk or 2% work best. Stir and let it sit for at least 10 minutes before using.
- Butter is, by far, the most important ingredient in this recipe, and it needs to be VERY cold before using. I even go so far as to just keep sticks of butter in the freezer for recipes that need very cold butter.
- Grating the frozen butter on a cheese box grater is a great way to get small pieces of butter evenly incorporated into your dough, without having to over-handle the butter. A pastry cutter will work as well, just cut the butter into tablespoons before using.
- Don’t let the honey scare you! This recipe still makes a light and savory biscuit. The honey balances the butter and salt to give you a well-rounded flavor. Most biscuit recipes call for sugar, and honey is a nice alternative.
- When preparing your dough, I do not use a rolling pin because I don’t want to over-work the dough or melt the small butter pieces in the dough. The folding and flattening technique is an easy alternative and it gives you more control of the dough and its thickness.
- For the dough thickness, before you cut out the biscuits, I always aim for 1/2 inch thick. This will give you a nice, tall biscuit.
- Place the biscuits so they are just touching each other on the baking sheet. This helps them to rise.
- For this recipe, I used a cast iron skillet. The cast iron will bake nice and crusty bottoms on the biscuits.

about the author ...
I'm Erin and I'm all about desserts - and a little bit of butter!
I've tested, written, and photographed hundreds of recipes on my website. Here you'll find the tastiest small batch desserts - all homemade, all simple, and all for you! Click here to learn more about me!

