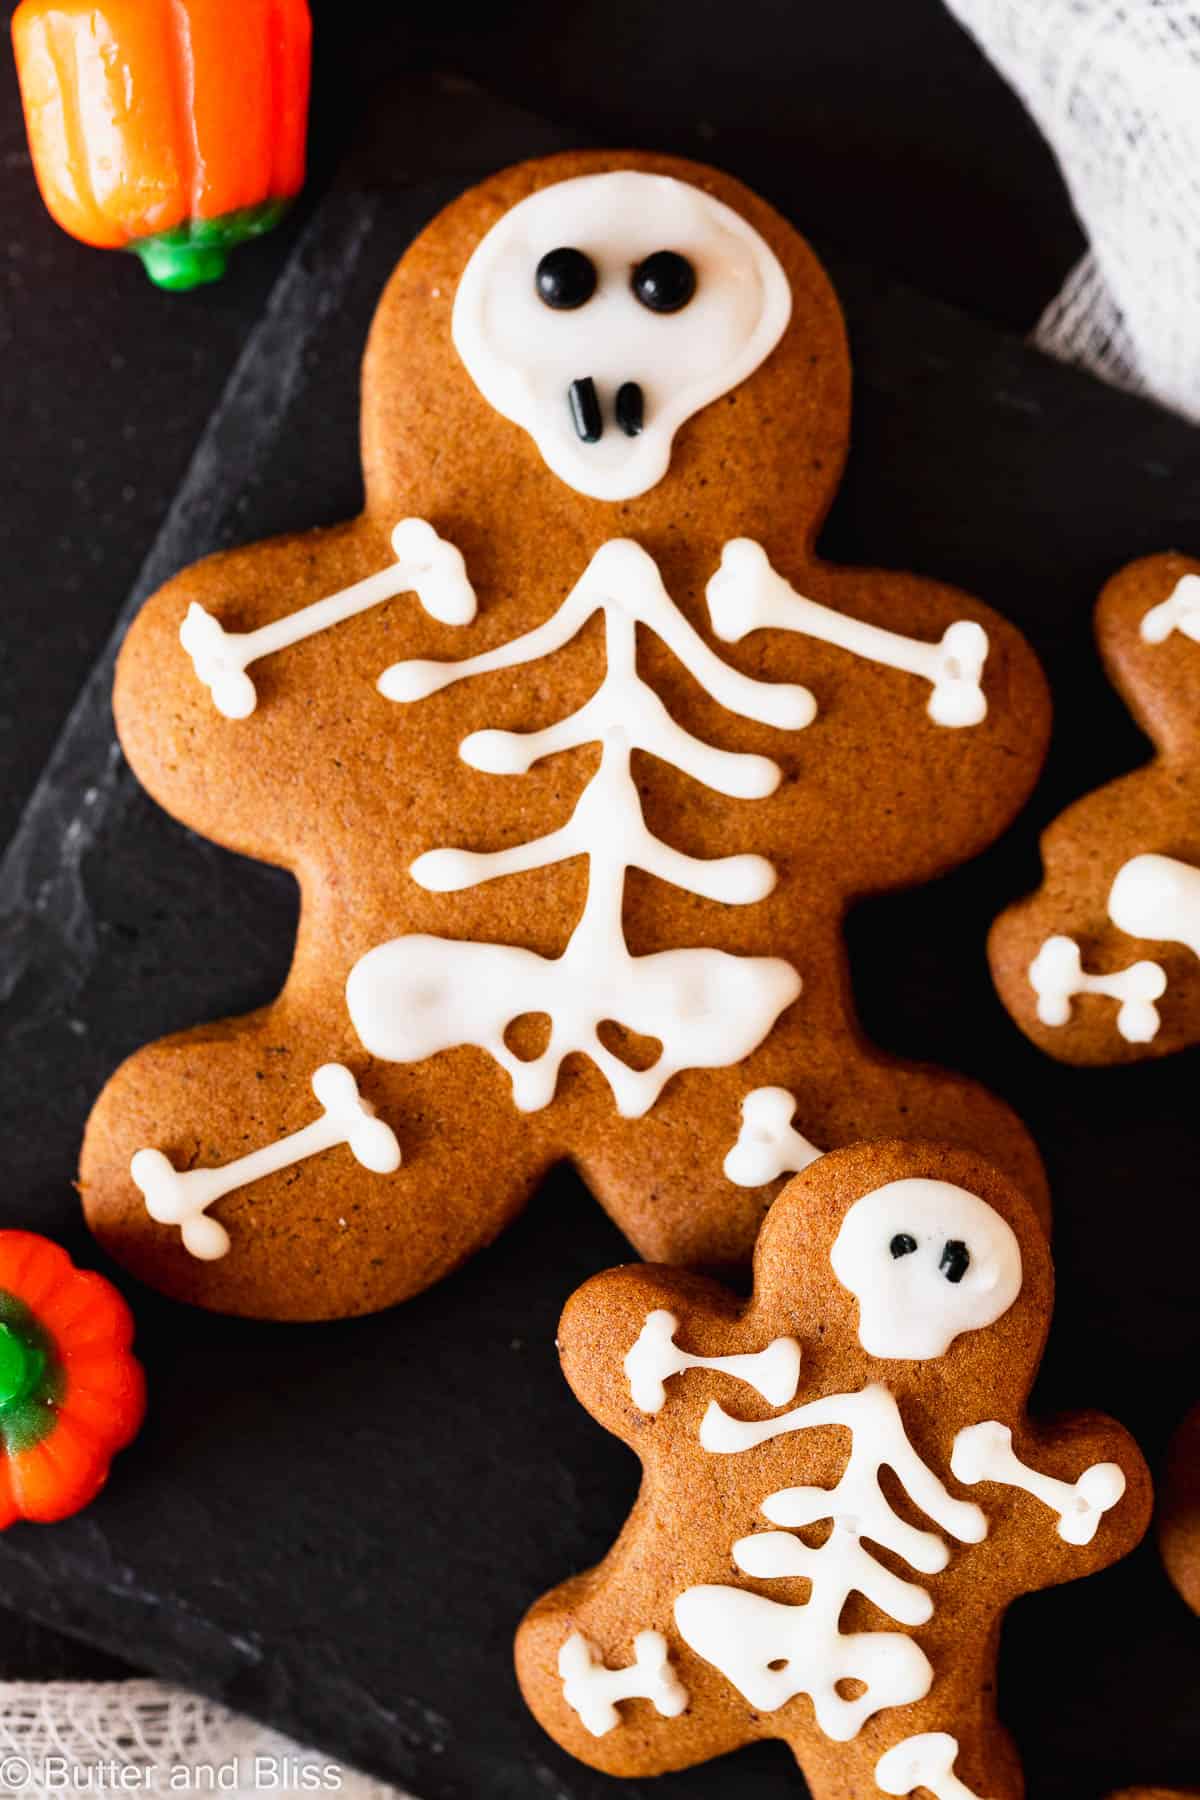
Gingerbread Halloween Skeleton Cookies
This post may contain affiliate links. See my disclosure policy.
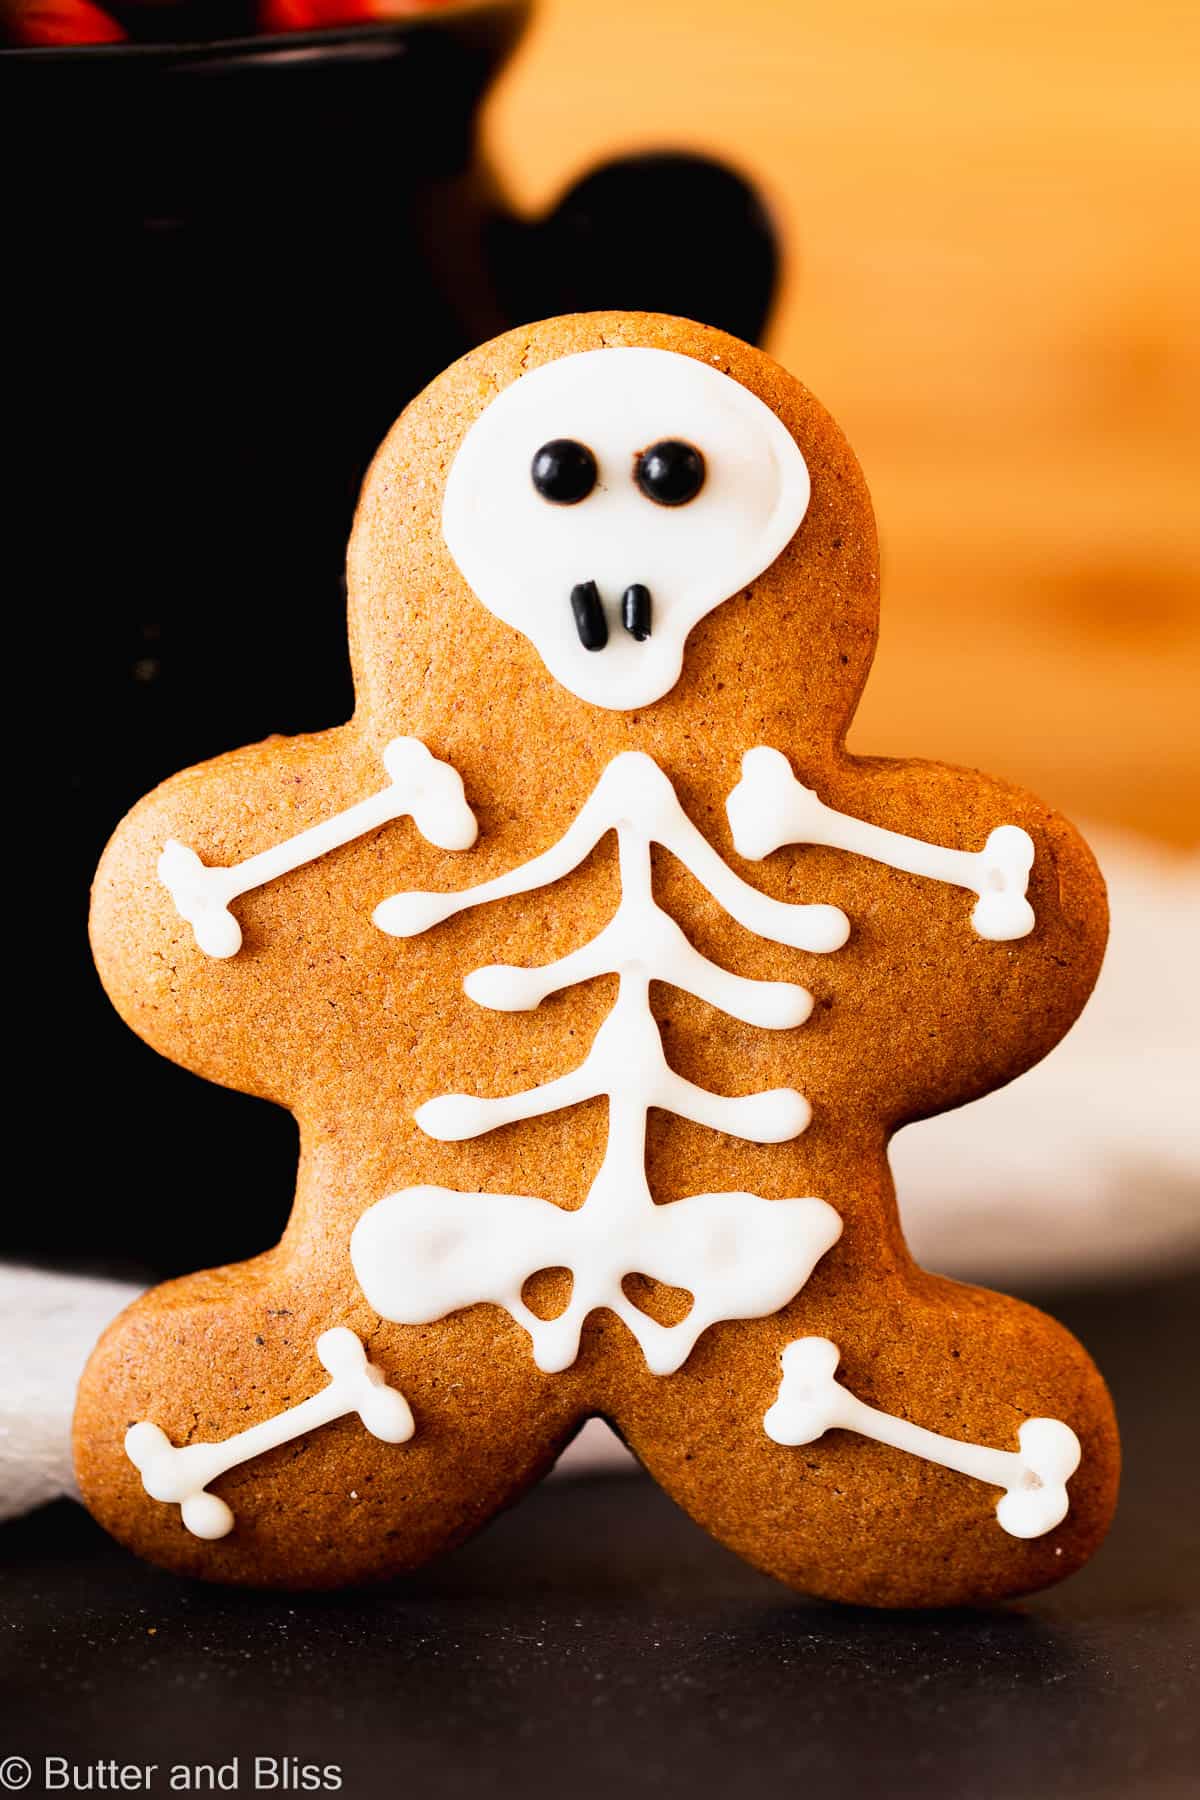
Take a break from Halloween candy with these spooky-sweet Gingerbread Halloween Skeleton Cookies! This easy, small batch recipe makes cut-out gingerbread cookies that are tender and full of trademark gingerbread flavor. Decorate the cookies with royal icing and your favorite sprinkles for a fun Halloween treat!
Gingerbread Skeleton Cookies
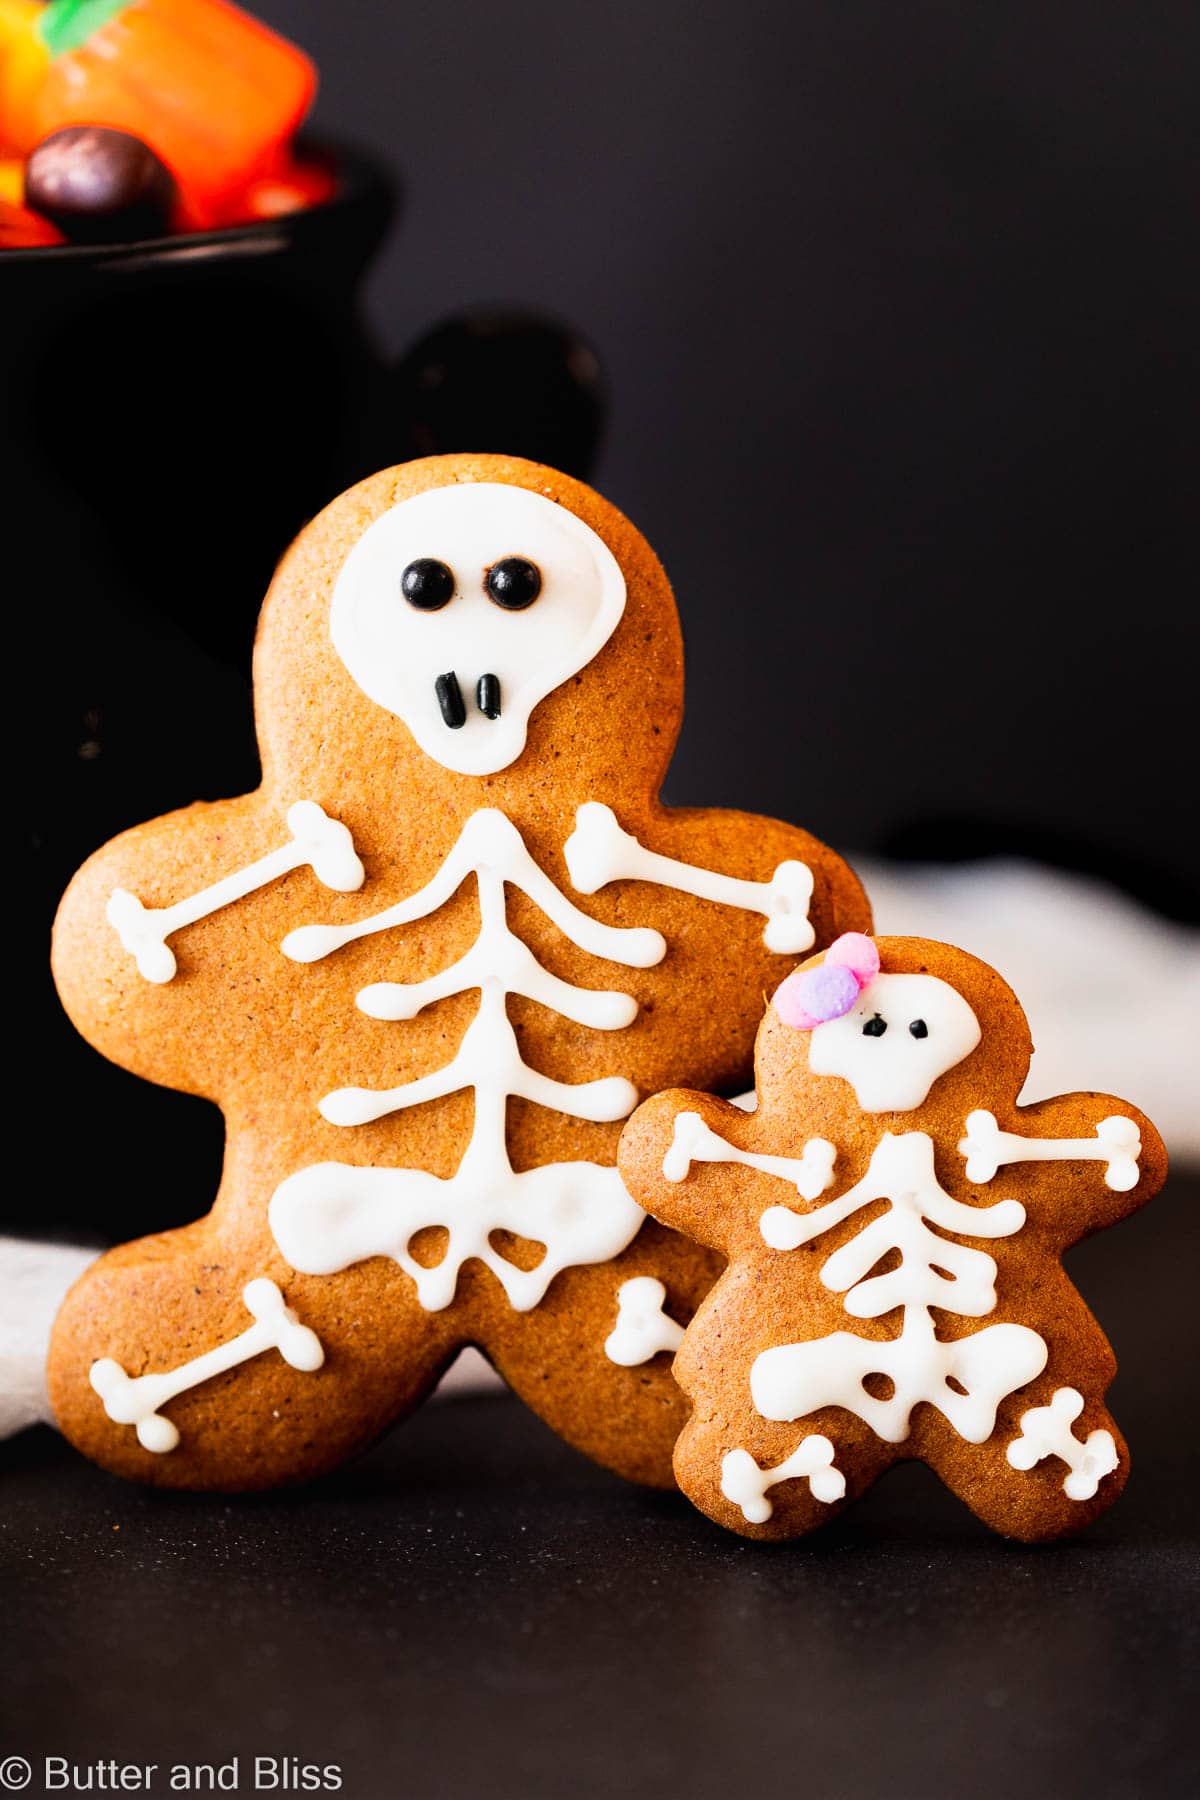
Did you ever think you’d be decorating gingerbread cut-out cookies for Halloween?! This recipe is adapted from my gingerbread Christmas small batch cookies, and we tailor the decorations to fit the spooky season!
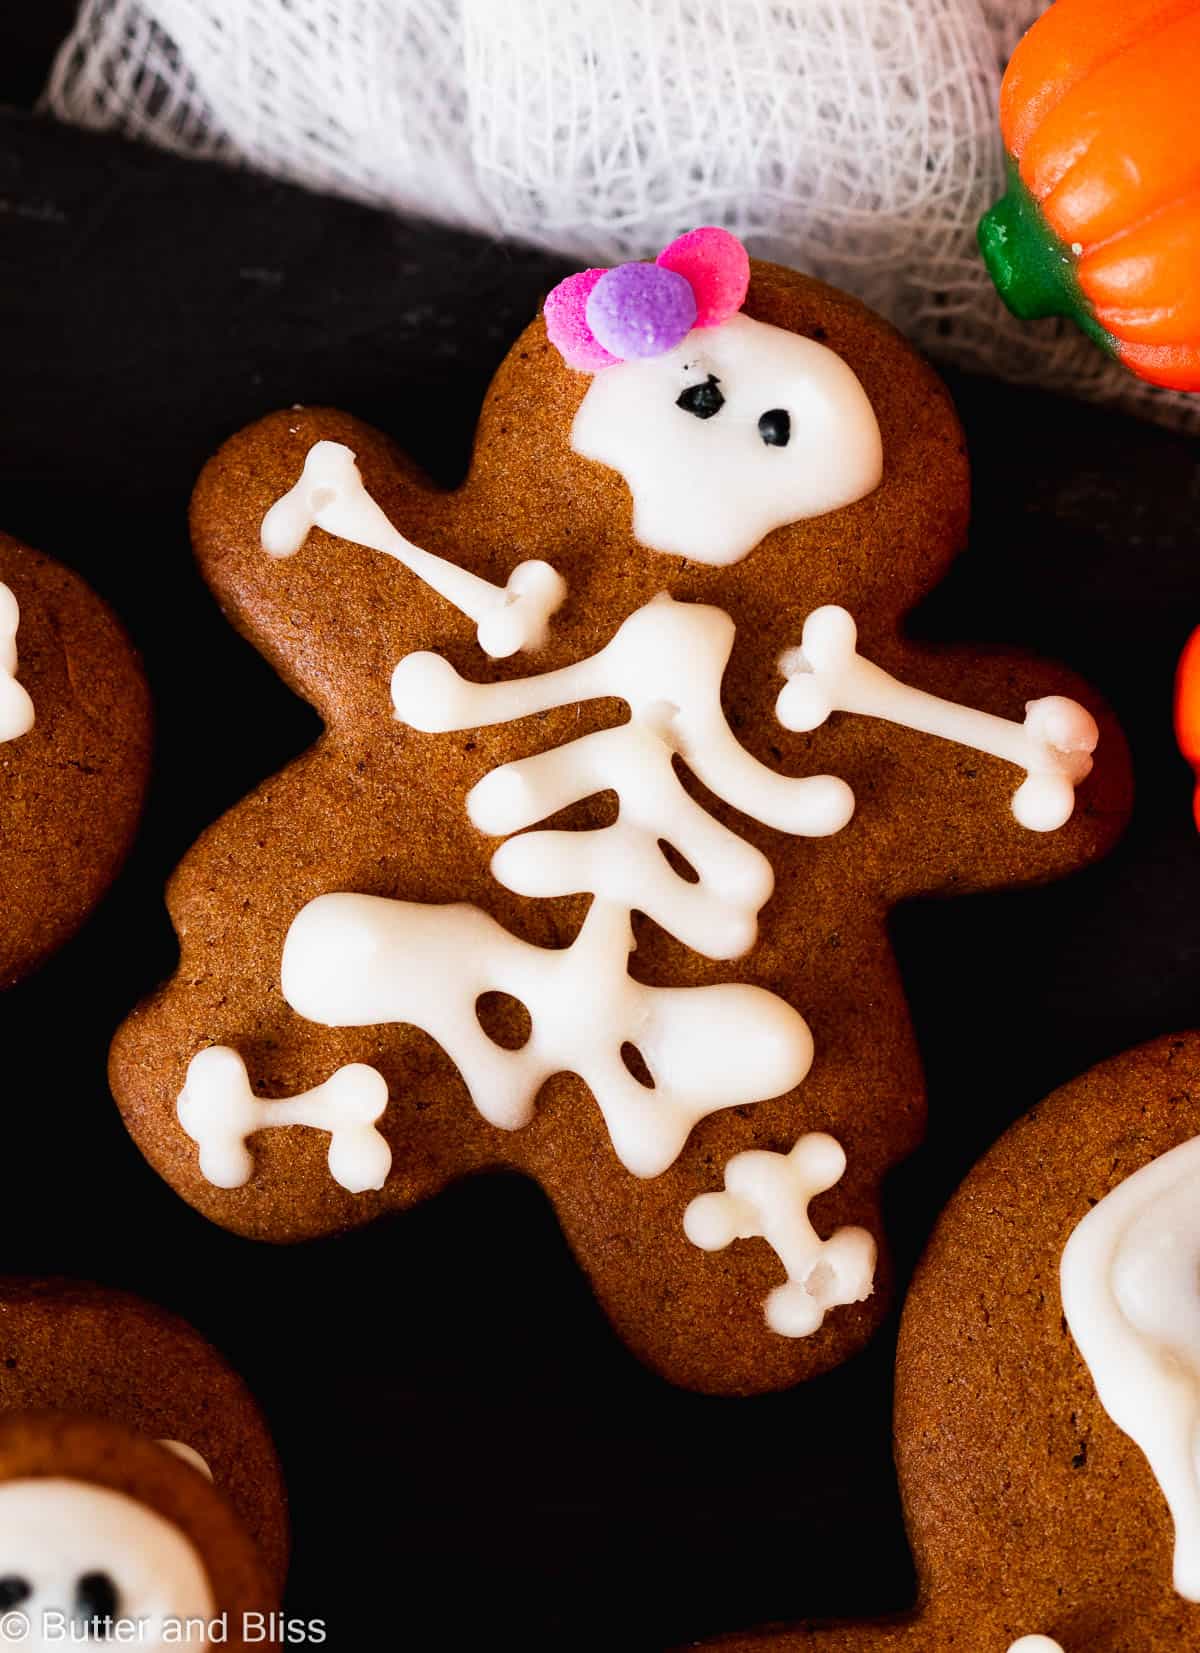
Since I first published this recipe in 2020, I still find these cookies to be a welcome departure from the traditional Halloween candy. Plus, it gives me time to test out my superior Christmas sugar cookie decorating skills! In all seriousness, I keep the icing and decorating simple with these cute cookies, and to pipe the spooky-cute skeletons is easy.
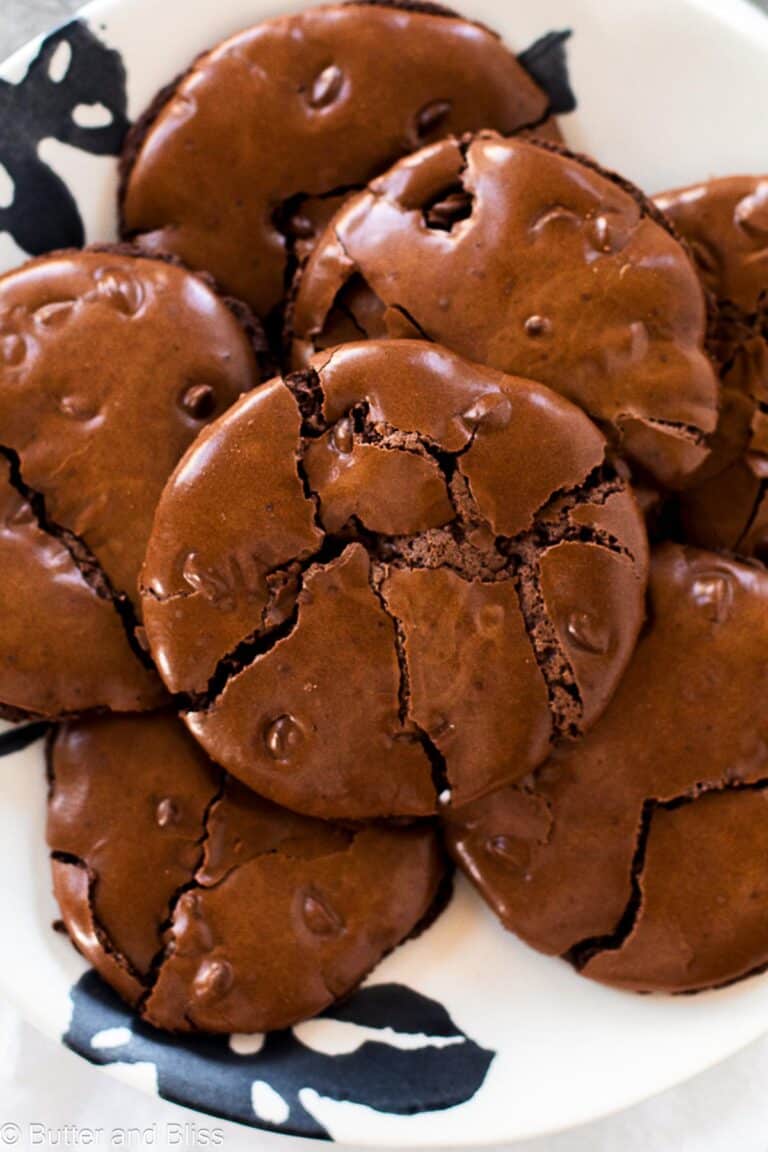
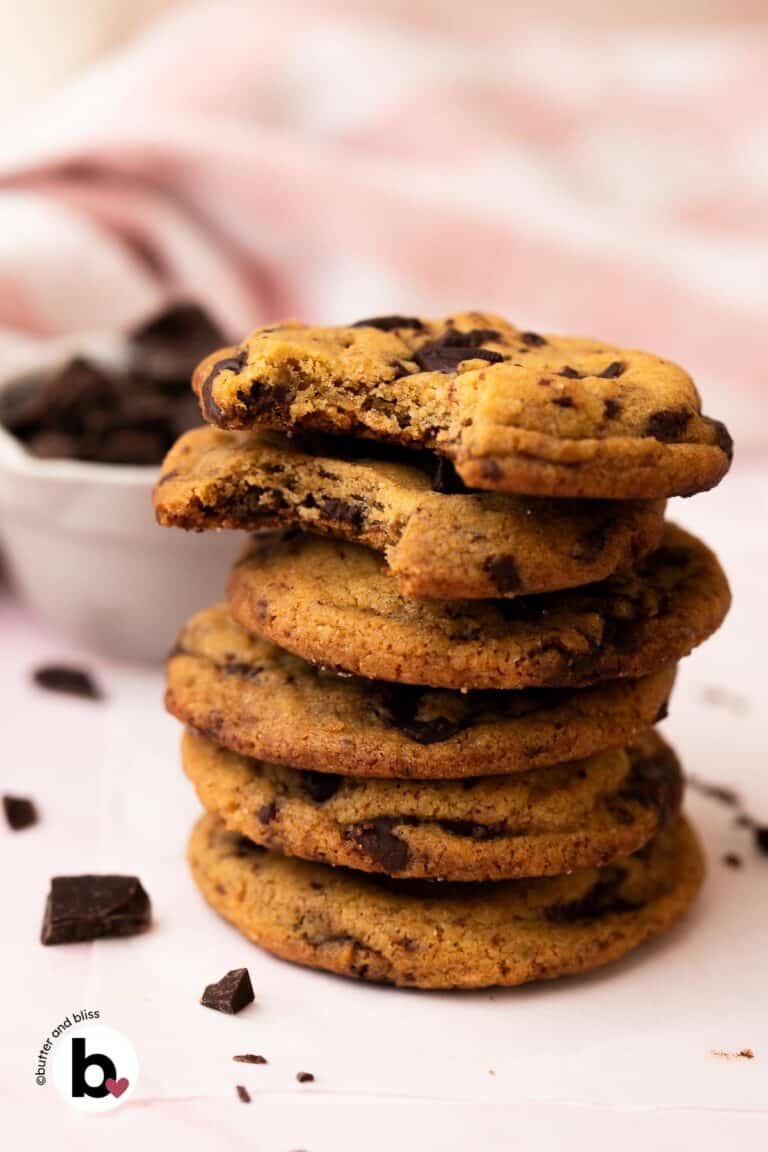
And if you’re looking for some more easy Halloween cookie recipes right now, be sure to check out my pumpkin spice cookies, gluten free double chocolate small batch cookies, and chocolate peanut butter cookies.
Why You’ll Love These Cut-Out Cookies
- Wonderful flavor – The gingerbread skeleton cookies taste like gingerbread. A delicious balance of fall spices, molasses, and brown sugar makes the cookies incredibly tasty.
- Great texture – The cookies are a hybrid of soft and crispy cookies. They are tender with a good bite, but certainly not the recipe if you want to construct elaborate gingerbread houses!
- They hold their shape – The cookie dough does need to be refrigerated to keep the cookies from spreading. Nobody wants a blobby gingerbread man cookie!
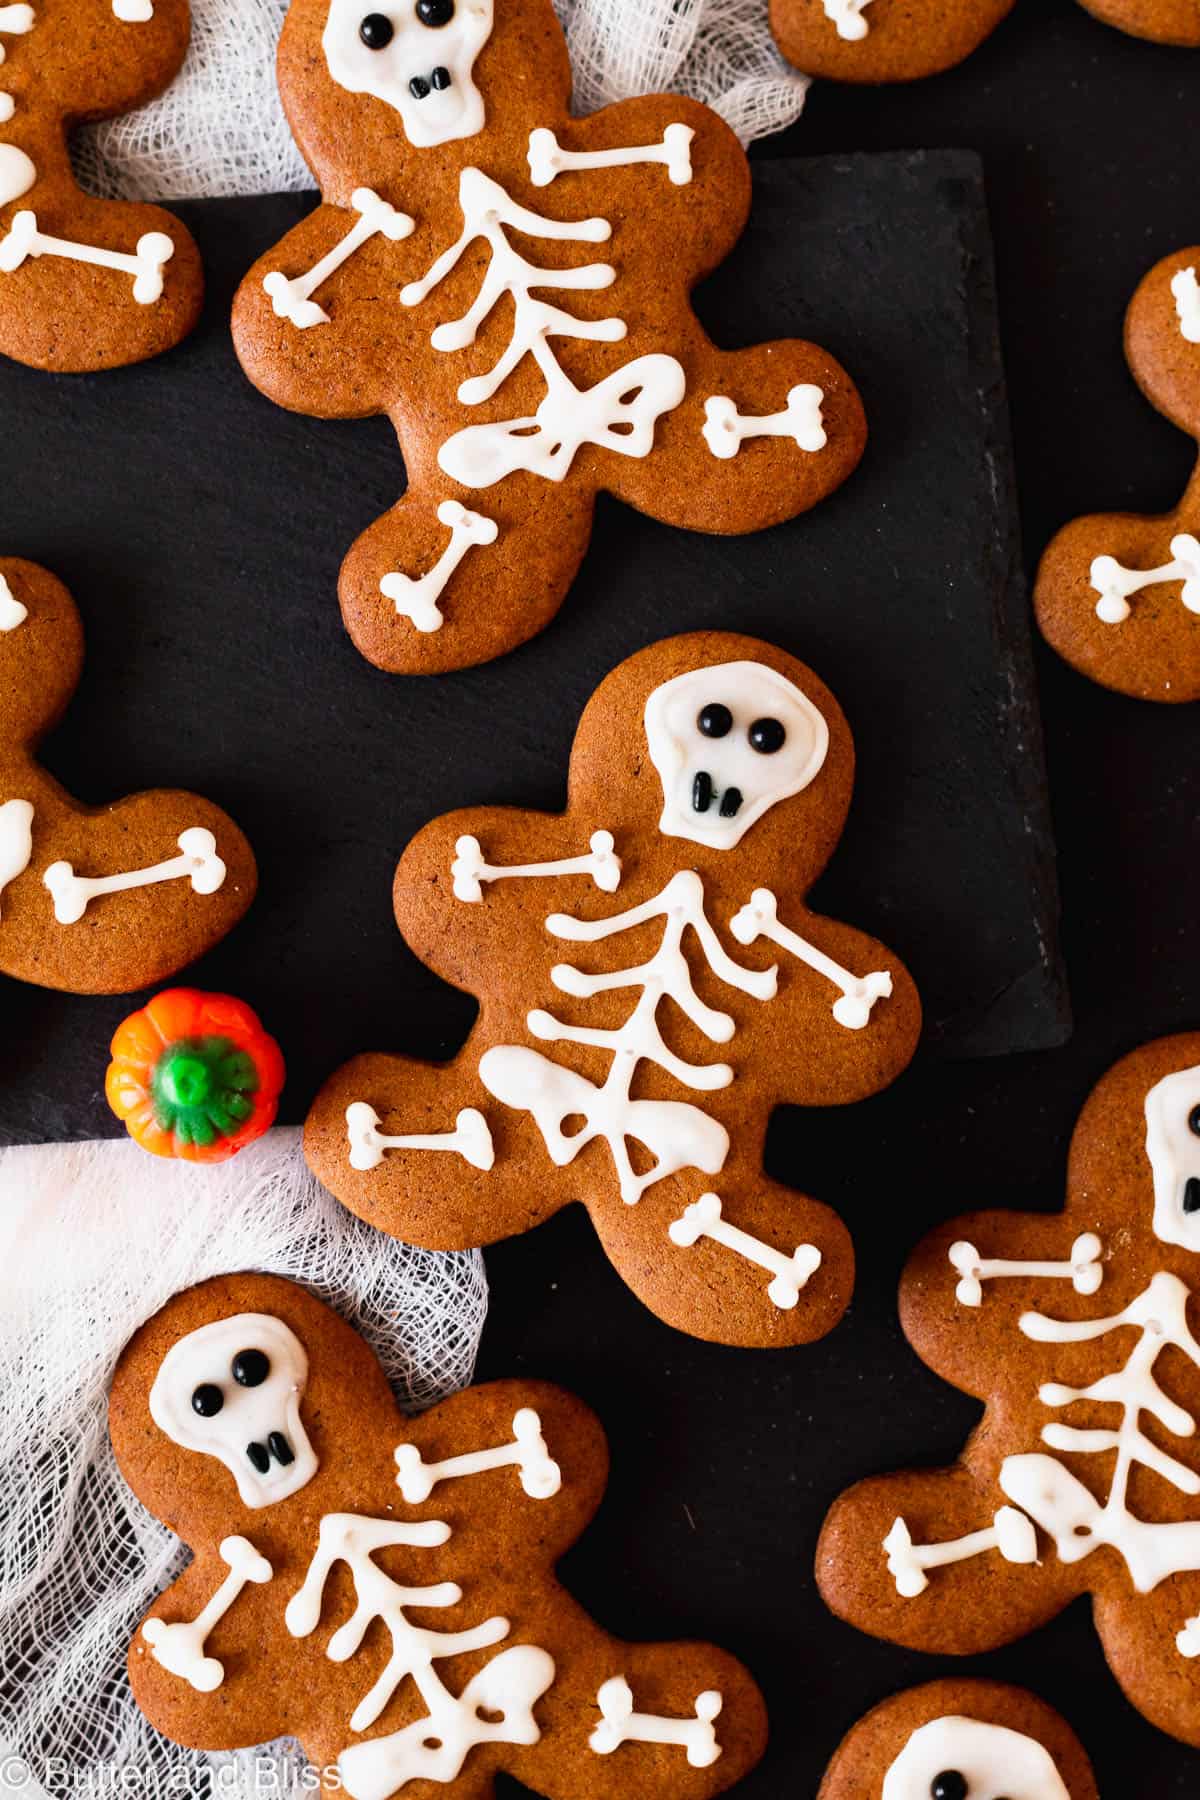
- Easy to decorate – We use an iconic Christmas gingerbread cookie cut-out, then it’s up to you to decorate in your own spooky-sweet way!
Key Ingredients
- Butter – I recommend unsalted butter since we add our own salt.
- Brown Sugar – Brown sugar is what gives the gingerbread skeleton cookies sweetness and depth of flavor.
- Egg Yolk – To keep the cookies tender, and to help bind the dough.
- Molasses – The trademark ingredient in anything gingerbread! I prefer unsulphured molasses for the flavor – without being overpowering. The same I use in my gingerbread small batch cranberry bars and gingerbread latte syrup.
- All-Purpose Flour – I have not tested a gluten free version. But you can try a 1:1 gluten free flour blend to see if that works!
- Ground Cinnamon, Nutmeg, Cloves, and Ginger – All of the traditional aromatic fall spices in gingerbread cookies.
How To Make Gingerbread Skeleton Cookies
- Cream the butter and sugar – Beat the butter with the sugar until is light and creamy.
- Add the remaining wet ingredients – Add the egg yolk, molasses, and vanilla and continue to beat the dough until all ingredients are incorporated. The dough may look curdled because of the molasses – this is ok!
- Sprinkle the dry ingredients over the wet – Sift or sprinkle and mix until no dry streaks remain.
- Cover and chill the dough – The dough does need to be chilled to roll out and bake without spreading.
- Preheat the oven – And prepare your baking sheets with parchment while the dough is chilling.
- Cut out the cookies – Use your desired cookie cutter and cut out your shapes. Place 2 inches apart on the baking sheet.
- Chill the cut-out cookies – Before baking, I recommend sticking the baking sheets with the cookies in the refrigerator for about 10 minutes. Rolling the dough will probably make the dough warm.
- Bake – Bake the cookies for 8 to 10 minutes. Longer if you prefer a crispy cookie.
- Cool – Cool the cookies completely before decorating!
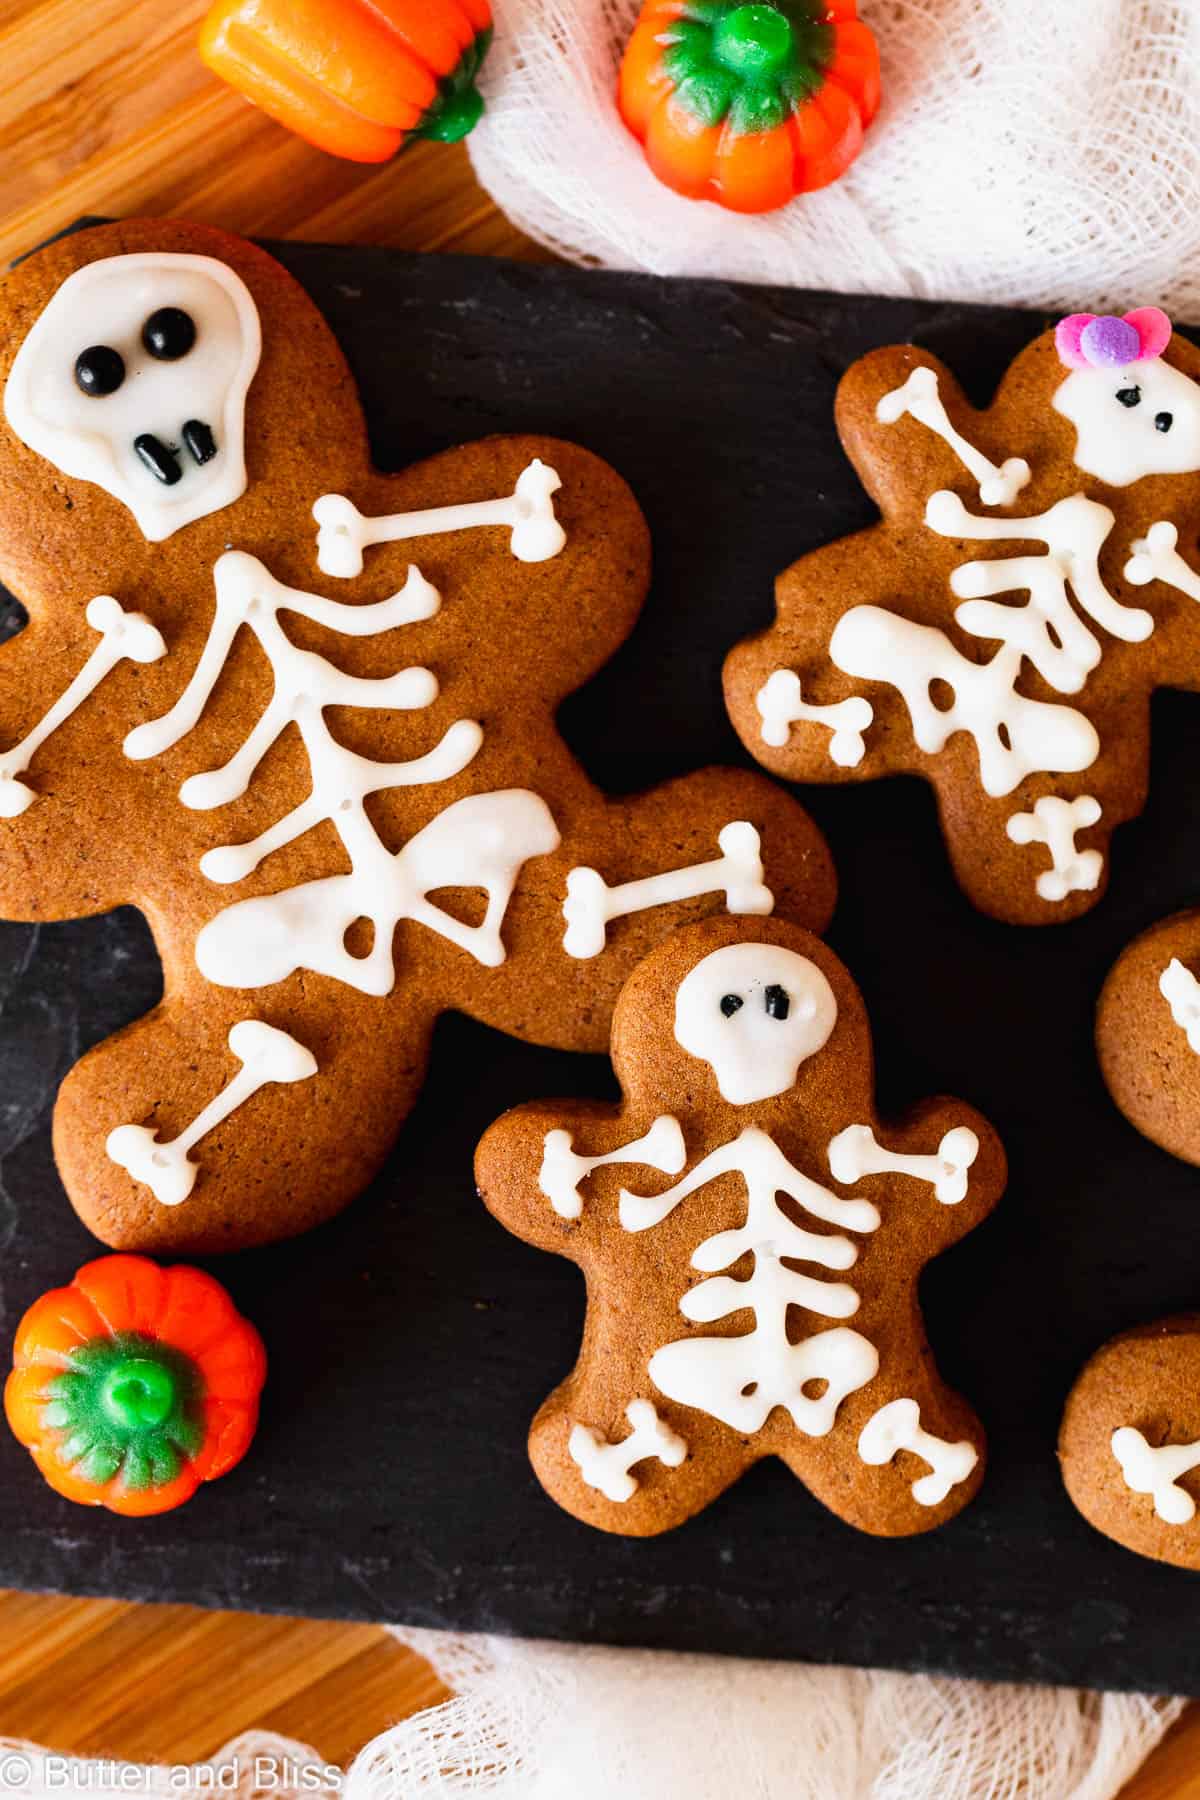
- Decorate – Decorate the spooky-fun gingerbread skeleton cookies!
Success Tips
- Chill the dough – This will help hold the shape of the cookies and keep them from spreading too much when baked.
- Only roll the dough twice – If we roll the dough too much, it will lead to tough cookies.
- Chill the cut-out dough – The cookie dough will naturally get warm while you roll it out. I like to chill my gingerbread skeleton cookies one more time before baking.
- Bake one baking sheet at a time – This will help the cookies bake evenly as air circulates around the pan unobstructed, and you don’t have to open the oven door to rotate the pan, letting the hot air out.
- For crispier cookies – Bake for 1 to 2 more minutes. Just keep a close eye on the cookies so they don’t burn.
- Cool the cookies before decorating – This may seem obvious. But, we don’t want your cute piping work to melt.
Recipe FAQ’S
You can certainly try it! Blackstrap has a very robust flavor, which may overpower the spices. I’ve never used it, so can’t say for certain if you will yield the same results as unsulphured molasses.
A couple of things may have happened: Did you chill the cookie dough and cut out cookies before baking? Or, was the butter too soft when you started with the dough? All can contribute to cookies that spread.
Yes! Wrap the dough tightly in plastic wrap then slip into a ziploc bag. Freeze for up to 3 months and thaw in the refrigerator.
Yes, you can freeze the decorated gingerbread skeleton cookies. Wrap the cookies tightly in plastic wrap then slip into a ziploc bag or covered container. Freeze for up to 3 months and thaw at room temperature. Just note, if you use colored icing, the color may bleed.
Gingerbread Halloween Skeleton Cookies
by Erin Cernich
Equipment
Ingredients
Gingerbread Cookies
- 4 tablespoons unsalted butter, room temperature
- 3 tablespoons light brown sugar
- 1 large egg yolk
- 3 tablespoons molasses, unsulphured
- ½ teaspoon vanilla extract
- 1 cup, plus 2 tablespoons all-purpose flour
- ¼ teaspoon baking soda
- ¼ teaspoon ground cinnamon
- ¼ teaspoon ground nutmeg
- ¼ teaspoon ground cloves
- ½ teaspoon ground ginger
- ⅛ teaspoon salt
Royal Icing
- ¼ cup powdered sugar
- 1 to 2 teaspoons milk, any kind
- ⅛ teaspoon vanilla extract
Instructions
- In a small mixing bowl, add the butter and brown sugar. Use a hand held mixer and beat on medium speed until smooth and creamy. Add in the egg yolk, molasses, and vanilla extract. Continue to beat until the yolk and molasses are mixed in well. The batter may look a little curdled – which is ok.4 tablespoons unsalted butter, room temperature, 3 tablespoons light brown sugar, 1 large egg yolk, 3 tablespoons molasses, unsulphured, 1/2 teaspoon vanilla extract
- Sprinkle, or sift, the flour, baking soda, cinnamon, nutmeg, cloves, ginger, and salt over the top of the wet ingredients. Mix on low speed until not dry streaks remain.1 cup, plus 2 tablespoons all-purpose flour, 1/4 teaspoon baking soda, 1/4 teaspoon ground cinnamon, 1/4 teaspoon ground nutmeg, 1/4 teaspoon ground cloves, 1/2 teaspoon ground ginger, 1/8 teaspoon salt
- Pour the dough onto a piece of plastic wrap and gently form into a disc. Cover the dough tightly in the plastic wrap and refrigerate for at least 1 hour.
- Preheat the oven to 350F degrees and adjust the oven rack to the middle position. Line two baking sheets with parchment paper.
- Remove the dough from the fridge and place on a lightly floured work surface. Roll the chilled dough to 1/4 inch thickness. If you want thicker cookies, don't roll the dough so thin.
- Use a cookie cutter to cut out your shapes, and place the cookies at least 2 inches apart on the baking sheet. Re-roll any scraps to cut into more cookies. I don't recommend re-rolling the dough more than twice.
- I recommend baking one baking sheet of cookies at a time. While the first batch is baking, refrigerate the other baking sheet of cookies. Note – If the cookies feel as though they got too warm while rolling and cutting, place both baking sheets in the refrigerator to cool for about 10 minutes before baking.
- Bake the cookies for 8 to 10 minutes, or until the edges are set. If you want crispier cookies, bake for a couple minutes longer. Cool the cookies on the baking sheet set on a wire cooling rack for 10 minutes. Then transfer the cookies to the cooling rack to cool completely.
- Once the cookies are cool, make the royal icing and decorate the cookies!
Royal Icing
- In a small mixing bowl, add the powdered sugar, vanilla extract, and 1 teaspoon of milk. Whisk together until the powdered sugar is moist. Add a teaspoon of milk at a time to get to your desired icing/decorating consistency.1/4 cup powdered sugar, 1 to 2 teaspoons milk, any kind, 1/8 teaspoon vanilla extract
Notes
- Serving Size – The number of cookies in your batch will depend on how thick you roll out your cookie dough, and the size of your cookie cutters.
- Larger Batch – This recipe has only been tested as a small batch. If you double the recipe to make a larger batch, let me know how they turn out!
- Refrigerate Cut-Out Cookies Before Baking – I recommend refrigerating the cut-out cookies before baking to keep them from spreading.
- Bake 1 Baking Sheet at a Time – Bake one cookie sheet at a time to get an even bake.
- Crispy Cookies – For a crispier cookie, bake for 1 to 2 more minutes.
- Royal Icing – This is a simplified version of royal icing. For a traditional cookie-decorating royal icing (which probably includes egg whites or meringue powder), there are a lot of recipes on the internet!
- Storing and Freezing Baked Cookies – The cookies can be stored covered at room temperature for up to 5 days. They can also be frozen tightly wrapped in plastic, and in a ziploc bag for up to 3 months. Thaw at room temperature.
- Freezing Cookie Dough – The cookie dough can be frozen tightly wrapped in plastic, and in a ziploc bag for up to 3 months. Thaw in the refrigerator before rolling out and cutting into shapes.
Nutrition Estimates


About the Author …
Hi, I’m Erin! With years of experience baking for two in my own small household, I know about the love for desserts without the leftovers. I’ve tested, written, and photographed every one of the 300+ recipes on my website. And even had some of my desserts featured on Taste of Home, The Spruce Eats, ELLE, Parade, and more! From traditional to gluten free desserts for two, I have the recipe for you.
Click here to learn more about me →
I refrigerated my dough for an hour and a half to 2 hours and when I got my dough out it was straight sludge! It stuck to my floured counter top and to my rolling pin so I ended up scraping it off and trashing it. 🙁 What did I do wrong?
Hi Ashley – sorry to hear the dough didn’t work! It could have been that the butter was too warm, or perhaps more molasses was added?