Hasselback Baked Apples Dessert
This post may contain affiliate links. See my disclosure policy.
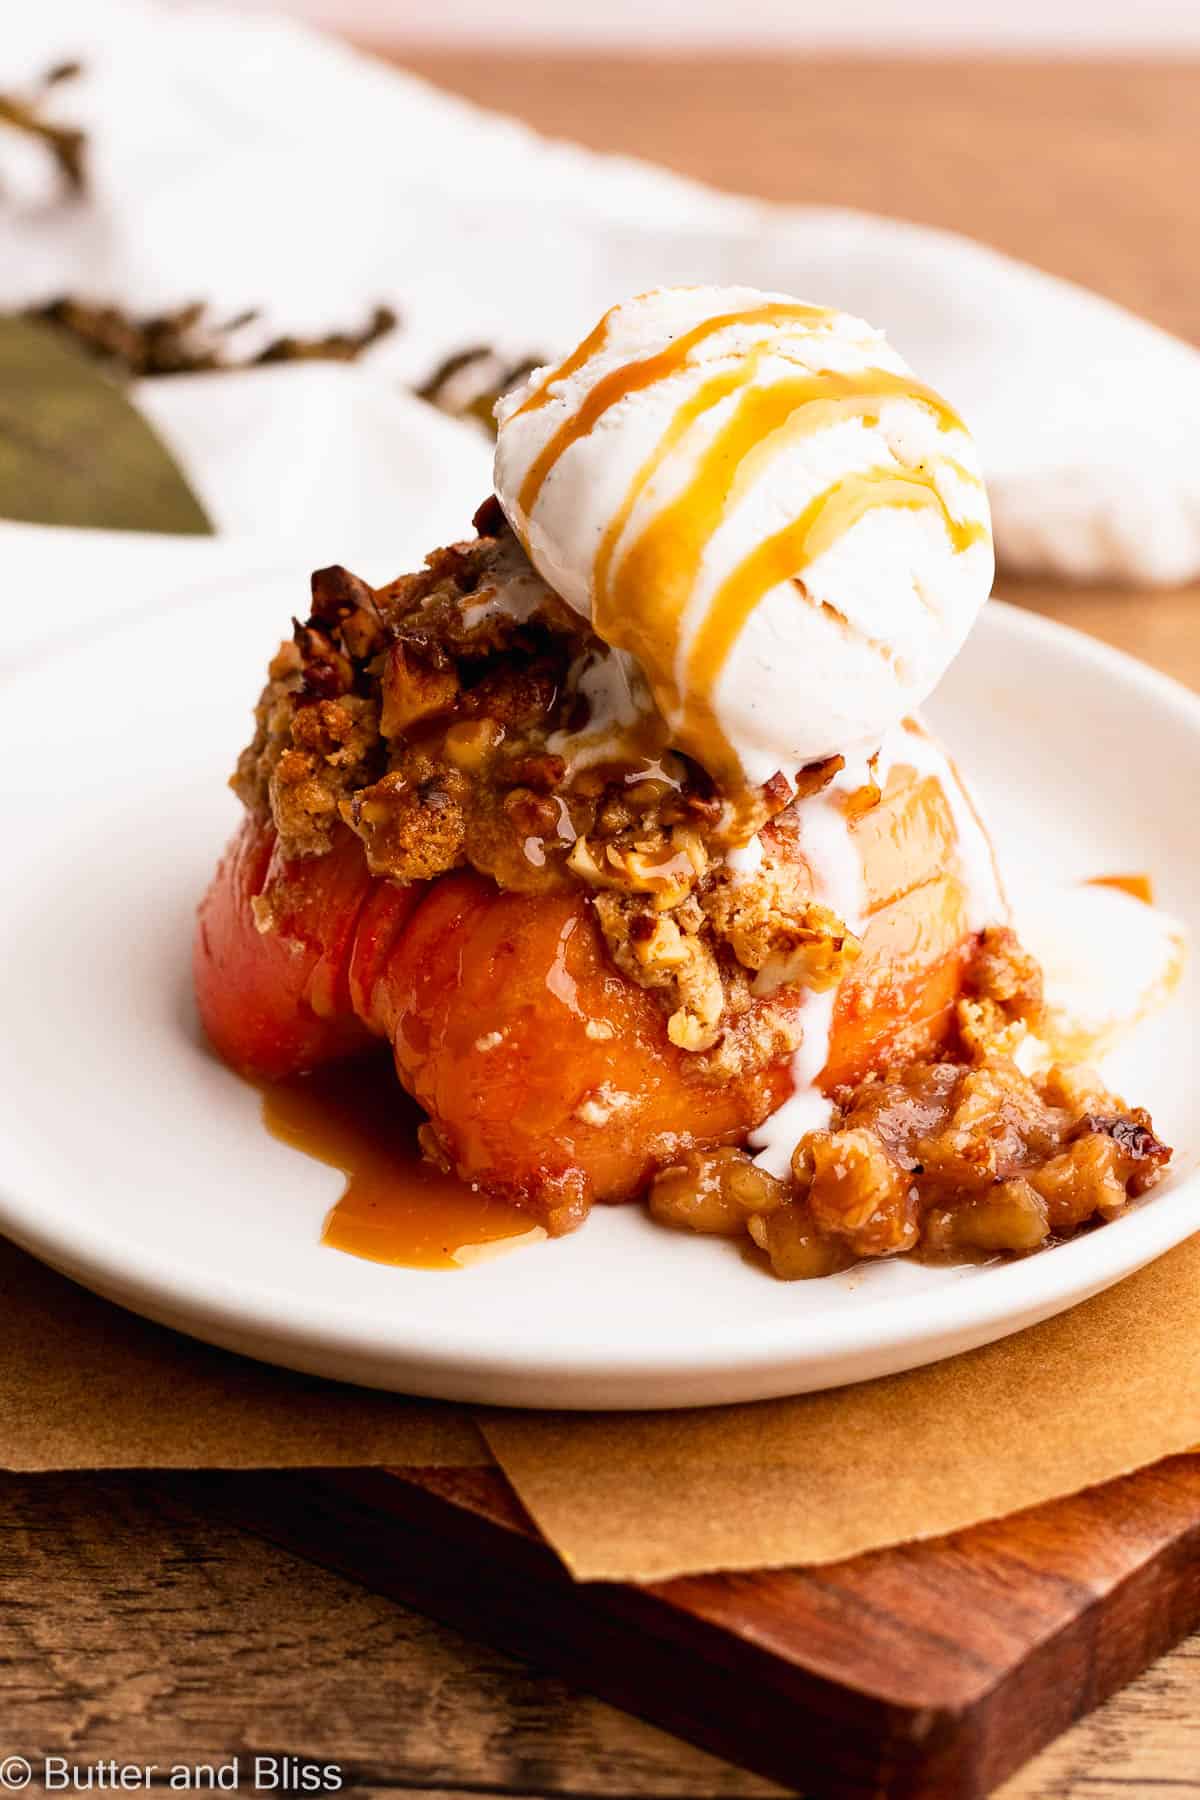
These Hasselback baked apples are proof that simple, small batch desserts can still impress in less than an hour. Each crisp apple is sliced into thin, fanned layers that hold a buttery oat streusel as they bake in apple cider. They’re like apple pie, without the fuss.
This is one of those small batch desserts that looks fancy, but you’ll be surprised how easy it is. It’s also one of those recipes that is a great way to use that one leftover apple that’s rolling around in your crisper. You know the one … 😉 My individual Biscoff apple crisp is also a good recipe for this reason.
Truly, the hardest part of this recipe is making the thin apple slices. And if you go all the way through, oh well. Nobody will be the wiser when it’s presented. Especially when you think about all that buttery, caramelized goodness seeping between your perfected slices.
But we can’t forget the topping — the nutty, buttery oat streusel topping. This is where you can take creative liberty in the kind of nuts and spices you use. You could even take it over the top and add dried cranberries. I speak from experience.
This may look like a fall dessert, but apples are around almost all year. So go ahead — experiment, swap spices, and make it whenever the craving hits.
If you need more ideas for what to do with those stray apples, check out my full collection of small batch apple desserts!
Let’s Talk About How To Make Hasselback Apples
Don’t let the name fool you — it just refers to the slicing method. And anytime I can create multiple layers in a single piece of fruit to catch extra flavor, I’m in.
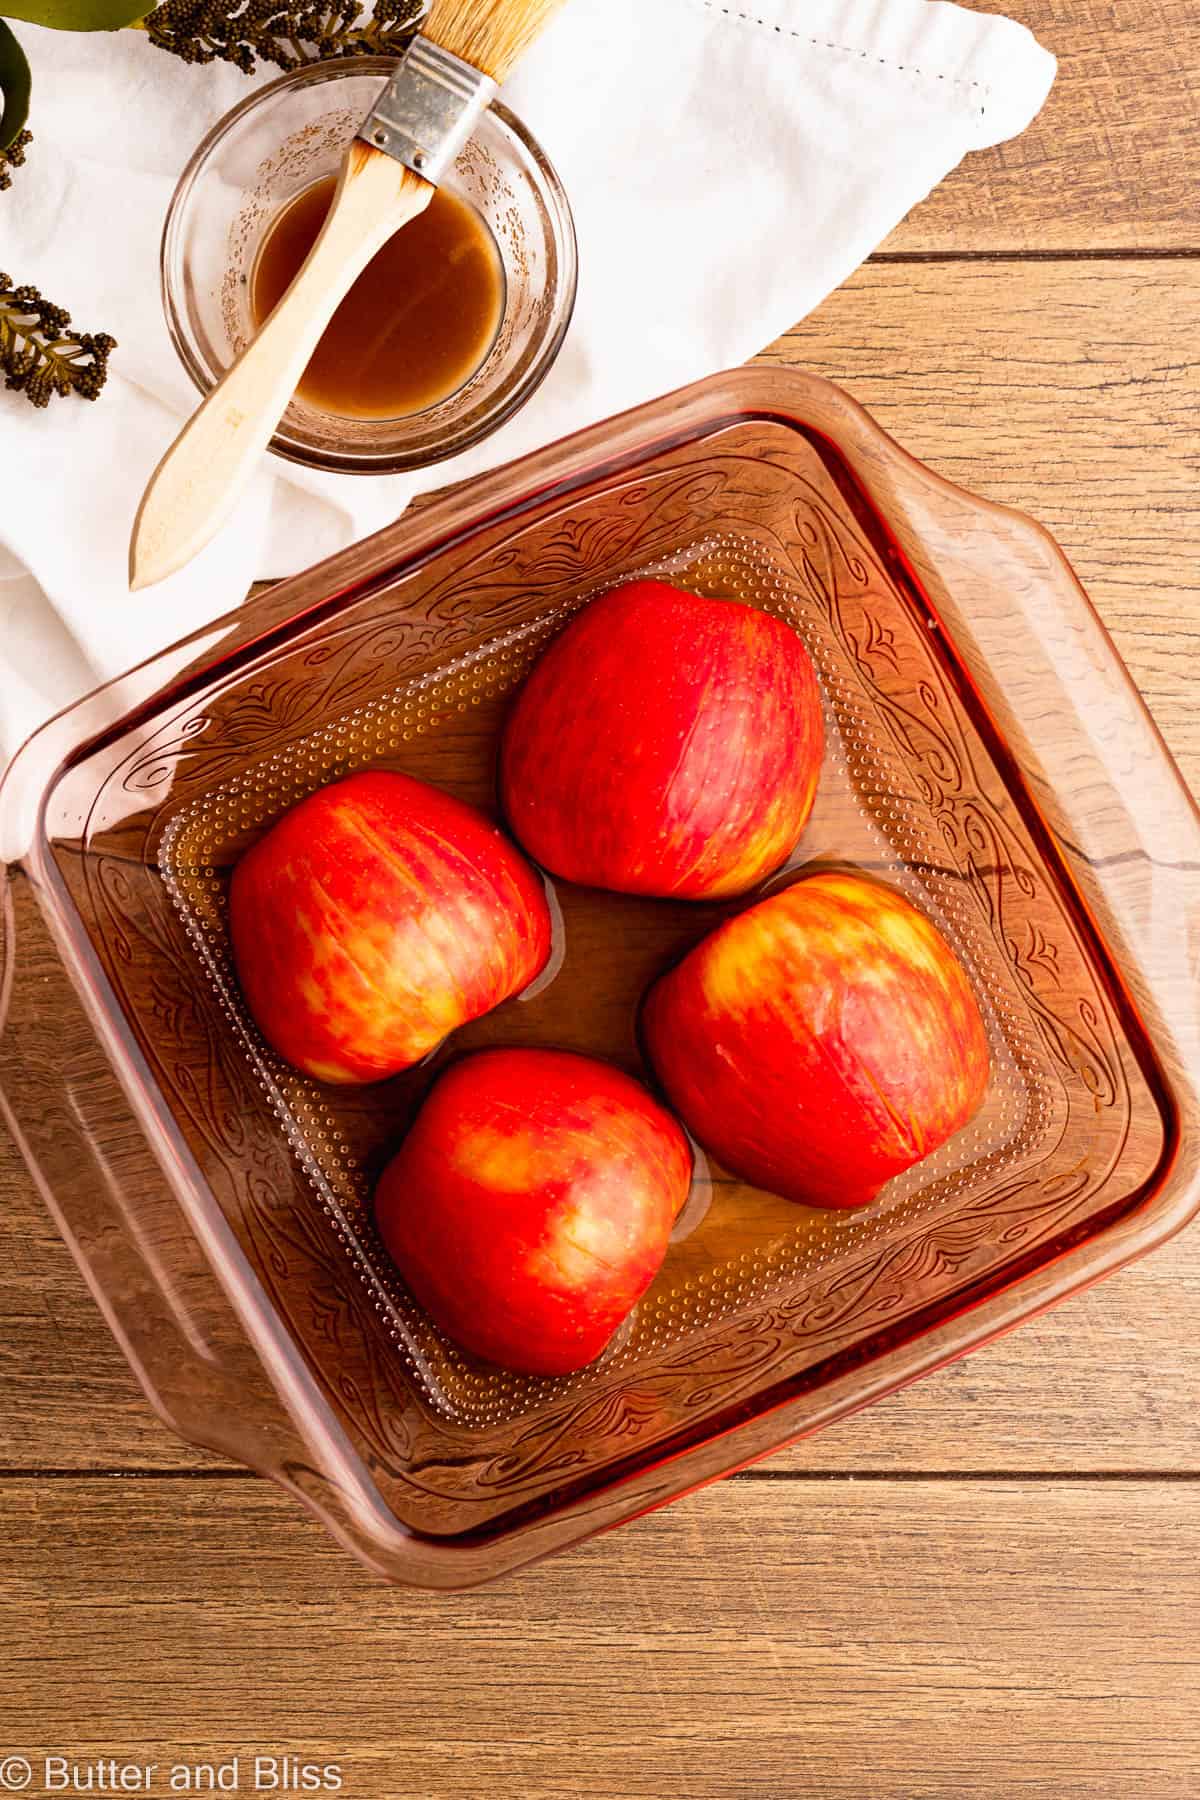
I start by making the streusel so it can sit in the fridge until I’m ready to use. This keeps the butter from melting. Then pour the apple cider in the baking dish (a fun alternative to butter so the apples don’t stick!)
Now, on to your apples. Use a crisp variety apple so it doesn’t turn to mush when baked.
- Core and slice them in half. Use a good, sharp paring knife (keep it small so you can keep in control), and start your slices at the outermost edges. I start here because it’s harder to cut on the angle.
- Slice nearly all the way through. I’ve seen people that set the apple half between two chopsticks so the knife stops, but that’s up to you.
Place sliced halves cut side down in the baking dish and pre-bake the apples so they soften, before adding the streusele. We do something similar in the maple cinnamon baked pears recipe.
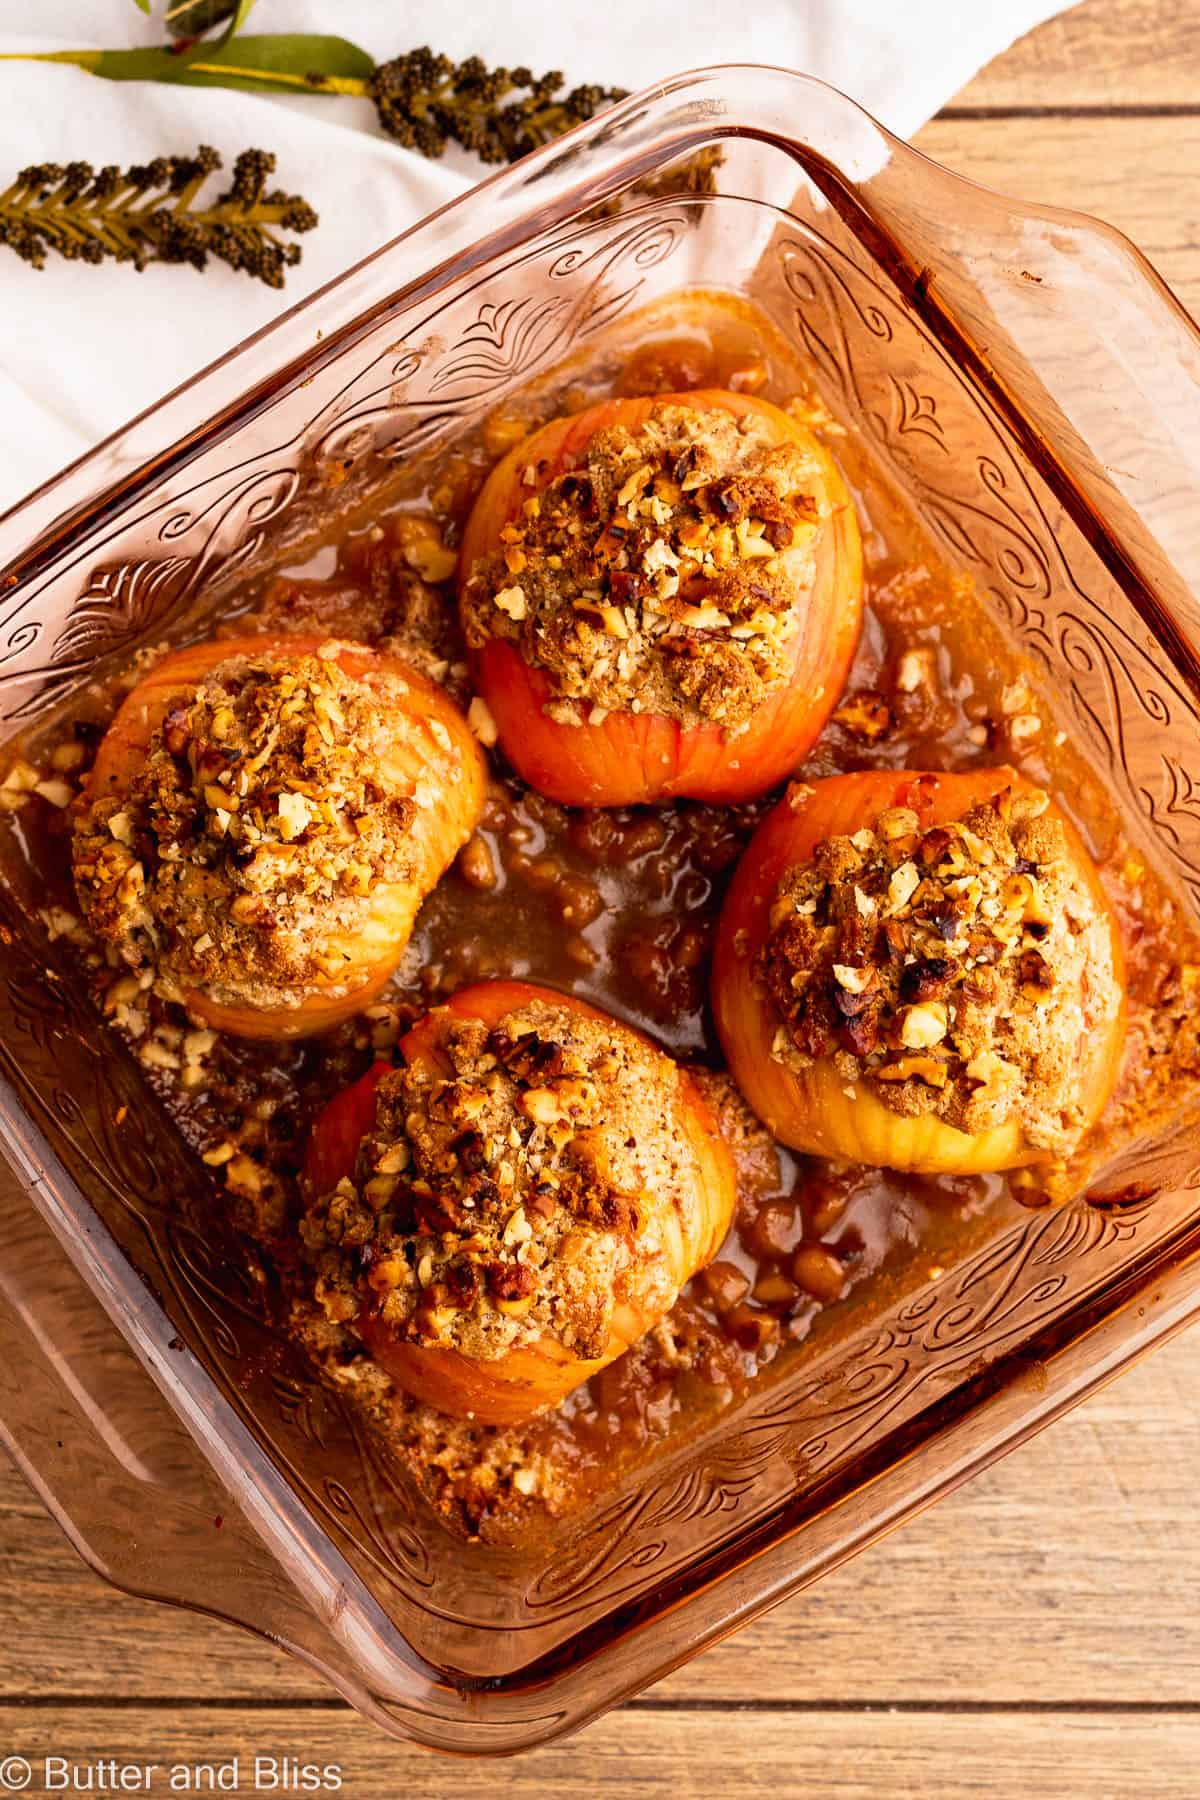
Bring the apples out of the oven and tuck the streusel in-between the slices and all over the top. Then back into the oven they go to finish baking.

The result is softened apples drenches in caramelized apple cider and toasty streusel. To finish — how about a hefty scoop of ice cream and a drizzle of my apple cider caramel sauce to punctuate the apple flavor. 🙂
Did You Make It? Let’s Hear About It!
⭐⭐⭐⭐⭐
I love to hear from you when you’ve made one of my recipes! Leave me a comment below and let me know if you reserve apples for fall or eat them year-round (like I do)! And a star rating would be appreciated too. 😉
Hasselback Baked Apples
by Erin Cernich
Ingredients
Oat Streusel Topping
- 2 tablespoons rolled oats
- 1 tablespoon gluten free oat flour (or all-purpose flour)
- 2 tablespoons light brown sugar
- ⅛ teaspoon salt
- 1 ½ tablespoons unsalted butter, cold and cut into cubes
- 2 tablespoons walnuts, chopped (or pecans)
Hasselback Apples
- 2 apples (a crisp variety, like Honeycrisp)
- ⅓ cup apple cider
- 1 tablespoon unsalted butter, melted
- 1 tablespoon light brown sugar
- ⅛ teaspoon ground cinnamon
- ⅛ teaspoon ground ginger
- ⅛ teaspoon ground cardamom
Instructions
Oat Streusel Topping
- In a small mixing bowl, stir together the oats, oat flour, brown sugar, and salt. Add the butter cubes and using your fingers, or a fork, cut the butter into the dry ingredients. Mix until the flour and oats are moistened by the butter and you have large crumble pieces. Tip – I find using my fingers to make the streusel is more efficient, give the small quantity of ingredients.2 tablespoons rolled oats, 1 tablespoon gluten free oat flour, 2 tablespoons light brown sugar, ⅛ teaspoon salt, 1 ½ tablespoons unsalted butter, cold and cut into cubes
- Stir in the chopped walnuts. Set the streusel aside in the refrigerator until ready to use.2 tablespoons walnuts, chopped
Hasselback Apples
- Preheat the oven to 400F degrees and adjust the oven rack to the middle position.
- Slice the apples in half. Use a melon baller, or even the tip of a vegetable peeler, and core the apples. Note – Peeling the apples is totally optional. I opt to not because I like the different textures of the apple.2 apples
- Place the apples cut side down on a cutting board. Using a sharp paring knife, slice the apples – almost all the way through, but not all the way – into 1/4 inch slices. I find it easier to start the slices at the outside edges of the apple.
- Place the apples cut side down in the baking dish. Pour the apple cider into the bottom of the baking dish.⅓ cup apple cider
- In a small bowl, stir together the melted butter, brown sugar, and spices. Brush evenly over the tops of the apples.1 tablespoon unsalted butter, melted, 1 tablespoon light brown sugar, ⅛ teaspoon ground cinnamon, ⅛ teaspoon ground ginger, ⅛ teaspoon ground cardamom
- Cover the baking dish with foil, and bake the apples for 23 minutes. Remove from the oven, uncover, and cool the apples in the baking dish for at least 10 minutes. Increase the oven temperature to 425F degrees.
- Using a knife or a spoon, fan open the apple slices and work some of the streusel in between the slices, and sprinkle streusel on top.
- Return the baking dish to oven, uncovered, and bake the apples for an additional 18 to 20 minutes. The apples should be firm to the touch, but fork tender. Note – If the streusel topping is browning too quickly, loosely tent foil over the top of the apples.
- Cool the apples in the baking dish for a few minutes before serving. To serve, top the warm apples with ice cream and drizzle of caramel. Enjoy!
Notes
- Serving Size – This recipe is easily doubled.
- Best Apples – Use a crisp apple, like Honeycrisp (what I use!), Pink Lady, or Fuji.
- Caramel Sauce for Serving – My apple cider caramel sauce or maple syrup caramel sauce are delicious to drizzle over the apples!
- Substitutions – Swap the oat flour with all-purpose flour 1:1. The light brown sugar with dark brown sugar 1:1. Or the unsalted butter with a vegan butter spread 1:1.
- Apple Cider – I recommend apple cider because it is unfiltered and adds extra flavor to the baked apples. You can use apple juice. Or omit all together – just grease the bottom of the baking dish with butter so the apples don’t stick.
- Slicing the Apples – You’ll want to go as close to the edge of the apple, but not all the way through. This way, the apples fan out when baked.
- Bake Time – I prefer a softer baked apple that can be cut with a fork. If you prefer a crisp baked apple, remove the apples from the oven at 18 minutes.
- Make Ahead – Prepare the apples and streusel ahead of time and place the apples in the baking dish with the cider. Keep covered in the refrigerator. When ready to bake, prepare the butter-sugar mix and follow the baking instructions.
- Storing – Store leftovers covered in the refrigerator for up to 3 days. Reheat for 2 to 3 minutes in the microwave.
Nutrition Estimates
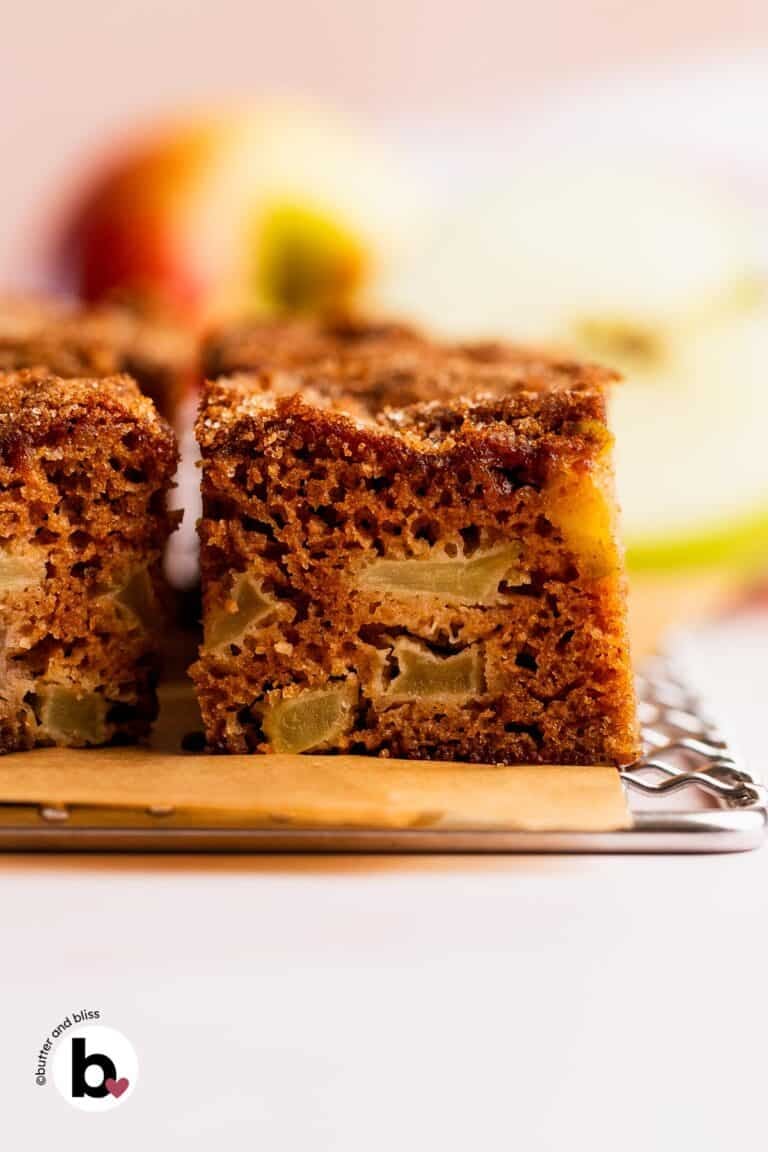
TRY THESE SMALL BATCH RECIPES NEXT!


About the Author …
Hi, I’m Erin! With years of experience baking for two in my own small household, I know about the love for desserts without the leftovers. I’ve tested, written, and photographed every one of the 300+ recipes on my website. And even had some of my desserts featured on Taste of Home, The Spruce Eats, ELLE, Parade, and more! From traditional to gluten free desserts for two, I have the recipe for you.
Click here to learn more about me →