Flaky Gluten Free Mini Pie Crust
This post may contain affiliate links. See my disclosure policy.
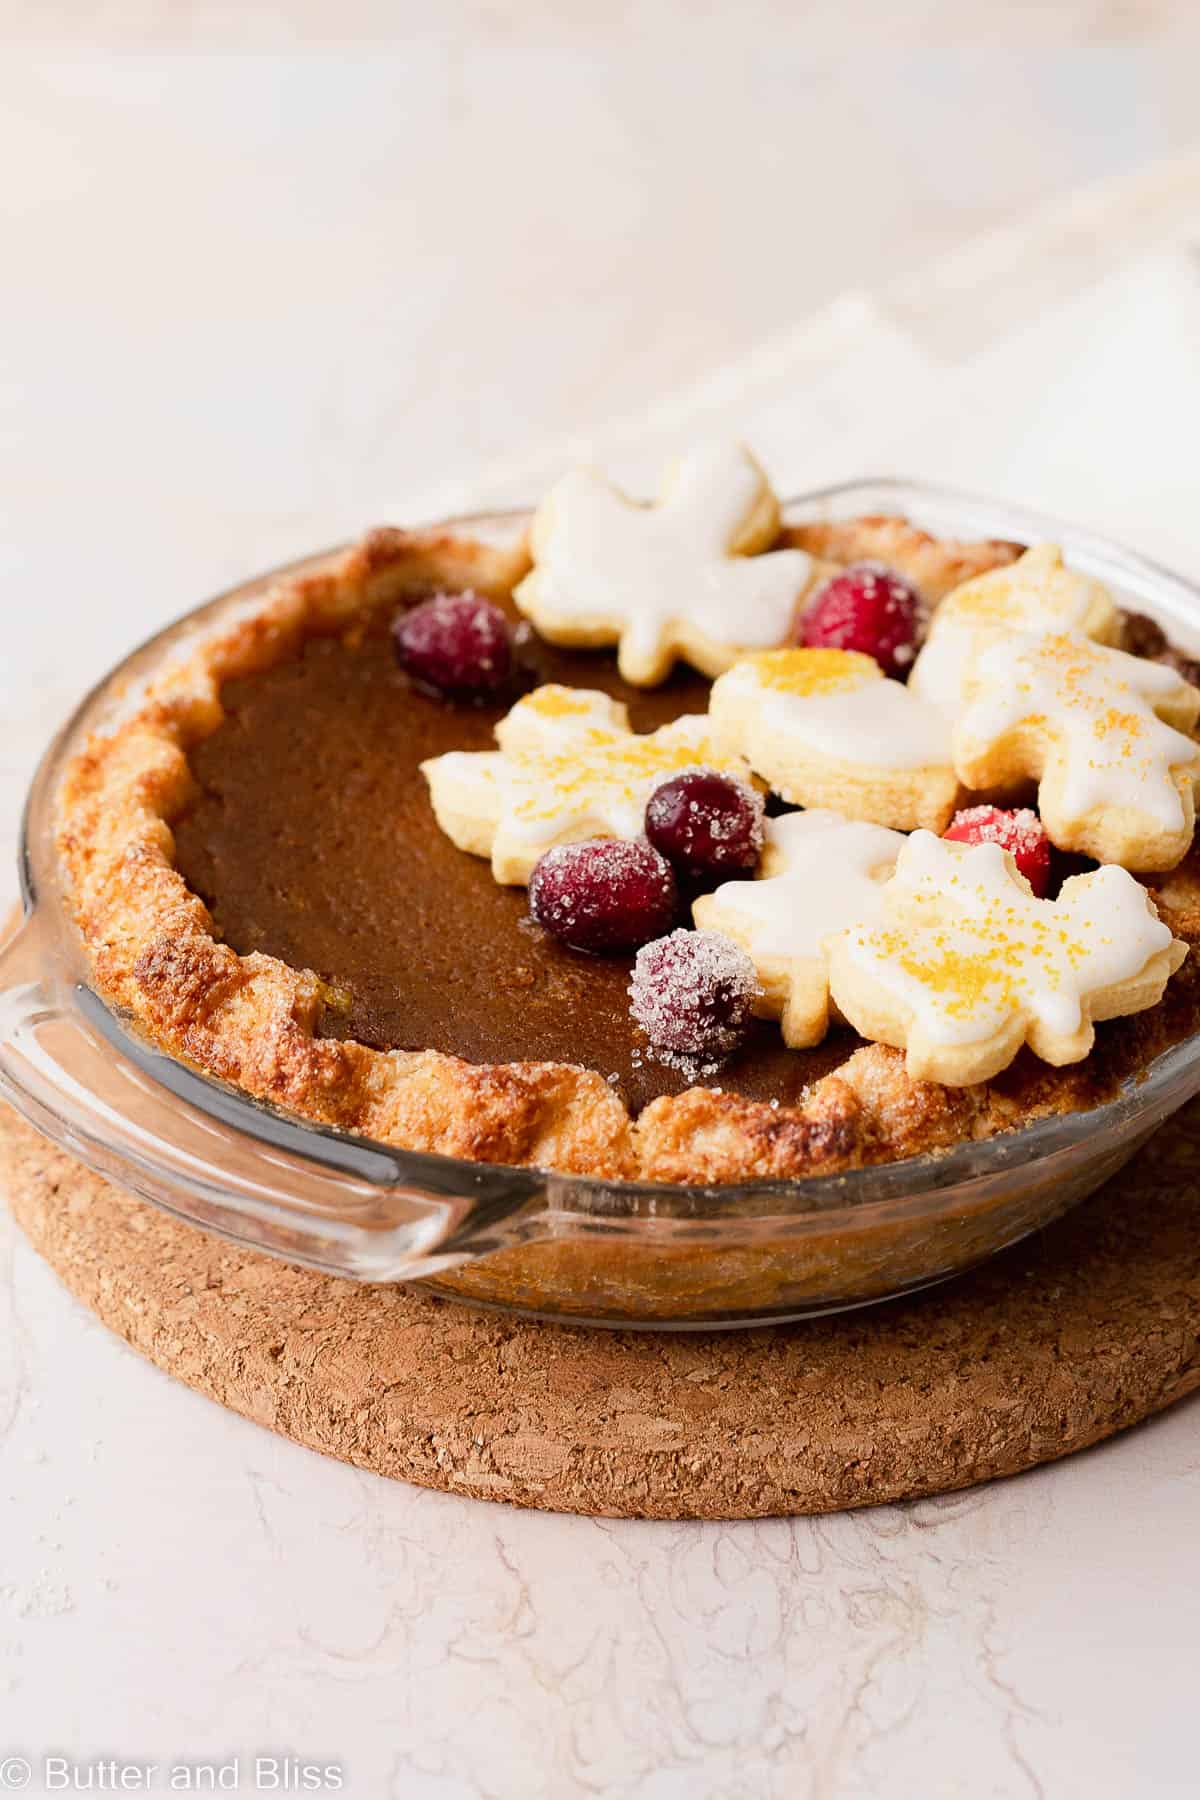
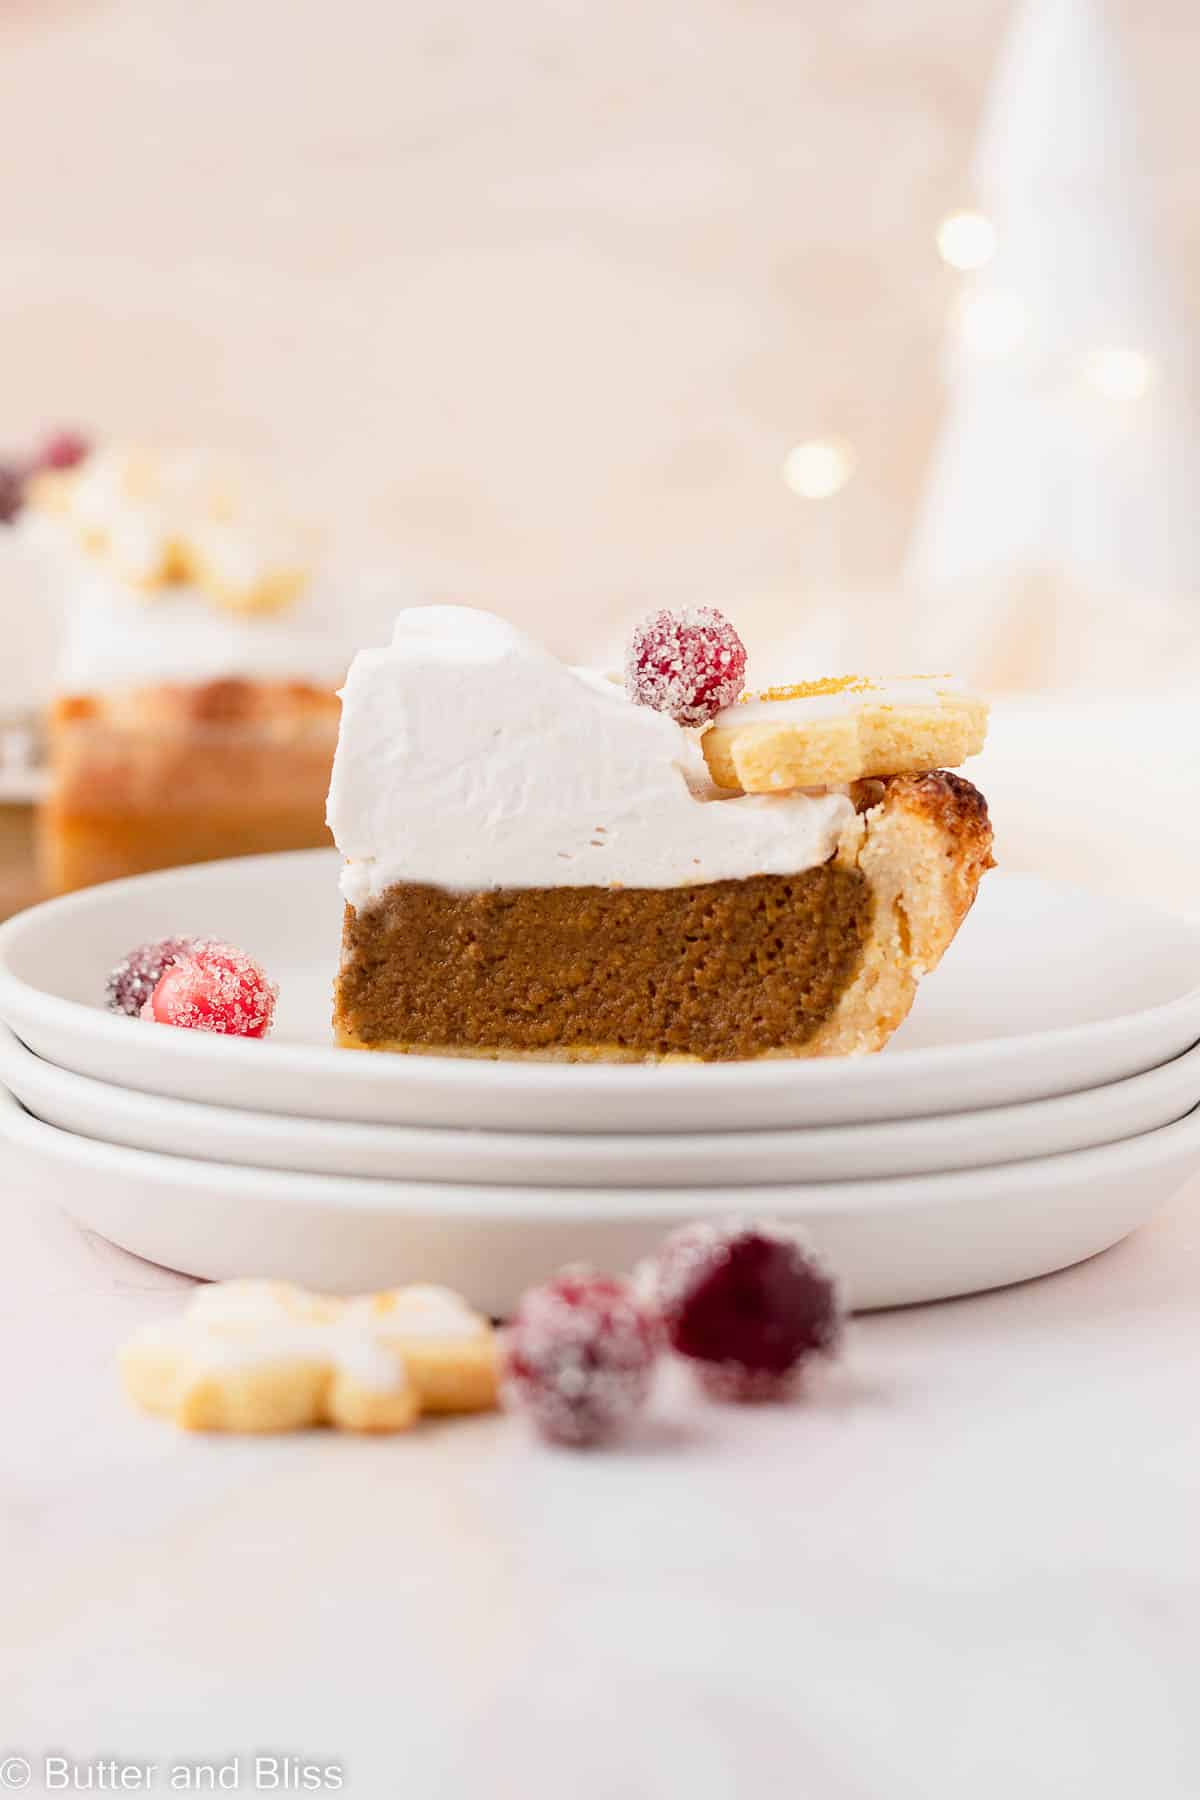
This flaky and buttery gluten mini free pie crust is made with an almond flour and oat flour blend. The pie crust is full of flavor and rolls out beautifully to make delicious 6-inch pies. Use it to make your favorite pumpkin pie, or apple galette!

Flaky All-Butter Gluten Free Pie Crust
I have been on a quest to make a gluten free mini pie crust that mimics a traditional all-purpose flour pie crust – like the flaky one for my 6-inch pumpkin pie. And the keyword there is flaky. Because let’s face it, baking without gluten – especially a dough – does not typically the yield soft, flaky, tons of layers like buttermilk homemade biscuits results.
Given that I am still new to gluten free small batch baking, I’m in no way going to give up all those delicious adjectives! However, I think I have come up with a flaky and buttery gluten free pie crust recipe that easily compares to the traditional version.
How To Make A Gluten Free Pie Crust That Doesn’t Taste Gluten Free
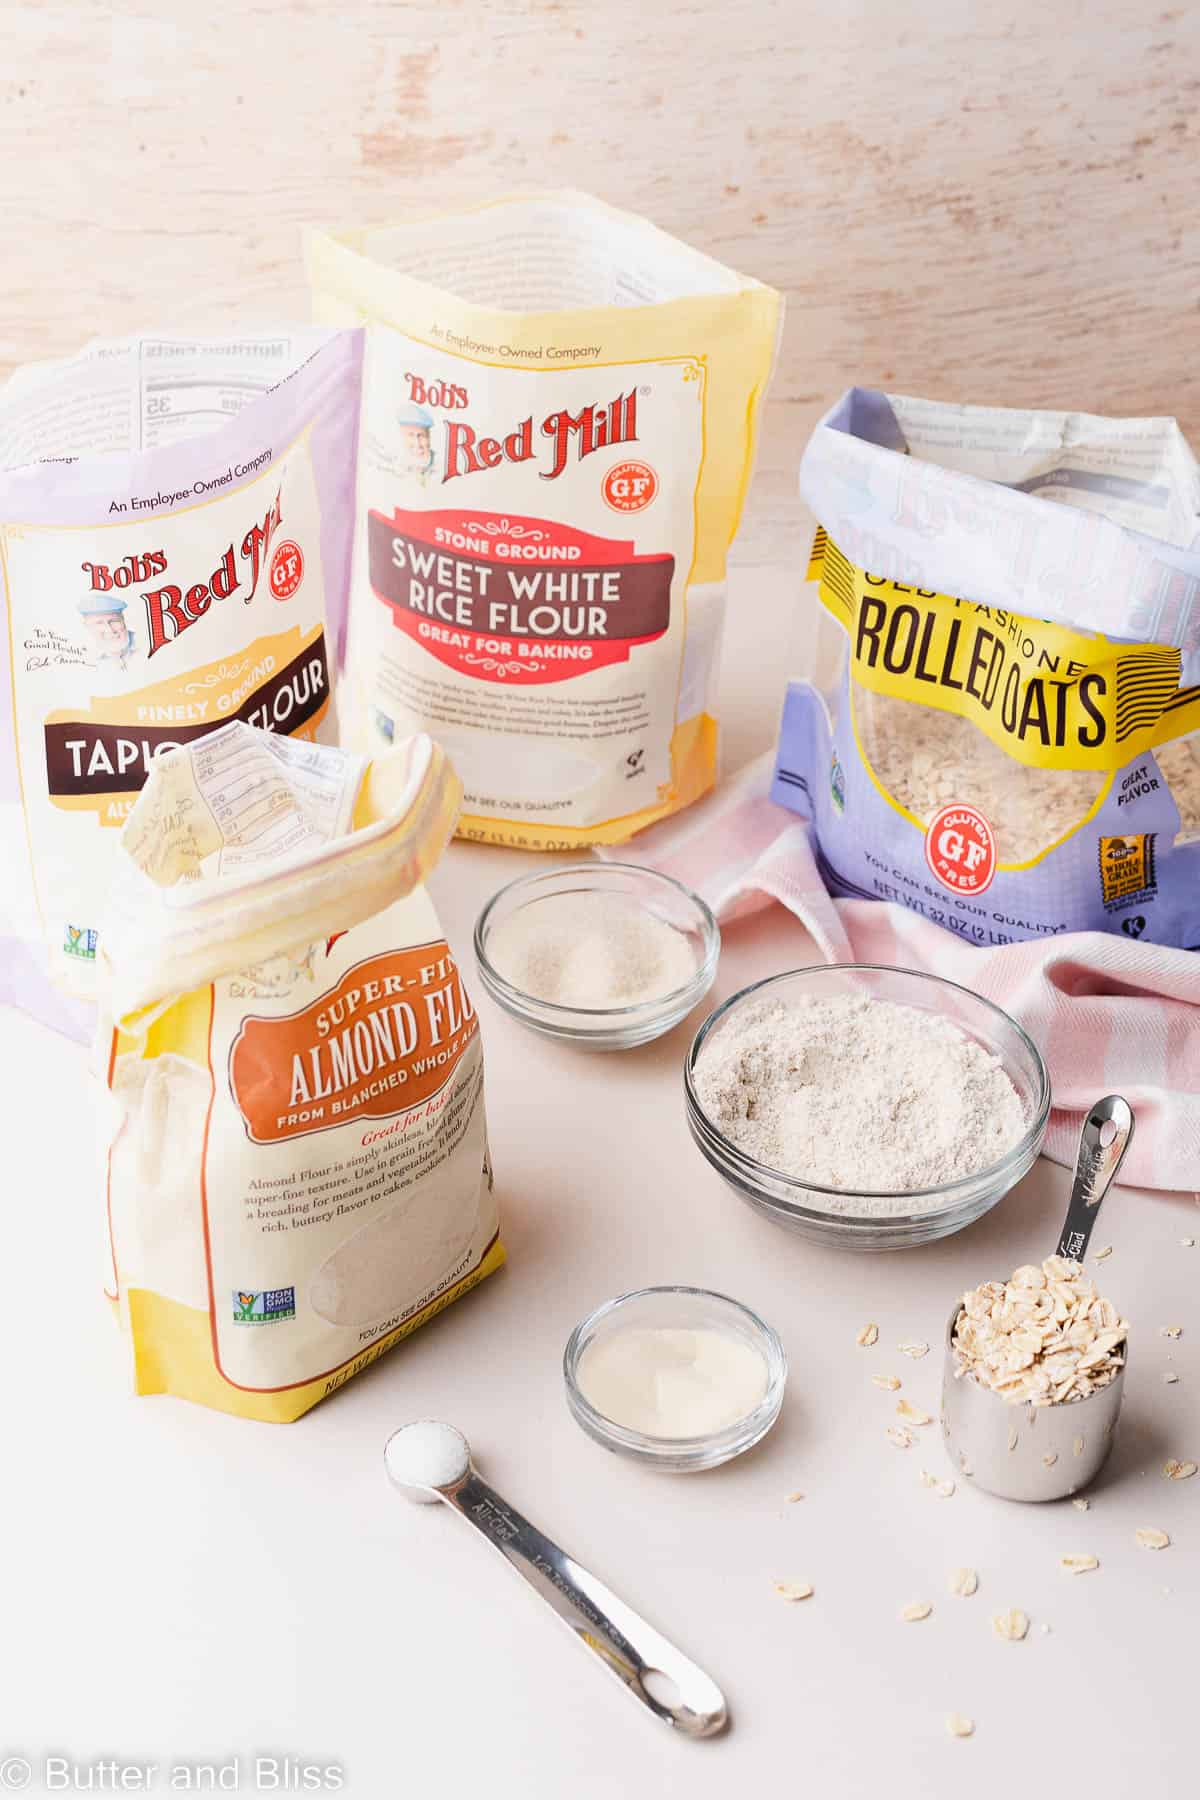
- The Right Flour Blend – I find the best flours for making a tasty pie crust are a blend of almond flour and oat flour. Plus the addition of sweet rice flour and tapioca flour for their binding qualities and muted flavor.
- Butter – Cold butter and lots of it give the pie crust flavor, texture, and contribute to the delicious flaky layers.
- Salt and Sugar – Gluten free baking needs adequate seasoning. Salt and sugar ensure you don’t end up with the dreaded tasteless adjective.
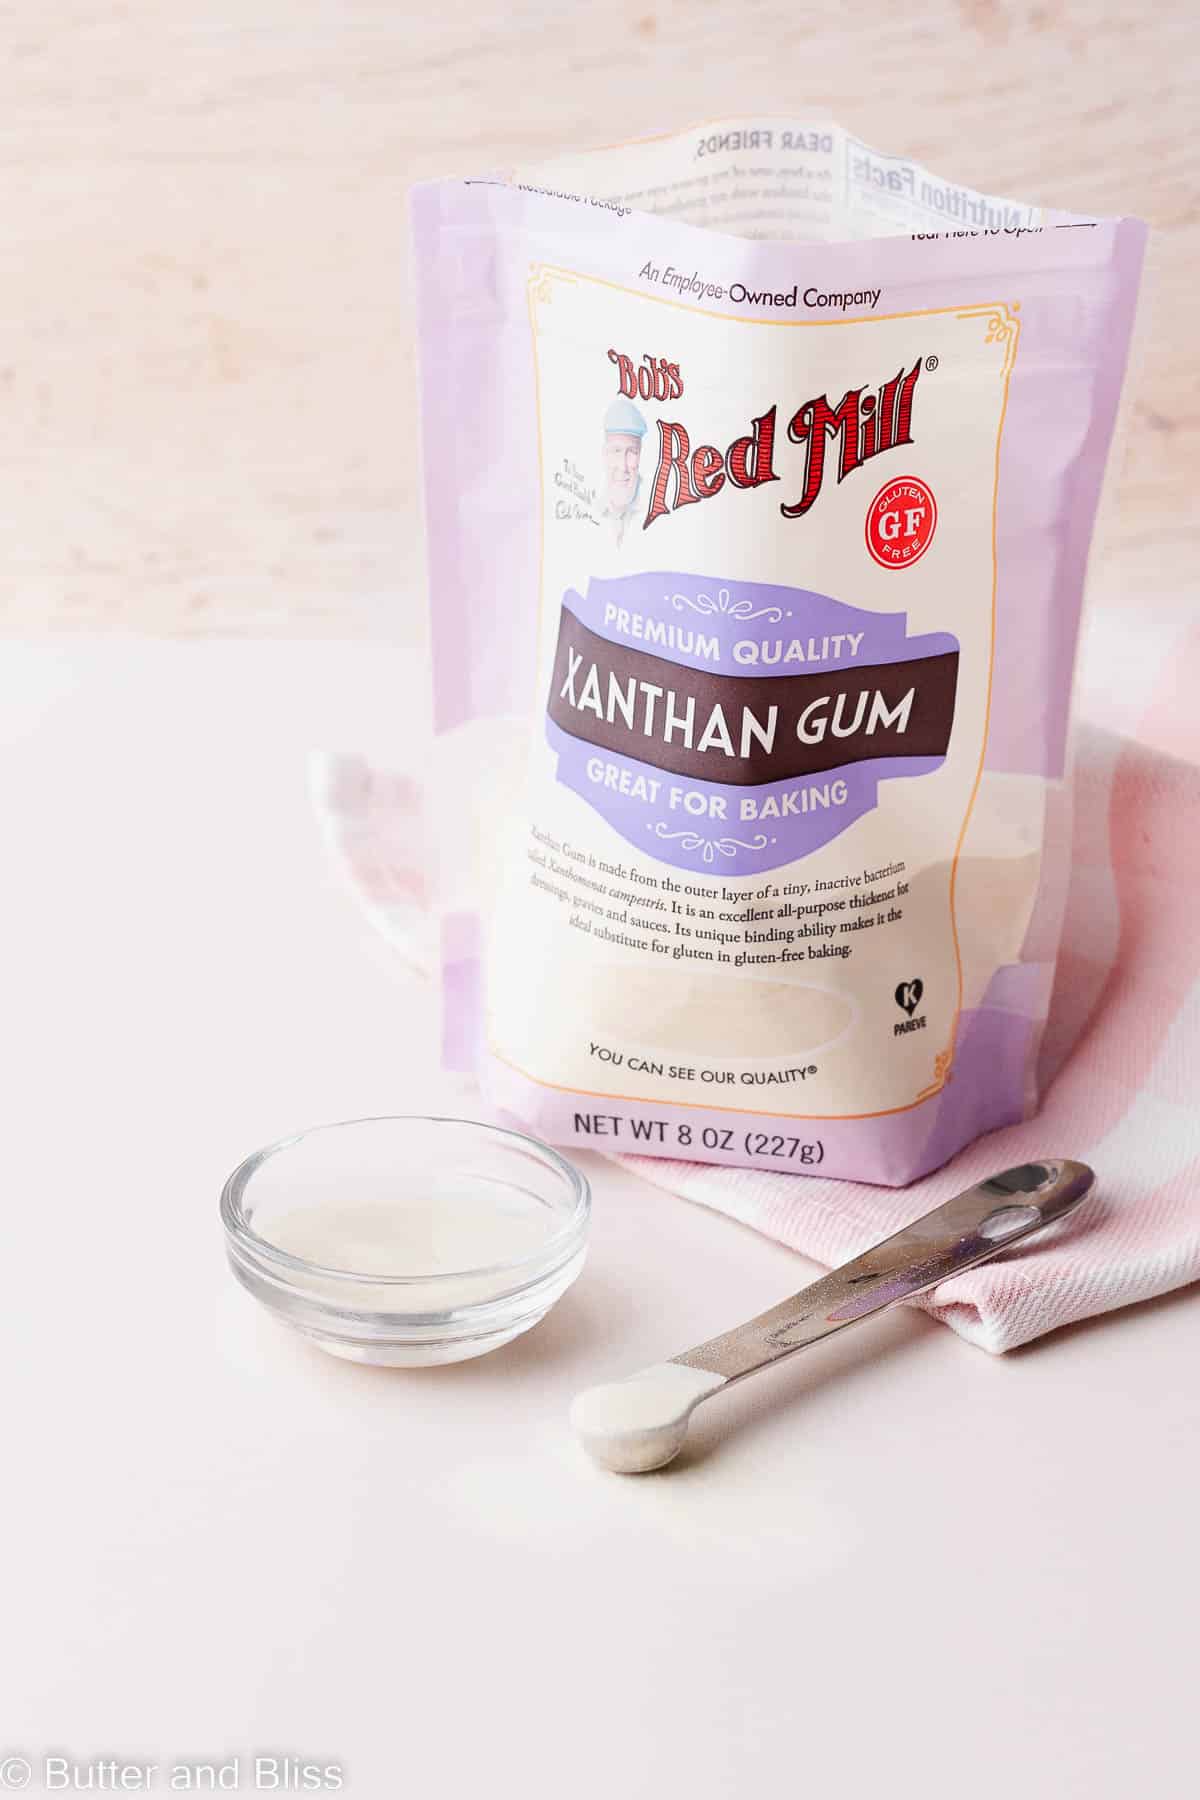
- Xanthan Gum – Xanthan gum is somewhat controversial in the gluten free baking world. However, for making a soft and flaky pie crust, I find it is necessary. It mimics gluten and provides elasticity and structure to the dough.
What Is Xanthan Gum
Xanthan gum is typically corn sugar that has been fermented then dried and ground into a powder. It is a (very) common food additive that works as a thickener, stabilizer, and binder.
It is the binding properties that make it popular in gluten free baking because it mimics gluten. A little goes a long way with this odorless powder, which is why there is such a small amount in this pie crust recipe.
As I note above, xanthan gum is debated in the gluten free baking community (and probably as a whole). The reason being – in excess it can cause tummy troubles. Though in this recipe, as with most recipes, there isn’t enough to cause worry.
That said, if you object to using it, you can certainly omit it. Just know that the end result won’t be as soft and flaky.
Ingredients
- Almond Flour – My preferred flour is (affiliate) linked in the recipe card. I use superfine blanched almond flour. The almond flour provides flavor, texture, protein, and structure to the crust.
- Oat Flour – You can purchase oat flour, or make you own by grinding gluten free labeled rolled oats into a flour. Oat flour makes the crust light and provides a nice subtle flavor.
- Sweet Rice Flour – The sweet rice flour has binding and structure building properties which are helpful in the pie crust.
- Tapioca Flour – Tapioca flour also has binding properties that mimic gluten, and it lends to the texture and golden crust.
- Xanthan Gum – See above for all the reasons I use this!
- Sugar – Flavor! I use organic cane sugar, but any granulated sugar will work.
- Salt – Salt provides much needed flavor and it balances the sugar.
- Butter – We use unsalted butter (good quality if you can) since we are controlling the salt content.
- Apple Cider Vinegar – I like to add a little vinegar because I believe it keeps the crust light and golden. And it imparts a kiss of flavor.
- Ice Water – The butter is cold, so we want cold water to make sure we don’t melt the butter!
- Cream – The cream is for brushing the crust before baking so it turns nice and golden. Totally optional.
Helpful Tips
- Don’t work the butter in too much – I provide instruction to flatten the butter cubes into little discs. This ensures awesome distribution and makes the crust flaky.
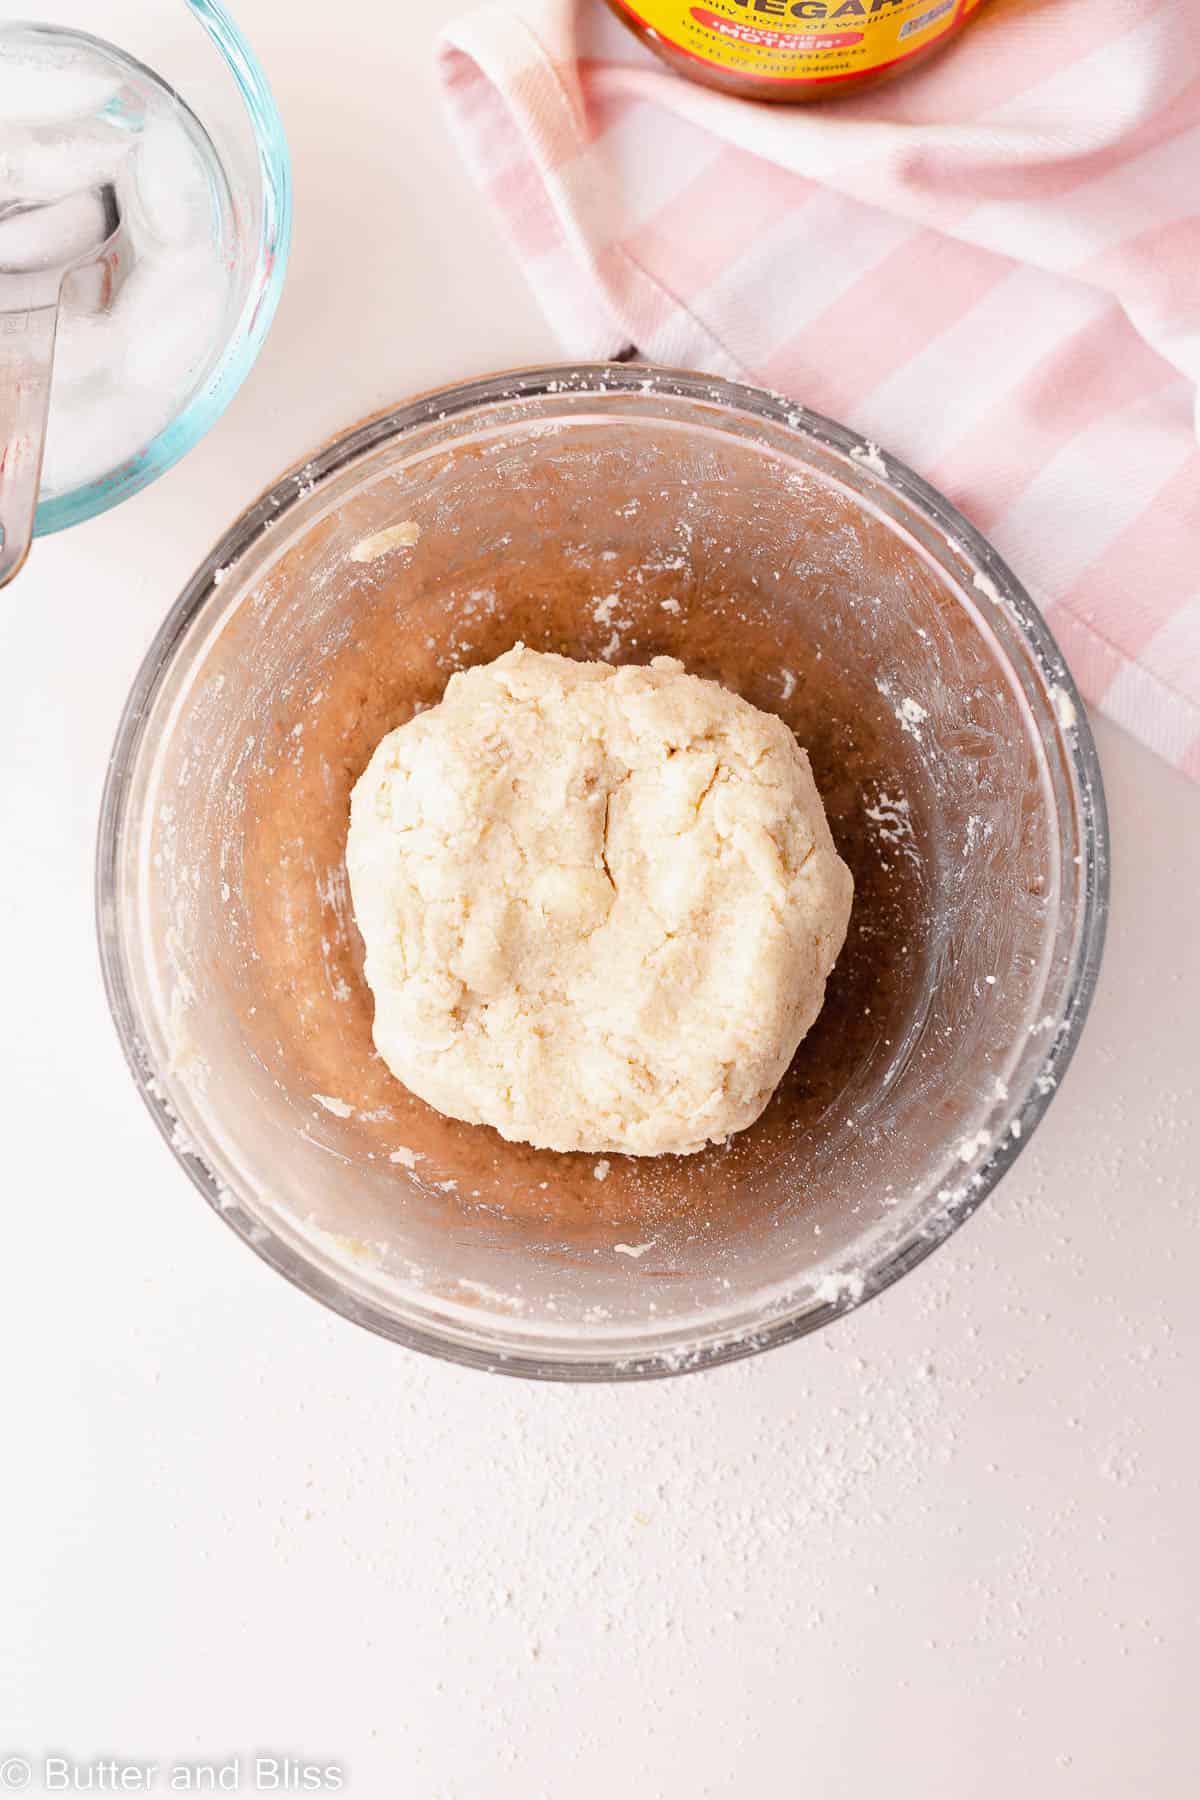
- The dough is supposed to be moist – Which is the opposite of my traditional pie crust recipes. The reason being is gluten free flour (especially the sweet rice flour) need extra hydration. The dough should resemble a sugar cookie dough.
- Chill the dough – The dough needs time to hydrate, the butter to set, and all the flavors develop.
- Chill the dough – again – Once you roll out the pie crust and fit it into the pie pan, let it chill again to recover from all the work you just put it through!
- Brush the edges with cream and sugar before baking – The cream makes the crust golden and the sugar gives it a sweet crunch!
Desserts To Make With this Gluten Free Mini Pie Crust
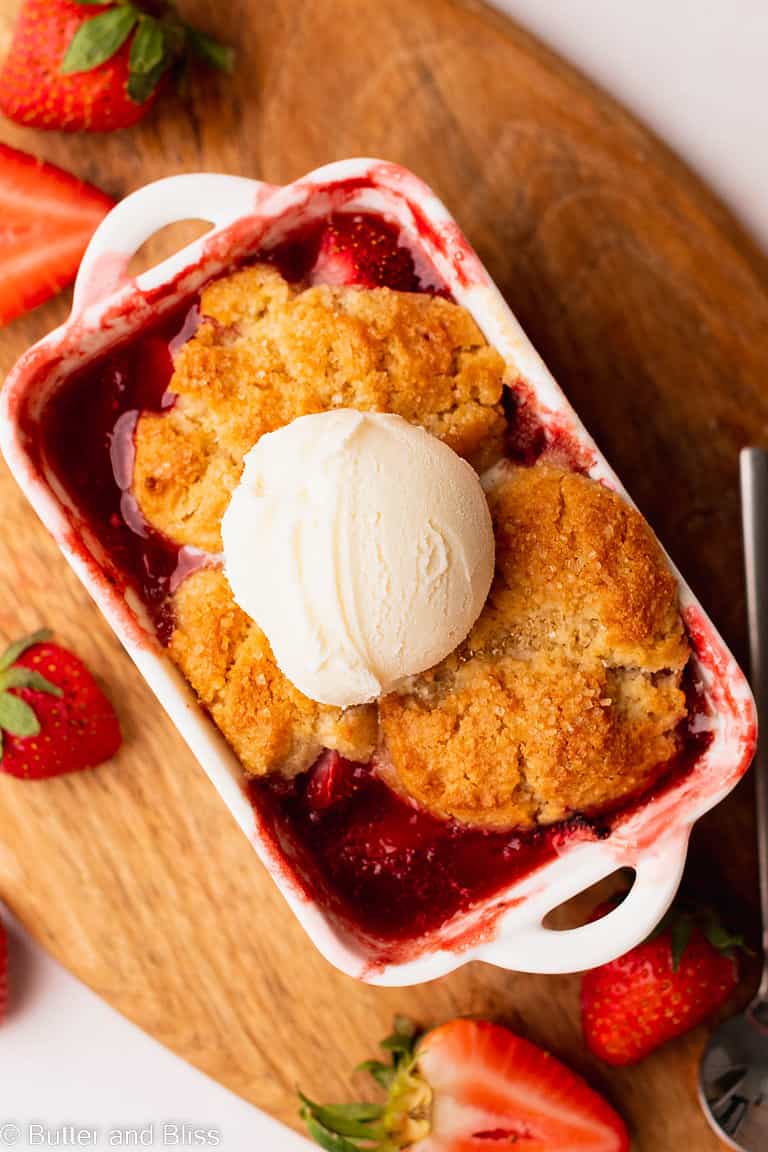
You can use this gluten free pie crust for any of my small batch pie recipes on the blog! With holiday baking coming up, this would be a great base recipe to keep on hand for all those festive pies!
If you want to start easy, I’d go with the popular mini cherry galette. Or for sweet little individual pies, the peaches and cream mini pies would be delish. Or if you want a handheld treat, double the recipe and try the apple brown sugar hand pies!
Recipe FAQ
Probably not as the recipe is written. I find the 1:1 blends to be drier and other ingredients would likely need to be adjusted to compensate for this.
You do not. However, the xanthan gum makes the pie crust flaky and tender. Without it, you will get a pie crust that is crumblier – like a cookie or cracker.
This is keep the bottom of the crust from baking up tall and poufy.
I recommend it. The pie weights also help the bottom crust from baking up poufy. But they also help the pie crust to bake in place and not lose its shape.
Gluten Free Mini Pie Crust
by Erin Cernich
Ingredients
- 5 tablespoons blanched almond flour
- 5 tablespoon gluten free oat flour
- 3 tablespoons sweet white rice flour
- 3 tablespoons tapioca flour (plus more for dusting)
- ¼ teaspoon xanthan gum
- 1 tablespoon organic cane sugar (or granulated sugar)
- ¾ teaspoon salt
- 4½ tablespoons unsalted butter, cold and cut into cubes
- ½ teaspoon apple cider vinegar
- 3 to 4 tablespoons ice water
- 1 to 2 tablespoons heavy whipping cream (for brushing the crust)
Instructions
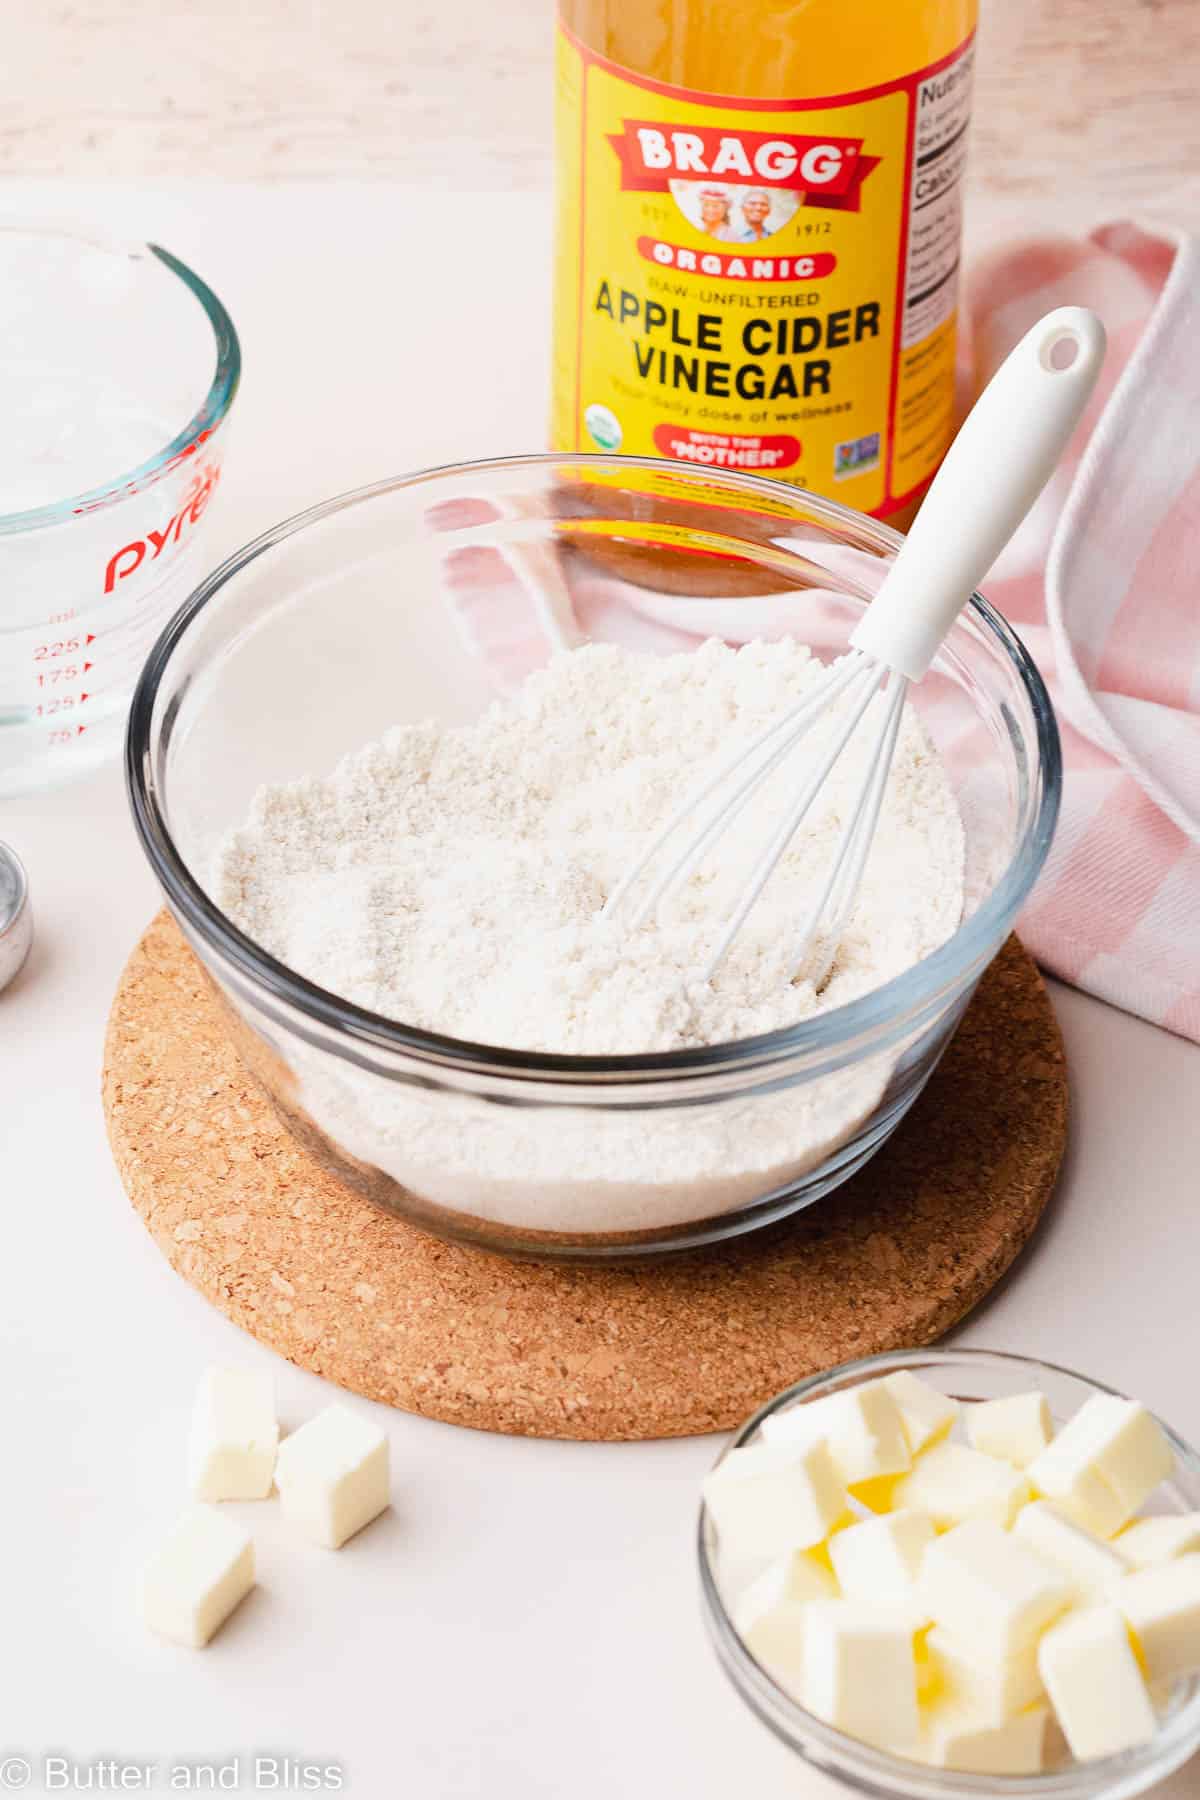
- Fill a liquid measuring cup with at least 1/4 cup ice water.
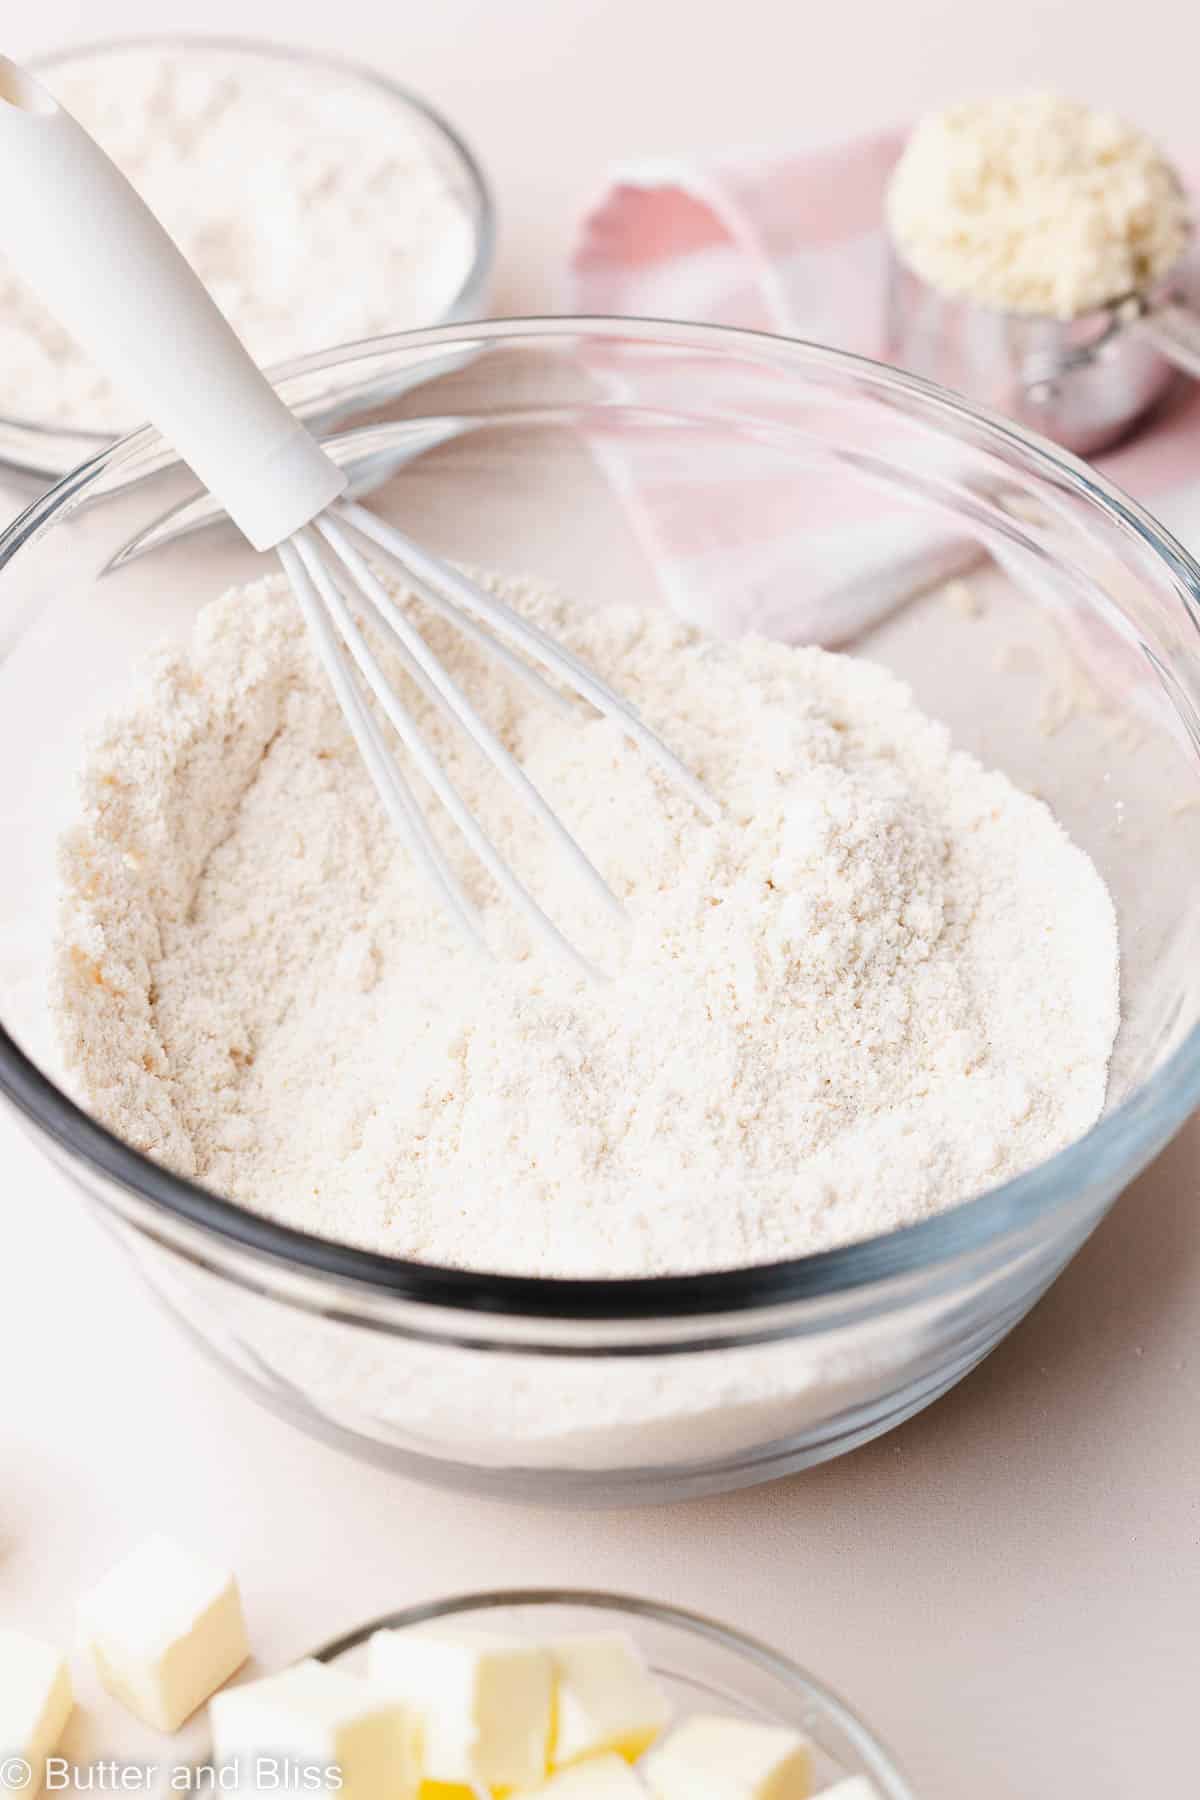
- In a medium mixing whisk together the almond flour, oat flour, sweet rice flour, tapioca flour, xanthan gum, sugar, and salt.5 tablespoons blanched almond flour, 5 tablespoon gluten free oat flour, 3 tablespoons sweet white rice flour, 3 tablespoons tapioca flour, ¼ teaspoon xanthan gum, 1 tablespoon organic cane sugar, ¾ teaspoon salt
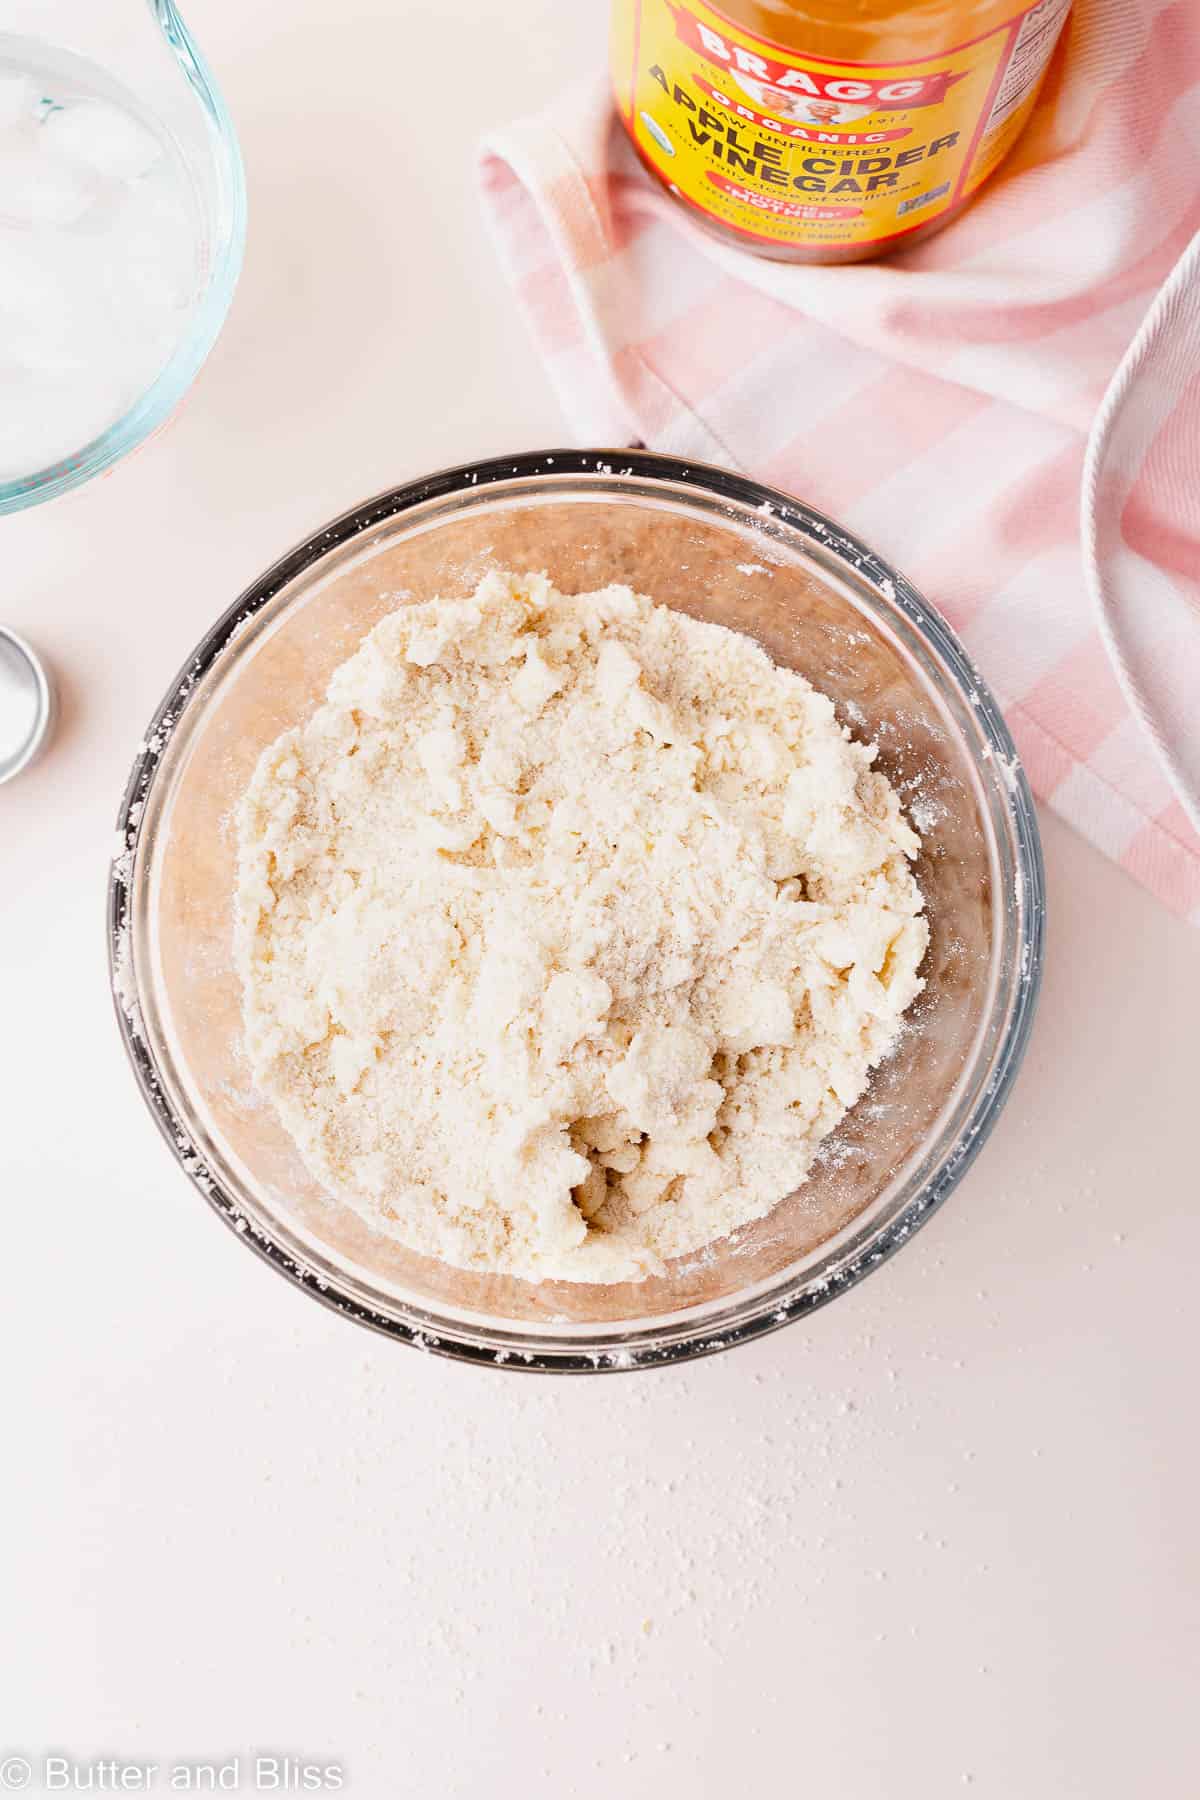
- Add the cold butter cubes to the flour. Using your fingertips, press the butter cubes into small flat, flaky discs (about the size of a nickel) – making sure they are all coated with flour. You should still see butter chunks in the dough when you are done mixing it.4½ tablespoons unsalted butter, cold and cut into cubes
- Make a well in the center of the flour. Add the vinegar and two tablespoons of ice water to the well. Using your fingers (or a fork or spatula), stir the flour around the water, and continue to add water 1 tablespoon at a time until you start to get larger clumps of dough and the dough is moist – like a sugar cookie dough. Note – I find the sweet spot for water to be about 3.5 to 4 tablespoons. But you may need more or less depending on moisture in your butter or the accuracy of measuring the flour.½ teaspoon apple cider vinegar, 3 to 4 tablespoons ice water
- Form the dough into a ball in the bowl. Transfer it to a sheet of plastic wrap and flatten into a disc. Tightly wrap the dough in the plastic and refrigerate for at least 1 hour.
- Blind Bake (Pre Bake) The Pie Crust – Remove the cooled dough from the refrigerator and let it sit a room temperature for at least 10 minutes. This will make rolling the dough easier and less cracking. Preheat the oven to 425F degrees and adjust the oven rack to the middle position.
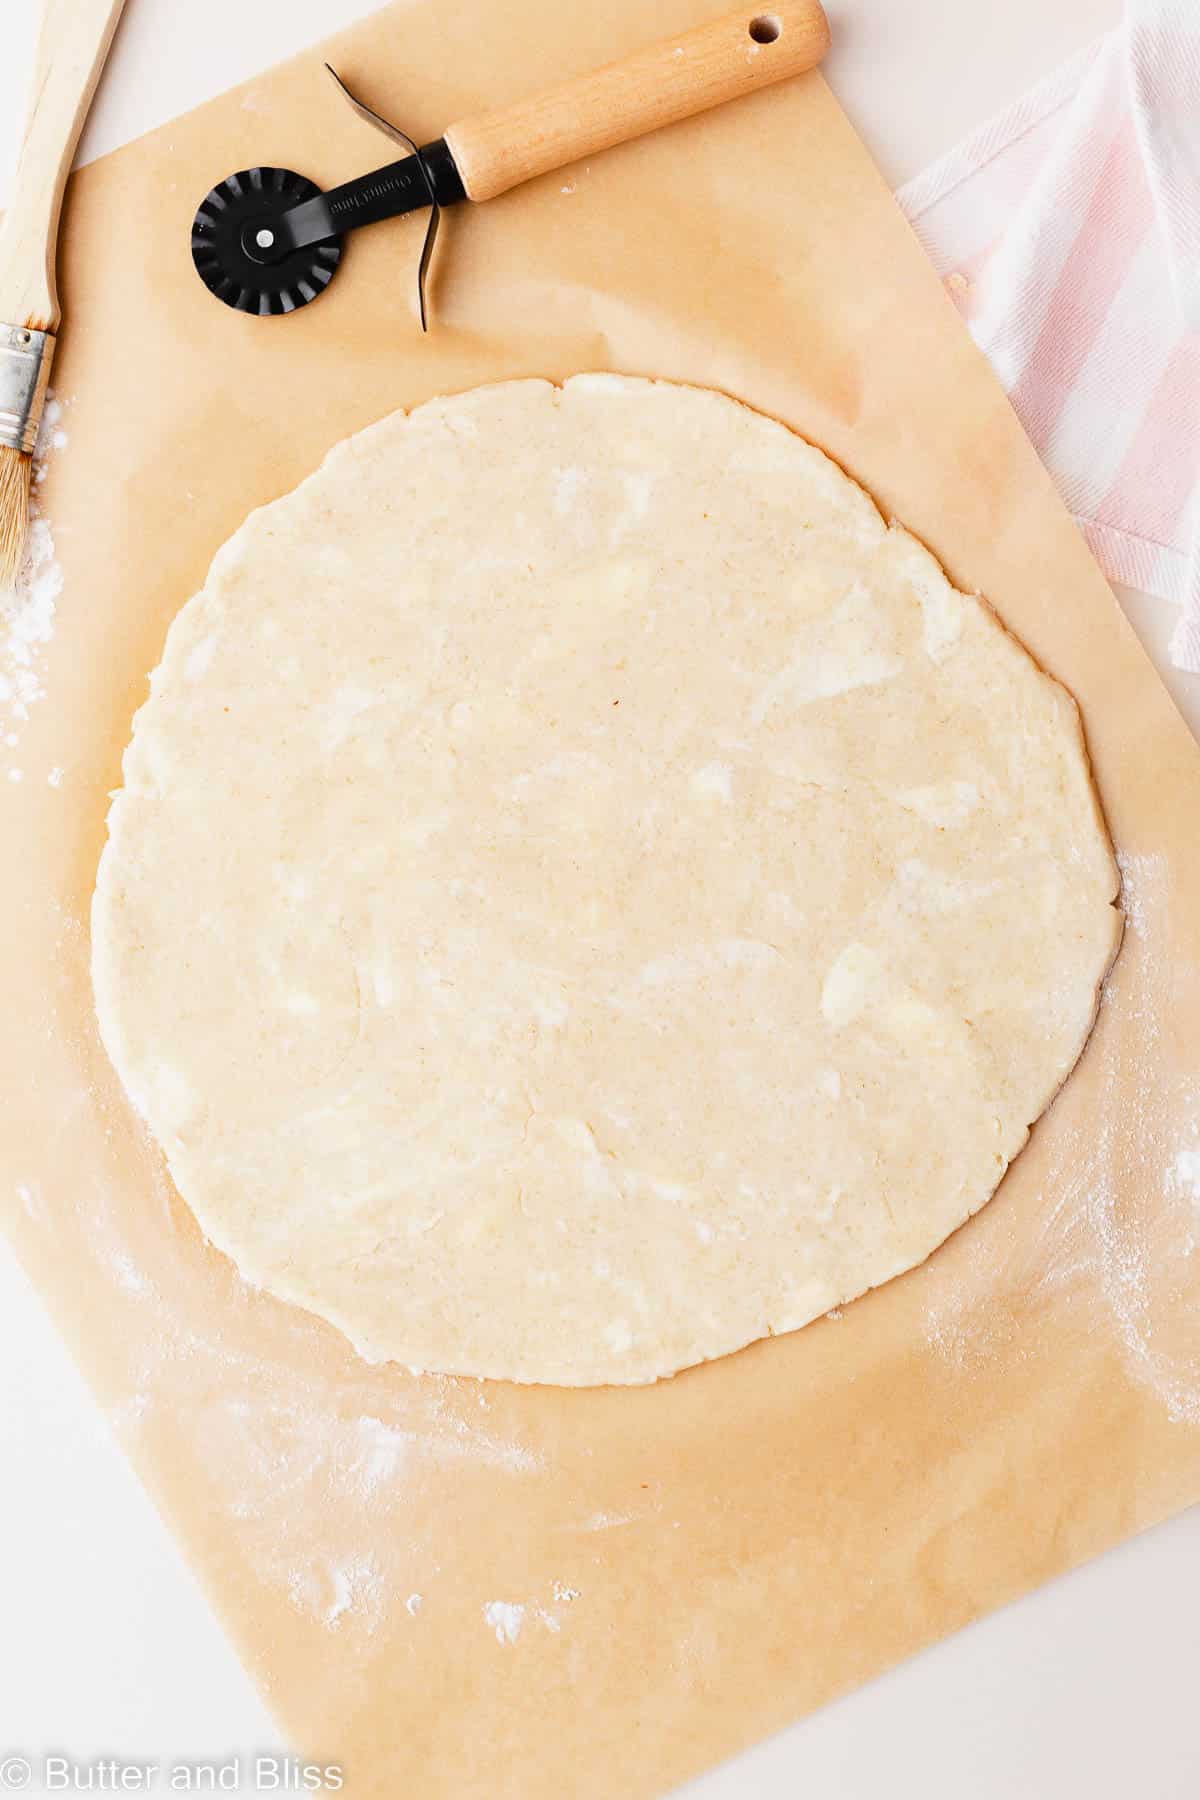
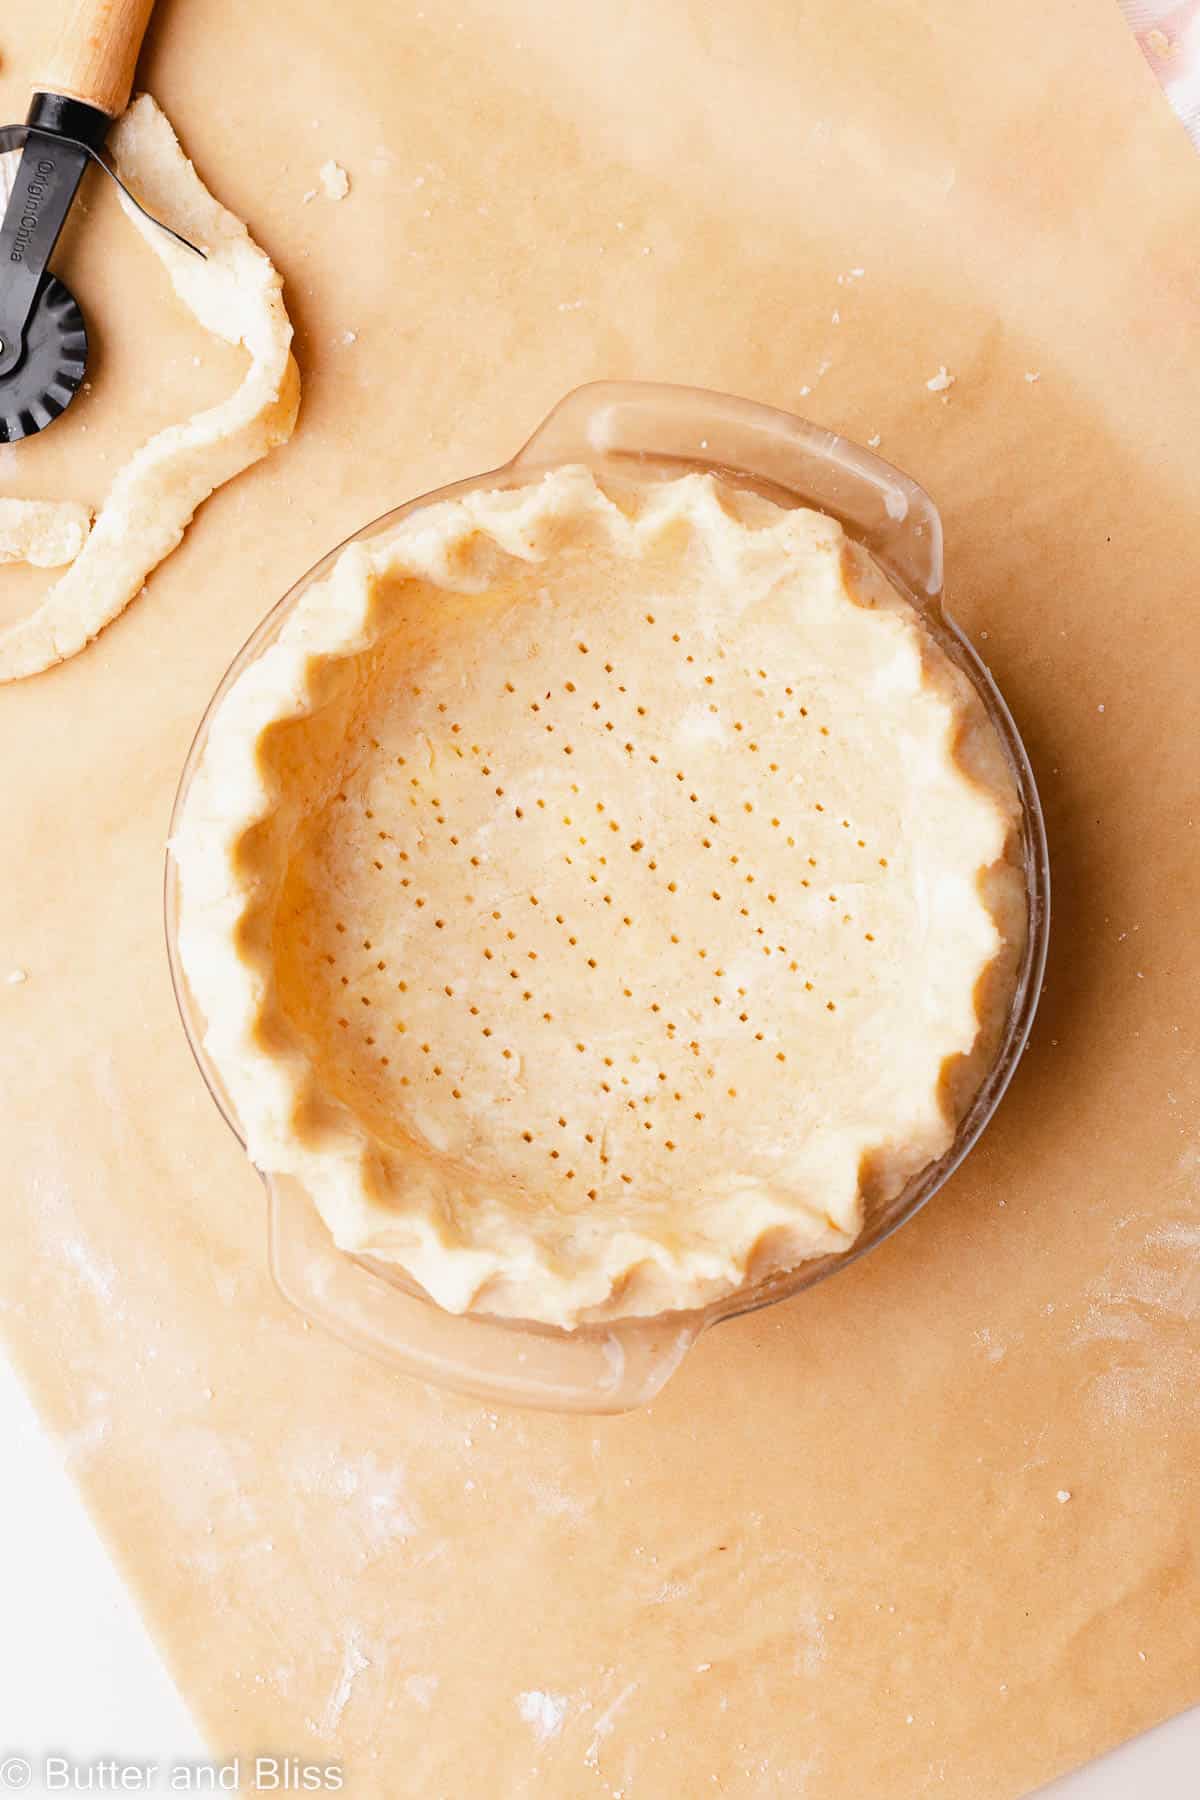
- Lightly flour your work surface with tapioca flour and dust the top of the dough with tapioca flour. Roll the dough into a 9-inch circle. This will give us enough dough to sit snuggly into the pie pan and for a designed crimp edge. Trim off any jagged edges. Note – If the dough cracks while rolling it, simply pinch it back together.
- If making a galette – follow the steps above, but roll the dough directly on the parchment paper and do not blind bake the crust. Lightly flour the parchment paper with tapioca flour, and place the dough on the piece of parchment paper. Let the chilled dough sit at room temperature for 5 to 10 minutes to make rolling it easier. Roll the dough into approximately a 9-inch circle. Trim off any jagged edges, and brush off any excess flour. Note – If the dough cracks when you are rolling it, just pinch it back together.Transfer the rolled dough on the parchment to the baking sheet. Lightly cover and refrigerate the dough for at least another 30 minutes. Prepare the galette as the recipe states.
- Gently place the dough into the center of the pie dish, making sure it sits snug on the bottom and corners of the dish. Fold over the dough overhang so you still have about a 1/2 inch tall lip of pie dough sticking out of the pie dish. Crimp the edges in any method you prefer.
- Use a fork to poke holes into the bottom of the pie dough. This will help the dough from puffing up while it is baking. Place the formed pie crust in the freezer for at least 10 minutes. By this time, your oven should be heated.
- Weigh down your chilled pie crust before blind baking it to keep the dough from puffing up and shrinking too much. Some pie weight options: pie weights, a small oven safe dish that fits inside the pie dish (like a ramekin), uncooked rice, or dry beans. With any method, place a piece of parchment paper big enough to fit inside the pie crust, then add your weight.
- Brush the top/edges of the pie crust with the cream and sprinkle sugar over the top/edges. Note – the cream makes the crust nice and golden, and the sugar sprinkles give the edges a little crunch.1 to 2 tablespoons heavy whipping cream
- Set the pie pan on the small baking sheet. This makes getting the pie in and out of the oven easier. Pre-bake the pie crust for 20 to 22 minutes, or until the edges start to turn lightly golden.
- At this point, follow instructions for any pie/filling recipe you choose!
Notes
- Flour Substitutions – The only flour substitution I will make is swapping the oat flour for cassava flour. Note that cassava flour is very absorbent and you may need a little more ice water. Additionally, I find cassava flour imparts an earthy flavor into the dough.
- Oat Flour – You can make your own oat flour by grinding gluten free rolled oats in a blender or food processor.
- Xanthan Gum – The xanthan gum behaves like gluten in the gluten free pie crust. It gives the crust elasticity which contributes to more flaky layers. You can omit the xanthan gum. Just note the pie crust may be more tender and crumbly like a shortbread cookie.
- Butter – The butter must be cold to get a light and flaky pie crust. When ready for the butter step, I pull it straight from the fridge versus getting it out ahead of time.
- Sugar and Salt – I find gluten free pie crust needs a little extra flavor. You can reduce the amount of each if you prefer.
- Bake Time – Gluten free bakes always need a little extra time in the oven, which is why the pre-bake time may seem a little longer than a traditional pie crust.
Nutrition Estimates


About the Author …
Hi, I’m Erin! With years of experience baking for two in my own small household, I know about the love for desserts without the leftovers. I’ve tested, written, and photographed every one of the 300+ recipes on my website. And even had some of my desserts featured on Taste of Home, The Spruce Eats, ELLE, Parade, and more! From traditional to gluten free desserts for two, I have the recipe for you.
Click here to learn more about me →