Cast Iron Skillet Brownies For Two
This post may contain affiliate links. See my disclosure policy.
Two spoons, ice cream scoops ready to go, and your favorite person beside you is all you need to enjoy warm, gooey brownies made in a small cast iron skillet! No more waiting for the brownies to cool or worrying about slicing the perfect square. The shiny top on these brownies for two begs to be shattered, and the decadent aroma of cocoa powder and chocolate chips promises super fudgy brownies.
Make the brownies even more special and top them with your favorite holiday candy to signify the special occasion (*cough* Valentine’s Day!) Then carry on without concern as you both devour the brownies straight from the skillet!

It happens every time I make brownies. My husband sneaks into the kitchen, stalks that pan of brownies, and pleads for a bite. OK, maybe that’s me, but I’m sure my better half would be grateful for a bite when they come out of the oven.
So I took my raspberry swirl brownies for two recipe, put my baking in small batches expertise to work, and tested the brownies in a mini cast iron skillet. And you know what – it really is as easy as it sounds! Replace the fruit with cute peppermint patty hearts (because nothing says I love you like double chocolate), and bake the brownies in a skillet. Voilà! Eat from the pan brownies.
But wait, there’s more! If your brownie partner happens to be gluten free, take my fudgy brownies for two made with almond flour and bake in the mini skillet for a small batch diet-friendly treat.
Let’s Make Brownies
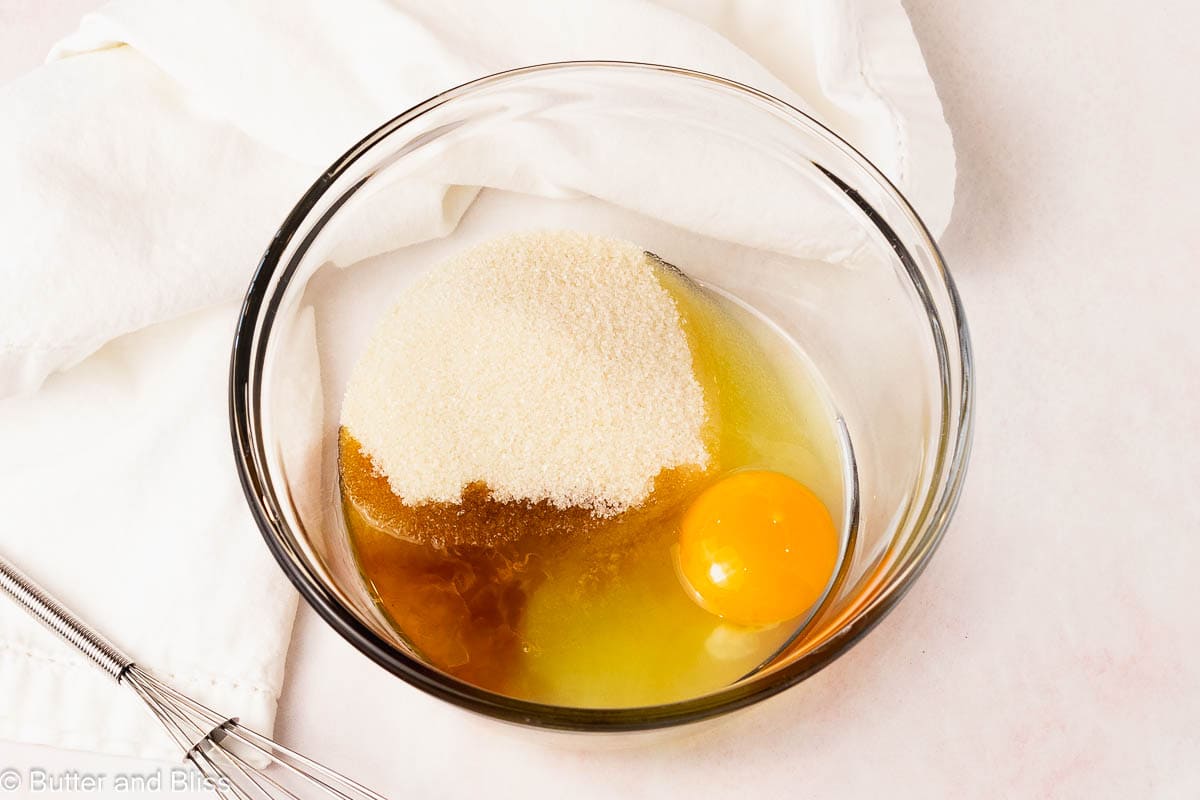
Add the sugar, egg, and vanilla to a mixing bowl.
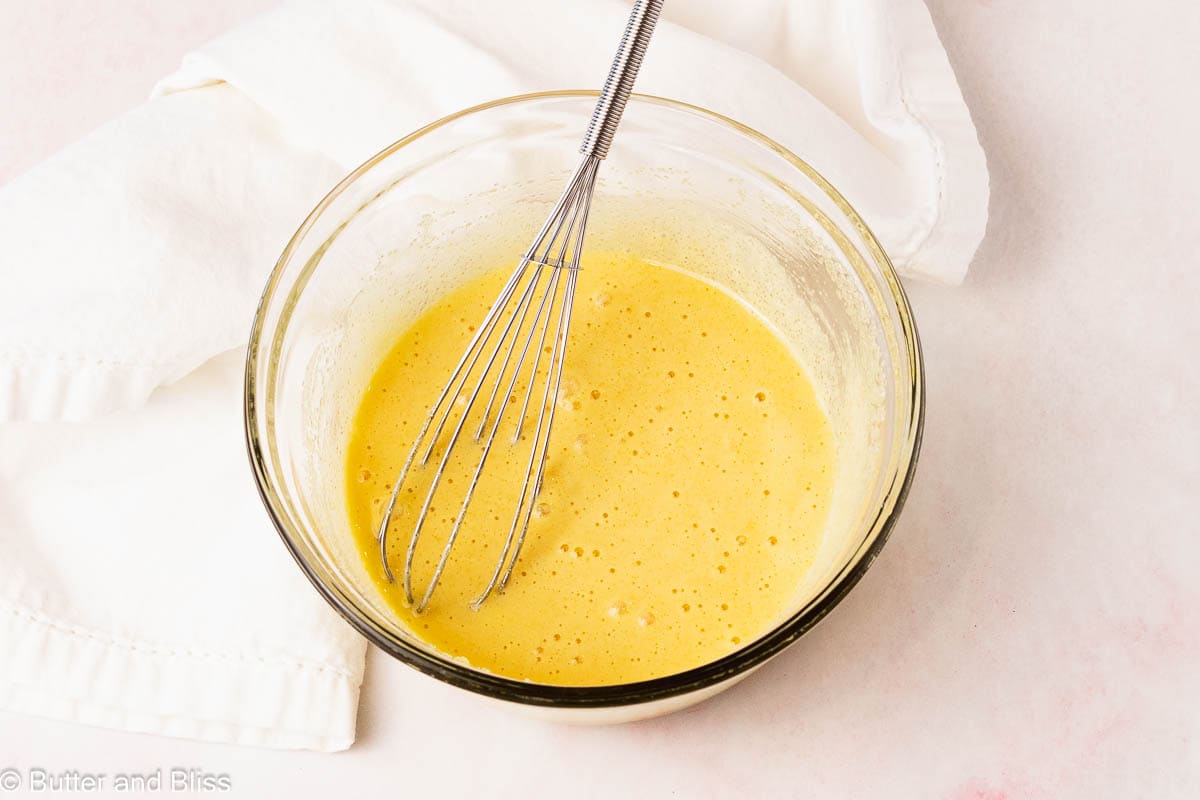
Whisk until super light and foamy. The healthy stir of the egg and sugar does 2 things: dissolves the sugar, and incorporates air into the mix which will yield the meringue-like crackly top.

Add the chocolate chips to a bowl with butter and coconut oil. I like to use butter and coconut oil as the fats in brownies. The combination will give you the best characteristics of brownies: chewy, fudgy, and crispy edges. Plus, chocolate chips add even more fat contributing to the fudge-factor.

Pour the melted chocolate goodness into the frothy egg mix. Make sure you take a couple of minutes to let your melted chocolate cool – we don’t want to make scrambled eggs! The mixture will thicken slightly.
In my experience, cocoa powder tends to get a little lumpy. To mitigate this, I recommend placing a small mesh strainer over your wet ingredients and sift the flour, cocoa powder, and salt over the top.

Tip! Why cocoa powder when we use chocolate chips? To amp up the chocolate flavor! And, as for what kind of cocoa powder to use in brownies – I prefer Dutch process because it is less acidic than natural cocoa and has a stronger cocoa flavor. But either will work.

Pour the batter into a greased mini skillet and bake for about 30 minutes.
For More Crispy Brownie Edges
Another benefit when making brownies in a skillet – the cast iron naturally lends itself to crispy edges. But we dial that up even more with a buttered skillet. And yes, I said buttered. To add flavor and encourage the crisp, grease your mini skillet with butter!
This also alleviates the worry of the brownies sticking to the pan. But don’t let that stop you from trying to scrape up the crispy brownie bits!
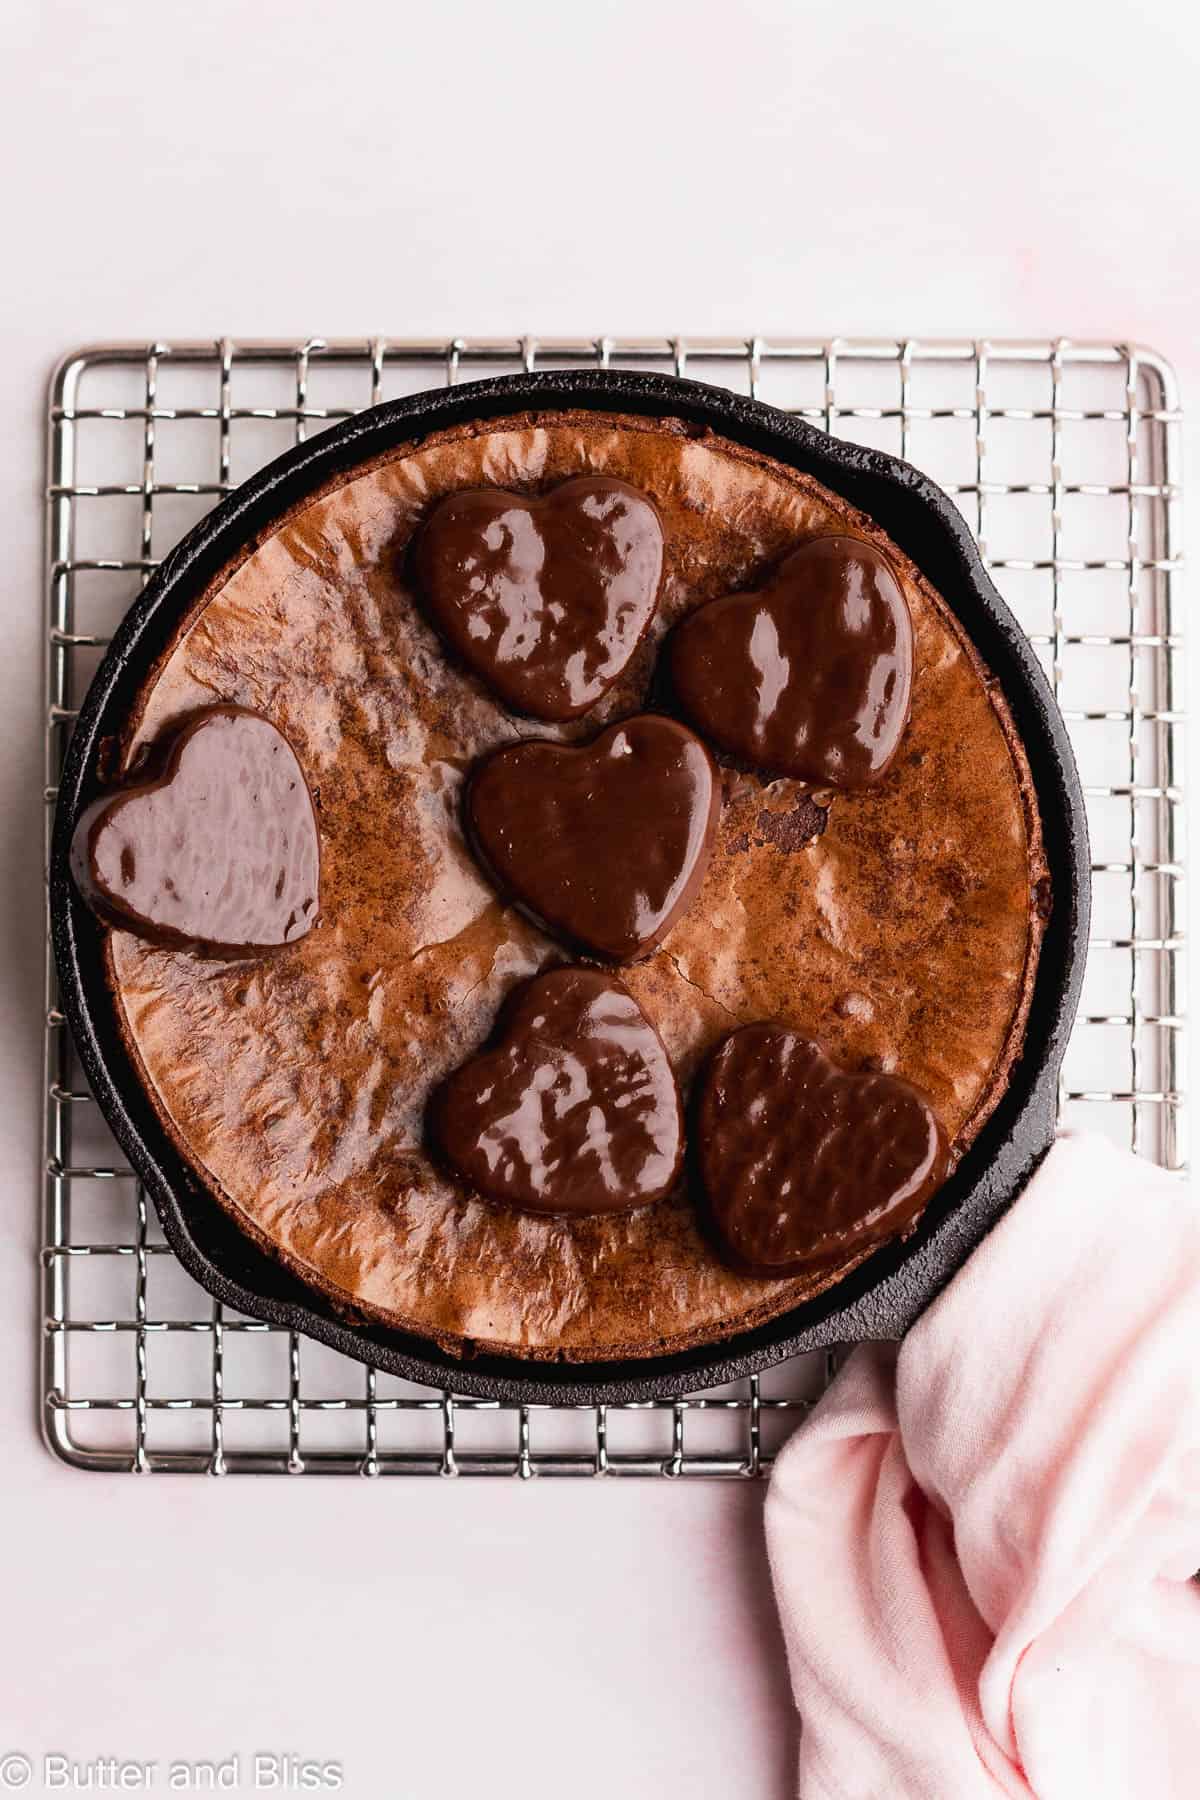
Decorate Your Brownies
Since it’s Valentine’s Day, why not add adorable heart-shaped peppermint chocolate candies? And add them when the brownie is warm so they get soft and melty. The extra sweetness with mint-chaser will take these skillet brownies to the next level!
Did you make these skillet brownies for a special occasion? I’d love to hear how you customized them in the comments below!🤍 Did you use a different candy on top (or even mixed in)? How about your favorite flavor of ice cream to pair with the chocolate dessert? Let me know!
Cast Iron Skillet Brownies For Two
by Erin Cernich
Ingredients
- 1 large egg (room temperature)
- ½ cup (67 g) organic cane sugar (or granulated sugar)
- ½ teaspoon vanilla extract
- 2 tablespoons (28.5 g) unsalted butter
- 2 tablespoons (28 g) cold pressed refined coconut oil
- ⅓ cup (54 g) semi-sweet chocolate chips (optional extra for the batter)
- ⅓ cup (42 g) all-purpose flour
- 2 tablespoons (10.5 g) unsweetened cocoa powder, Dutch process
- ¼ teaspoon salt
- YORK Peppermint Patties (optional to top)
Instructions
- Preheat the oven to 350F degrees and adjust the oven rack to the middle position. Grease a mini 6.5 inch skillet with butter (for better flavor!) or cooking spray.
- In a medium mixing bowl, add the egg, sugar, and vanilla extract. Whisk the mixture very well for 2 to 3 minutes until it is creamy and foamy. This helps create the crinkly and shiny brownie tops. Note – I like to mix the egg and sugar as the first step to 'dissolve' the sugar. I will even go back and whisk the mix a couple of times while I'm waiting for the chocolate to melt.1 large egg, 1/2 cup organic cane sugar, 1/2 teaspoon vanilla extract
- Melt the chocolate – In a small mixing bowl, add the 1/3 cup chocolate chips, butter, and coconut oil. You can either melt the chocolate over a double boiler (see Notes for details), or in the microwave in 30 second increments – stirring after each – until the chocolate chips are mostly melted. A few small chocolate lumps are ok because they will melt with the residual heat. Set aside and let cool for a couple of minutes – adding too hot of chocolate to the egg mixture and the egg will scramble.2 tablespoons unsalted butter, 2 tablespoons cold pressed refined coconut oil, 1/3 cup semi-sweet chocolate chips
- Pour the chocolate mixture into the egg mixture and stir until incorporated. Then sprinkle the dry ingredients over the top of the wet and stir until no dry streaks remain. Note – I recommend setting a fine mesh strainer over the bowl and sifting the dry ingredients over the wet to remove any lumps.1/3 cup all-purpose flour, 2 tablespoons unsweetened cocoa powder, Dutch process, 1/4 teaspoon salt
- Optional – Add a few tablespoons of chocolate chips to the batter if you like to have a little texture.
- Pour the batter into the prepared baking pan and bake the brownies for 23 to 25 minutes, or until a toothpick inserted in the middle comes out mostly clean – we want a few moist crumbs for fudgy brownies.
- As the brownies come out of the oven, top with a few peppermint patties (or any candy bar) so they can soften with the warm brownies. The brownies can be enjoyed warm and topped with scoops of ice cream.YORK Peppermint Patties
Notes
- Serving Size – This is a small batch brownies recipe that is easily doubled and made in a larger 8 or 9-inch skillet.
- Double Boiler – Use a mixing bowl that is large enough to sit on top of a small saucepan without touching the bottom. Bring about 2 inches of water to a simmer and set the bowl on top of the saucepan. Heat until the chocolate is mostly melted, stirring occasionally to incorporate the ingredients. A few lumps are ok because they will melt in the residual heat. This is my preferred method for melting the chocolate, butter, and oil because I can monitor the melting. Heat too long and the chocolate may seize up.
- Cocoa Powder – Dutch process or natural cocoa will work. I prefer Dutch because it is less acidic with a bold cocoa flavor.
- Fudgier Brownies – If you prefer a super fudgy brownie, check and take the brownies out of the oven a 23 minutes. Leave in longer if you prefer your brownies not as moist.
- Storing – The skillet brownies can be stored covered at room temperature for up to 1 week.
Nutrition Estimates


About the Author …
Hi, I’m Erin! With years of experience baking for two in my own small household, I know about the love for desserts without the leftovers. I’ve tested, written, and photographed every one of the 300+ recipes on my website. And even had some of my desserts featured on Taste of Home, The Spruce Eats, ELLE, Parade, and more! From traditional to gluten free desserts for two, I have the recipe for you.
Click here to learn more about me →