Fudgy Brownies with Vanilla Whipped Topping
This post may contain affiliate links. See my disclosure policy.
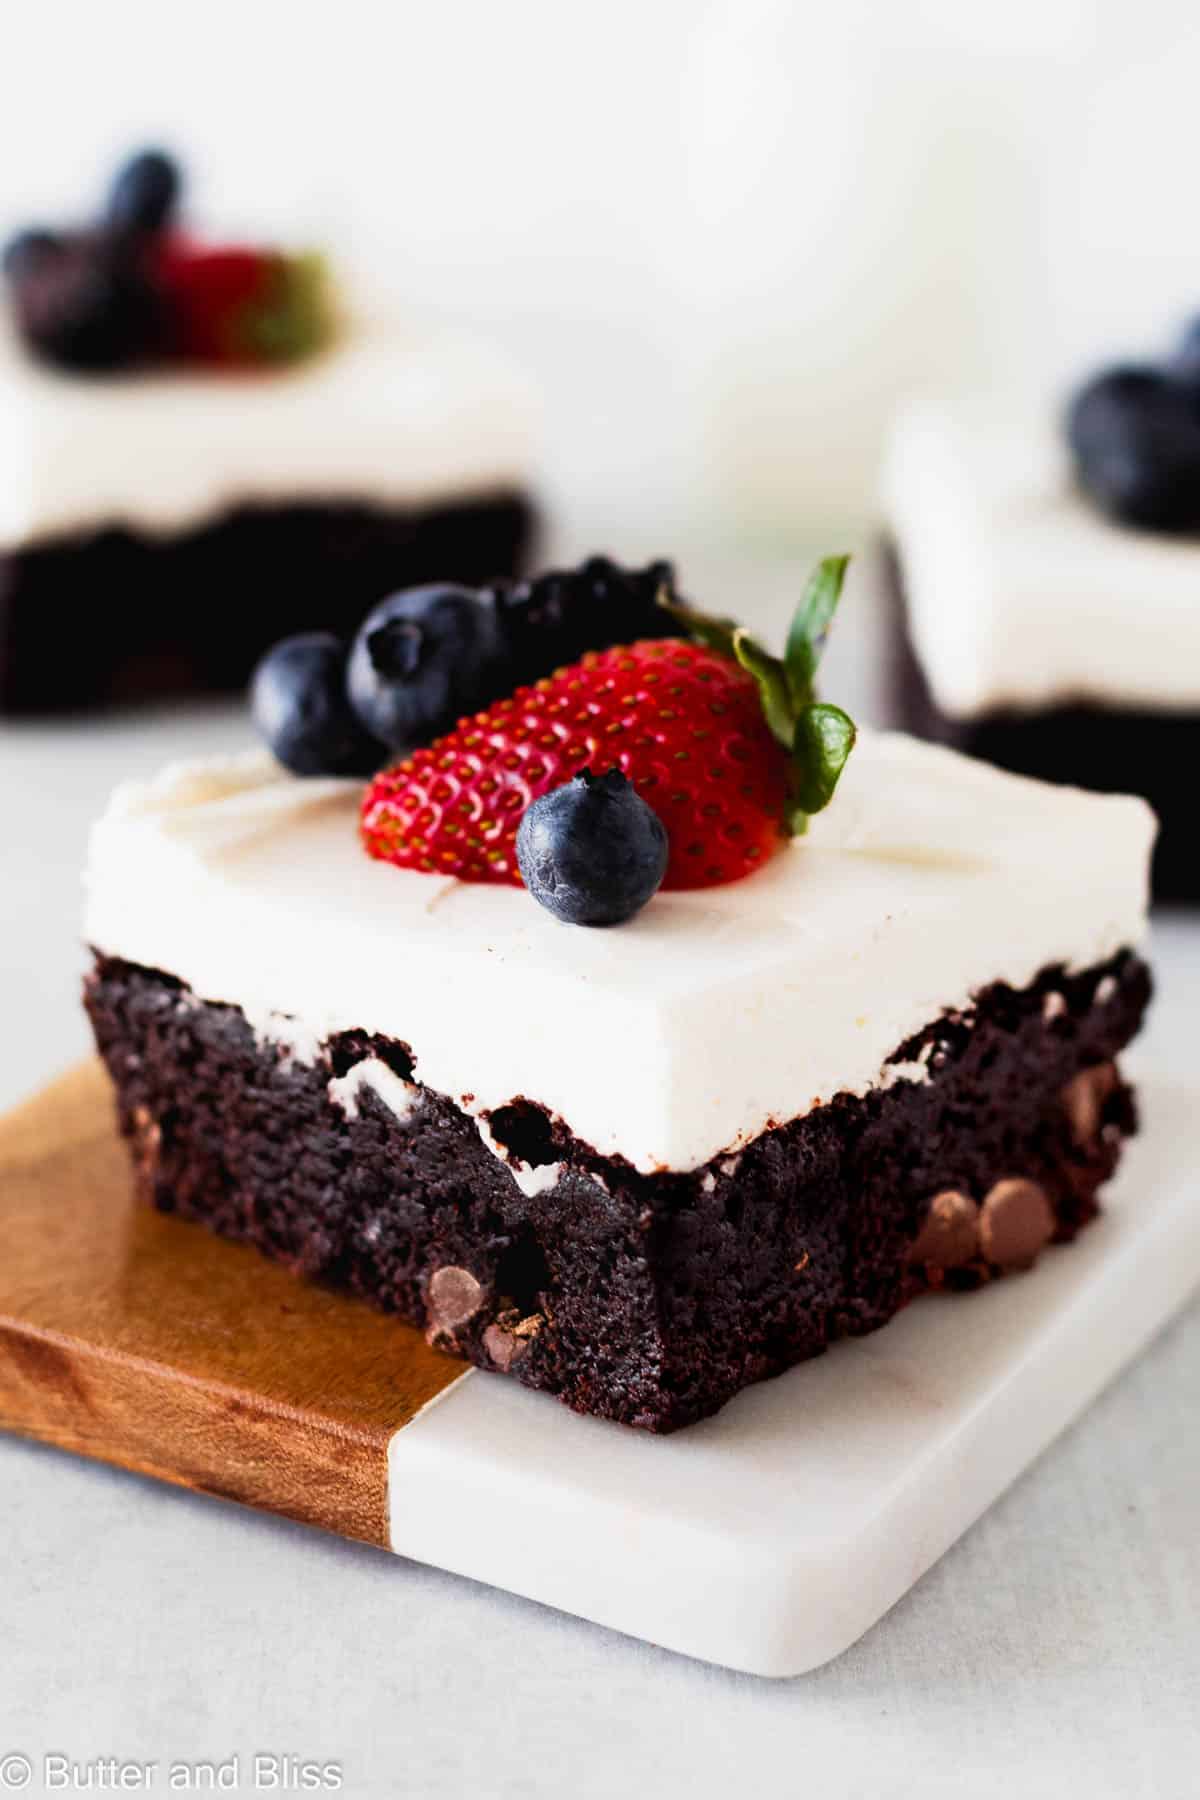
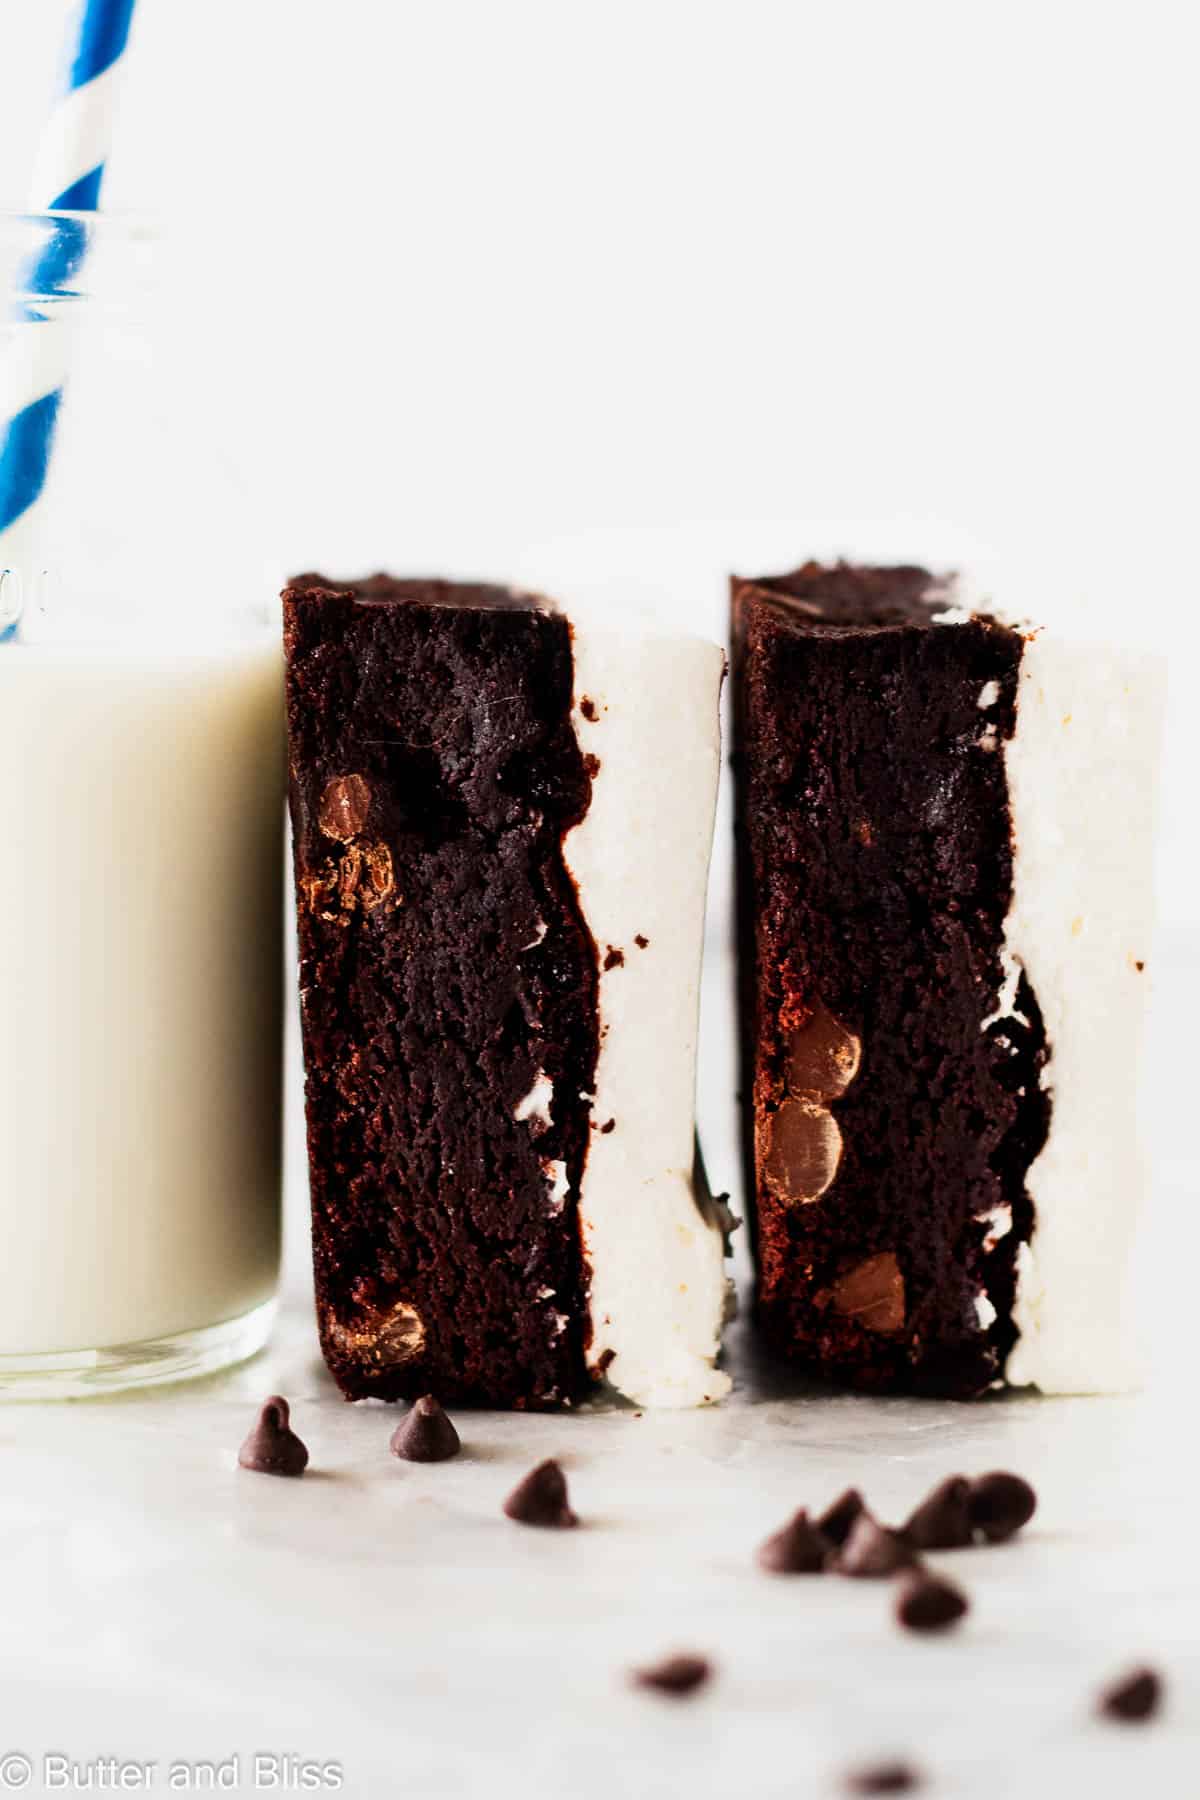
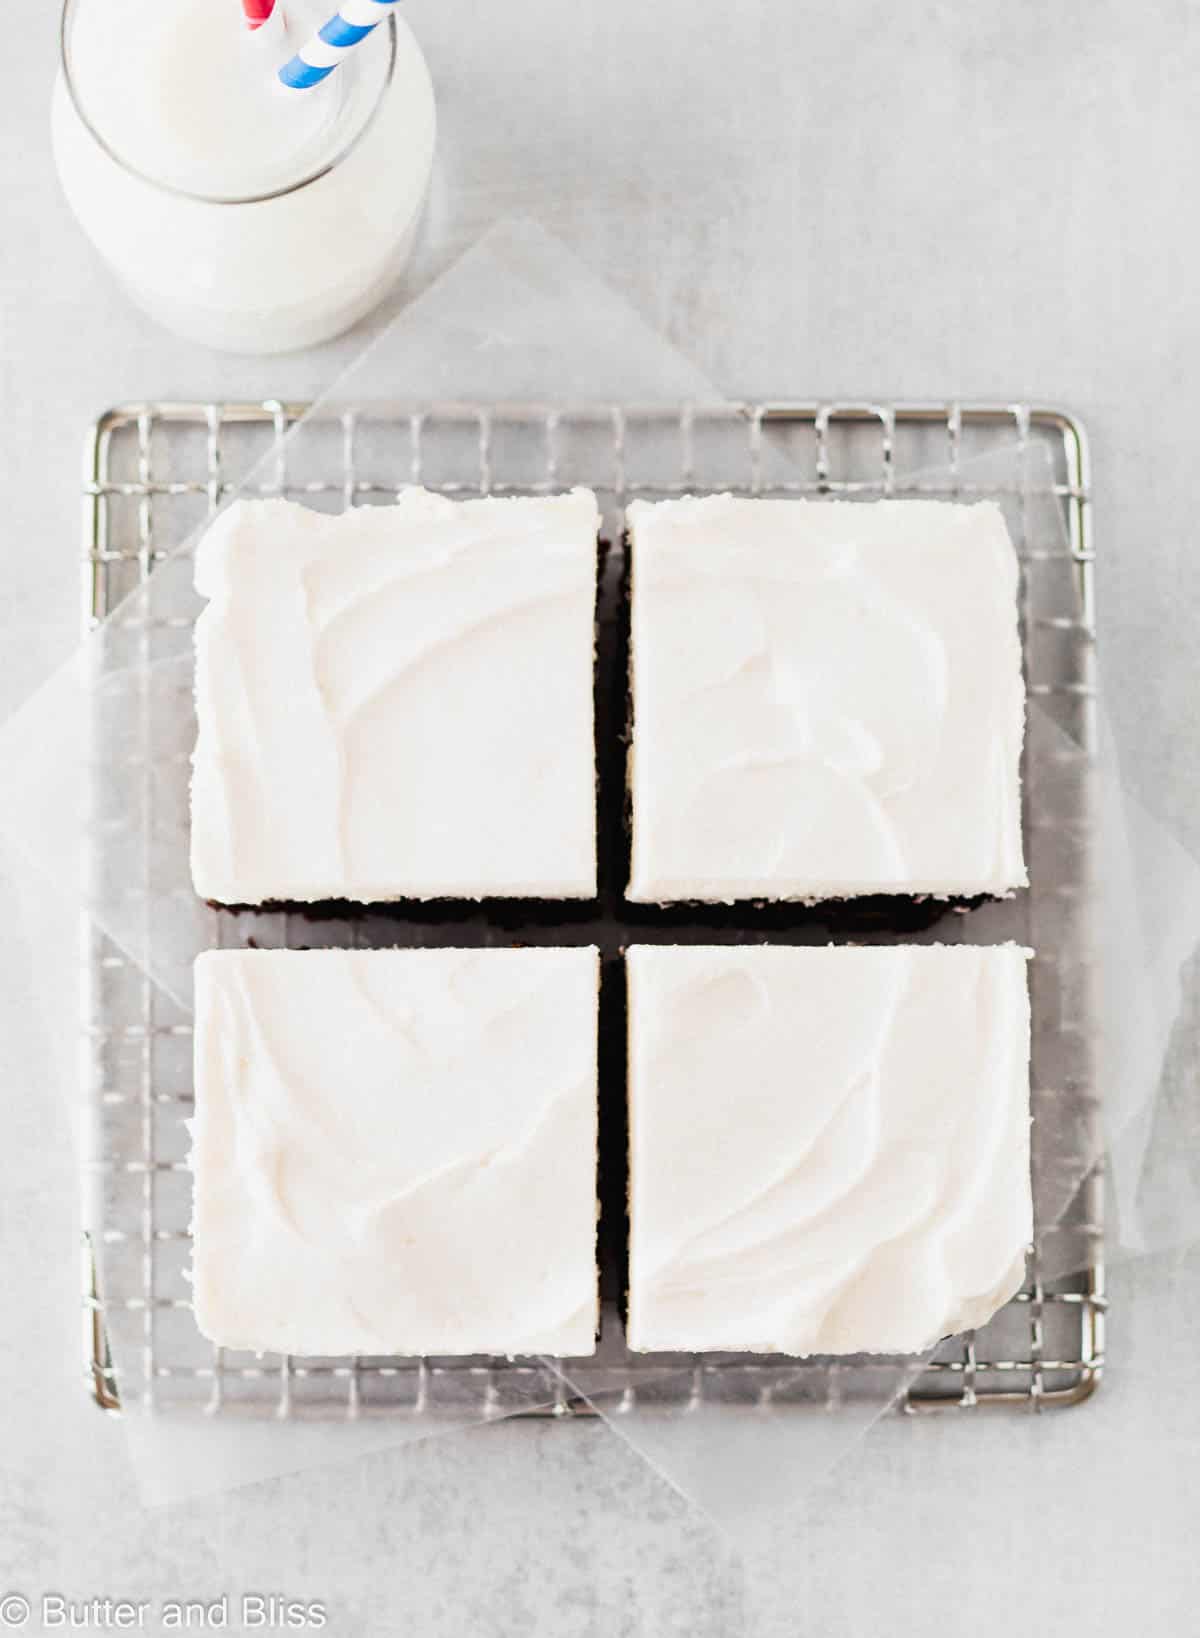
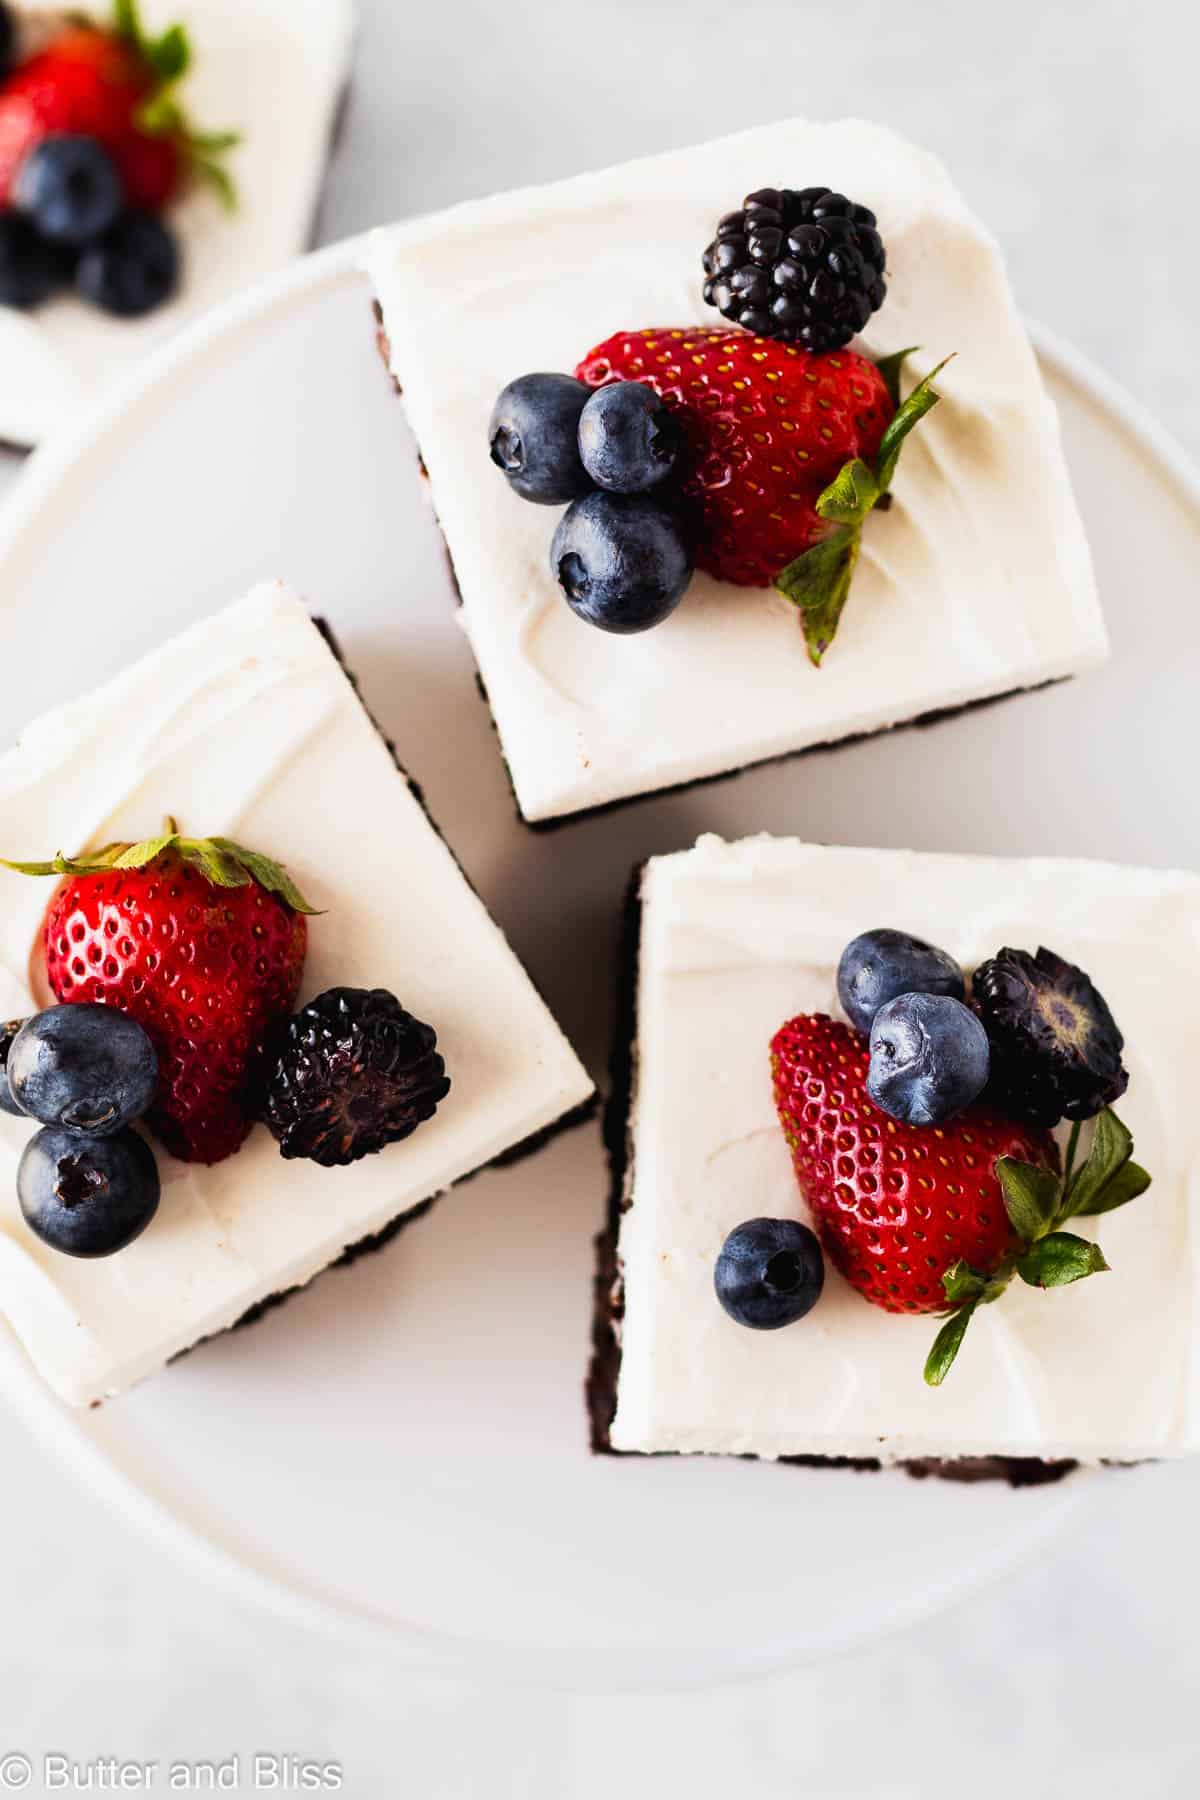
Easy small batch double chocolate brownies with vanilla whipped topping are a classic dessert! Extra fudgy brownies are studded with chocolate chips then topped with stabilized whipped cream and fresh fruit for a decadent treat great for any celebration!
Fudgy Brownies with Vanilla Whipped Topping
Are you a cakey or fudgy brownie person? I am still a little undecided – it depends on the day I suppose. Today I’m an extra fudgy brownie person. So it is a good thing these brownies with whipped topping are heavy on the fudge factor!
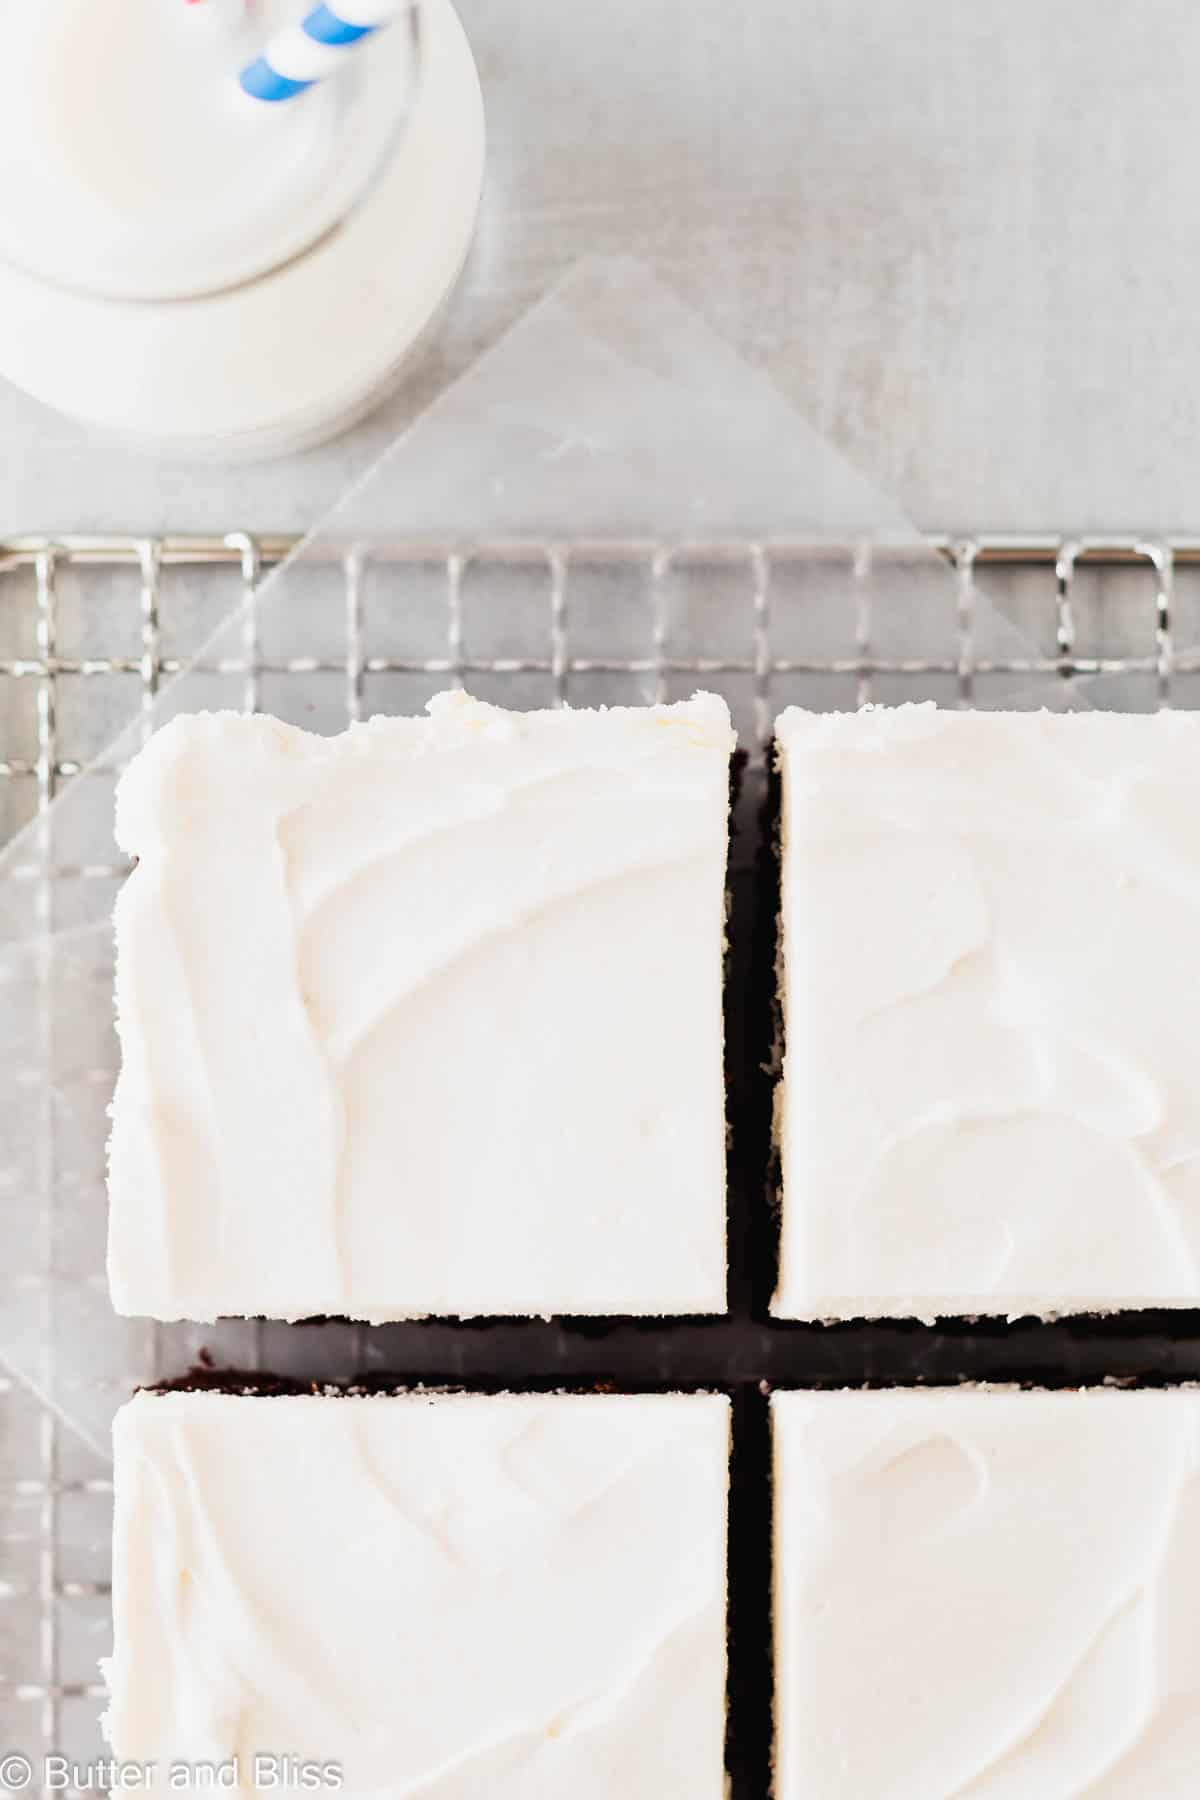
Much like my gluten free fudgy brownies, and the raspberry doubled chocolate brownies for two, this traditional brownie recipe has the trademark every brownie should have: the crinkly top!
And yes, I am aware we lose sight of the crinkly perfection when we cover it. But, I think you will be ok with that when you taste the chocolate + cream combo with the stabilized whipped cream topping.
What Is Stabilized Whipped Cream
I’m pretty sure we all love light and fluffy whipped cream. And I’m pretty sure we all get a little upset with the whipped cream deflates and doesn’t stay whipped as long as we would like it to.
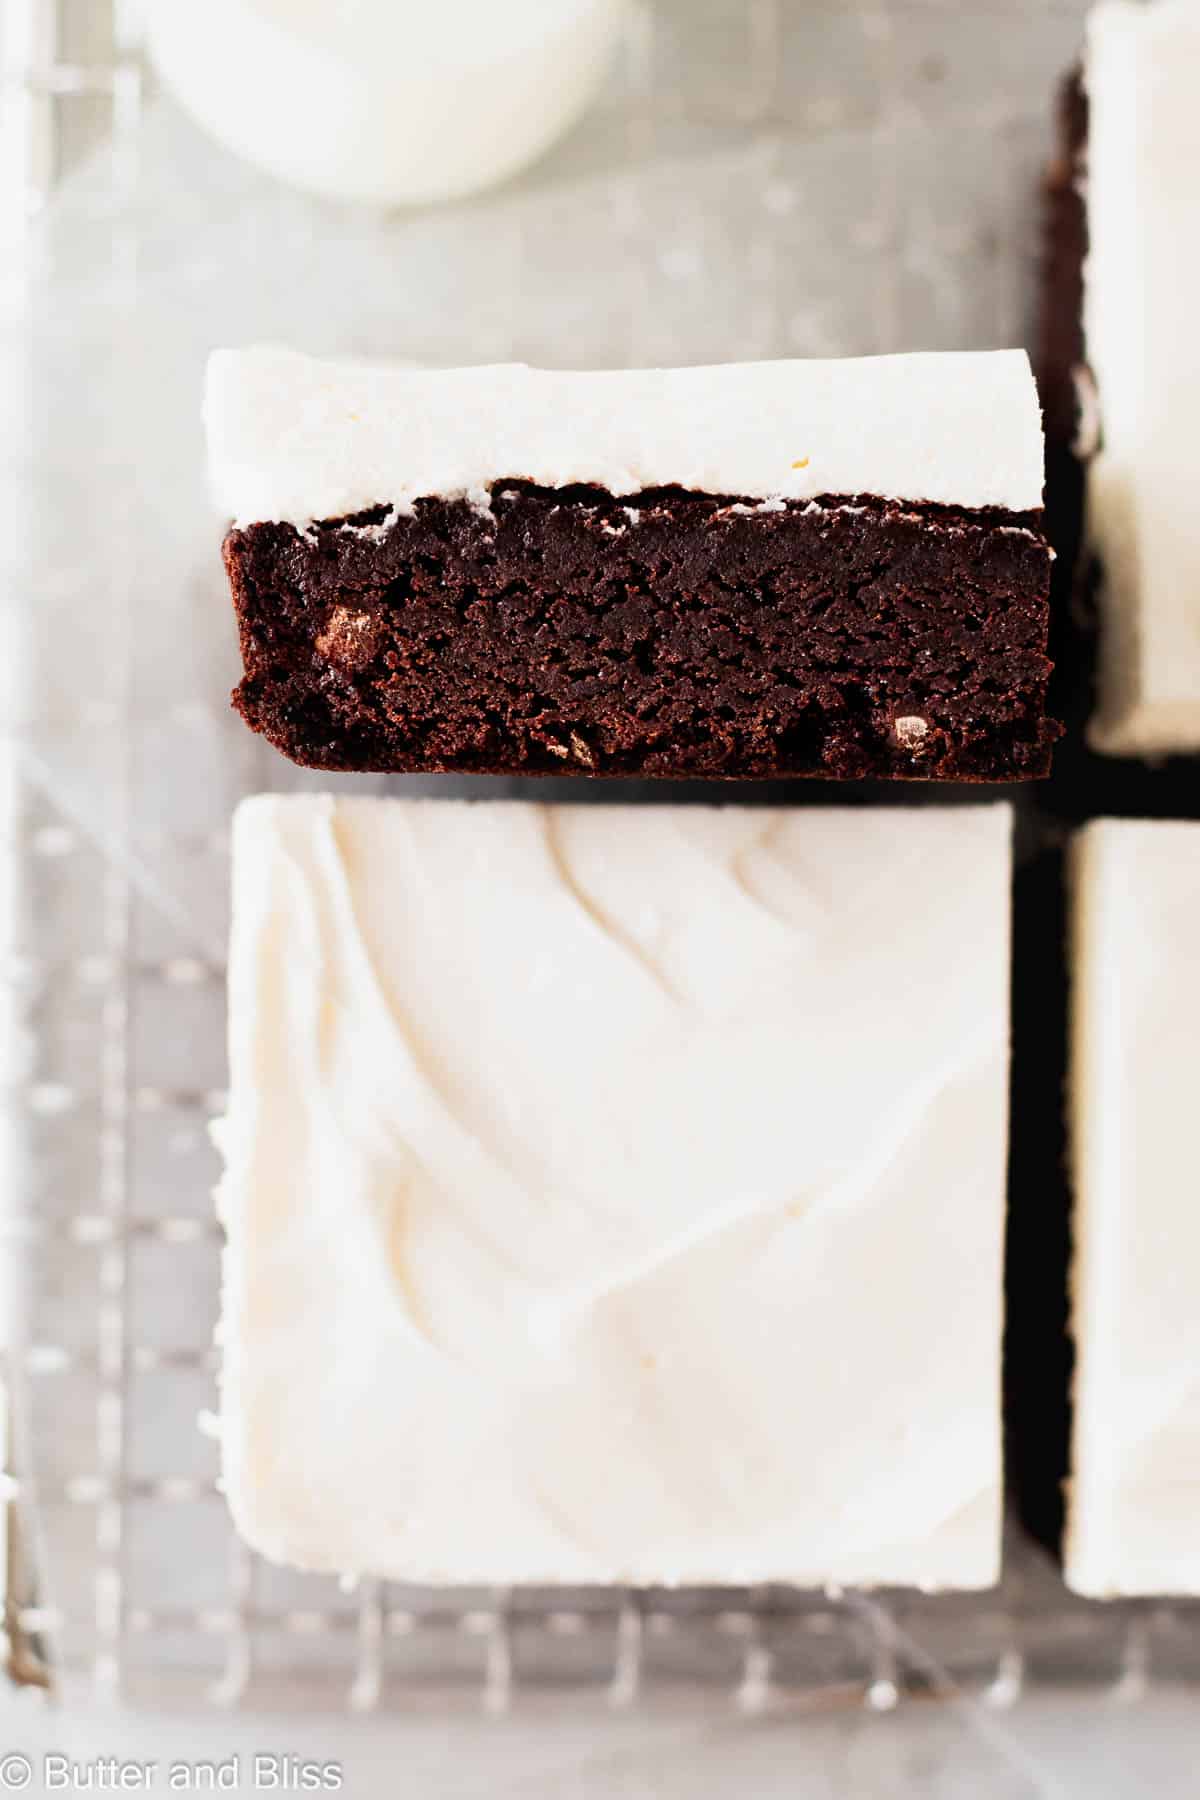
Stabilized whipped cream will solve that! All it is whipped cream that has been fortified with gelatin.
Even better; the stabilized whipped cream will be firm enough to cut the fudgy brownies into nice slices and support beautiful fruit slices.
Ingredient Notes
- Unsalted Butter – I prefer unsalted butter since we are adding our own salt. And the butter can be any room temperature since we are melting it.
- Granulated Sugar – Regular white sugar will work, or you can use organic cane sugar.
- Egg – One egg is all we need and it should be at room temperature.
- Cocoa Powder – This may be one of the few chocolate recipes where I use natural cocoa powder. However, Dutch process cocoa powder will also work wonderfully.
- Chocolate Chips – The chocolate chips are a great addition for extra chocolate flavor, plus a little texture.
Helpful Tips
- Whisk the egg separately before adding it to the batter – This ensures good ingredient incorporation.
- Use a 6×6 inch cake pan for thicker brownies – Which is what I used for this recipe. And probably will for all my brownie recipes.
- Use a 9×5 inch loaf pan for slightly thinner brownies – Based on your preference of thickness, choose the baking pan that best suits you!
- When testing for doneness, you should still have crumbs on your toothpick – Because they are fudgy, you will (and should) still have a few crumbs on the toothpick.
Recipe FAQ’s
It is a matter of preference. Natural cocoa powder is more widely available and will provide good chocolate flavor. Dutch process cocoa goes through a process to remove the acidity of cocoa. I find it is much richer in flavor.
Yes! The brownies should be cooled completely to get the wonderful fudgy texture. And, you don’t want to cover the brownies with whipped topping when they’re warm!
The brownies can sit at room temperature for 6 to 8 hours. Beyond that, I recommend covering them and refrigerating them because of the whipped topping.

Fudgy Brownies with Vanilla Whipped Topping
by Erin Cernich
Equipment
Ingredients
Stabilized Whipped Cream
- 2 teaspoons water
- ½ teaspoon unflavored gelatin powder
- ⅓ cup heavy whipping cream
- 2 ½ tablespoons powdered sugar (more or less to taste)
- ½ teaspoon vanilla extract
Brownies
- ¼ cup unsalted butter, cubed
- ½ cup granulated sugar
- 3 tablespoons unsweetened cocoa powder
- 1 large egg
- ½ teaspoon vanilla extract
- ⅓ cup all-purpose flour
- ¼ teaspoon salt
- ¼ cup semi-sweet chocolate chips (more or less to taste)
Instructions
- Preheat the oven to 350F degrees and adjust the oven rack to the middle position. Create a parchment paper sling for the pan – Cut two pieces of parchment paper as wide as a side of the pan and long enough to hang over the sides. Set the strips crossed in the pan.
Stabilized Whipped Cream
- In a small microwave-safe bowl, add the water and sprinkle the gelatin over the top. Allow the gelatin to bloom and absorb the water for 3 to 5 minutes. Once the gelatin is firm, heat for about 5 seconds in the microwave to liquify. Set aside while you start to whip the heavy cream. Do not over-heat.
- In a small mixing bowl add the heavy cream. Use a hand held mixer to beat the cream on high until it starts to turn fluffy. While you are still mixing, carefully drizzle in the liquid gelatin, then add in the powdered sugar and vanilla extract. Continue to beat until stiff peaks form. Refrigerate until ready to use.
Brownies
- In a microwave-safe bowl, add the butter, sugar, and cocoa powder. Melt in 20-second increments for up to 90 seconds until the butter is melted. Stir after each increment.
- Add the egg and vanilla to the chocolate mix and whisk until fully combined. Tip – Mix the egg separately in a small bowl before adding to the chocolate to ensure even distribution.
- Sprinkle the flour and salt over the top of the chocolate mixture and whisk until no white streaks remain. Stir in the chocolate chips.
- Pour the batter into the prepared pan and bake for 20 minutes, or until the tops are crinkly and a toothpick inserted in the middle comes out with moist crumbs (these are fudgy brownies, so we don't want the toothpick to be clean).
- Cool the brownies in the pan on a wire rack for 10 minutes. Use the parchment paper sling to carefully lift the brownies out of the pan and cool completely on the wire rack.
- Evenly spread the stabilized whipped cream over the top of the cooled brownies, cut into even squares, garnish with fresh fruit, and Enjoy!
Notes
- Serving Size – This is a small batch recipe and tested as such. The brownies can be cut into 4 larger squares (as pictured) or smaller squares for more servings.
- Baking Pans – Use a 6×6 inch cake pan for thicker brownies (used in this recipe). Or a 9×5 inch loaf pan for slightly thinner brownies.
- Toothpick Test – You should still have crumbs on your toothpick because the brownies are fudgy.
- Fruit Garnish – This is optional, but a great way to dress up the brownies for any celebration!
Nutrition Estimates


About the Author …
Hi, I’m Erin! With years of experience baking for two in my own small household, I know about the love for desserts without the leftovers. I’ve tested, written, and photographed every one of the 300+ recipes on my website. And even had some of my desserts featured on Taste of Home, The Spruce Eats, ELLE, Parade, and more! From traditional to gluten free desserts for two, I have the recipe for you.
Click here to learn more about me →