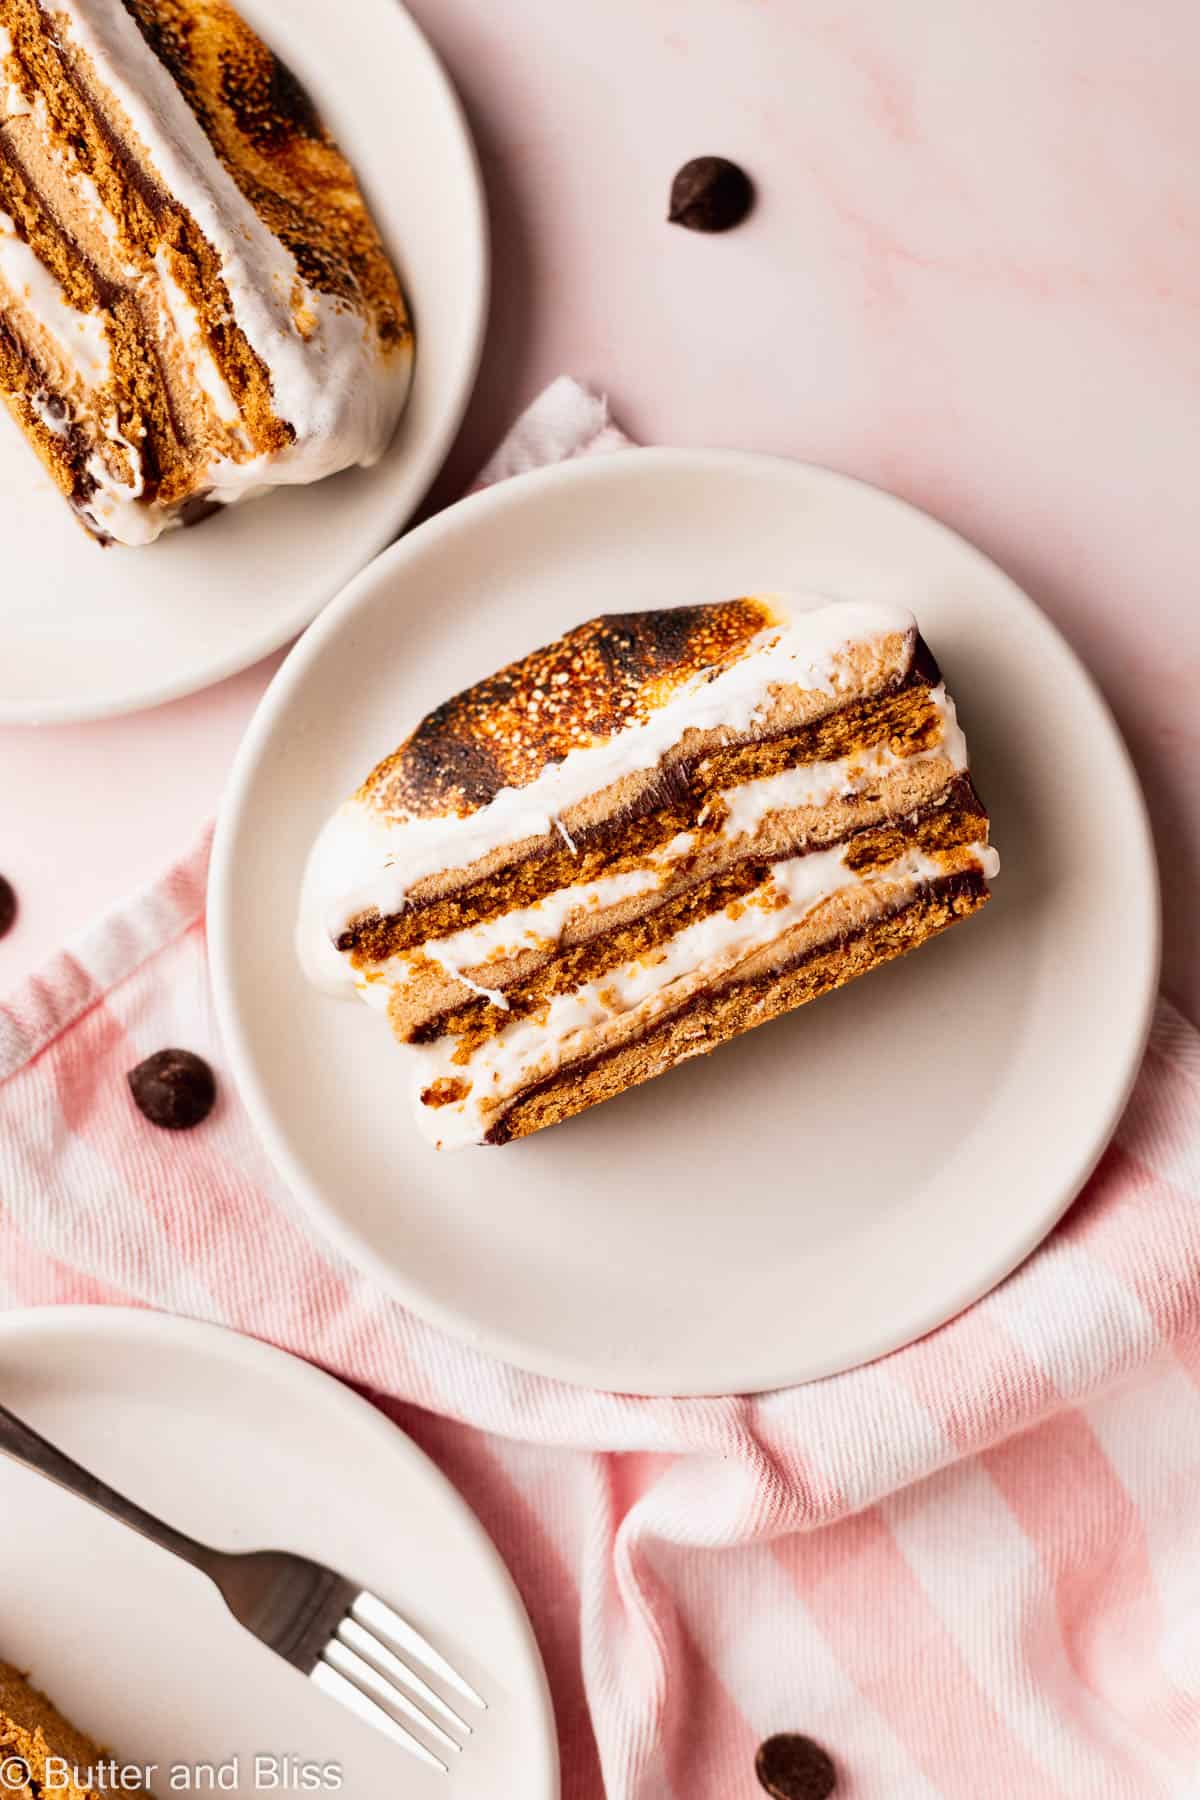
Peanut Butter S’mores Icebox Cake
This post may contain affiliate links. See my disclosure policy.
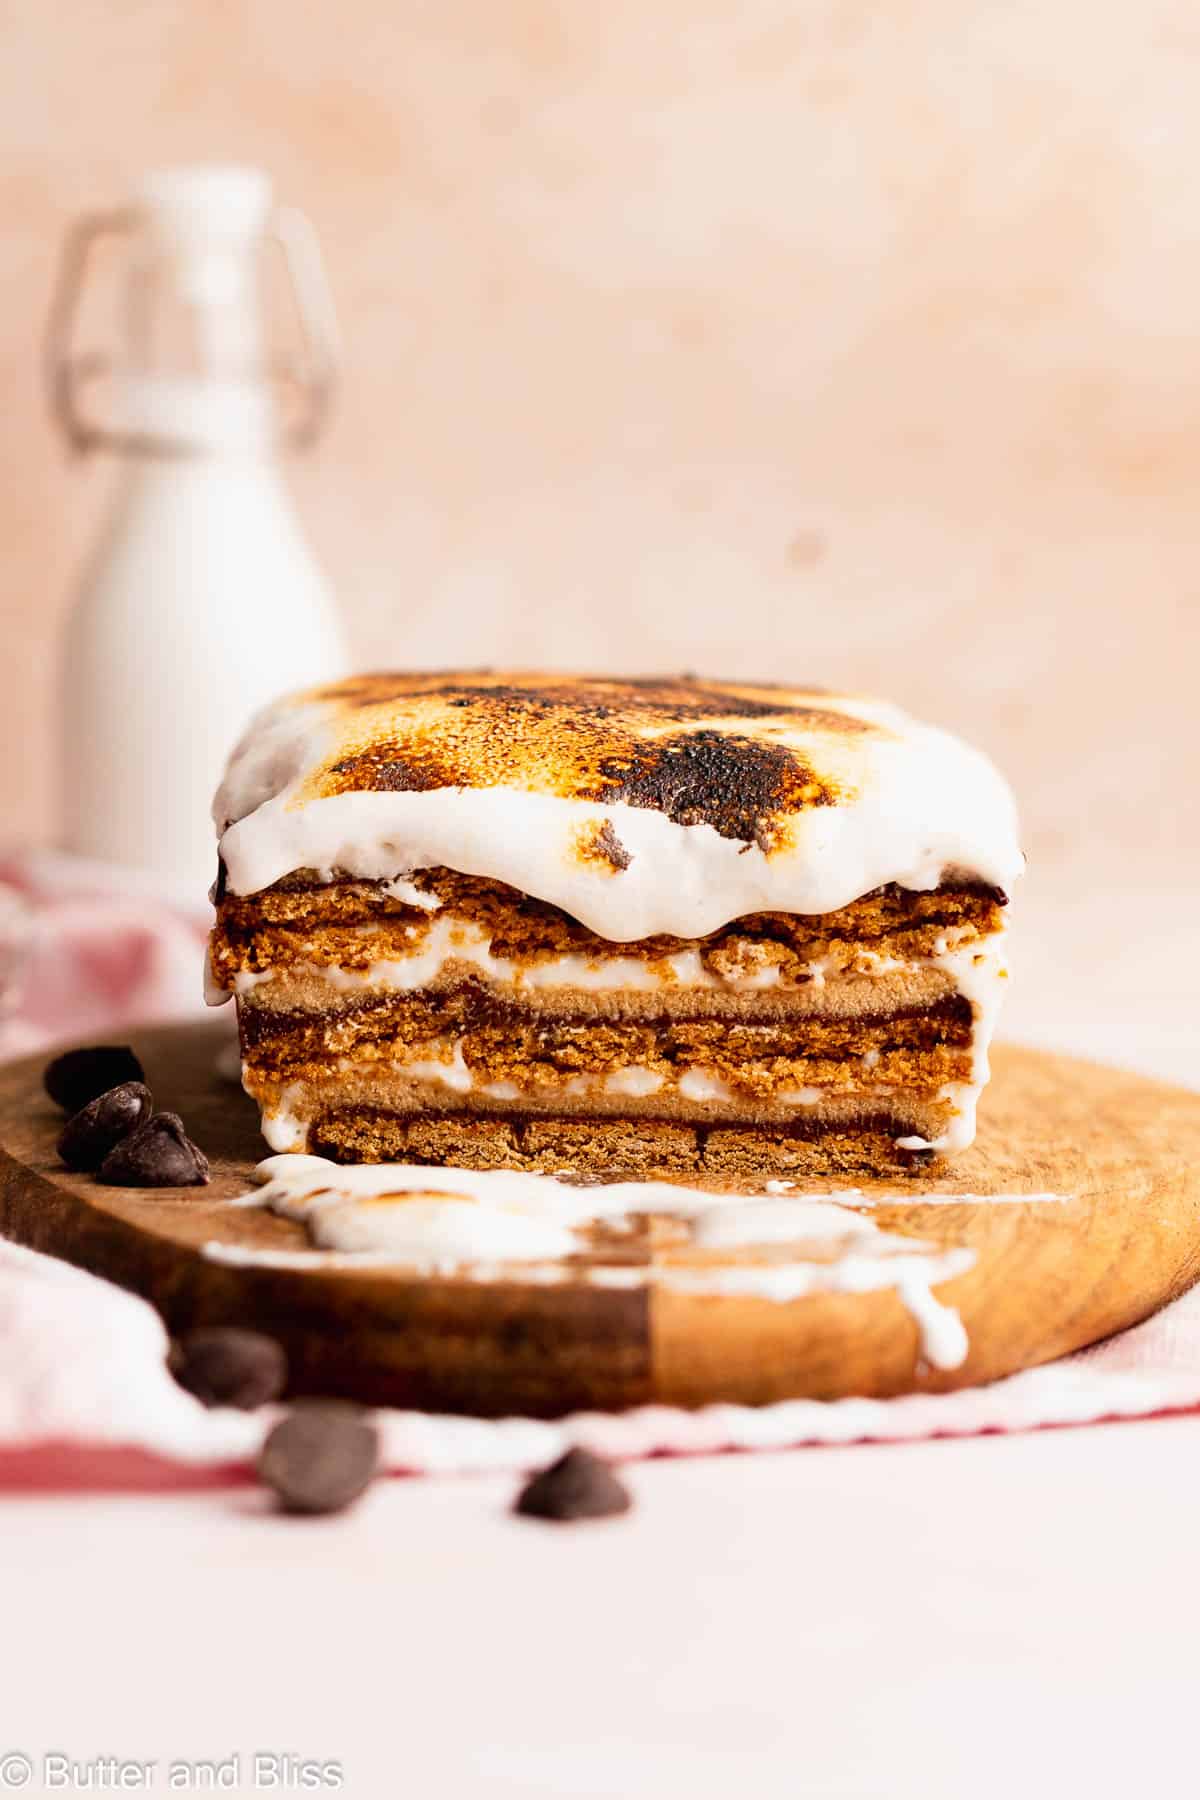
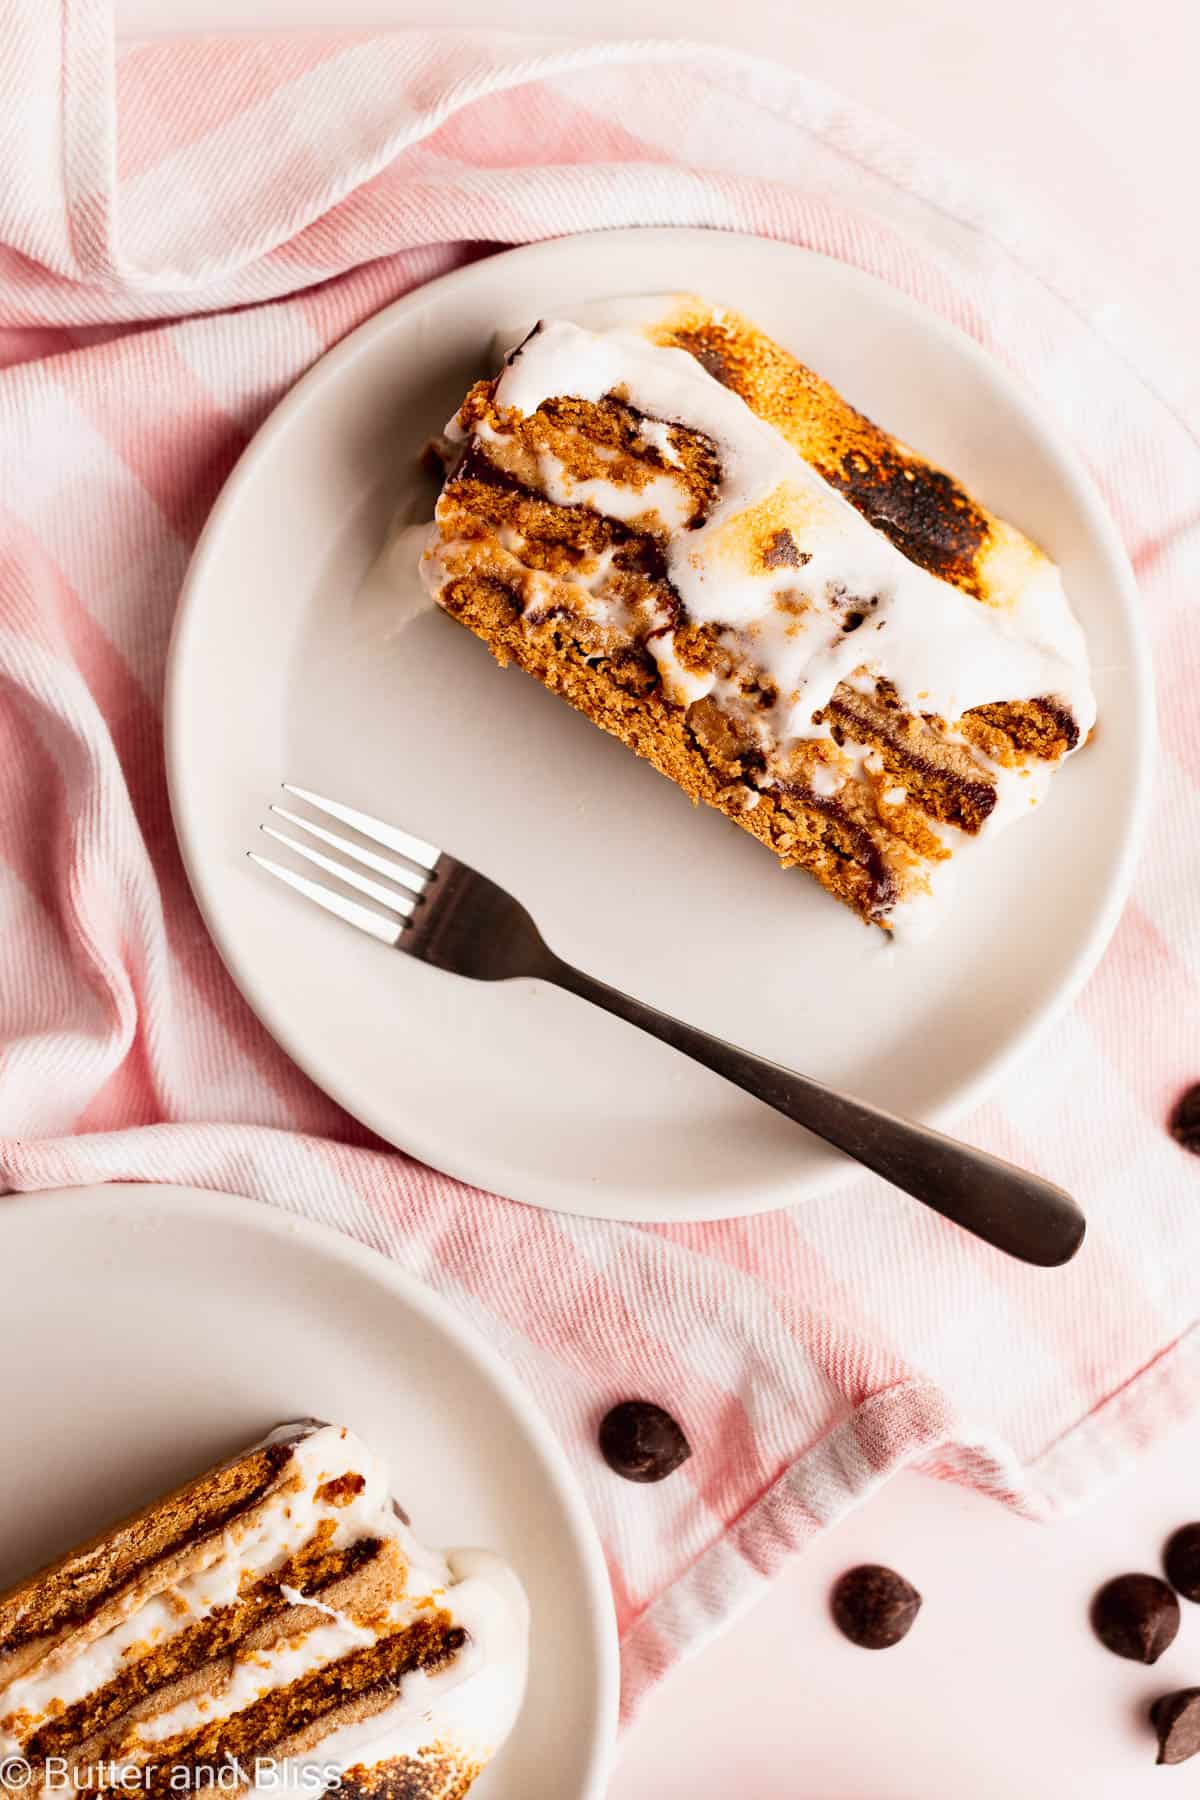
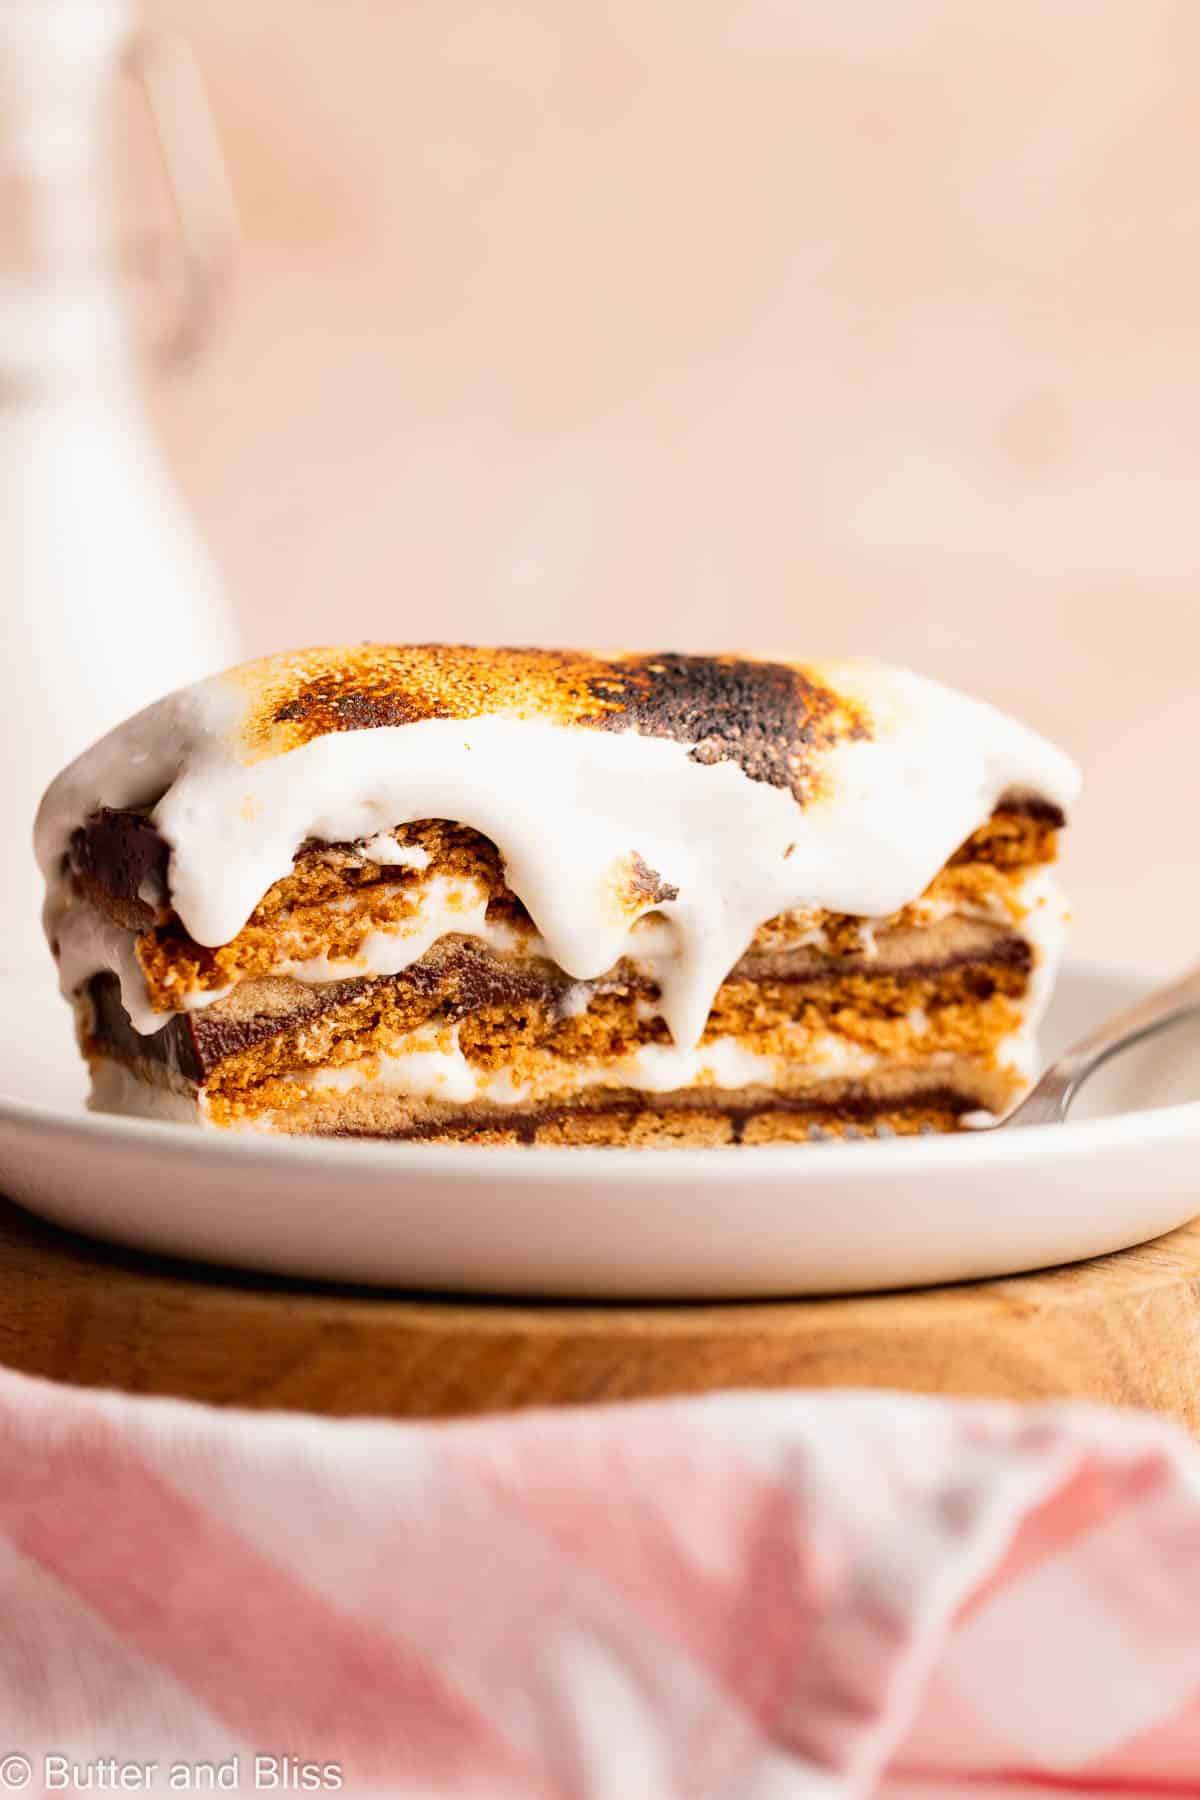
Enjoy campfire s’mores in this peanut butter s’mores icebox cake with a gluten free-friendly option! The no-bake cake features a flavor surprise of peanut butter cream, along with layers of graham crackers, marshmallow cream, and rich chocolate ganache. Finish the summer icon with a toasty marshmallow topping for a tasty and pretty summer dessert!
Peanut Butter S’mores Icebox Cake
First, what is an icebox cake? My layman’s definition is a dessert with layers of crackers or cookies and a creamy filling that chills in the refrigerator. As the dessert sets, the cracker/cookie layers slightly soften, which may be why it got the name ‘cake’.
The wonderful thing about an icebox cake is that is open for interpretation. Choose any cracker/cookie, any flavor of creamy filling, and any other tasty add-in’s you like! For example, try my lime cracker icebox cake, strawberry shortcake icebox mini cake, or the pineapple mango icebox cake – so bright and delicious!
All The Reasons To Love This S’mores Cake
- Iconic s’mores flavors – graham crackers, chocolate, and marshmallow. All the good things in my toasty s’mores truffles!
- No-bake summer dessert – because it may be too hot to turn on the oven!
- Variety of layers and flavor – rather than one s’more sandwich, you get 3 layers of s’mores deliciousness in this icebox cake. A layered dessert similar to my strawberry s’mores parfaits.
- Gluten free friendly – easily swap traditional regular graham crackers with gluten free graham crackers.
- Peanut butter cream – that’s right, peanut butter mixed with coconut cream for a dessert worthy of its own post!
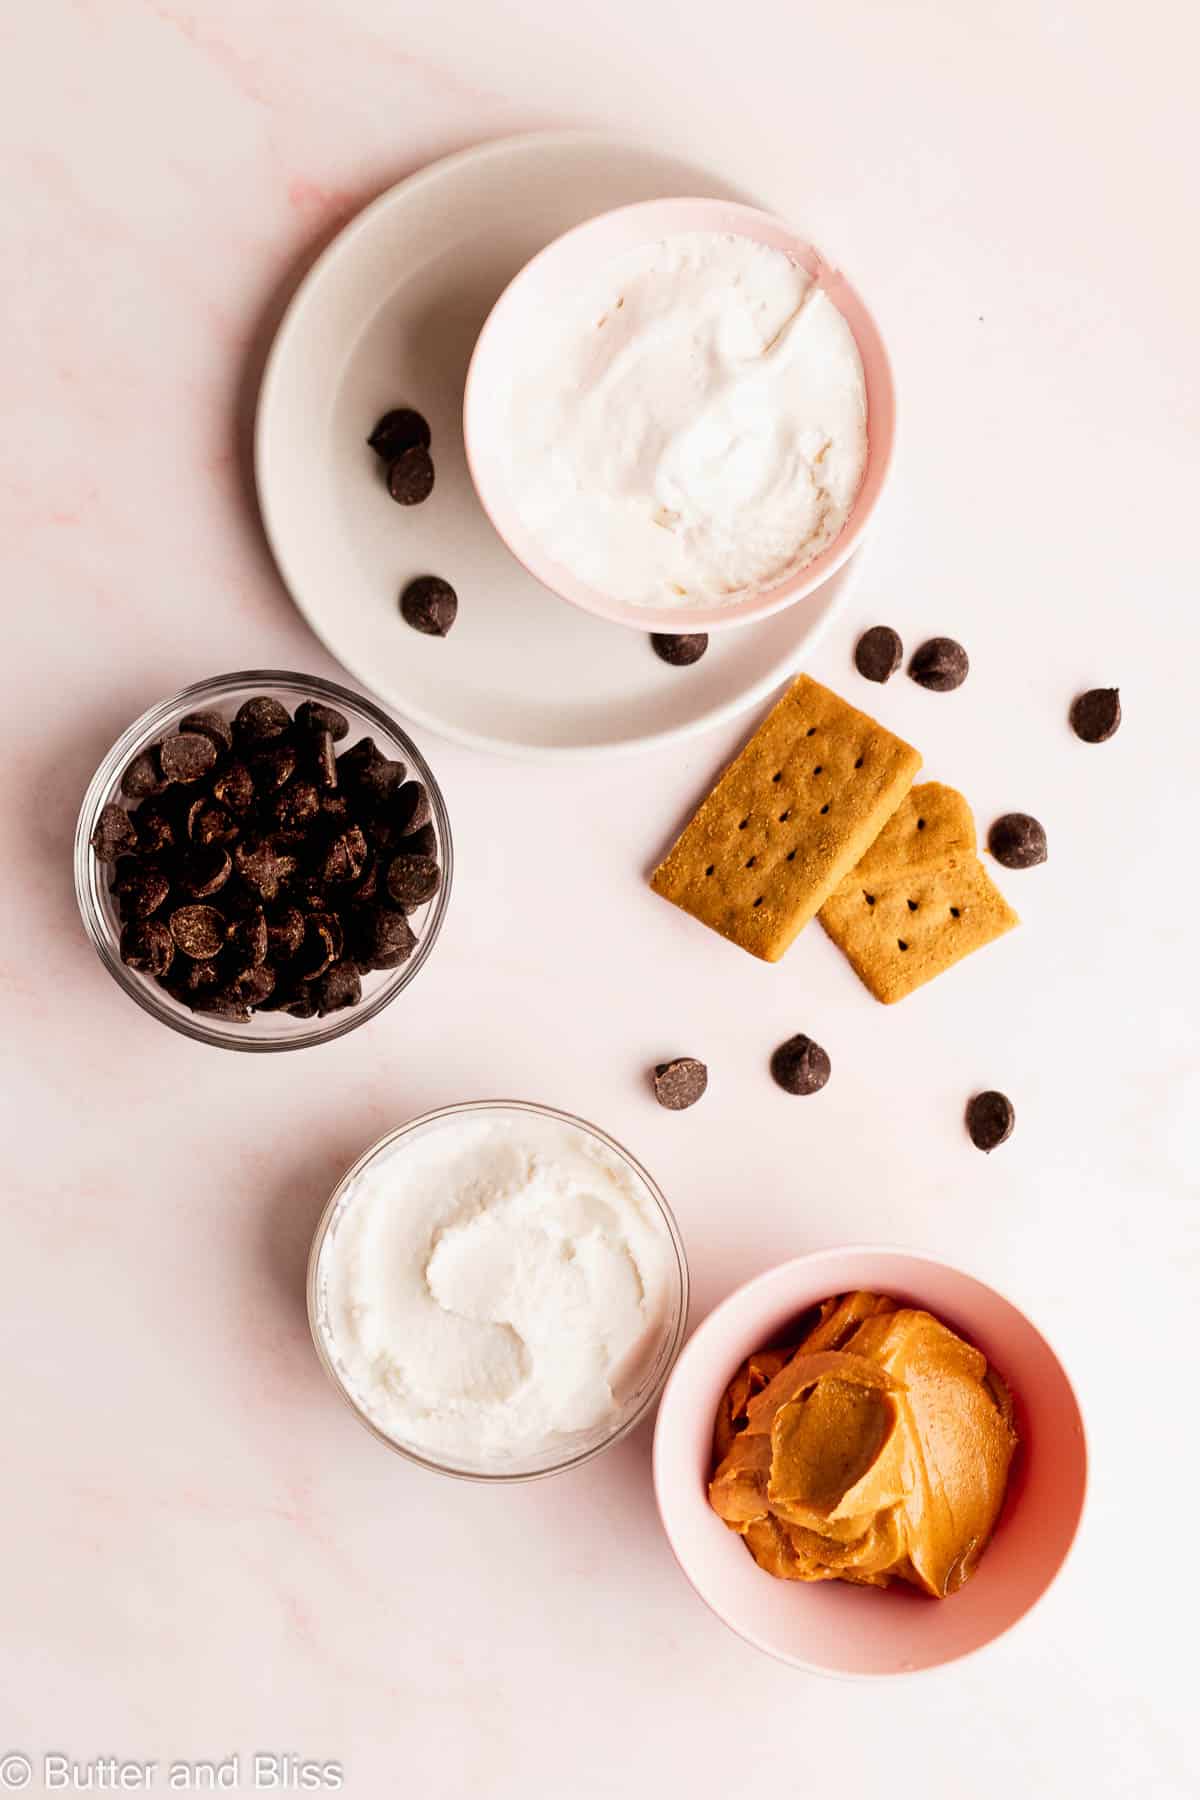
Ingredients
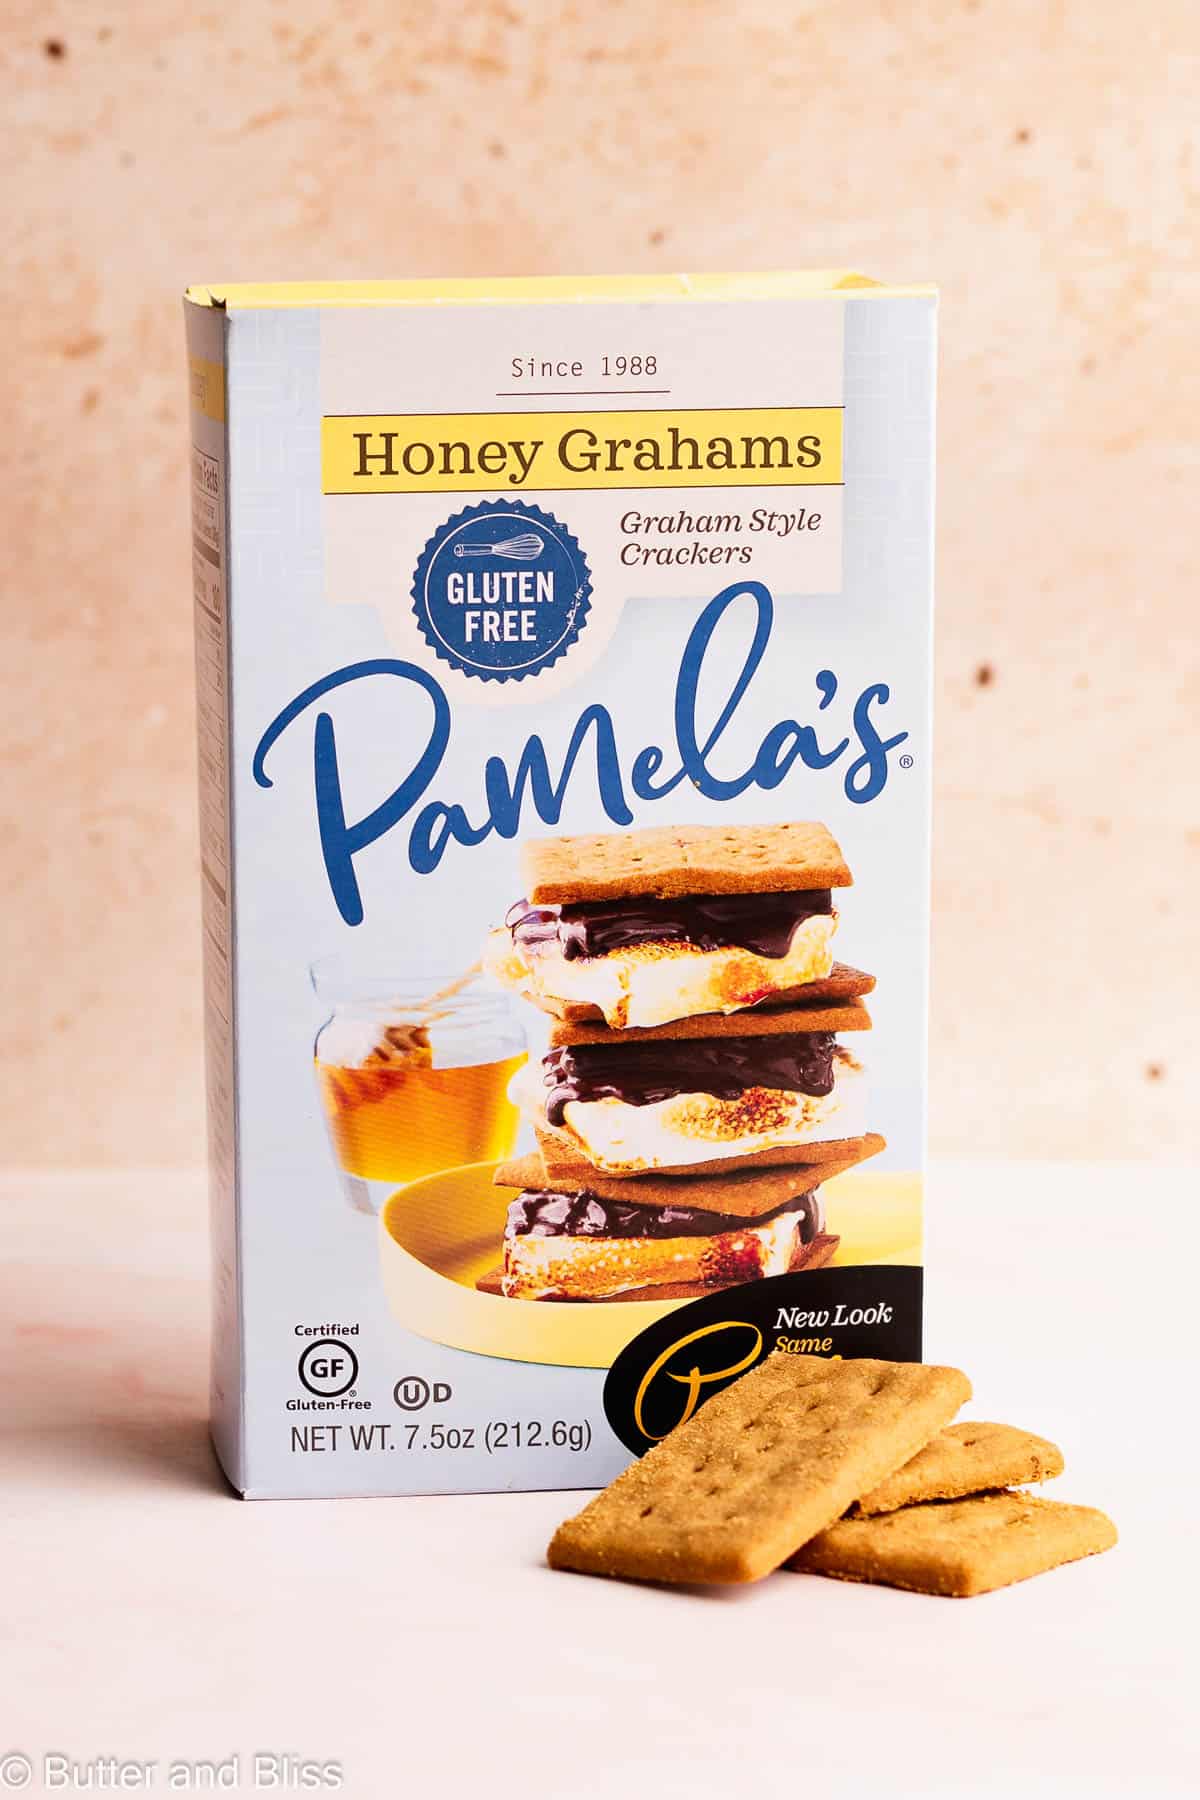
- Graham crackers – Use any graham cracker you like. For a gluten free option, I like to use Pamela’s gluten free graham crackers because of the great taste.
- Coconut milk – The unsweetened canned version. We use this in the peanut butter and marshmallow layers. Use dairy whipped cream if you prefer. Start with 1 cup of heavy cream and whip to soft peaks.
- Marshmallow cream – I recommend the larger 13-ounce tubs of marshmallow cream so you have enough for the filling, and to toast on top. Use my marshmallow meringue recipe and double it, if you want to make homemade marshmallows.
- Peanut butter – I use creamy peanut butter that doesn’t need to be stirred – such as Jif peanut butter. I don’t recommend natural peanut butter because of the layer of oil on top, it is difficult to emulsify and may make the peanut butter layer oily. You can swap in creamy almond butter – again, no-stir kind.
- Powdered sugar – This is optional. I use it to slightly sweeten the peanut butter layer. Omit if you prefer.
- Chocolate chips – Use any type of chocolate you like. Semi-sweet is great to balance the sweetness of the marshmallow layer!
How To Make An Icebox Cake
There are a few different steps to make all the layers in the gluten free s’mores icebox cake. However, each is incredibly simple! Refer to the recipe card for detailed instructions.
- Line the loaf pan with plastic wrap and parchment – This makes sure the cake doesn’t stick to the pan and we can lift it out intact.
- Make the peanut butter layer – Combine creamy peanut butter, coconut cream, and powdered sugar.
- Make the marshmallow cream layer – Whip the coconut cream to soft peaks, then add in the marshmallow cream.
- Make the ganache – Heat coconut cream in the microwave, then pour over chocolate chips to melt.
- Assemble the icebox cake – Alternate layers of graham crackers, peanut butter, marshmallow, and chocolate.
- Cover and chill – The icebox cake must be refrigerated for at least 8 hours for the layers to set.
- Quick freeze – An hour in the freezer before serving will make cutting the icebox cake much easier!
- Add more marshmallow cream to the top – Before serving, dollop on more marshmallow cream and toast with your handy kitchen torch.
- Slice, serve, and enjoy!
Helpful Tips
- Refrigerate the can of coconut milk overnight – So the solids and liquids separate.
- Chill 2 cans of coconut milk – Just to be safe. I find the amount of coconut cream in a can may vary.
- Be prepared to use 3 mixing bowls – As much as I tried, there is no way to get around using fewer bowls. Only because we have 3 different delicious layers in the gluten free s’mores icebox cake!
- Use regular creamy peanut butter – It will mix smoothly and you won’t be left with an oily peanut butter layer.
- Line the pan with plastic wrap and parchment – The plastic keeps the cake from sticking to the short sides of the pan, and the parchment helps to lift the cake out of the pan intact.
- Give the cake a quick freeze – An hour in the freezer will make slicing the cake easy.
- Store leftovers in the refrigerator – The cake needs to stay chill to keep the layers intact. Plus, it tastes better chilled!
Recipe FAQ
You can. Just note the peanut butter cream layer won’t be as smooth!
Swap in 1 cup of heavy dairy cream and beat to soft peaks.
They are not. I’ve seen them on Amazon, in my grocery, at Target, and at Walmart.
I recommend a quick 1 hour freeze just before serving. For a longer freeze, the icebox cake can be frozen for up to 2 to 3 months and thaw in the refrigerator.

Small Peanut Butter S’mores Icebox Cake
by Erin Cernich
Ingredients
- 20 graham crackers (full sheets of regular or gluten free)
- 13.5 ounces unsweetened canned coconut cream, full fat (1 can; used in every layer)
- ½ cup creamy peanut butter
- 2 tablespoons powdered sugar (optional)
- 13 ounces marshmallow cream
- ½ cup semi-sweet chocolate chips
Instructions
- For best results, refrigerate the can of coconut cream overnight. This causes the coconut solids and liquid to separate in the can. We are only using the coconut solids, and you will use the entire can for the layers of this recipe. Note: To ensure you have enough coconut cream for the recipe, I recommend refrigerating two cans in case one can does not have enough.
- Peanut Butter Layer – In a small mixing bowl, add 1/2 cup coconut cream, 2 tablespoons powdered sugar, and 1/2 cup peanut butter. Using a hand held mixer on medium-high speed, beat until combined, smooth, and fluffy – about 2 minutes. Refrigerate until ready to assemble.½ cup creamy peanut butter, 2 tablespoons powdered sugar, 13.5 ounces unsweetened canned coconut cream, full fat
- Marshmallow Cream Layer – In small mixing bowl, add 1/2 cup coconut cream. Using a hand held mixer on medium-high speed, beat until soft peaks form. About 2 minutes. Add 1 cup of marshmallow cream and continue to beat until combined and smooth. Refrigerate until ready to assemble.13 ounces marshmallow cream, 13.5 ounces unsweetened canned coconut cream, full fat
- Chocolate Ganache – In a small mixing bowl, add 1/2 cup chocolate chips. In a liquid measuring cup, add 1/4 cup coconut cream. Microwave the coconut cream until it is just hot, but not boiling. About 1 minute. Pour the heated coconut milk over the chocolate chips and let steep for about 5 minutes – to allow the chocolate to melt. Then, whisk until combined and smooth.½ cup semi-sweet chocolate chips, 13.5 ounces unsweetened canned coconut cream, full fat
- Line a 9×5 inch loaf pan with plastic wrap – a piece large enough that it covers all sides of the pan. Then, line with a piece of parchment paper long enough to hang over the long sides of the pan. The double lining ensures we get the cake out of the pan intact.
- Assemble1. Arrange enough graham crackers to cover the bottom of the pan. You can leave the sheets intact or break them apart to fit. 2. Spoon 1/3 of chocolate ganache over the graham crackers and spread out carefully with the spoon to cover the crackers.3. Dollop 1/3 of the peanut butter mix over the ganache. Carefully spread out evenly to the sides of the pan.4. Dollop 1/3 of the marshmallow mix over the peanut butter. Carefully spread out evenly to the sides of the pan.5. Repeat for 2 more layers – a total of 3 layers.20 graham crackers
- Cover the pan tightly with plastic wrap and refrigerate the cake overnight – for at least 8 hours. This allows the layers to set up. Tip: About 1 hour before serving, place the cake in the freezer. This will make cutting it into slices easier.
- When ready to serve, carefully lift the cake out of the pan – alternating pulling up on the plastic wrap and parchment paper, being careful not to crack the cake in half. Place on a serving platter.
- For a toasted marshmallow topping, dollop spoonfuls of marshmallow cream on top of the cake. Using a small kitchen torch, carefully toast the marshmallow. Slice and Enjoy!
Notes
- Serving Size – This is a smaller icebox cake that can be made in a larger 8 or 9-inch cake pan.
- Prepare the Loaf Pan – I use plastic wrap and parchment paper as an extra measure to easily lift the cake out of the pan intact.
- Graham Crackers – The number of graham cracker sheets is approximate. Use regular or gluten free graham crackers of your choice.
- Coconut Cream – You will use the whole 13.5 ounce can. Be sure to refrigerate it overnight so the solids and liquids separate. For good measure, refrigerate 2 cans, in case one doesn’t have enough cream.
- Marshmallow Cream – I recommend the larger 13 ounce tub of marshmallow cream so you have extra to toast on top of the cake.
- Peanut Butter – I recommend creamy no-stir (not natural) peanut butter. Natural peanut butter will have a layer of oil on top and most likely will be too runny for the cake layer.
- Chocolate Chips – Use any chocolate chips you prefer. I like semi-sweet to balance the sweetness in the cake.
- Refrigerate the Cake – For at least 8 hours, or even a full 24 hours in advance. This sets the layers.
- Freeze the Cake – About 1 hour before serving and slicing. This will make slicing the cake so much easier. You can also freeze the cake up to 3 months and thaw in the refrigerator.
- Storing Leftovers – Store leftovers covered in the refrigerator for up to 5 days. Beyond that, the cake may start to get mushy.
- Substitutions – 2 cups of dairy whipped cream for coconut cream. Regular graham crackers for gf graham crackers 1:1. Almond butter for peanut butter 1:1.
Nutrition Estimates
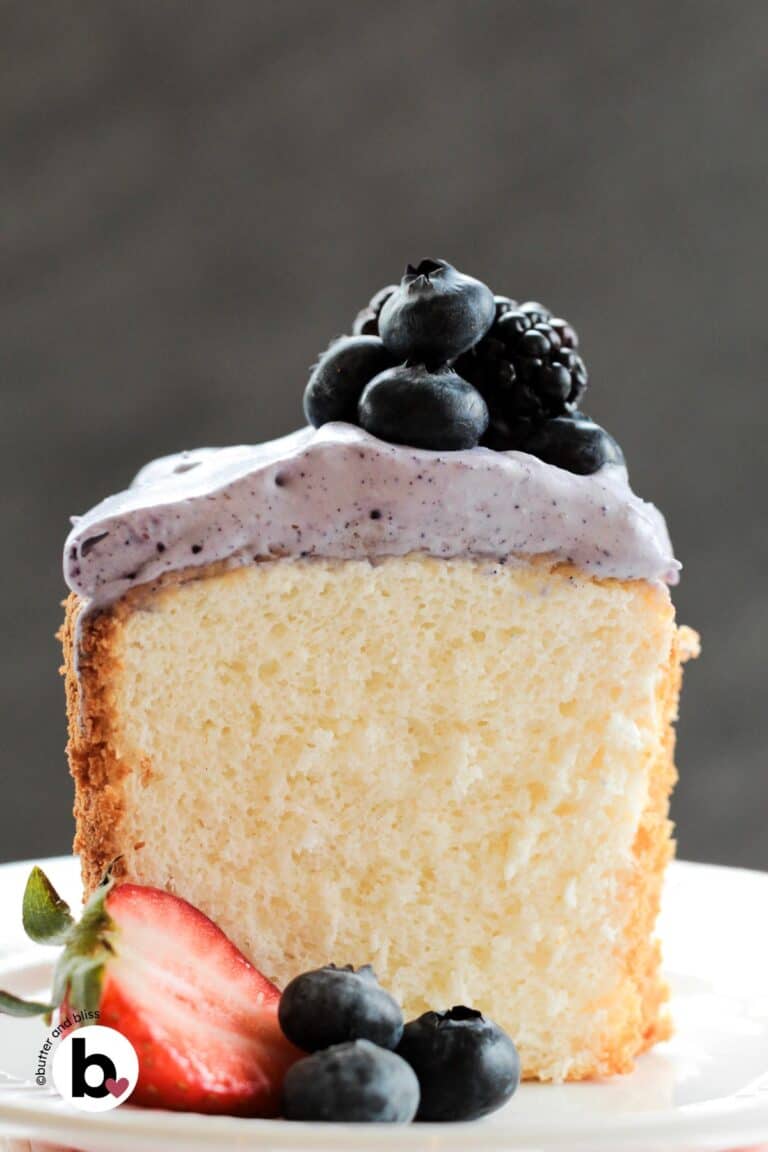
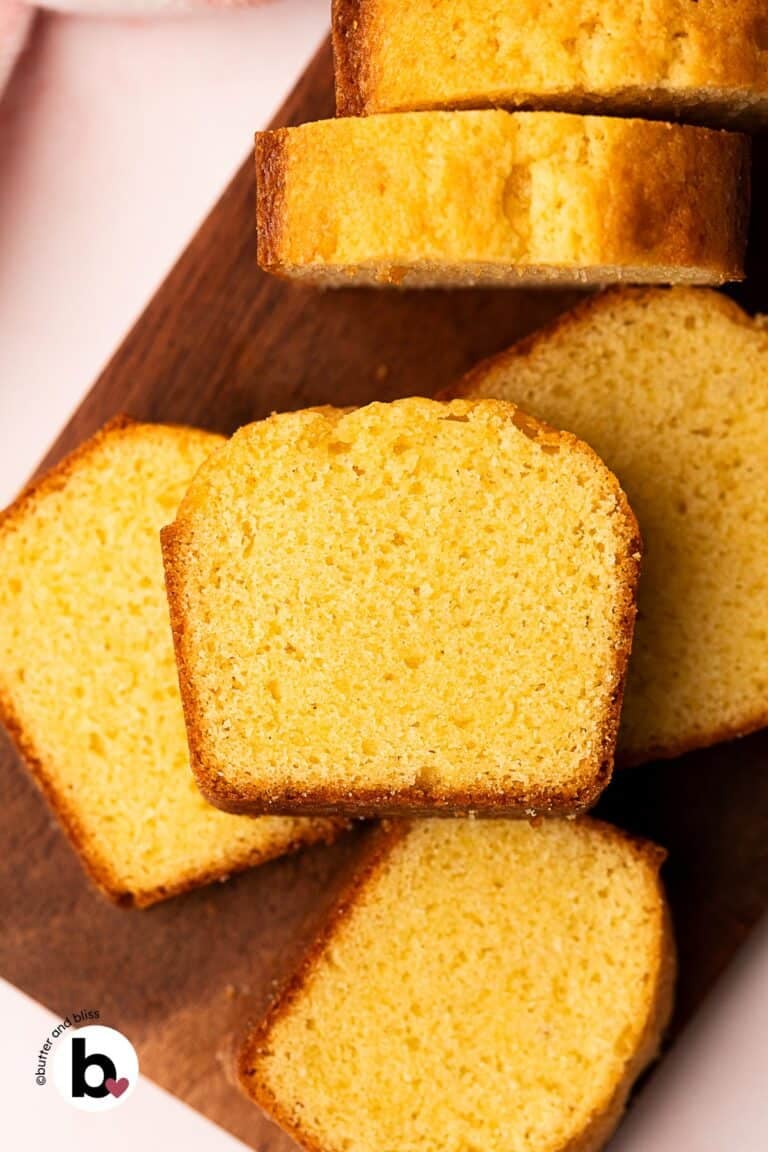
TRY THESE SMALL BATCH RECIPES NEXT!

About the Author …
Hi, I’m Erin! With years of experience baking for two in my own small household, I know about the love for desserts without the leftovers. I’ve tested, written, and photographed every one of the 300+ recipes on my website. And even had some of my desserts featured on Taste of Home, The Spruce Eats, ELLE, Parade, and more! From traditional to gluten free desserts for two, I have the recipe for you.
Click here to learn more about me →