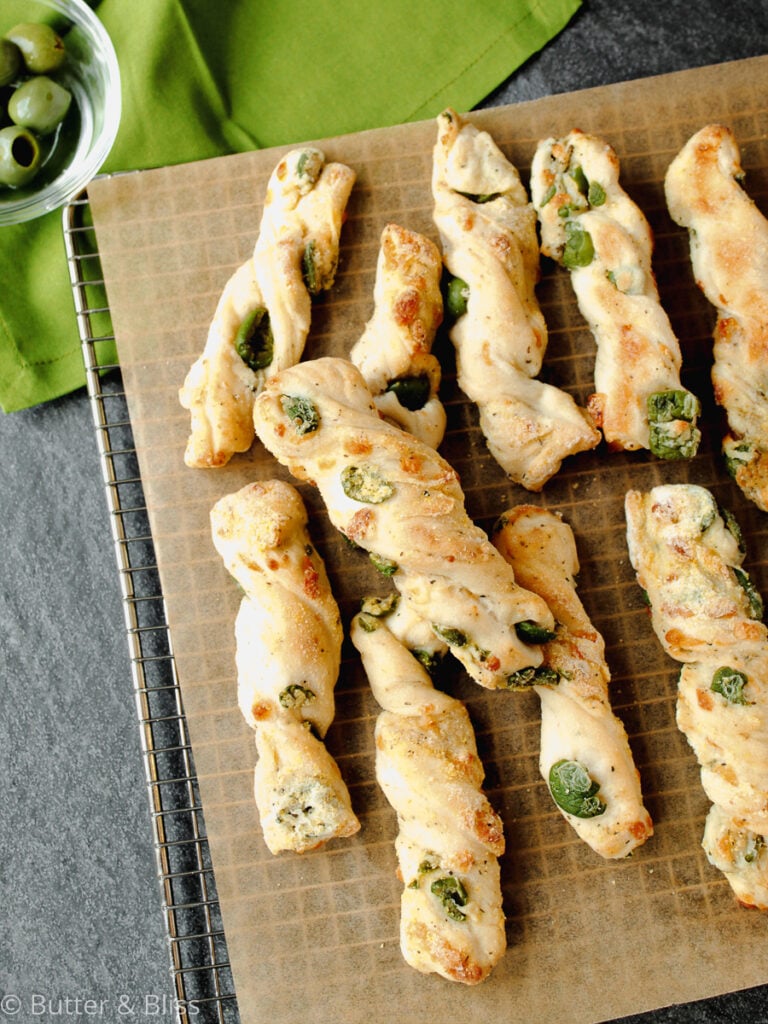
Asiago Olive Pizza Dough Breadsticks
This post may contain affiliate links. See my disclosure policy.
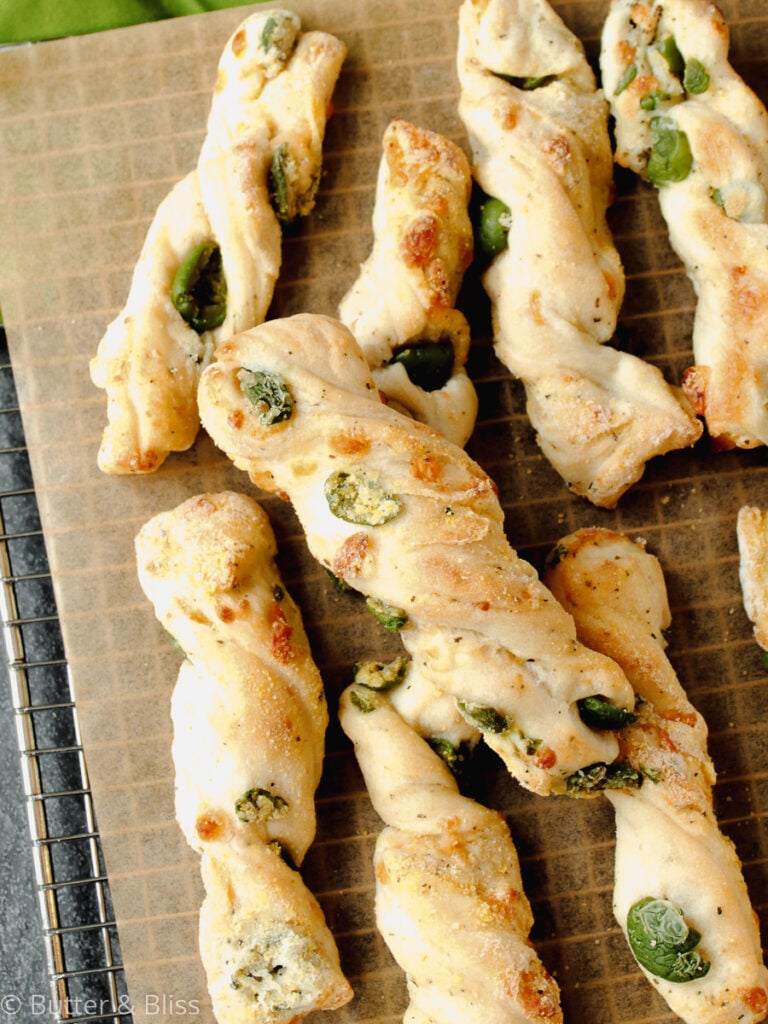
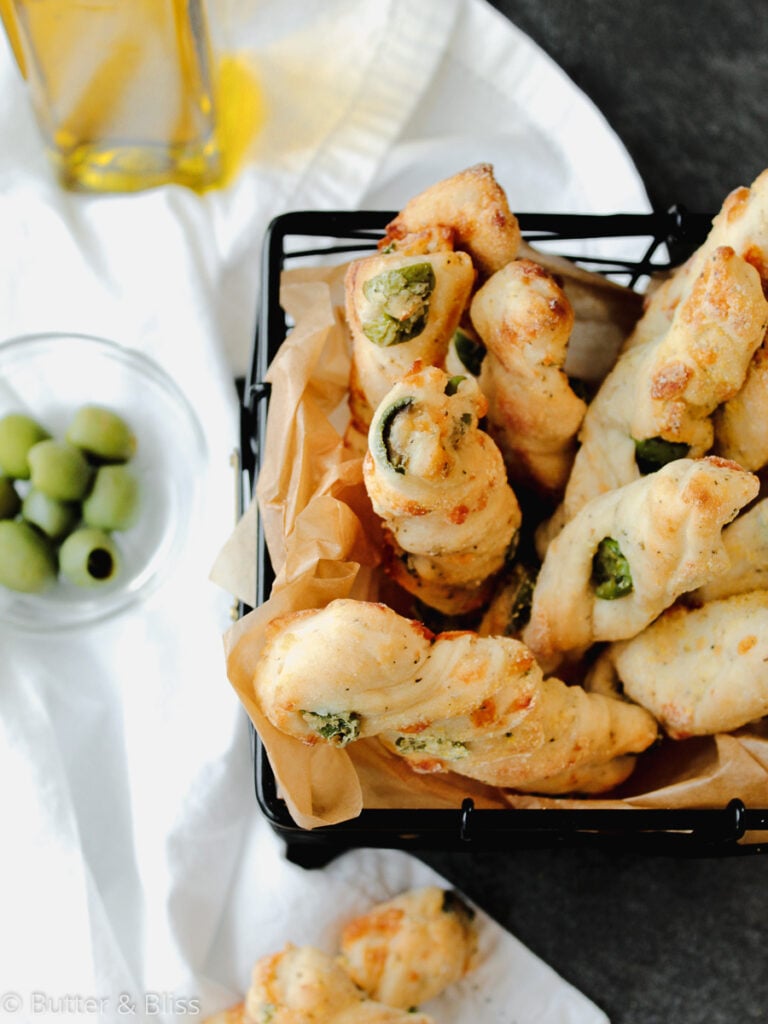
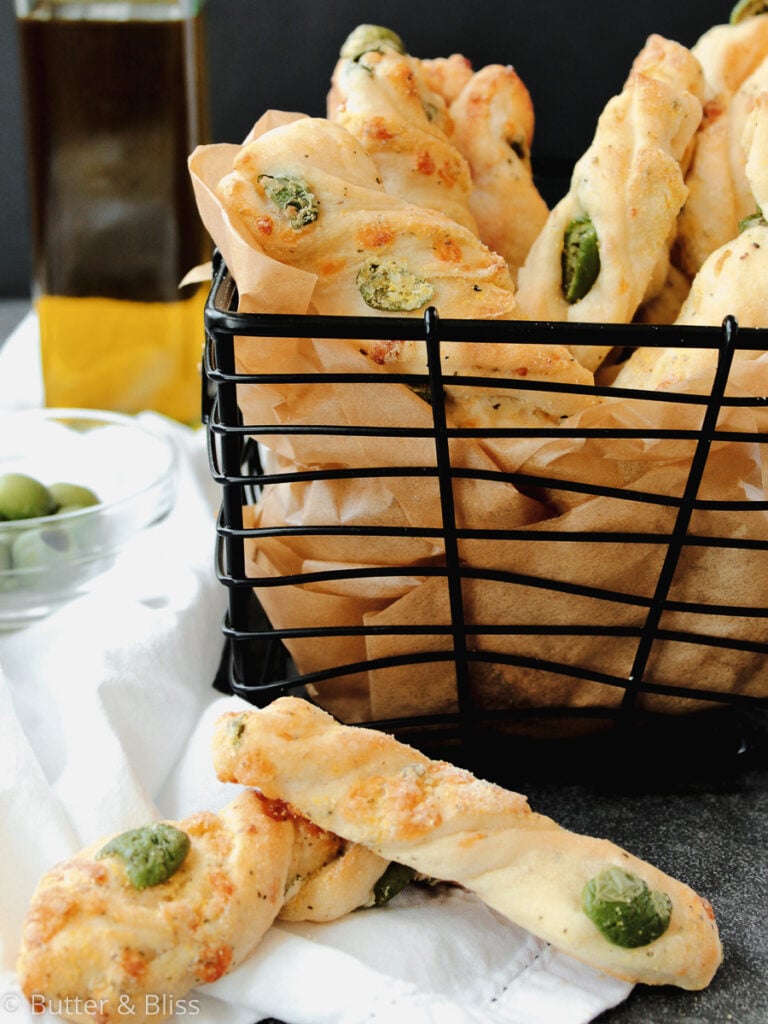
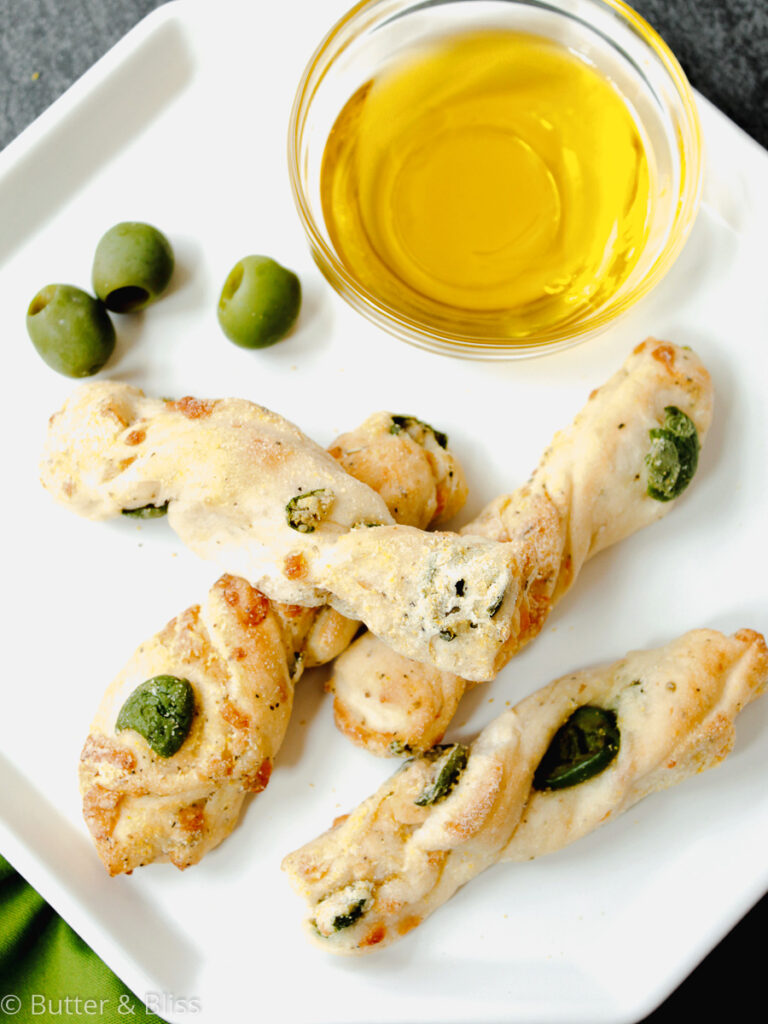
These Asiago Olive Pizza Dough Breadsticks are made with an easy dough that is also used to make pizza. The breadsticks are soft on the inside and crispy on the outside – just like the crusts of a pizza. Nutty asiago cheese is paired with briny and salty olives for a flavorful bite!
I was inspired to make this recipe from one of my favorites – The Great British Baking Show. I think having a good understanding of making bread and dough with yeast is an important component of baking. And breadsticks are an easy way to introduce yourself to working with yeast.
It may seem intimidating but I promise you, it shouldn’t be. It can get a little tricky knowing when your dough is ready, or ‘proofed’. But have no fear, the dough tells you it is ready when it has doubled in size. Quite an amazing site the first time.
Pizza Dough Breadsticks
The great thing about the asiago & olive pizza dough breadsticks is the dough is actually the same dough I used to make my Pizza Dough. Two birds, one stone. Love it!
With the pizza dough recipe, you can make a couple of flatbread pizzas with a side of breadsticks and have yourself one yummy dinner. The recipe for the dough will make 3 flatbread pizzas. So, all you have to do is divide the dough into thirds once it is done proofing.
Now, you do have to wait for the dough to be ready and proofed, which will take about an hour. Just be sure to plan your meal accordingly to have the piping hot dough goodness on the table in time to binge-watch The British Baking Show. 🙂
Flavor Ideas
Because this is a pizza dough recipe, you can be pretty creative with your add-ins for the breadsticks. I loved the contrast of a nutty cheese with salty and briny olives. The cheese leaves little specks of crispy melted cheese and the olives dehydrate a little but don’t burn. And the ones that get nestled inside the breadstick dough are like delightful little surprises. Some other combos I want to try:
- Cheddar and jalapeno
- Feta and sun-dried tomatoes
- Parmesan and pepperoncini
- Mozzarella and sausage or pepperoni (it took me a long time to come up with this one!)
- Swiss and caramelized onions
- Cinnamon and sugar
Helpful Tips
- Use bread flour – I have tried this recipe with all-purpose flour and while it will still make decent dough, it won’t have the same soft-on-the-inside-crunchy-on-the-outside texture.
- Dough can be temperamental – At times I have found that the temperature of my kitchen or the temp outside can impact how long it takes to proof. Also, how much flour/liquid is needed to bring the dough together. I have made notes about this in the recipe itself. A general rule – if the dough is still crumbly, add small amounts of liquid at a time. If it is too sticky and wet, add small amounts of flour at a time.
- There is no steadfast rule for the size of the breadsticks you make – You can make them as long or as short as you like. I think 6″ long is a good starting size.
- The baking sheets – I like to bake these all at once if I can, so I use larger ‘full-sheet’ (21″x15″) baking sheets. If you don’t have larger baking sheets, no worries. You just cover the waiting dough/breadsticks with a towel until your baking sheets are done with the first batch.
- Along with the baking sheets – the breadsticks don’t spread – as cookies do. So you can set them pretty close to each other on the baking sheets to line the baking sheets with many breadsticks. I would leave at least a 1/2-inch between them.
The most important thing is to enjoy yourself. Don’t worry if each breadstick doesn’t look identical or have the perfect ‘twist’ – they will still taste delish!

Asiago and Olive Pizza Dough Breadsticks
by Erin Cernich
Equipment
Ingredients
- 2 ¼ teaspoons active dry yeast (1 package)
- 1 teaspoon granulated sugar
- 1 cup water, room temperature
- 1 tablespoon kosher salt
- 3 tablespoons extra-virgin olive oil
- 3 cups bread flour (plus more for dusting)
- 4 to 5 ounces castelvetrano green olives, sliced in half (any olive of choice will work)
- 2 ½ cups asiago cheese, shredded (any cheese of choice will work)
Instructions
- In the bowl of a stand mixer fitted with the dough hook, sprinkle the yeast on the bottom then add the warm water and sugar – stir gently a couple of times to combine. Let the yeast sit for 5-10 minutes until it turns foamy.
- Turn the mixer on low and add the olive oil and salt. Begin to add the flour a little at a time, mixing on the lowest speed, until all the flour has been incorporated. Once the dough starts to come together, increase the speed to medium and mix until the dough gathers into a ball – about 5 minutes. Stop the mixer periodically to pull the dough off the hook and if the dough is still crumbly, add water a teaspoon at a time. If it is sticky, add more flour a couple of tablespoons at a time.
- Add the olives and shredded cheese and continue to mix until incorporated – about 2-3 minutes.
- Place the dough a large oiled bowl and brush the top lightly with olive oil as well. Cover with plastic wrap and a dry kitchen towel and set in a warm place to proof and rise until it has doubled in size – about 1 hour. You will know when the dough has been proofed when it has doubled in size and looks spongy.
- About half-way through the proofing time, preheat the oven to 425F degrees and line two baking sheets with parchment paper. If you have larger baking sheets, that will work best to bake the breadsticks all at once.*
- Once the dough has proofed, turn it out onto a lightly floured surface and gently stretch into a rectangle that is at least 6-inches tall (taller or shorter, depending on how long you want your breadsticks).
- Using a pizza cutter or knife, cut the dough into breadsticks, using the olives as your guide for the width – trying to avoid cutting the olives any further – at least 1-inch wide.
- Gently twist each breadstick a couple of times and place on the prepared baking sheets about 1/2-inch apart. This will give you room to line the baking sheets with many breadsticks. Note – If you are using smaller baking sheets and can not fit all of the breadsticks on the baking sheets, cover the waiting breadsticks with a kitchen towel until the baking sheets are done baking the first batch.
- Bake for 15-20 minutes, or until the breadsticks turn golden and crisp. Cool slightly on a wire rack, and serve warm. Enjoy!
Notes
- Breadstick Add-In’s – You can substitute the breadstick add-in’s with any ingredient you choose. Cheddar cheese, Monterey jack, parmesan, sun-dried tomatoes, jalapenos, pepperoncini – so many combinations.
- Saving some Dough – If you do not want to make that many breadsticks, you can divide the dough in half or in thirds after it is done proofing – just be sure to adjust your breadstick add-in’s accordingly. For dough that you are not baking immediately, cover tightly in plastic wrap, put in a Ziploc bag and refrigerate for up to 1 day. Any longer and the dough will start to get tough and chewy when baked.
Nutrition Estimates
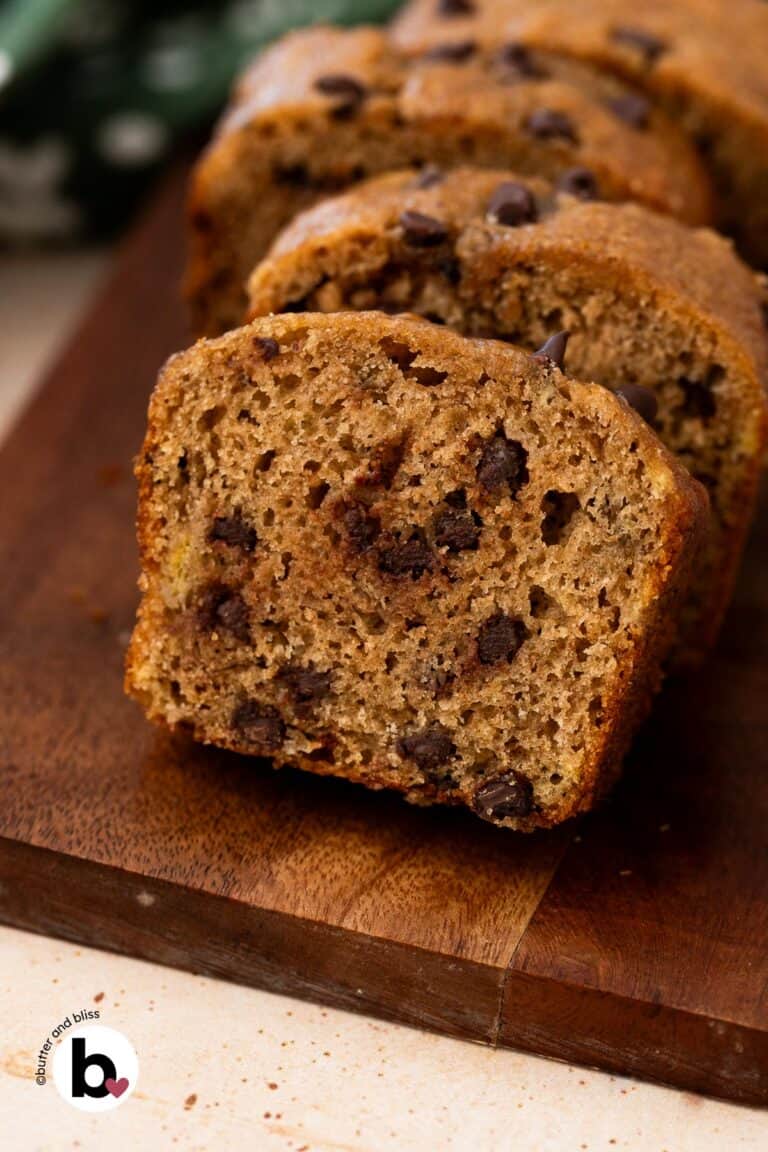
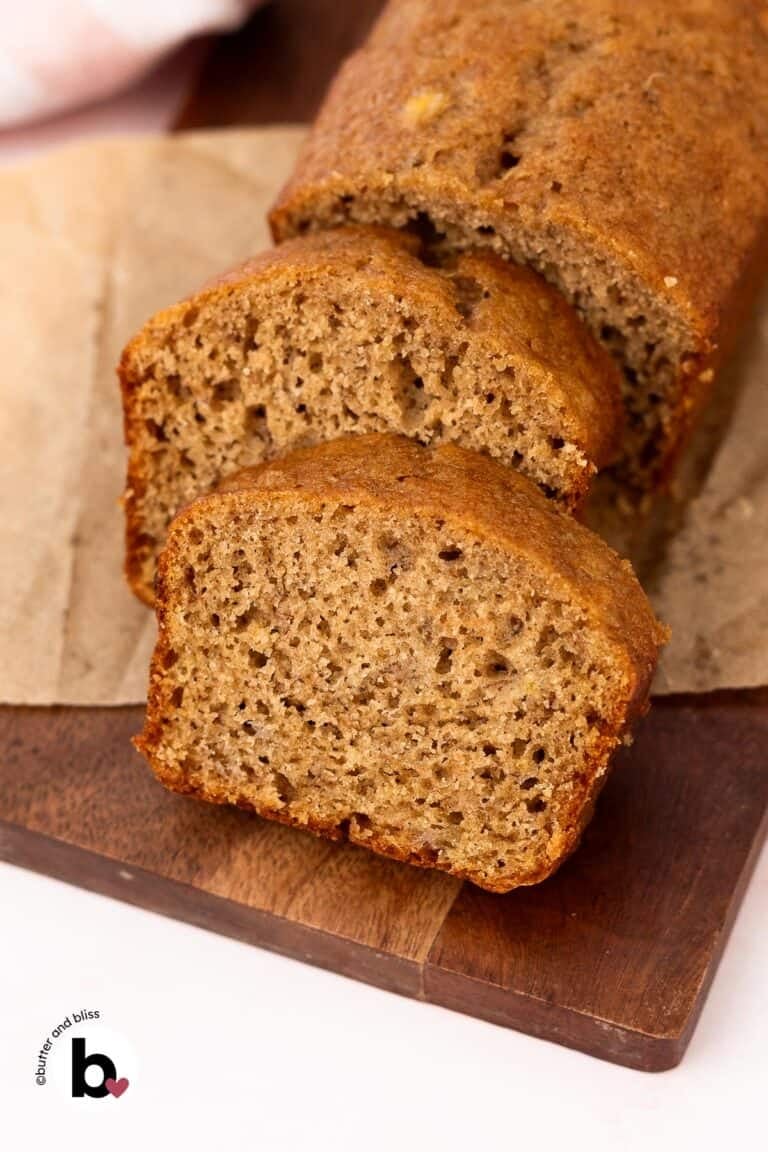
TRY THESE SMALL BATCH RECIPES NEXT!


About the Author …
Hi, I’m Erin! With years of experience baking for two in my own small household, I know about the love for desserts without the leftovers. I’ve tested, written, and photographed every one of the 300+ recipes on my website. And even had some of my desserts featured on Taste of Home, The Spruce Eats, ELLE, Parade, and more! From traditional to gluten free desserts for two, I have the recipe for you.
Click here to learn more about me →
For once my breadsticks were perfect. Thank uou👍
Awesome – thanks so much Julie! So glad you enjoyed the recipe!