Dairy Free Blackberry Mousse
This post may contain affiliate links. See my disclosure policy.
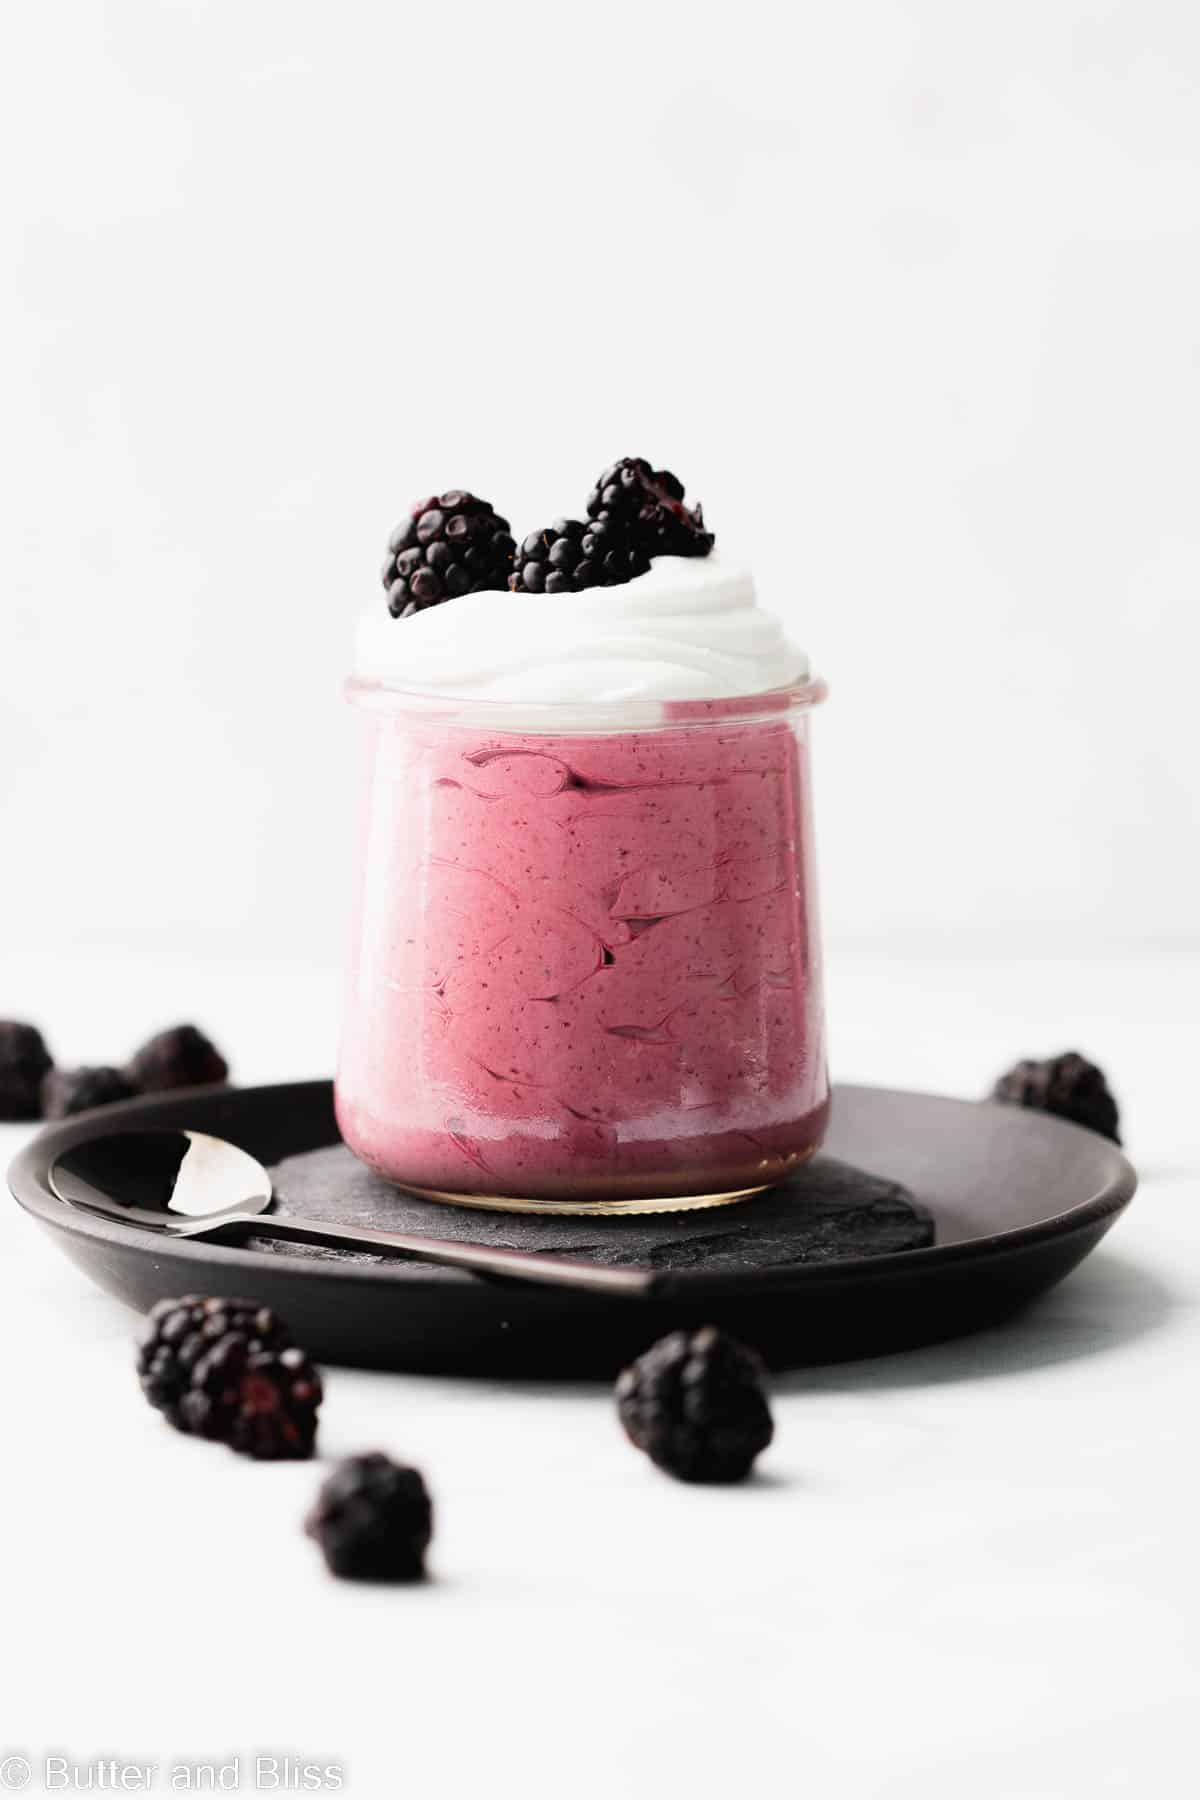
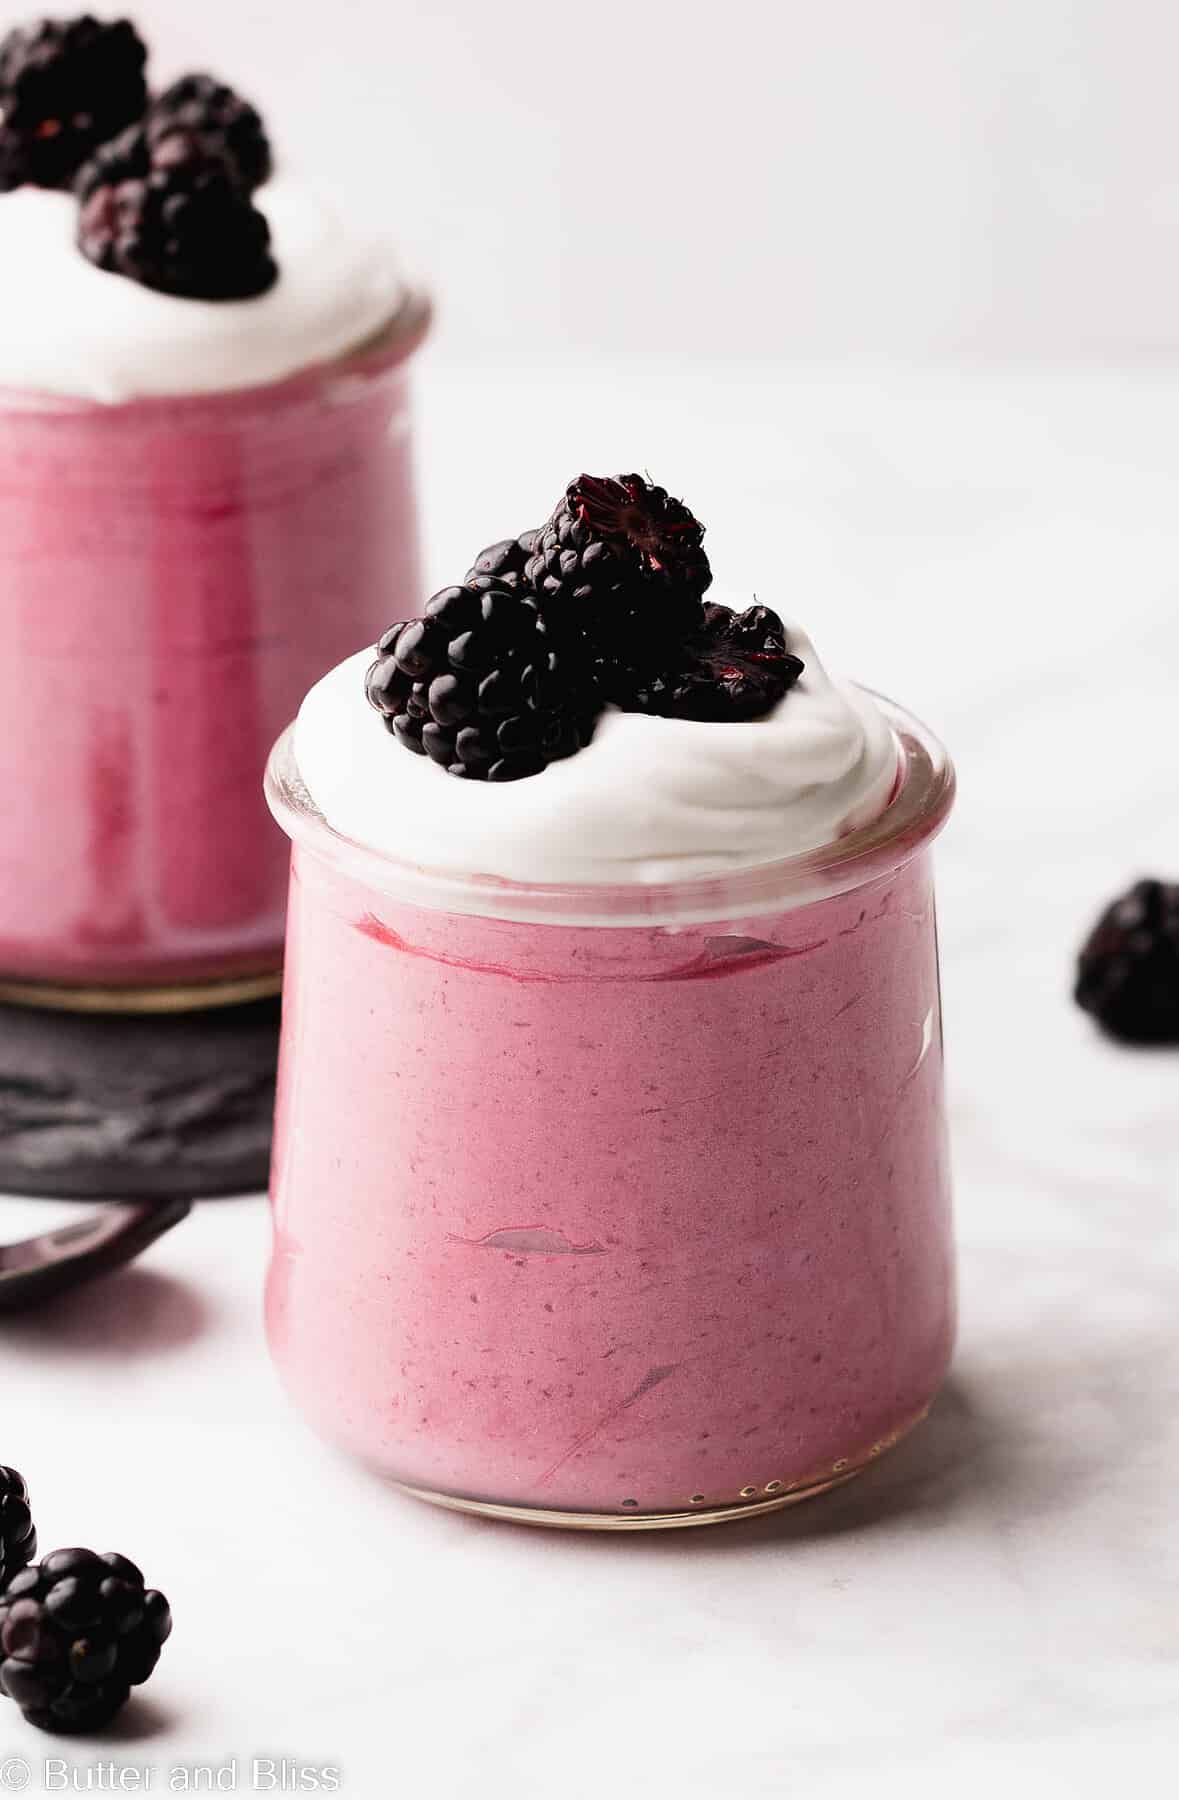
Creamy, dairy free blackberry mousse is your answer to a beautiful summer dessert without all the effort! With only 6 ingredients needed – and that includes water! – the fruit mousse is incredibly easy to make, with no baking required. The mousse is bright, velvety, and a certain showstopper at your next summer event!
We have mango mousse, cherry mousse, and peach mousse. And now this blackberry dairy free mousse joins the cool club!
Likely when you hear the word mousse, you immediately go to a chocolate mousse. But chocolate shouldn’t have all the fun when it comes to one of the easiest and most delightful desserts. Fruit is transformed into a dreamy dessert anytime you combine it with whipped cream!
Why You’ll Want To Make This Velvety Dessert
- Only 6 ingredients! – And that includes the water!
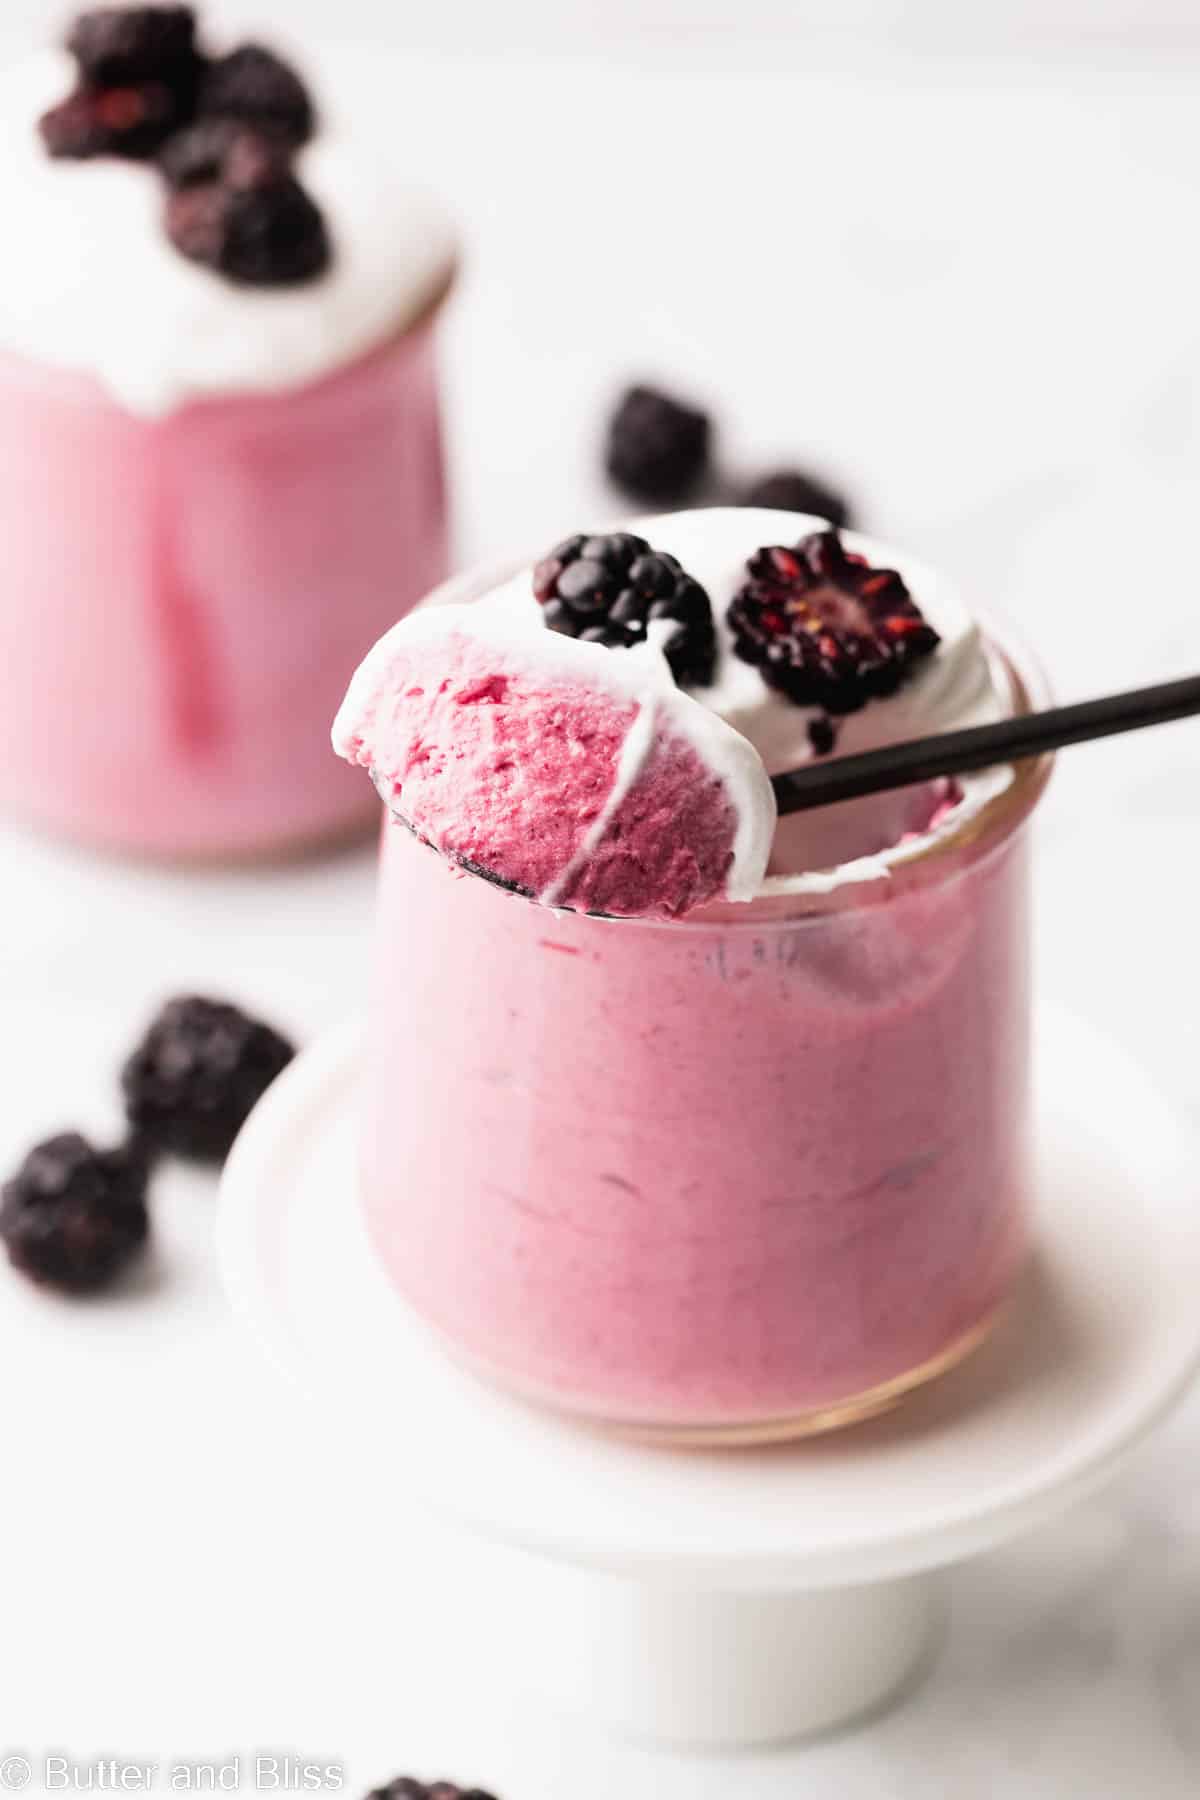
- Super creamy – The whipped coconut cream makes the mousse smooth and velvety.
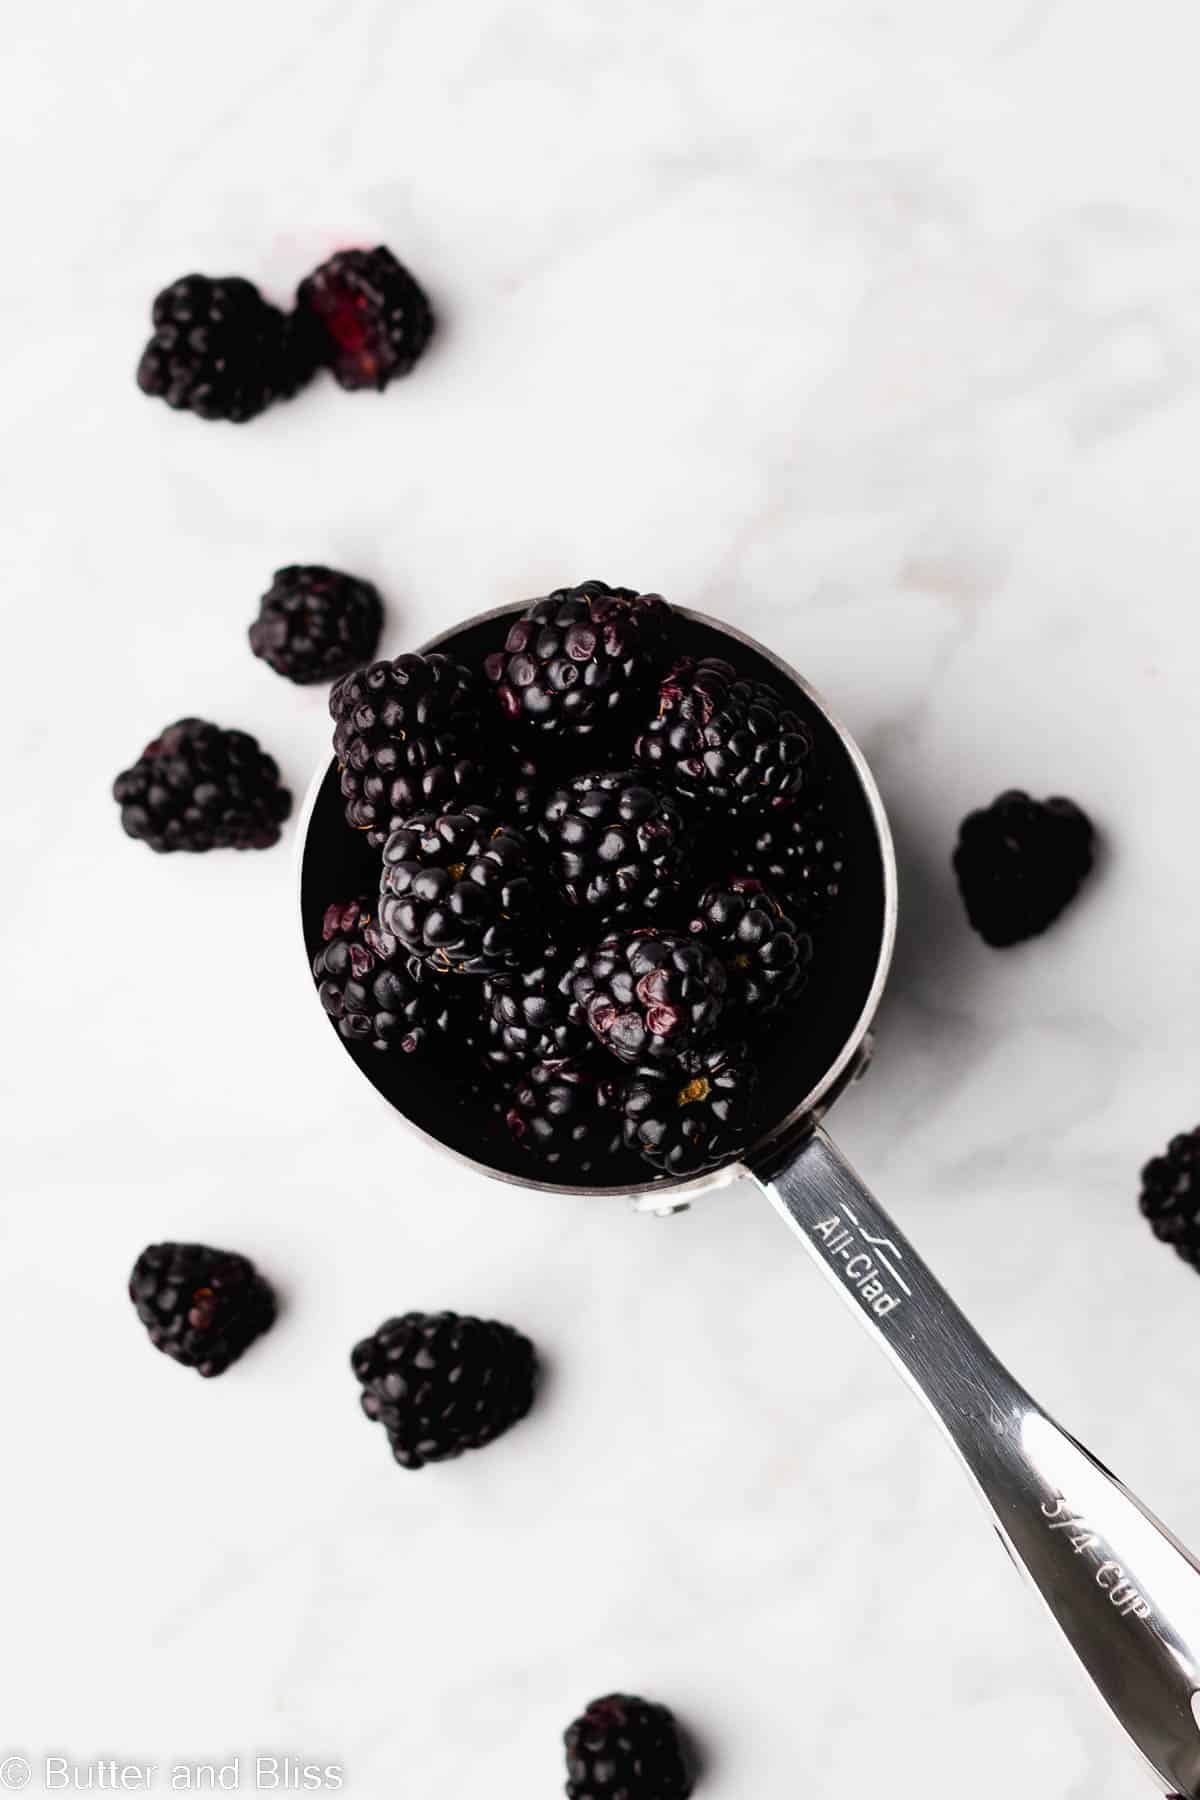
- Bright fruit flavor – Blackberries are the star in this creamy fruit dessert since they are the only key ingredient!
- No-bake summer dessert – I’m all for a dessert that doesn’t require me to turn on the oven on a 90-degree day!
- Portable – The mousse is sweet in flavor and style! I’m a fan of carrying around too cute desserts – just like my strawberry smore’s parfait.
Tips For Super Creamy Blackberry Mousse
- Strain the fruit – Especially with a fruit like blackberries, you will want to take the extra step to get all of the seeds out. Unless you’re a fan of chewing on the crunchy seeds!
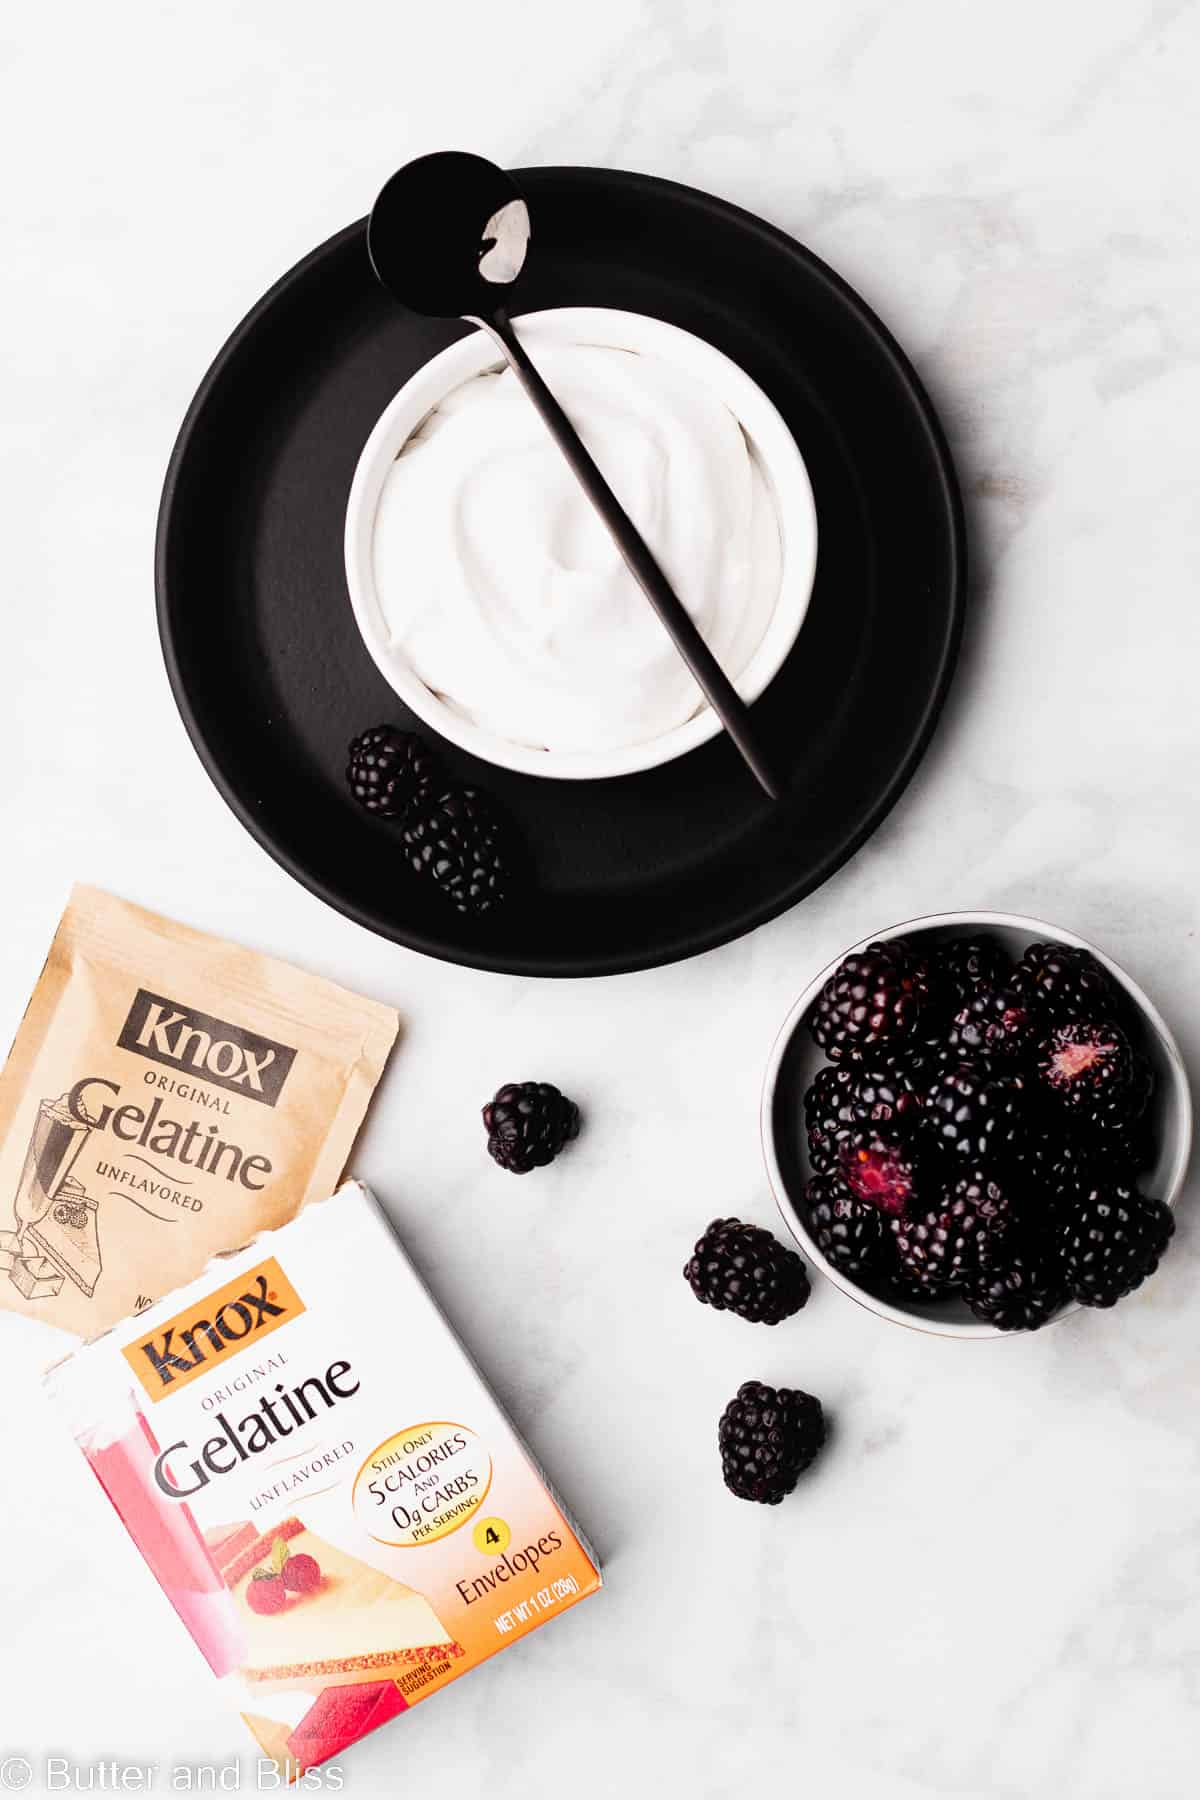
- Use coconut milk – Dairy milk will certainly work. However, I find when a can of coconut milk is whipped into a cream, it is much more thick and creamy. Which is probably why I use it so much when I want whipped dairy-free cream!
- Give it time to chill – We want to give the gelatin time to help the mousse set, and that will take some time. Just think of how long you had to wait to eat the Jell-O your Mom made when you were a kid!
- Top with extra whipped cream – For a little extra cream, the whipped cream also makes for a pretty dessert.
Is Dairy-Free Mousse Just As Creamy
It certainly is! In fact, I will go as far as to say it is creamier.
Now, I love traditional whipped cream. I even love to put it on my fudgy brownies. But I do find dairy whipped cream deflates much faster than whipped coconut cream.
I’m sure it has something to do with the fat content and the fact that we are whipping straight coconut solids. But what is even better (in my opinion!) is that whipped coconut cream will actually get firmer when it is chilled in the refrigerator. This makes eating spoonfuls of it delicious or making your overnight caramel banana oats ridiculously creamy!
Recipe FAQ
While it may work, the flavor will likely overpower the fruit.
You can swap the honey for a different sweetener. And while I don’t have experience with it, you can try using agar agar instead of the gelatin. Follow the instructions on the package to substitute.
Dairy Free Blackberry Mousse
by Erin Cernich
Equipment
- 2 Serving Glasses
Ingredients
- 8 ounces fresh blackberries
- 1 teaspoon lemon juice
- 3 tablespoons honey (or any sweetener of choice)
- 1 ½ tablespoons water
- 1 teaspoon unflavored gelatin powder
- 13.5 ounces unsweetened canned coconut cream, full fat (1 can, refrigerated overnight; only use the coconut solids from the can)
Instructions
- In a blender, add the blackberries, lemon juice, and honey. Puree until light and smooth. Keep in the blender and set aside. Optional – Reserve some blackberries as a topping.8 ounces fresh blackberries, 1 teaspoon lemon juice, 3 tablespoons honey
- In a small prep bowl, add the water. Sprinkle the gelatin over the top, let sit for 5 minutes to allow the gelatin to bloom – it will resemble a firm gel when ready. Then, heat the bloomed gelatin to a liquid in the microwave – only about 5 to 10 seconds.1 ½ tablespoons water, 1 teaspoon unflavored gelatin powder
- Pour the liquified gelatin into the blackberry puree in the blender and mix for another 30 to 45 seconds – until all ingredients are thoroughly blended.
- Strain the blackberry puree through a fine mesh strainer set over a bowl – to remove the seeds. Cover the bowl and chill in the refrigerator until is starts to thicken. About 1 hour.
- While the blackberry puree is chilling, make whipped cream with the coconut milk. Add the coconut cream solids to a medium mixing bowl. Using a hand held mixer, beat until soft peaks form. Set aside in the refrigerator until ready to use. Note – Sweetening the whipped coconut cream is optional. If you prefer a sweeter dessert, add a tablespoon of honey to the whipped cream as you are whipping it.13.5 ounces unsweetened canned coconut cream, full fat
- Once the blackberry puree has thickened, add 3/4 cup of the whipped coconut cream. Gently fold the mix together until no streaks remain. The mousse will be the consistency of the whipped cream and will continue to firm as it chills. Set aside any remaining whipped cream in the refrigerator, to use as a topping.
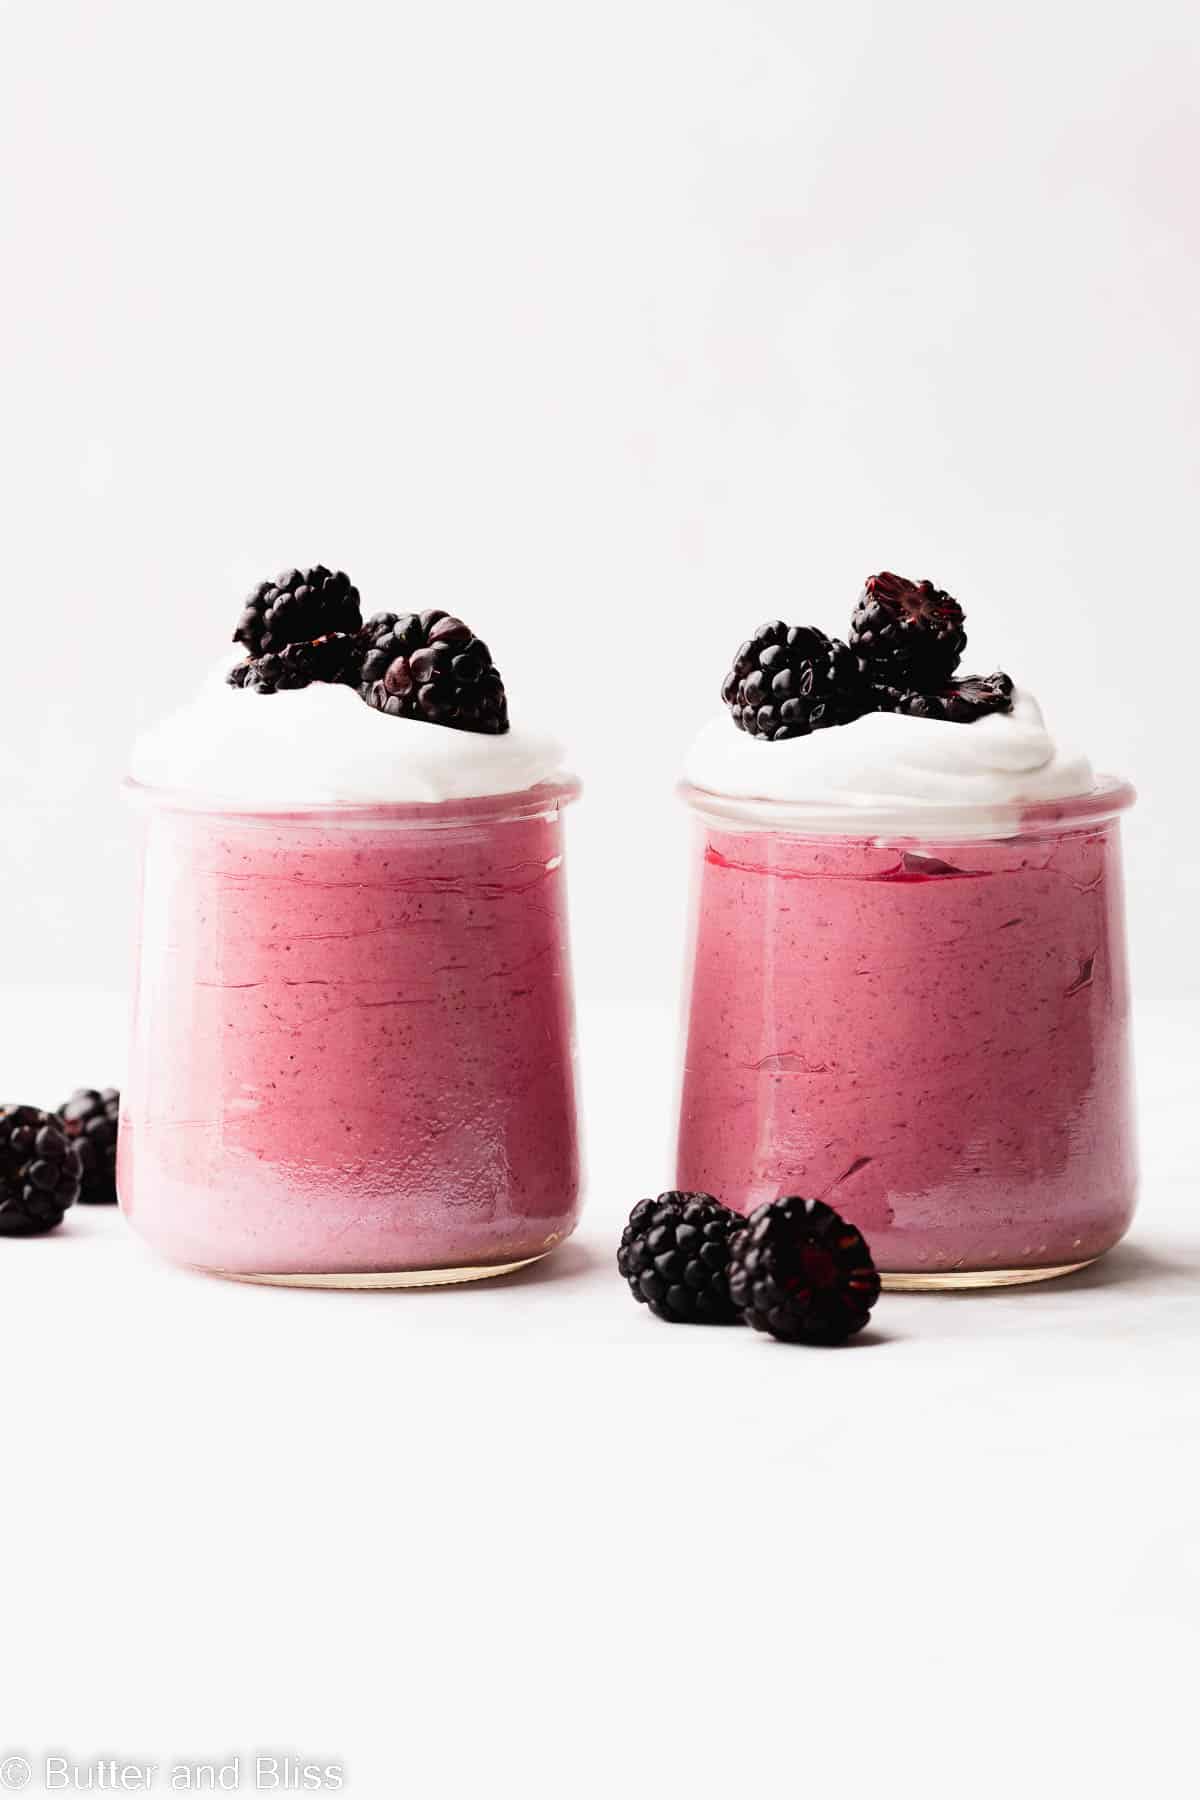
- Equally portion the mousse into the serving glasses. Cover and chill for at least 3 hours to allow the mousse to set. When ready to serve, top the mousse with the reserved whipped cream and blackberries. Enjoy!
Notes
- Serving Size – This is a small batch recipe that can be doubled.
- Whipped Cream – I prefer whipped coconut cream for a creamier whipped cream. However, you can swap in dairy whipped cream.
- Sweetener – Swap in any sweetener of choice. Taste test as you go and add more sweetener to get desired sweetness. Keep in mind, the fruit is inherently sweet and too much sugar will overpower the fresh fruit flavor.
- Chill Time – Refrigerate for at least 4 hours total to give the mousse time to set. Overnight is also a great option.
- Strain the Puree – I recommend straining the fruit puree to remove the seeds and for a super smooth mousse.
Nutrition Estimates
TRY THESE SMALL BATCH RECIPES NEXT!


About the Author …
Hi, I’m Erin! With years of experience baking for two in my own small household, I know about the love for desserts without the leftovers. I’ve tested, written, and photographed every one of the 300+ recipes on my website. And even had some of my desserts featured on Taste of Home, The Spruce Eats, ELLE, Parade, and more! From traditional to gluten free desserts for two, I have the recipe for you.
Click here to learn more about me →