Small Batch 6-Inch Vanilla Cake
This post may contain affiliate links. See my disclosure policy.
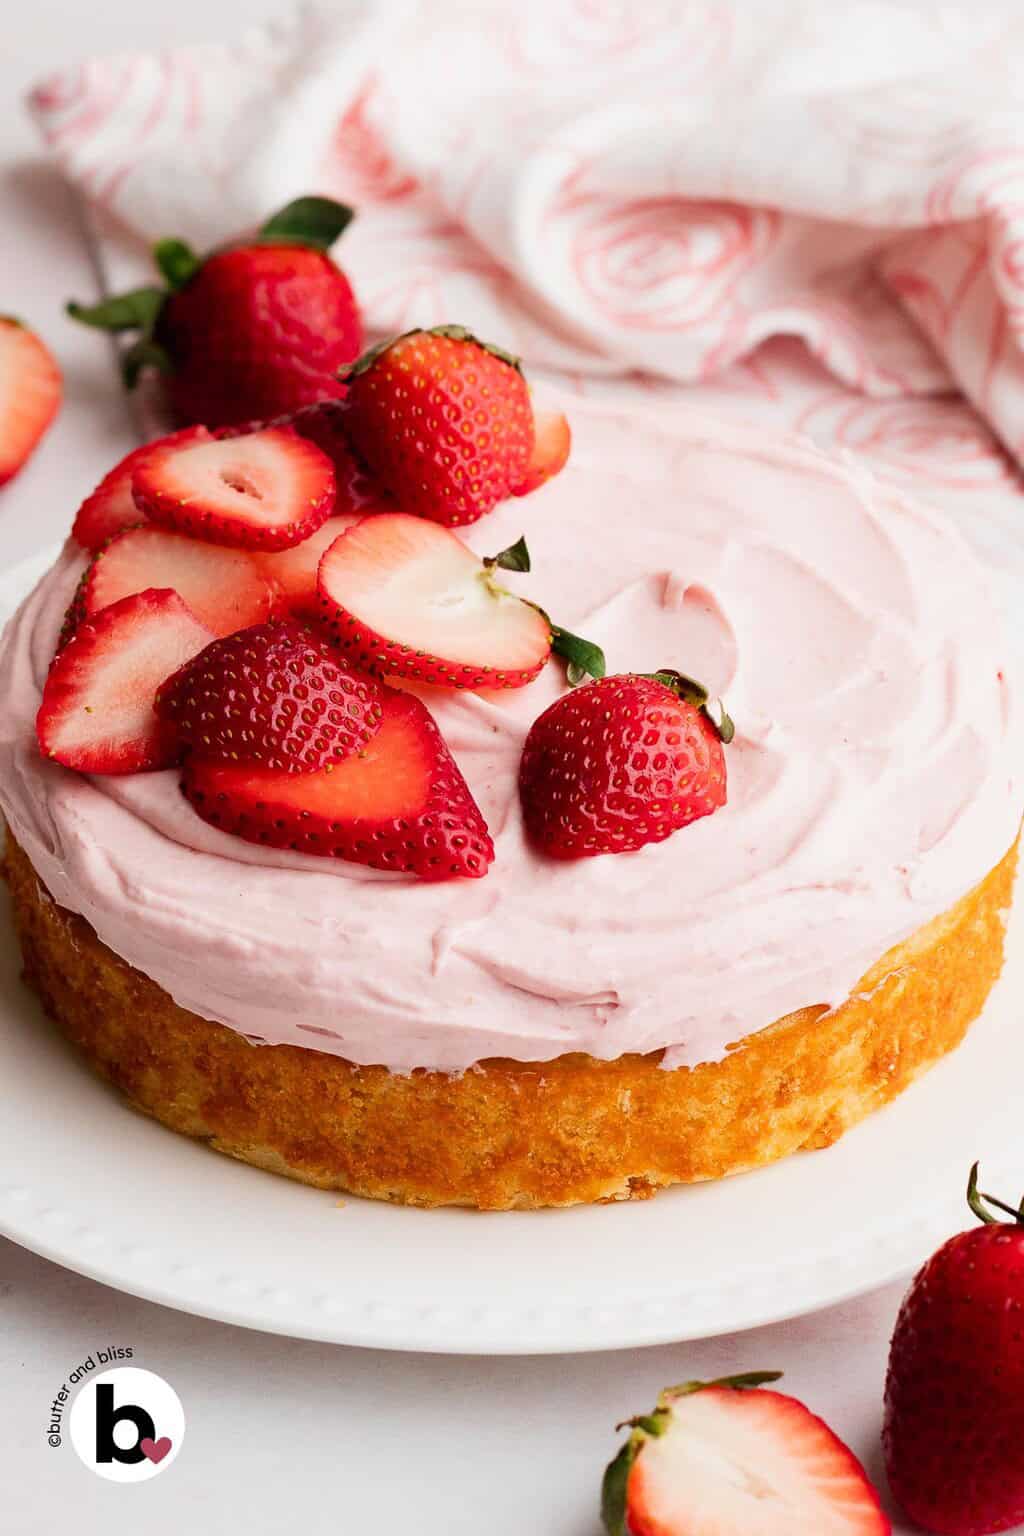
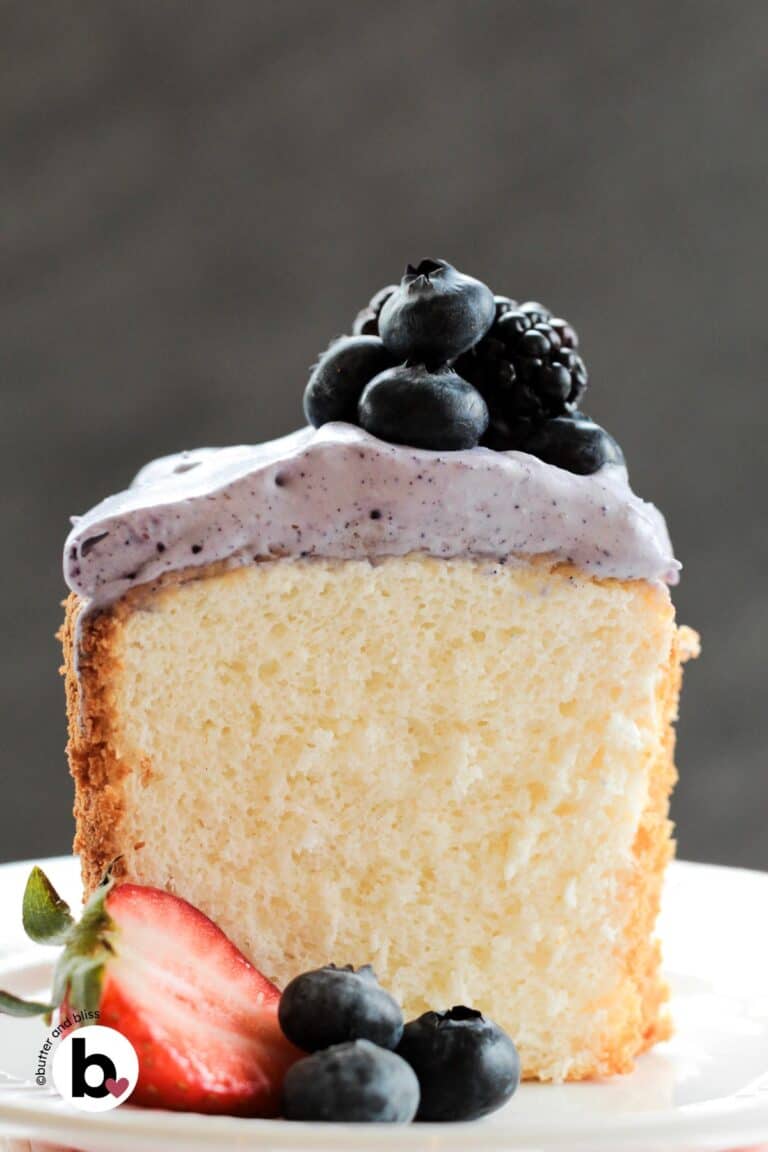
This small vanilla cake is like the classic birthday cake you remember. Soft, plush, and enough room for a generous swirl of fluffy frosting. The batter comes together easily in about 15 minutes with a combination of butter, oil, and buttermilk to yield a tender cake that stays moist for days. The mini cake delivers nostalgic vanilla flavor that tastes exactly like what a from-scratch cake should.
FEATURED REVIEW
“It turned out great! I didn’t use a mixer…mixed by hand. Very moist and spongy cake. Excellent instructions…thank you!” ★★★★★ Jen
My Quest For the Perfect Vanilla Cake

I love cake. And just like my mini chocolate cake, I was on a quest to make a vanilla version that had deep vanilla flavor, and a pillowy, moist crumb … you know the kind. Like the sheet cakes you buy at the grocery that almost melt-in-your-mouth (but without all the ingredients you can’t pronounce). This is that cake.
I have a small batch of vanilla cupcakes that I adore, but the volume of that batter would yield a pretty thin cake.
It took some trial and error to get here. I tried various methods to find the perfect balance of moisture and fluffiness. The winner: instead of normally creaming butter and sugar, add the butter to the dry ingredients first. This method of mixing — reverse creaming — produces a tight and soft cake crumb.
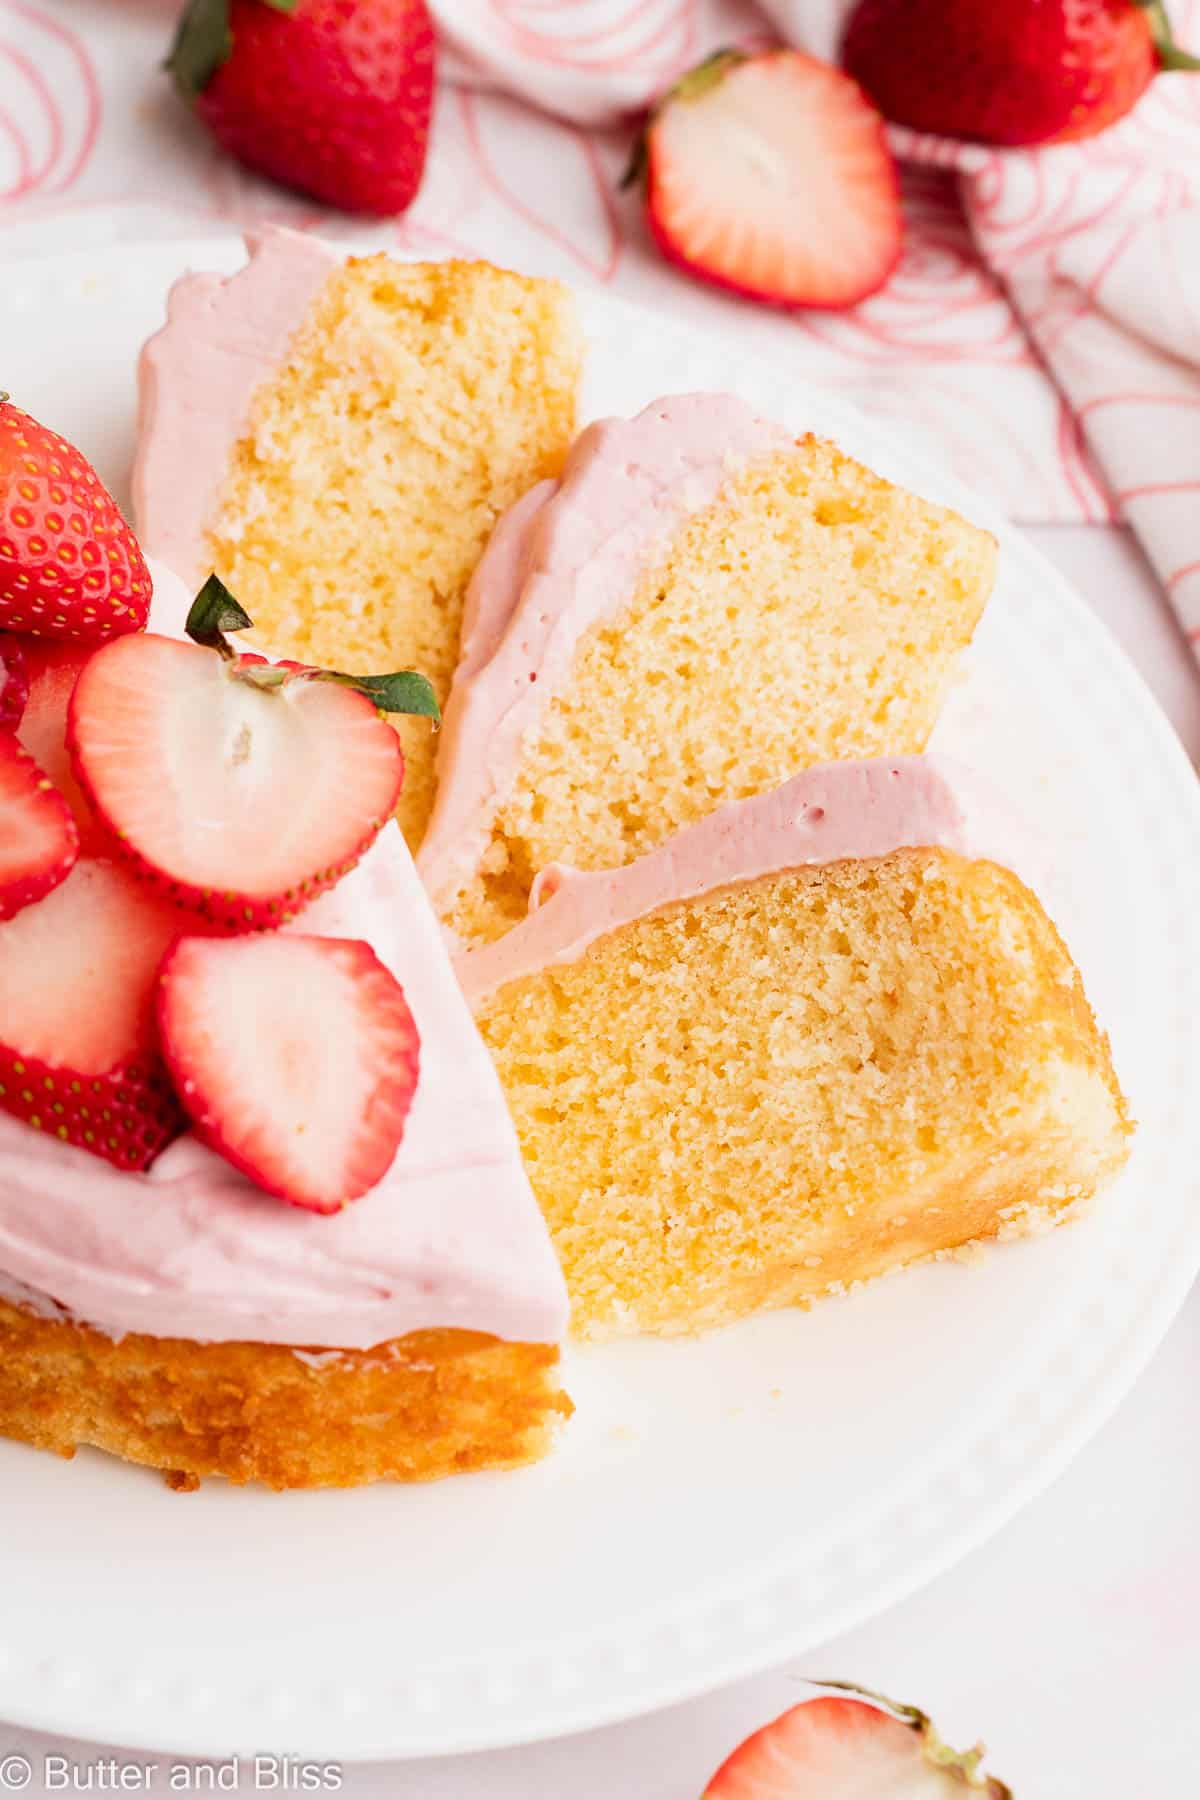
Once I declared the winner, I paired it with my fluffy strawberry whipped cream frosting. But really, the cake is so versatile, it can be combined with any flavor frosting you like.

Behind the Scenes: Vanilla Cake Testing
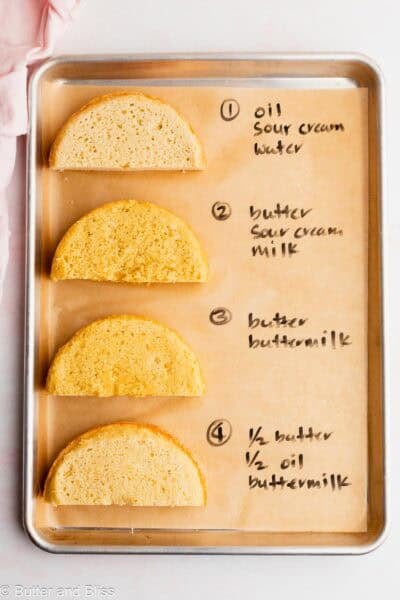
Getting to this soft 6-inch vanilla cake took a few rounds of testing, and here’s what did and did not work.
- Test 1 – I used water instead of milk and added sour cream to add fat. The result: The cake was pretty dense and compact.
- Test 2 – The traditional creaming method, along with milk and sour cream for moisture. The result: Soft texture, but not light enough. With a small amount of butter, there simply isn’t enough mass for the mixer to cream properly and yield a light and airy texture.
- Test 3 – Sour cream was replaced with buttermilk to help tenderize the crumb. The result: Very similar to test 2.
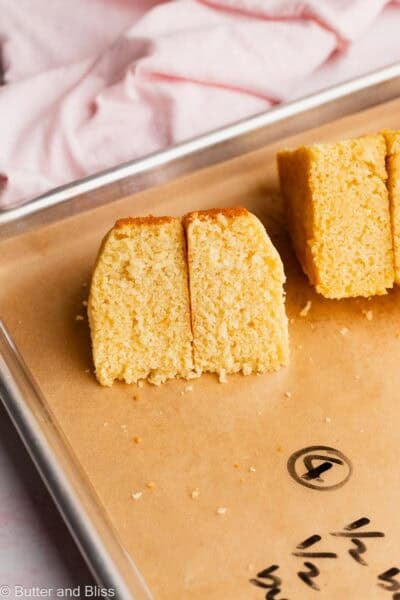
- Test 4 – I introduced oil because it makes the cake incredibly moist. To make sure the cake wasn’t dense, I used half butter and half oil along with buttermilk to make the cake soft. Winner, winner, cake for dinner!
How To Make A Small Vanilla Cake
Before you start, pull the refrigerated ingredients out about 30 to 60 minutes ahead of time. Room temperature butter, egg, and buttermilk are a must. They need to be at the same temp, somewhere between 65F and 72F degrees, to work together properly.
Cold butter won’t break down evenly into the flour, and those uncoated pockets can bake dense and heavy rather than soft and tender. Cold egg or buttermilk can shock the batter and throw off the emulsification you’re working to build.
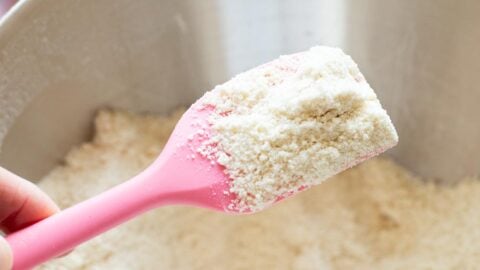
Once everything is ready, mix the dry ingredients, including the sugar. Add the butter and mix until the texture is sandy — this is the reverse creaming method, where the fat coats the flour first and limits gluten development. Don’t rush this step. If you see big chunks of butter, keep mixing. This step can take 1 to 2 minutes.
I use this method for a handful of my small batch cupcake recipes, and it consistently yields an airy and tender crumb.

Add butter to the dry ingredients for reverse creaming. After mixing, the mixture will be soft and sandy.


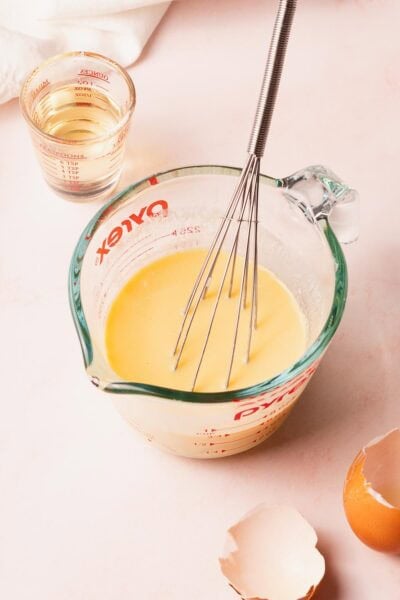
Next, I like to mix all the wet ingredients in a liquid measuring cup to make them easy to pour. Measure out the buttermilk, add the egg, oil, and vanilla, then give the mixture a good whisk to combine.
Drizzle the liquid ingredients over the dry and mix until no flour streaks remain and the batter is smooth — at least 60 seconds. Mixing until smooth means the ingredients have properly emulsified, and that’s what produces the soft, cotton-like crumb.
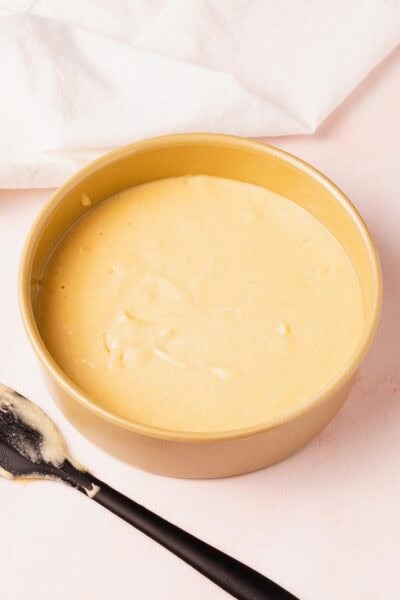
An under-mixed batter will bake unevenly, so take the time to mix and scrape down the bowl as needed to make sure nothing is stuck on the bottom. The batter will be a typical drippy cake batter. A couple of small lumpy bits are fine, but you don’t want to see streaks of flour.

Pour the batter into the prepared 6-inch pan and bake the cake for about 30 minutes. It will be springy to the touch, and the edges will be golden.
The cake should cool in the pan for about 10 minutes, then be inverted to cool completely on a cooling rack.

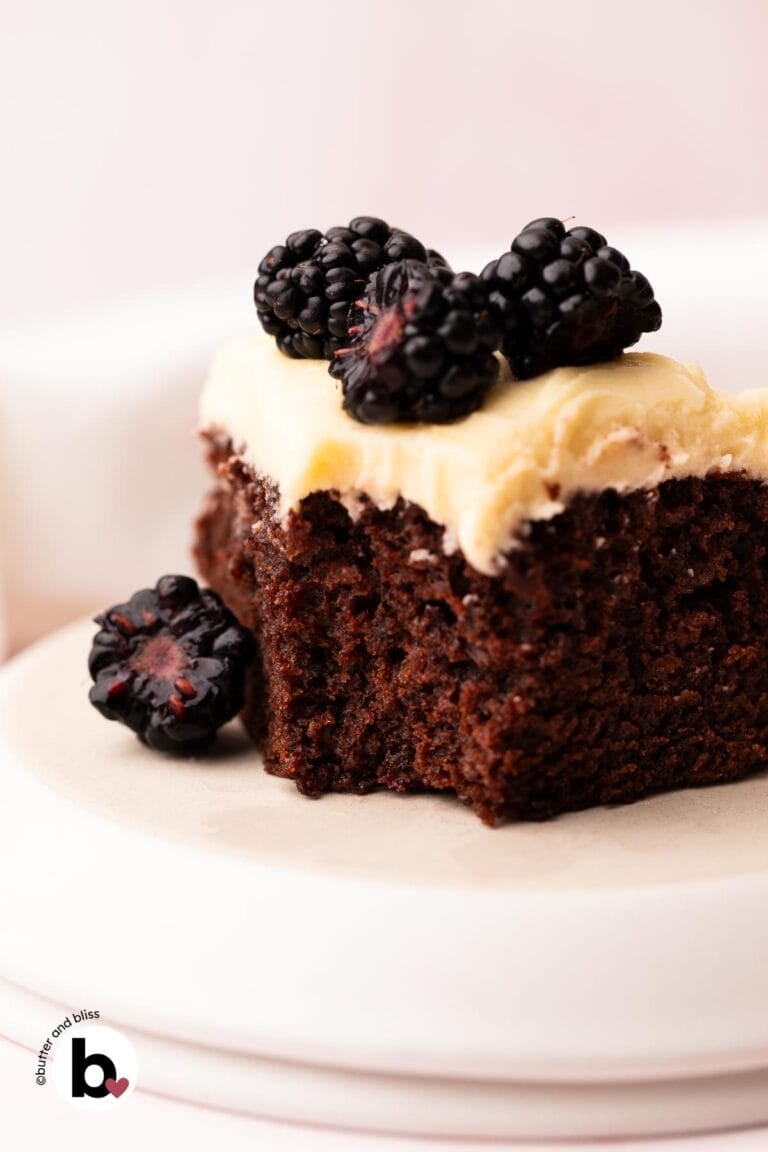
Once the mini vanilla cake is completely cool, it’s ready to frost. And that part? Entirely up to you. I’ve given you a strawberry option, but you can keep it simple and go with my small batch of vanilla buttercream or fluffy chocolate buttercream.
What To Expect With This Small Vanilla Cake
This small batch vanilla cake will rise with a gentle, domed top. If you prefer a flat surface, trim the top with a serrated knife — otherwise, leave it as is and spread it generously with frosting.
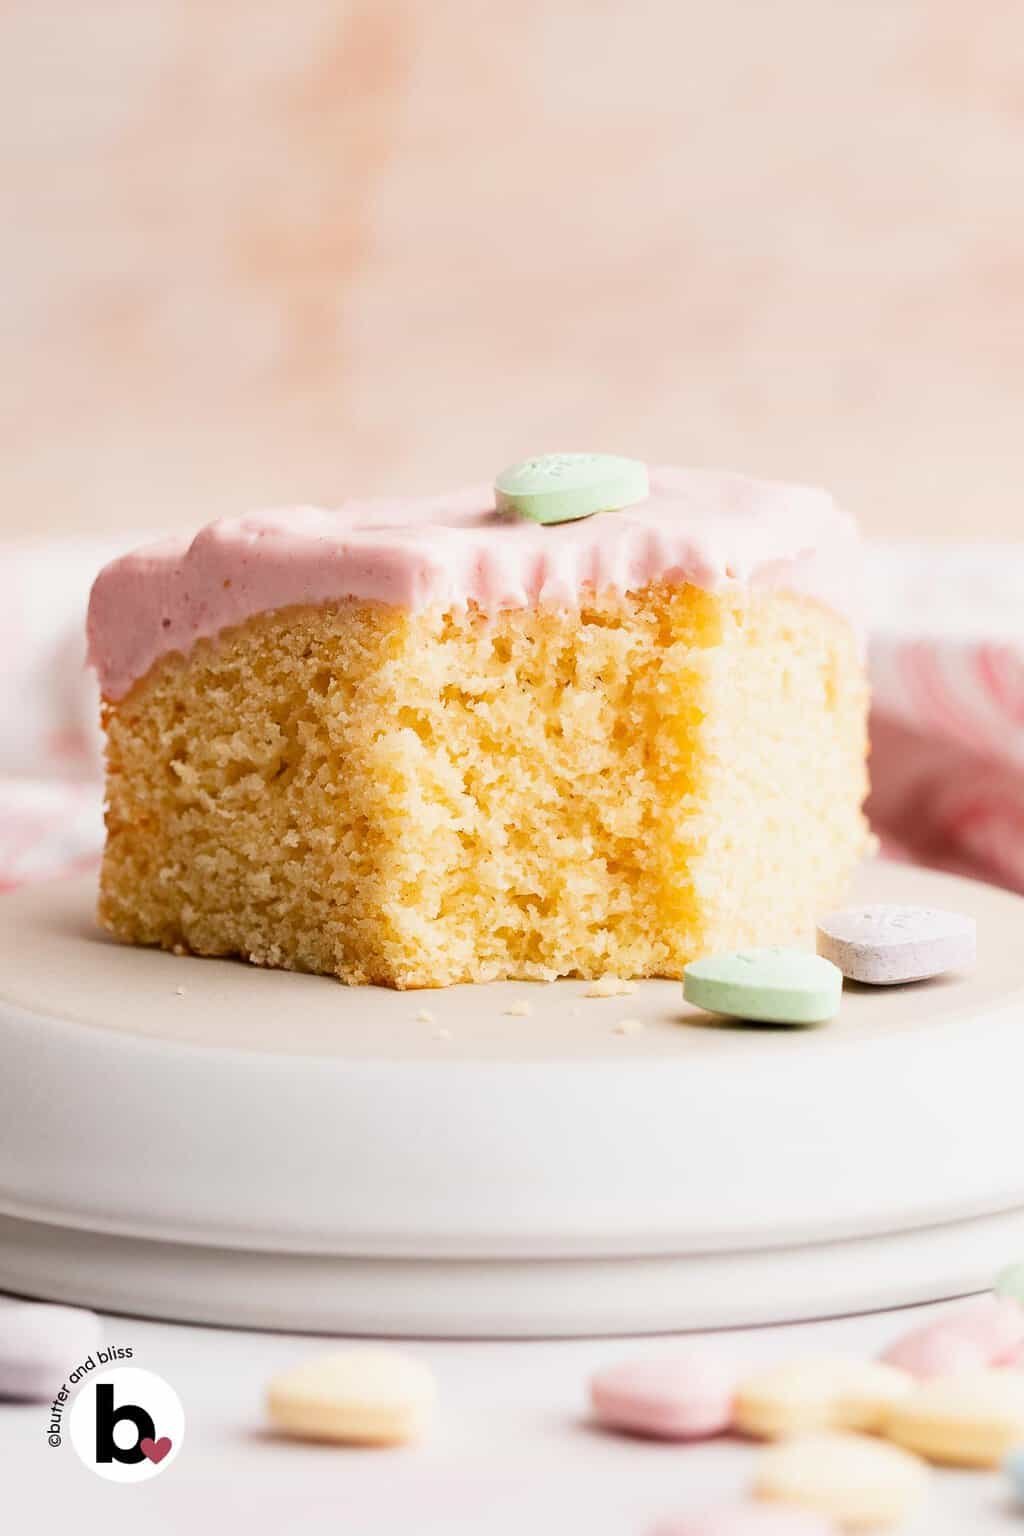
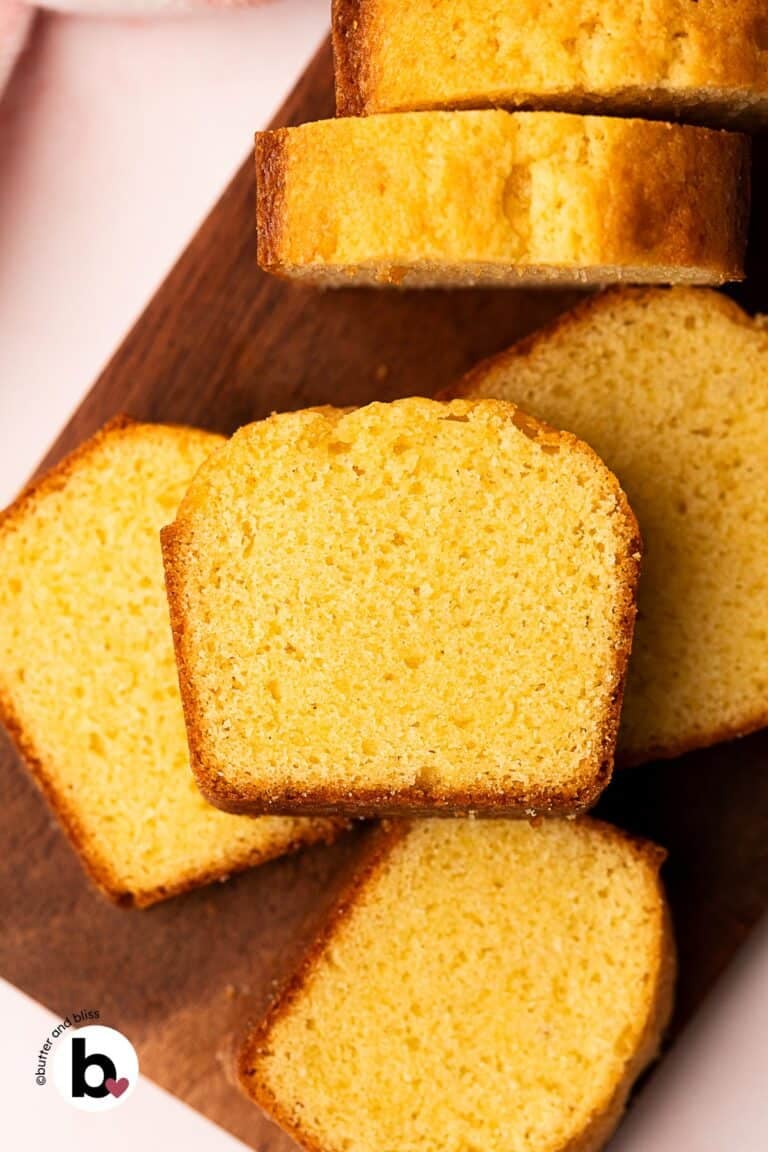
Once cooled, the cake slices cleanly into 4 to 6 slices. The interior will have a fine crumb, free from a lot of pockets and holes, thanks to the mixing method. The cake is beyond soft, and the oil and buttermilk keep it that way past day one.
And most importantly? It tastes like classic vanilla — just the right amount.
Did You Make It? Let’s Hear About It!
⭐⭐⭐⭐⭐
I’d love to hear how the cake turned out — whether it was the centerpiece of a celebration or just a Tuesday night treat for yourself. No judgment on the latter, because I’ve absolutely been there. Leave a note in the comments below and a star rating if you loved it!
Small 6-Inch Vanilla Cake Recipe
by Erin Cernich
Ingredients
Small Vanilla Cake
- ¾ cup all-purpose flour
- ½ teaspoon baking powder
- ¼ teaspoon salt
- ½ cup organic cane sugar (or granulated sugar)
- 2 tablespoons unsalted butter, room temperature and cut into cubes
- ½ cup buttermilk, room temperature
- 1 large egg, room temperature
- 2 teaspoons vanilla extract
- 2 tablespoons cold pressed refined coconut oil, melted (or any neutral oil)
Instructions
- Preheat the oven to 350F degrees and adjust the oven rack to the middle position. Lightly grease a 6-inch round cake pan and line the bottom with a piece of parchment paper cut to fit.
- In the mixing bowl of a stand mixer fitted with the paddle attachment, mix together the flour, baking powder, salt, and sugar to just combine. Note – If using a stand mixer, I recommend the 3-quart mixing bowl (link above) for the small batch batter. Otherwise, you can use a hand mixer and medium mixing bowl.3/4 cup all-purpose flour, 1/2 teaspoon baking powder, 1/4 teaspoon salt, 1/2 cup organic cane sugar
- Add the butter cubes to the dry ingredients. Mix on medium speed until the mix resembles sand. This can take 1 to 2 minutes.2 tablespoons unsalted butter, room temperature and cut into cubes

- In a liquid measuring cup, measure out the buttermilk. Add the egg, vanilla, and oil. Mix until fully combined and smooth.1/2 cup buttermilk, room temperature, 1 large egg, room temperature, 2 teaspoons vanilla extract, 2 tablespoons cold pressed refined coconut oil, melted
- With the mixer on medium speed, slowly drizzle the wet ingredients into the dry and mix until smooth – about 60 to 90 seconds. Scrape down the bowl as needed to make sure no ingredients are stuck on the bottom of the bowl. The batter will be thin, and if there are a couple lumpy bits, that's ok.
- Pour the batter into the prepared cake pan and spread it evenly with a spatula. Bake for 30 to 34 minutes, or until the middle of the cake is springy to the touch and a toothpick inserted in the center comes out mostly clean.
- Cool the cake in the pan set on a wire cooling rack for 10 minutes. Then, flip the pan over onto the wire rack to remove the cake and let it cool completely. If needed, run an offset spatula or sharp knife around the edge of the cake to release it from the pan.
- Allow the cake to cool completely before frosting. The cake can be stored covered at room temperature for up to 3 days. If using the strawberry whipped cream as pictured, I recommend refrigerating the cake.
Notes
- Serving Size – The 6-inch cake will yield 4 to 6 slices. The recipe can be doubled and baked in an 8-inch pan. Start checking at 30 minutes.
- Reverse Creaming Method – The butter is mixed into the dry ingredients first, before any liquid is added. This coats the flour in fat, limits gluten development, and is what gives the cake its cotton-like crumb — especially important when working with a small amount of butter.
- Room Temperature Ingredients – For the cake to bake soft and fluffy, it is important that the refrigerated ingredients are at room temp. – between 65F to 72F degrees. If the butter is too cold, the cake may be more spongy and dense.
- Oil – I have tested the cake with coconut oil and canola oil, and both work great.
- Freezing – The baked, unfrosted cake can be frozen for up to 3 months. Wrap tightly in plastic wrap and place in a freezer bag. Thaw in the refrigerator.
Nutrition Estimates
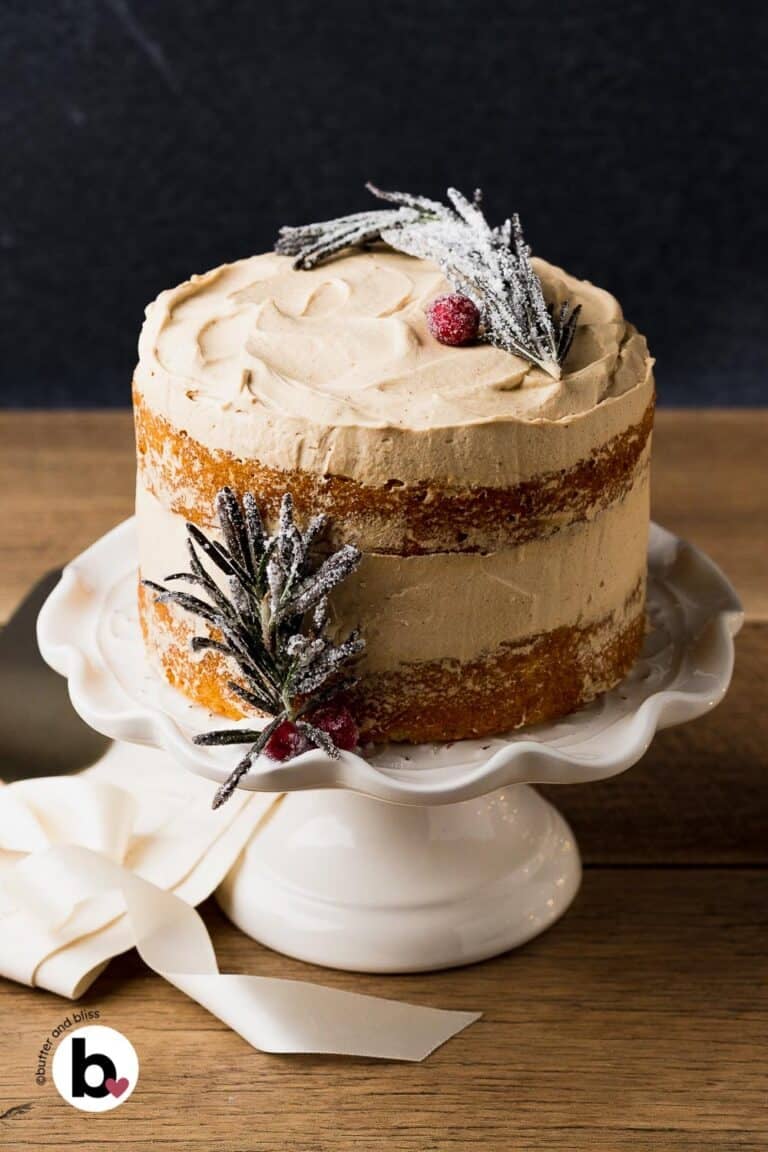
TRY THESE SMALL BATCH RECIPES NEXT!

About the Author …
Hi, I’m Erin! With years of experience baking for two in my own small household, I know about the love for desserts without the leftovers. I’ve tested, written, and photographed every one of the 300+ recipes on my website. And even had some of my desserts featured on Taste of Home, The Spruce Eats, ELLE, Parade, and more! From traditional to gluten free desserts for two, I have the recipe for you.
Click here to learn more about me →

Came out great, thanks!
Thank you Devi!
This cake is PHENOMENAL! Best true vanilla cake I’ve ever made. If I want to make a double or triple layer 8” or 9” of this do you have a recipe already? THANK YOU
This made my day – thank you so much Christine! If you want to make a 2-layer 8-inch cake, you’d need to 4x the ingredients (essentially doubling the recipe as written to get 1, single layer 8-inch cake). The bake time should stay about the same, but I’d start checking the cakes at 30 minutes just to be safe. I’d love to hear if you made a larger cake and how it turned out!
This recipe was so simple and turned out perfectly moist and delicious. I split the 6-inch cake into two layers and used it to make strawberry shortcake. It easily feeds four (or seconds for the two of us!). Thanks so much for sharing it.
Thank you so much for trying the recipe, Betty! I appreciate the lovely comments!
It turned out great! I didn’t use a mixer…mixed by hand. Very moist and spongy cake. Excellent instructions…thank you!
Thanks so much Jen! And great to hear mixing by hand worked – appreciate you sharing that!
You have me prepare a six-inch pan, and in the instructions it says an inch pan.
A 6-inch pan is correct. Sorry, I’m not seeing a reference to ‘an inch pan in the instructions’? But I will scan it again to see if I can find the typo.
I cooked mine in a round cake pan that was almost 7″. I didn’t use butter milk, just regular whole milk. It didn’t rely rise . It came out an inch tall on one side and alot shorter on the other end. Where did i go wrong?
Hi Madge – I think the pan size may have been the primary issue – with the small batch batter, baking in larger pans will make the cake thin. The lopsided could be caused by a few reasons: the dry ingredients didn’t get mixed enough at the beginning (the baking powder could have been concentrated in on spot?); on the other hand, overmixing the batter can cause uneven baking – too much gluten developed in spots; you could have hot spots in your oven that may cause uneven baking; if the oven wasn’t preheated fully, that will cause uneven baking. I like to use buttermilk because it acts as a tenderrizer to make the cake light and fluffy. Hope you give it another try!
sososossosoo yummy
Yay!!! Thank you Mariela – I appreciate you trying the recipe!