Homemade Vanilla Pudding For Two
This post may contain affiliate links. See my disclosure policy.
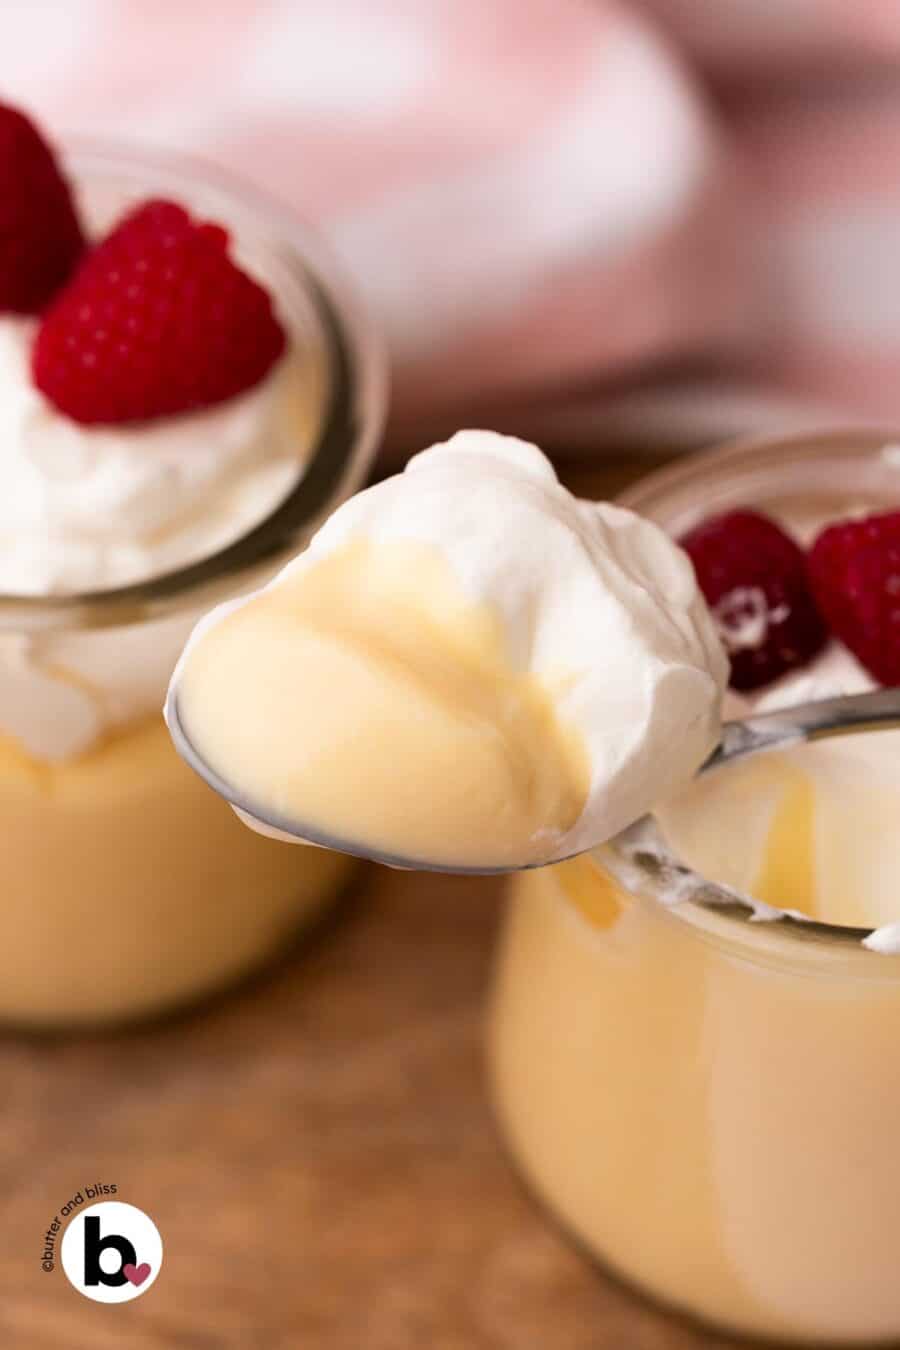
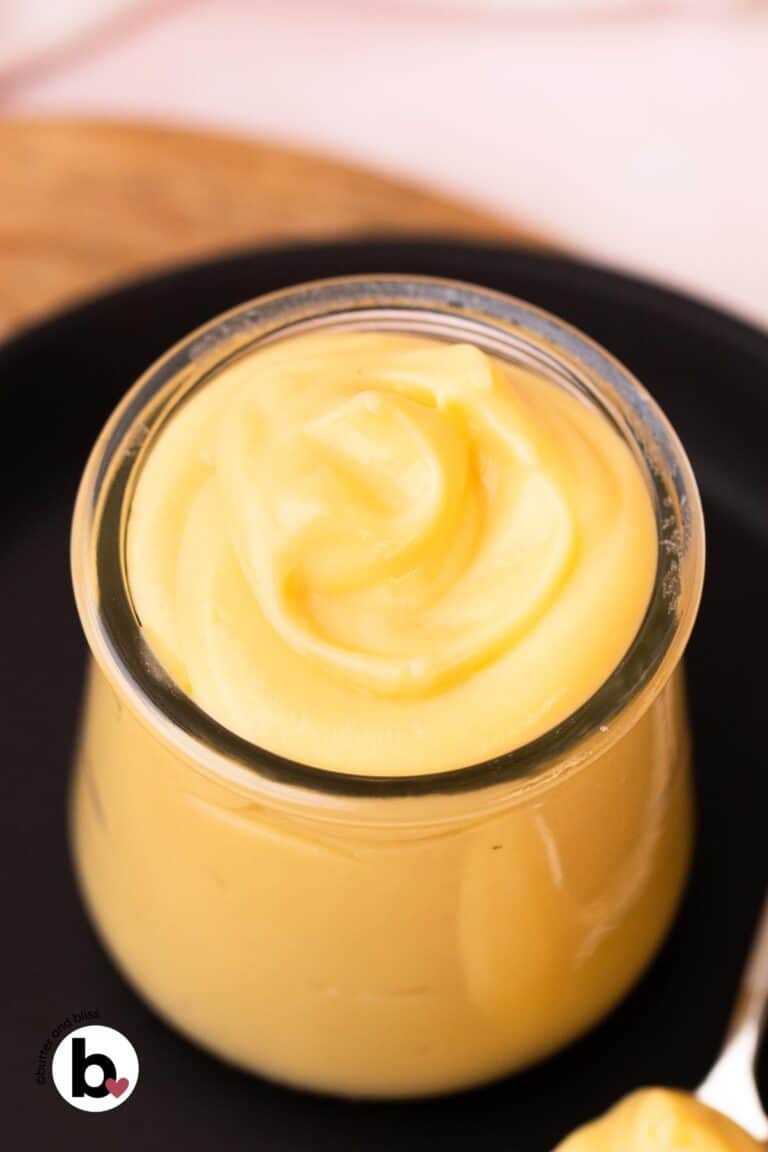
This homemade vanilla pudding is better than the box mix every time. Creamy and full of real vanilla flavor, this smaller batch pudding is made on the stovetop with simple pantry ingredients. Milk, cream, and sugar combine with egg yolk and cornstarch to create an incredibly rich pudding that gets a silky finish with vanilla and butter. After chilling, it’s perfect for parfaits, layering into desserts, or an easy dessert for two.
A Simple and Creamy Stovetop Dessert

The best thing about elementary school was not just my Holly Hobby lunchbox, but the pudding snack pack waiting inside of it. And if you’ve been here a while, you know how I feel about pudding (I talk about my love for chocolate pudding on my about me page 😊).
I’ve even gone back to those snack packs as an adult. But once you’ve made pudding from scratch, there’s no going back. Homemade is in a category by itself, and the rich texture and real pantry ingredients can’t be beat.
The good news is homemade doesn’t mean complicated, and it all comes together on the stovetop and in the fridge. I use milk and cream to make my pudding thick and smooth. And the addition of an egg yolk delivers an enriched cream that straight cornstarch-thickened pudding can’t quite match.
And my favorite part: the butter finish at the end. A classic French technique common in sauces and creams (I use it with my vanilla pastry cream), where the butterfat emulsifies into the pudding for a velvety finish.
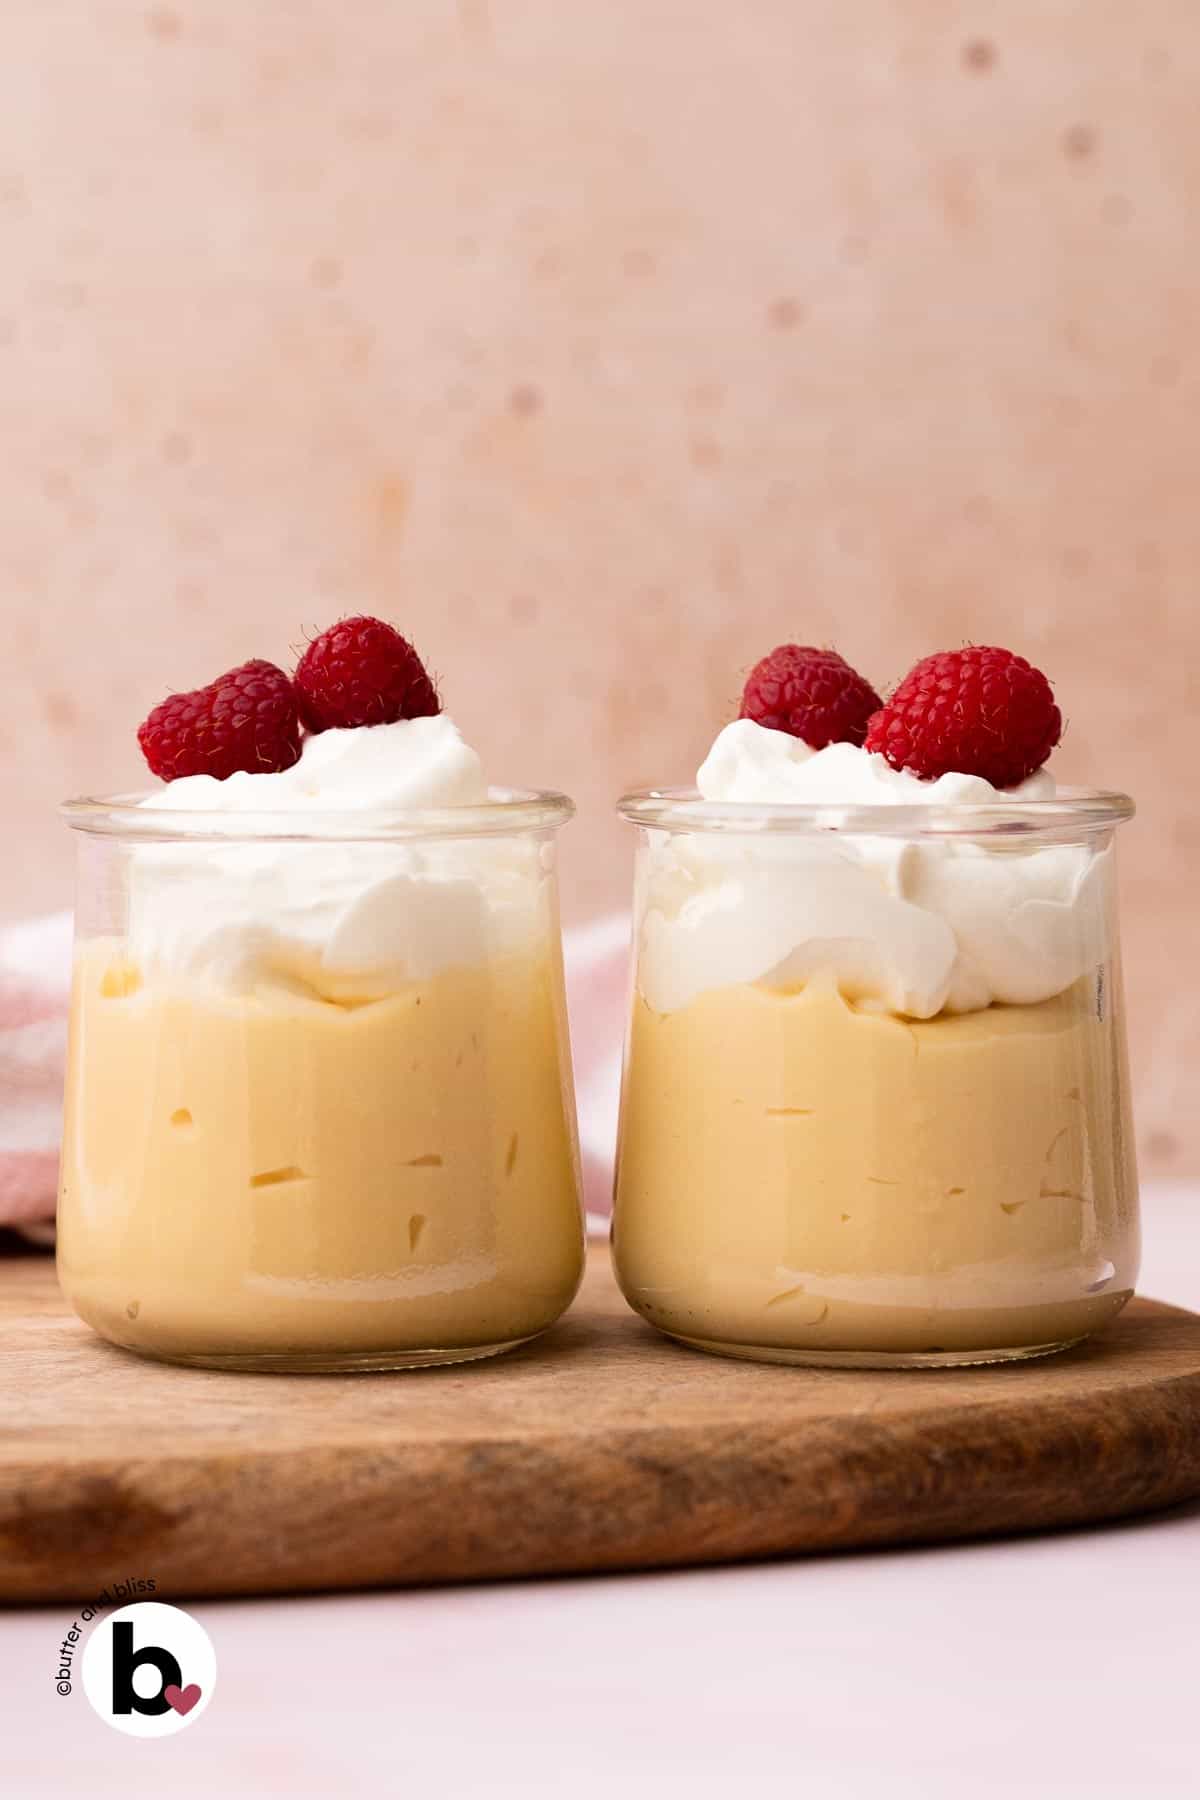
As for how to enjoy it — you have to wait a few hours for the pudding to chill in the fridge. From there, it’s so versatile enough to dress up or eat straight from the bowl. For me, it’s the latter. Topped with a dollop of whipped cream just to feel fancy.


How To Make Vanilla Pudding From Scratch
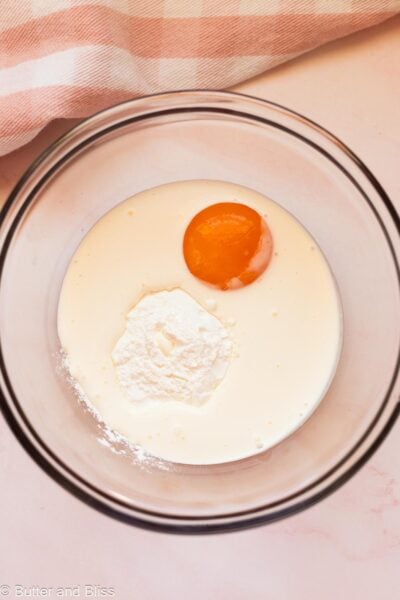
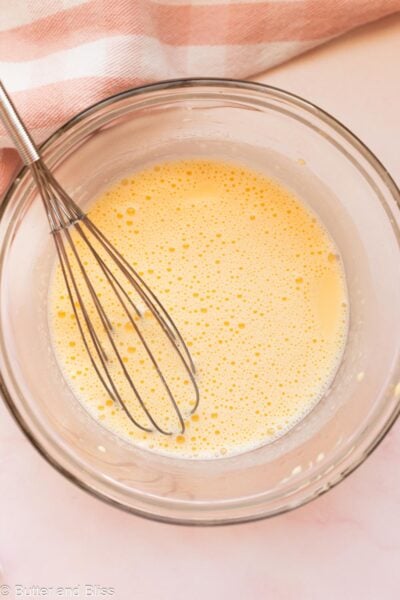
The pudding starts by whisking an egg yolk, cornstarch, and cream in a bowl. Even though we use cornstarch as the primary thickening ingredient, the egg yolk gives the pudding a richness that cornstarch can’t achieve on its own.
The milk and sugar are added to a saucepan and heated until you see bubbles form along the sides of the pan. This won’t take long, and you want to keep an eye on it because we don’t want the milk to boil. It can scorch and stick to the pan.
Here’s the part that may seem intimidating, but it’s not. Slowly drizzle about half of the hot milk into the egg mixture while you whisk constantly. This is called tempering — it brings everything to the same temperature gradually so the egg doesn’t scramble.
All of that goes back into the saucepan, and the pudding heats until it starts to bubble and thicken.
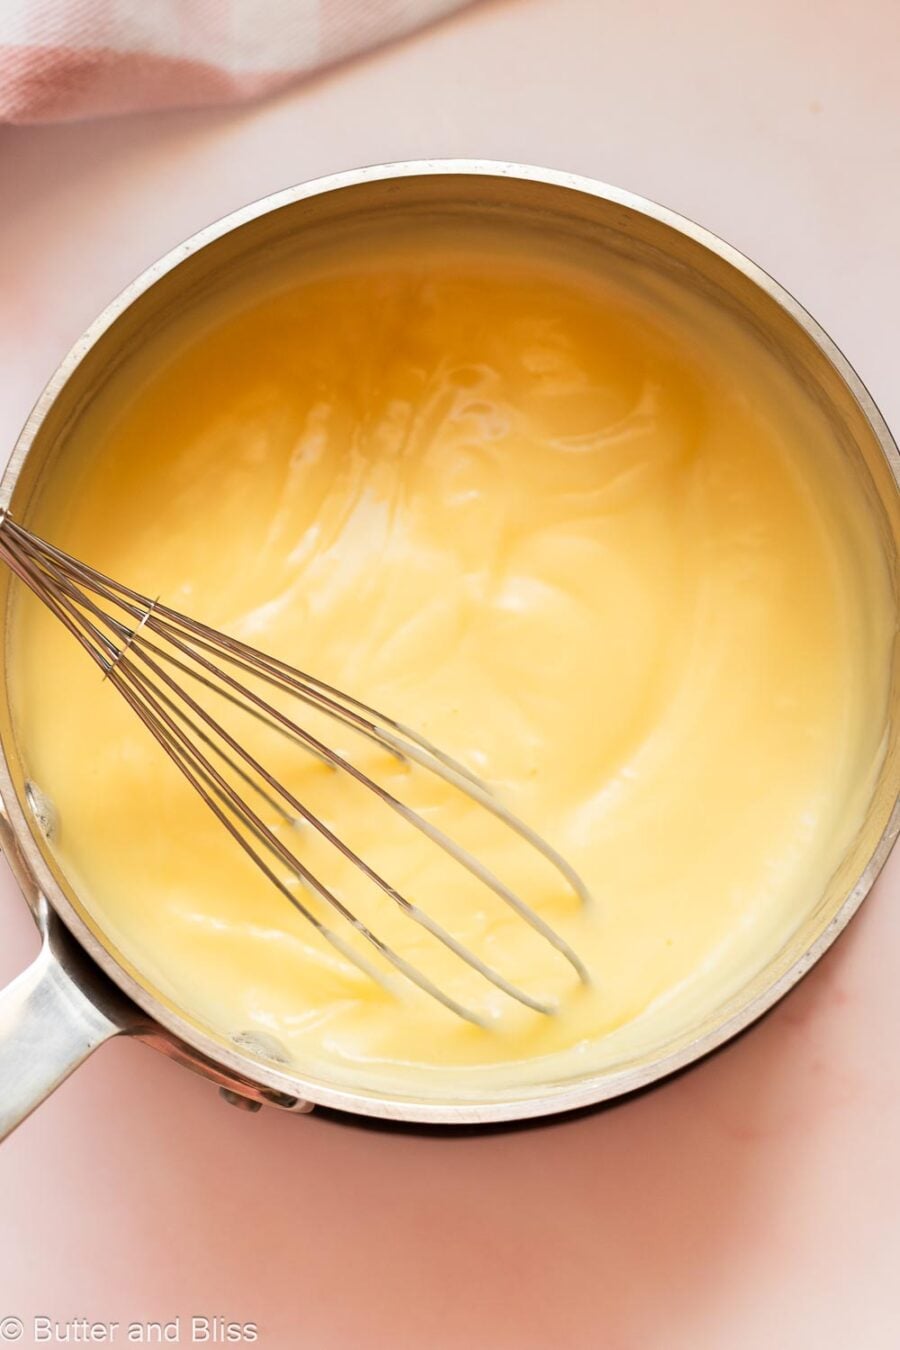
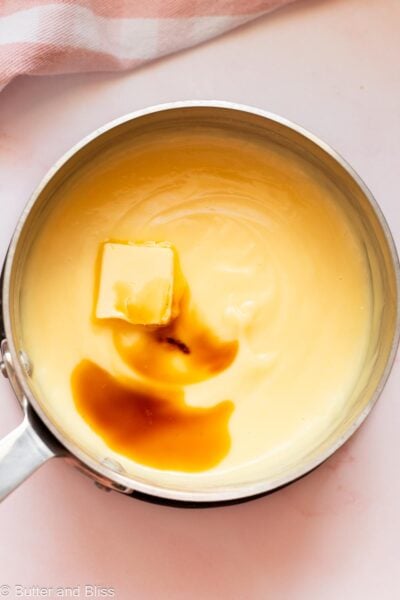
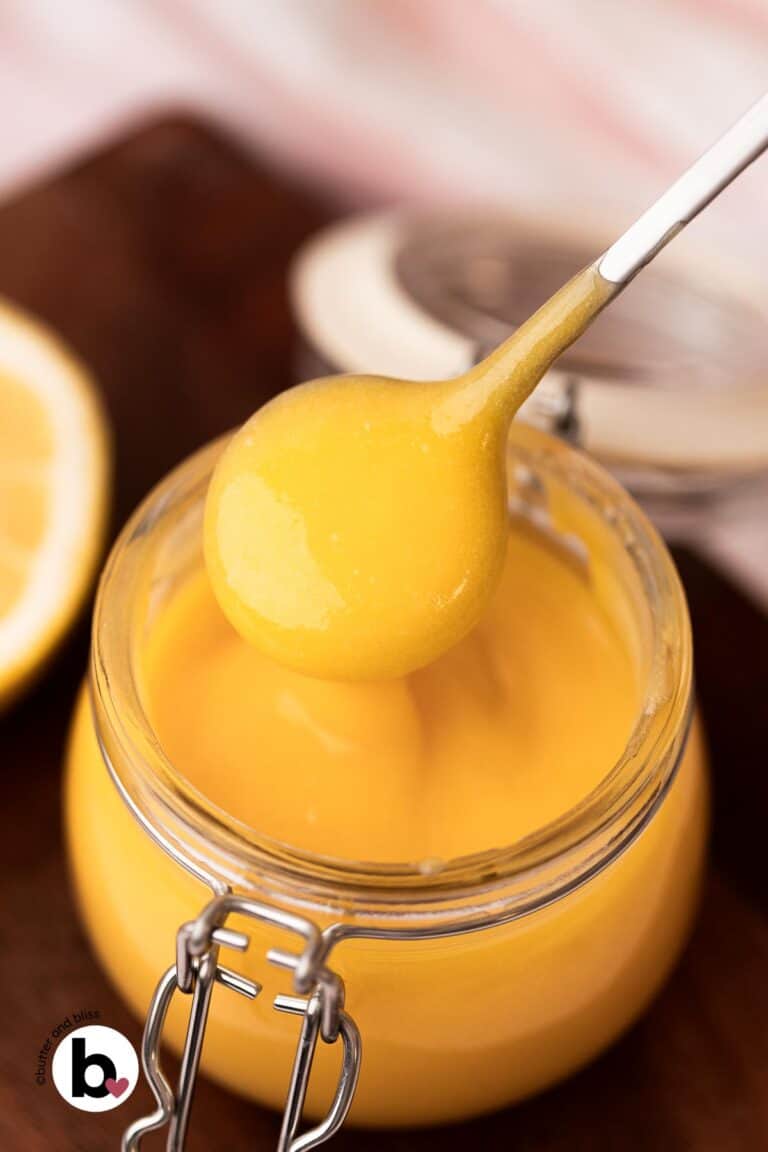
Remove the pudding from the heat and add the vanilla, butter, and salt. The butter will give the pudding a glossy appearance.
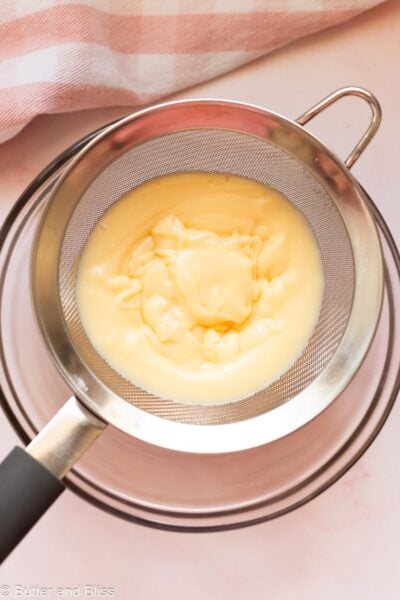
One thing I always do, but it’s not a must, is strain the pudding. It’s kind of like an insurance policy to make sure there are no lumps and the final pudding is smooth.
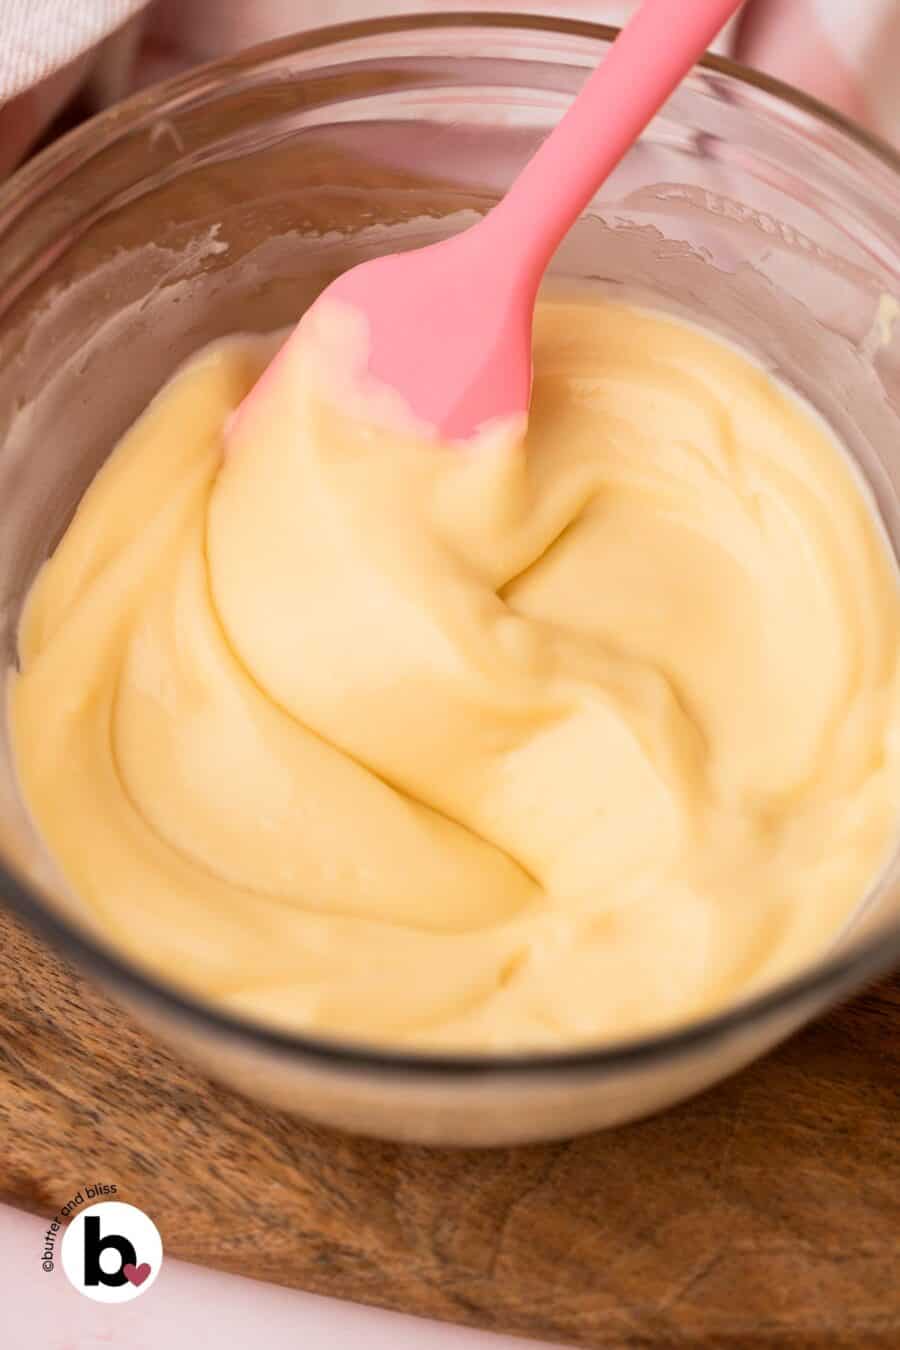
The pudding needs time to set and thicken. Place a piece of plastic wrap directly touching the top of the pudding to keep a pudding-skin from forming. Chill it for at least 4 hours, but it can also sit overnight.
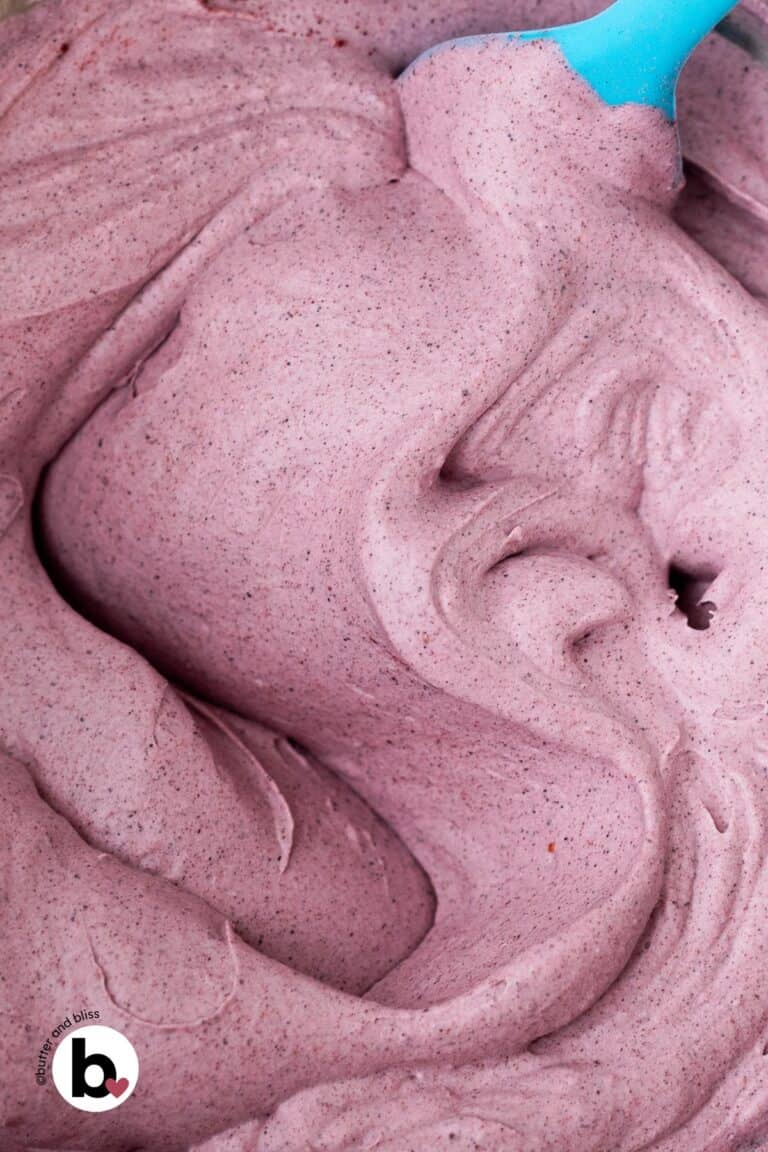
And now that you have vanilla down, butterscotch pudding and fresh strawberry pudding are natural next steps — same method, different flavor.
Tips For Perfect Homemade Pudding
- Be careful not to overcook the pudding. Two things can happen: it will set like Jello, or it can actually separate and get watery.
- With the butter addition at the end, make sure the butter is cold so it mixes with the pudding and doesn’t just float on the top.
- Before putting it into the fridge to chill, let it sit on the counter for a few minutes to cool down to mitigate condensation.
Did You Make It? Let’s Hear About It!
⭐⭐⭐⭐⭐
If you made this homemade vanilla pudding and ditched the snack pack for good, I want to hear about it! Let me know in the comments below, along with a rating. This helps other bakers discover the recipe.
Homemade Vanilla Pudding For Two
by Erin Cernich
Ingredients
- 1 large egg yolk, room temperature
- 1 ½ tablespoons cornstarch
- ¼ cup heavy whipping cream
- ¾ cup whole milk
- 3 tablespoons granulated sugar
- 1 tablespoon unsalted butter, cold and cut into cubes
- 1 teaspoon vanilla bean paste, or vanilla extract
- ⅛ teaspoon salt
Instructions
- In a small mixing bowl, whisk the egg yolk, cream, and cornstarch until fully combined and the starch is dissolved.1 large egg yolk, room temperature, 1 ½ tablespoons cornstarch, 1/4 cup heavy whipping cream
- In a small saucepan, add the milk and sugar and heat over medium heat until small bubbles start to form along the sides of the pan. This can take about 2 to 3 minutes. Do not boil.3/4 cup whole milk, 3 tablespoons granulated sugar
- While whisking constantly, slowly drizzle about half of the heated milk into the egg mixture to temper the mix. Whisking keeps the egg from scrambling. Return the tempered mix to the saucepan, keep whisking, and heat over medium until the pudding starts to bubble. This can take 2 to 3 minutes.
- Remove the pudding from the heat and add the butter, vanilla, and salt. Mix until the butter has melted.1 tablespoon unsalted butter, cold and cut into cubes, 1 teaspoon vanilla bean paste, or vanilla extract, 1/8 teaspoon salt
- This is optional, but recommended: strain the pudding through a fine mesh strainer set over a bowl to remove any lumps. Cover the pudding with plastic wrap, directly touching the top. This will keep a skin from forming on the pudding. Let the pudding sit at room temperature for 10 to 15 minutes to cool down before refrigerating. Chill for at least 4 hours, or overnight, to thicken and set.
Notes
- Serving Size – This small batch recipe can be doubled.
- Sweetener – Use any sweetener of choice. I have made pudding with maple syrup and coconut sugar, and it is equally delicious.
- Milk and Heavy Cream – For super creamy and rich pudding, I recommend whole milk and heavy cream. 2% milk is an option.
- Vanilla– Vanilla bean paste will deliver deep vanilla flavor. I get mine at Sam’s Club. Extract will also work.
- Storage – Keep the pudding covered and refrigerated for up to 2 days. Beyond that, and it will start to loosen.
Nutrition Estimates
TRY THESE SMALL BATCH RECIPES NEXT!


About the Author …
Hi, I’m Erin! With years of experience baking for two in my own small household, I know about the love for desserts without the leftovers. I’ve tested, written, and photographed every one of the 300+ recipes on my website. And even had some of my desserts featured on Taste of Home, The Spruce Eats, ELLE, Parade, and more! From traditional to gluten free desserts for two, I have the recipe for you.
Click here to learn more about me →