Peanut Butter & Jelly Hot Milk Cake
This post may contain affiliate links. See my disclosure policy.
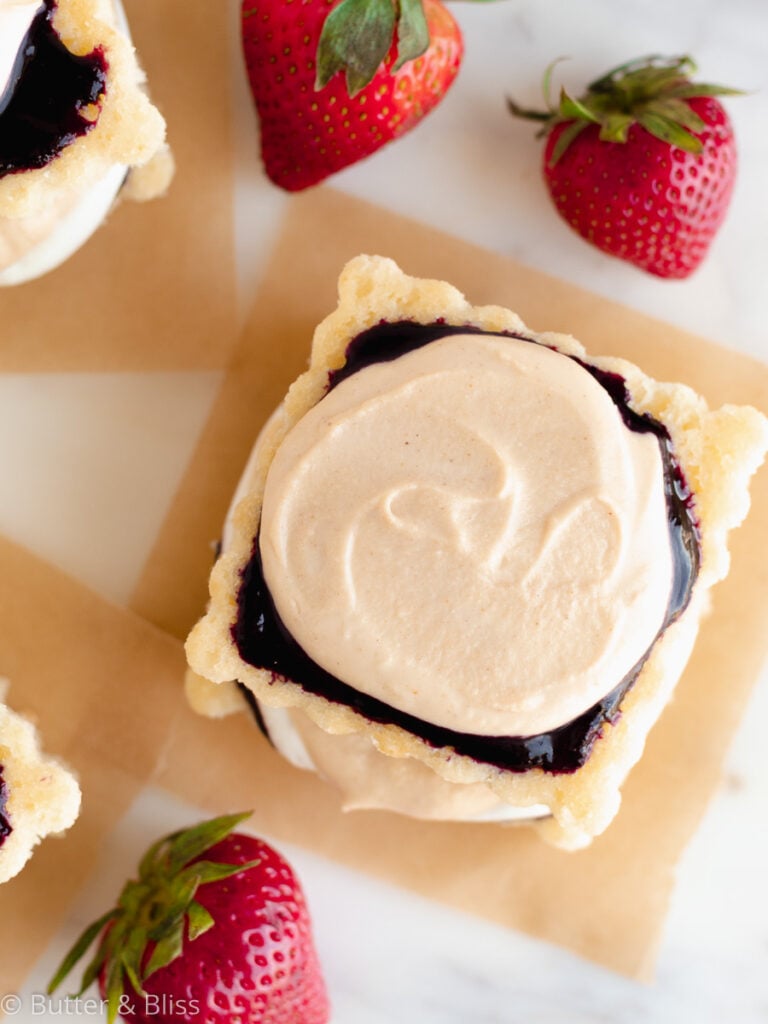
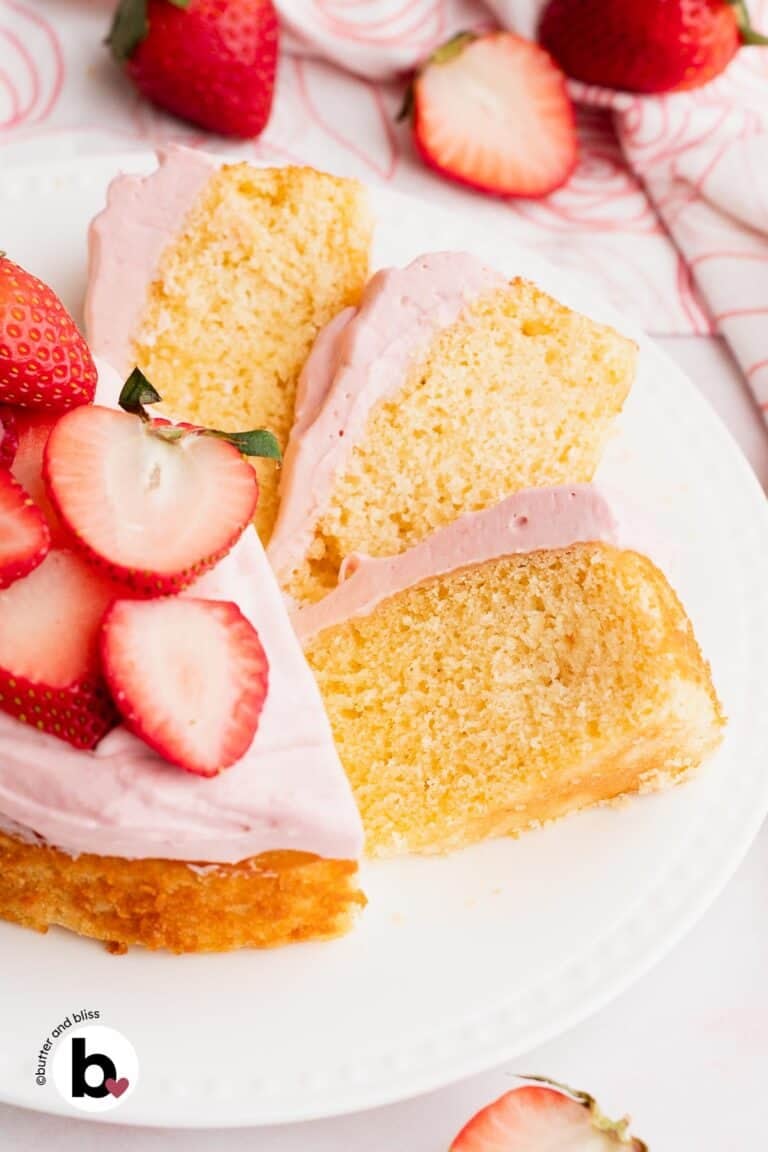
This mini cake recipe combines the perfect pair of peanut butter & jelly and milk into one Peanut Butter & Jelly Hot Milk Cake! The classic hot milk cake your grandmother made is kicked up with Peanut Butter Whipped Cream, Homemade Strawberry Jam, and Marshmallow Whipped Cream – should you choose to be indulgent!
Small Batch Hot Milk Cake Recipe
What is a Hot Milk Cake? A simple answer is just what the name implies – a cake made with scaled milk. Hot Milk Cake is reminiscent of childhood – many grandmothers have made this cake. The reason for that – I’m not sure. But it probably has something to do with when this cake first came on the cake scene (the 50s) and I’m sure it gained popularity by being widely publicized.
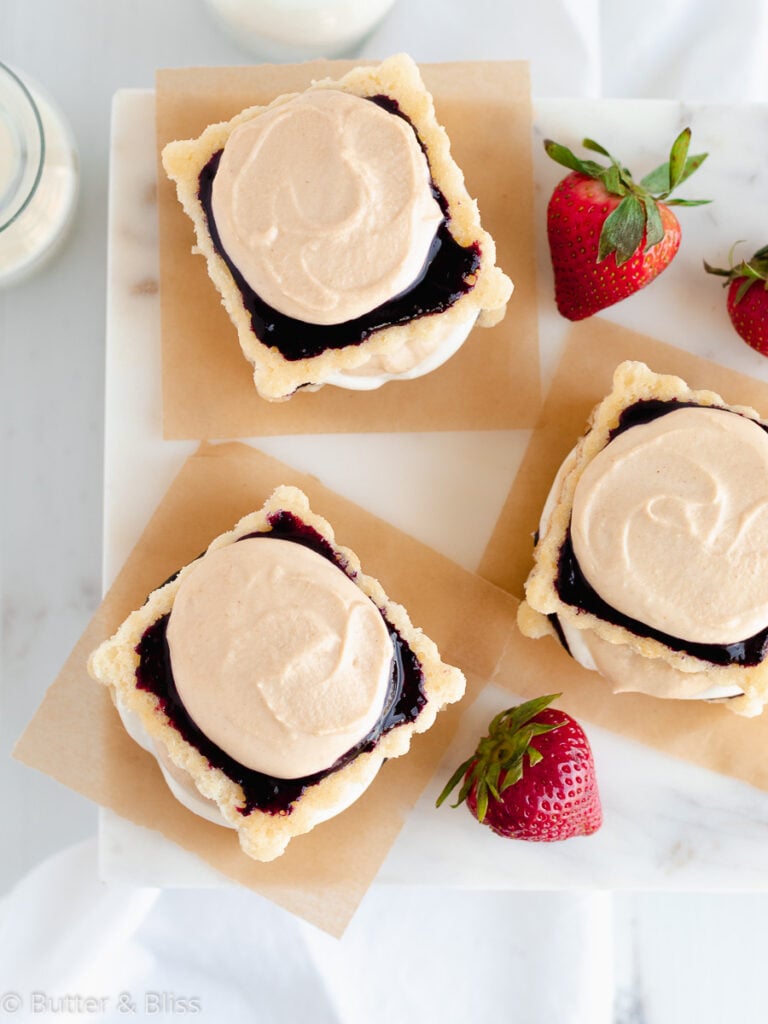
As with most cakes on this blog, I have recreated the original recipe into a small batch recipe to create this Peanut Butter & Jelly Hot Milk Cake. The result is a mini cake that can be served as a full sheet cake. Or, if you want to get creative, use large cookie cutters to make smaller individual cakes (as I did – because I love using cookie cutters on everything but cookies!)
How to make a Hot Milk Cake
Don’t let the name fool you – it really is a pretty simple recipe. Moreso because we don’t have to worry about butter at room temp, or creaming together sugar and butter. This may be why I lean towards Genoise Sponge cakes – I prefer the ease to make and the lightly sweet and soft cake. As demonstrated in my Mini Boston Cream Pie – my favorite cake of all time!
Let’s talk about making the hot milk cake.
- Milk is heated in a saucepan – with butter – until small bubbles form along the sides of the pan – 2 ingredients done!
- The dry ingredients are sifted together – I am learning to love sifting my dry ingredients for all recipes. It makes sure there aren’t any unwanted lumps of anything.
- The eggs, sugar, and vanilla are beaten – until they are light, fluffy, tripled in volume, and look like delicious cream (if I’m being honest about what it looks like!) And as much as you will want to eat the mix, don’t. It is still raw eggs. 🙂
- Slowly, slowly drizzle the heated milk into the fluffy eggs – to reiterate, slowly, and while you are constantly mixing. We don’t want to make scrambled eggs.
- Fold the dry ingredients into the wet – I used to think fold schmold. But, there is a reason. We want to be careful not to deflate the volume we just achieved with the eggs. AND, working the flour too much triggers the gluten, which triggers a tough, chewy cake. Let’s leave the chew for bagels.
- Bake then eat – then bake some more and eat some more. This cake is so fluffy and perfectly, lightly sweetened.
Peanut Butter & Jelly Hot Milk Cake
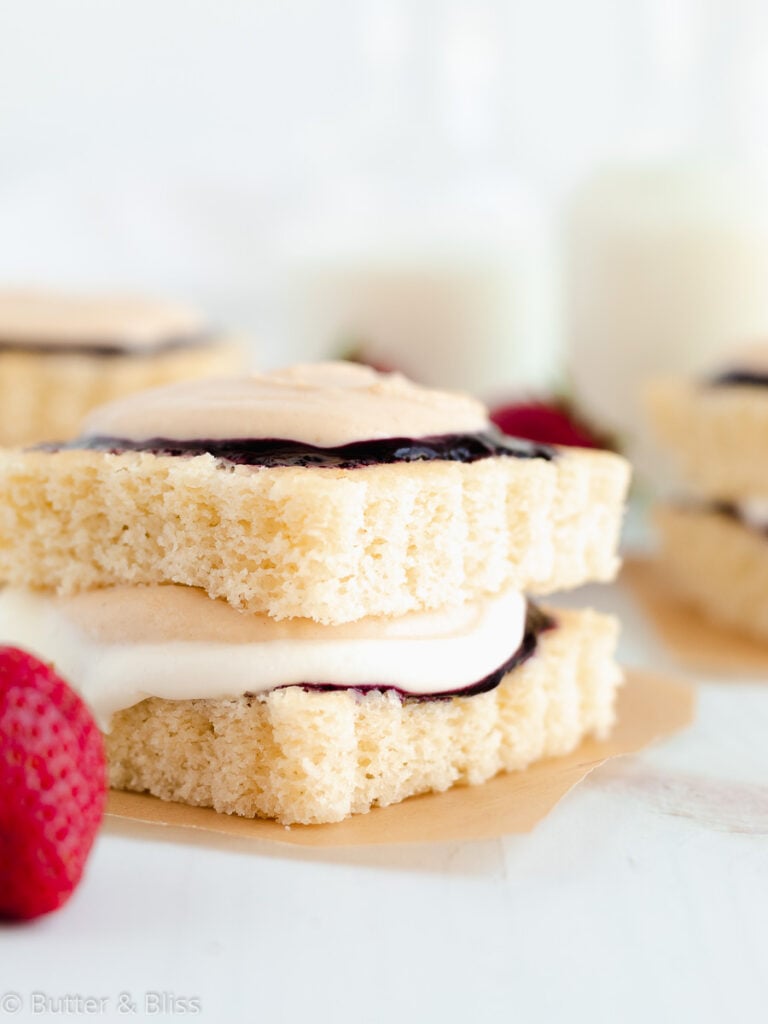
It seemed obvious – maybe too obvious – what flavors to pair with this cake. I mean, a glass of milk begs for a peanut butter and jelly sandwich! Of course, we have to make it a bit more refined and sophisticated. This is why we are adorning the cake with Peanut Butter Whipped Cream and Homemade Strawberry Jam. Oh, and Marshmallow Whipped Cream – should you be so bold.
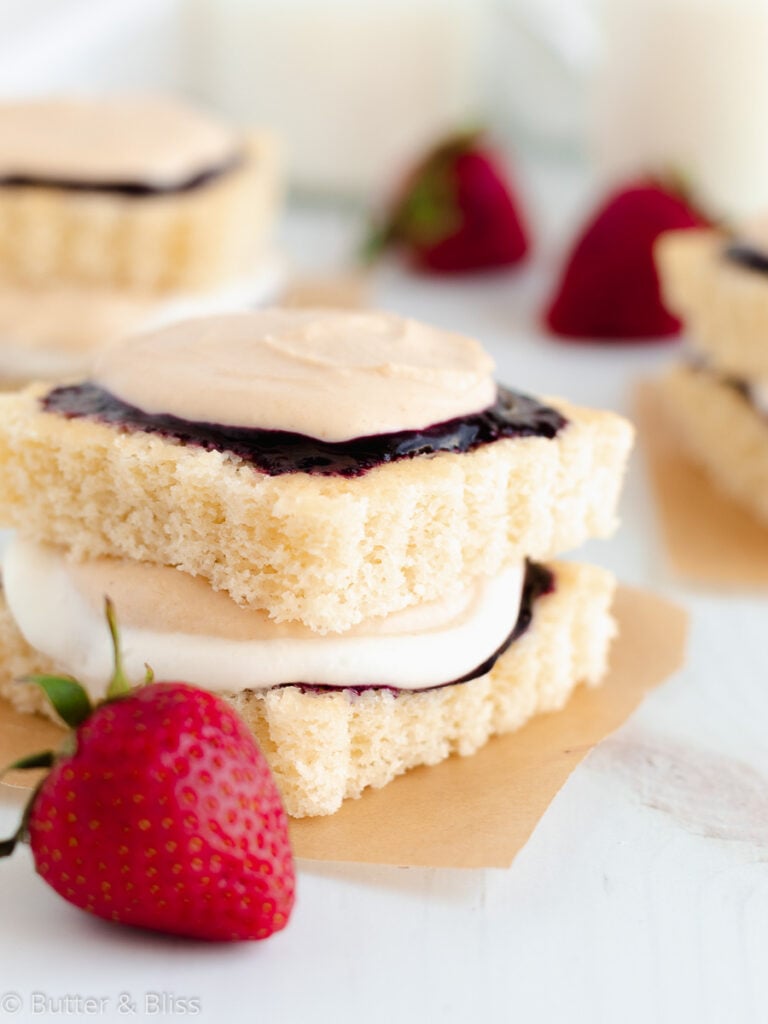
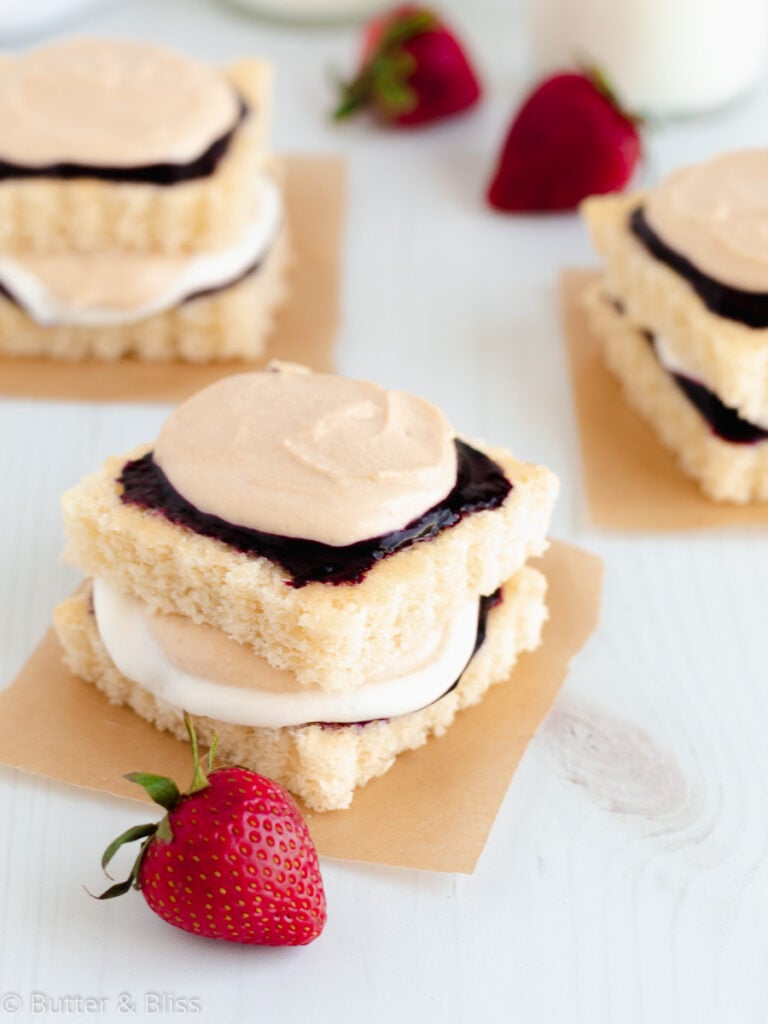
To make this recipe even more literal – cut the cake into smaller cakes and assemble them like sandwiches.
So there you have it – a fun recipe to remind us all how awesome it was to be a kid with peanut butter and jelly all over your face! 🙂

Peanut Butter and Jelly Hot Milk Cake
by Erin Cernich
Equipment
Ingredients
Strawberry Jam
- 1 cup fresh strawberries (washed and hulled)
- 2 tablespoons pure maple syrup (or any sweetener of choice; more or less to taste)
- 1 teaspoon lemon juice
Hot Milk Cake
- 1 cup all-purpose flour
- 1 teaspoon baking powder
- ¼ teaspoon salt
- 4 tablespoons unsalted butter
- ½ cup milk (whole or 2%)
- ¾ cup granulated sugar
- 2 large eggs, room temperature
- 1 teaspoon vanilla extract
Peanut Butter Whipped Cream
- ¼ cup heavy whipping cream (chilled)
- 1 ½ tablespoons creamy peanut butter
- 1 tablespoon maple syrup (or powdered sugar)
Marshmallow Whipped Cream – Optional
- ¼ cup heavy whipping cream (chilled)
- 3 tablespoons marshmallow cream
Instructions
Strawberry Jam
- Make the strawberry jam first so it has time to cool. Making it the night before is even better! You will likely have extra jam.
- In a small saucepan, add the strawberries and lemon juice. Cook on medium heat until the strawberries start to break down and bubble. Then add the maple syrup.
- While the jam is cooking, occasionally stir and gently mash the strawberries with a wooden spoon (or just let the strawberries cook if you prefer chunky jam). Cook the jam for about 30 minutes – allowing the strawberries to break down, thicken, and the liquid to reduce. Optional – add more maple syrup or lemon juice to your preferred taste.
- Allow the jam to cool slightly in the saucepan before transferring to a glass jar. Refrigerate until ready to use.
Hot Milk Cake
- In a small mixing bowl, sift together the flour, baking powder, and salt. Set aside.
- In a medium mixing bowl, add the eggs and sugar. Using a hand held mixer with the whisk attachments, beat on medium speed until light, fluffy, and tripled in volume. Set aside.
- In 3 increments, sprinkle the dry ingredients over the egg mix – mixing to just combine after each addition. Set aside while you heat the butter and milk.
- In a small saucepan, add the butter and milk. Simmer over low heat until the butter is melted and small bubbles form along the sides of the saucepan.
- Drizzle the warm milk into the egg mixture while beating at low speed. Mix until just combined. The batter will be thin and it is ok if there are lumps in the batter.
- Pour the batter into the prepared sheet pan and bake for 20 minutes, or until a toothpick inserted comes out clean. Cool in the pan set on a wire rack for 10 minutes. Carefully invert the pan onto the wire rack to remove the cake, and slowly peel off the parchment paper. Allow the cake to cool completely before assembling.
Peanut Butter Whipped Cream
- While the cakes are cooling, make the peanut butter whipped cream.
- In a small mixing bowl, add the heavy cream and peanut butter. Use a hand-held mixer and beat on medium-high speed until it starts to thicken. Then add the maple syrup (or powdered sugar). Continue to beat until stiff peaks form – about 3-4 minutes. Refrigerate the whipped cream until ready to use.
Marshmallow Whipped Cream – Optional
- In a small mixing bowl, add the heavy cream and marshmallow cream. Use a hand-held mixer and beat on medium-high speed until stiff peaks form. Refrigerate until ready to use.
Cake Assembly
- You can either keep the cake as a sheet cake, or use a large cookie cutter to cut into smaller cakes. Either version – spread on a generous amount of the strawberry jam on top of the cake first. Then gently spread on the Peanut Butter Whipped Cream. Then the Marshmallow Whipped Cream (if using – and in any order is fine!)
Notes
- For the Peanut Butter Whipped Cream – I recommend using regular creamy peanut butter – not organic or natural peanut butter, where the oil separates from the butter. I have found that even stirring this type of peanut butter leaves the whipped cream with an oily taste.
Nutrition Estimates
TRY THESE SMALL BATCH RECIPES NEXT!

About the Author …
Hi, I’m Erin! With years of experience baking for two in my own small household, I know about the love for desserts without the leftovers. I’ve tested, written, and photographed every one of the 300+ recipes on my website. And even had some of my desserts featured on Taste of Home, The Spruce Eats, ELLE, Parade, and more! From traditional to gluten free desserts for two, I have the recipe for you.
Click here to learn more about me →