6-Inch Boston Cream Pie
This post may contain affiliate links. See my disclosure policy.
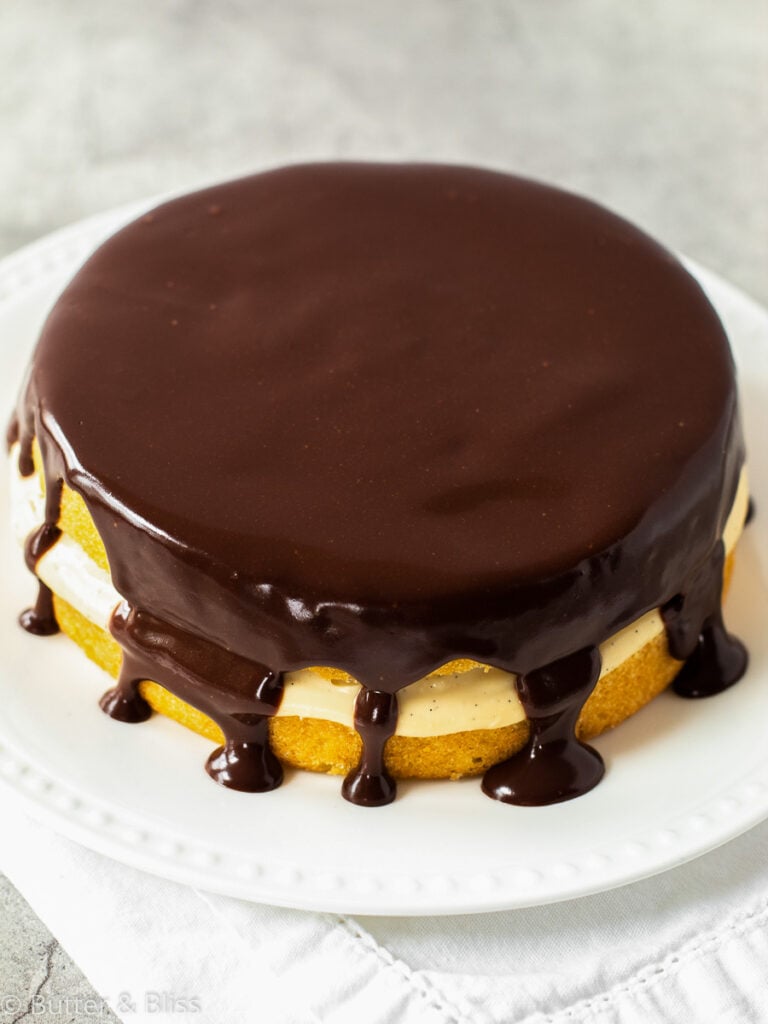
This 6-Inch Boston Cream Pie has all of the decadent goodness of the classic cake, and is perfect just for two. Layers of moist vanilla yellow cake sandwich a creamy vanilla pastry cream, and the cake is topped with a silky chocolate ganache.
6-Inch Boston Cream Pie
I always wondered why it is called a Boston Cream Pie when it is actually a cake. In doing my standard research on bakes, I found cakes and pies used to be baked in the same pans. And over the years, and development of a plethora of different cake pans, the Boston Cream Pie is now baked in cake pans, and just never dropped the name ‘pie’.
This classic cake was created in Boston, at the Parker House Hotel. It was originally named ‘chocolate cream pie’, before it was eventually given its current name. I would imagine this cake continues to be popular because it is like 3 desserts in one
- Moist Yellow Cake
- Creamy Vanilla Pastry Cream
- Rich Chocolate Ganache
Over the years, the cake and its flavors have taken on many different forms – donuts, cupcakes, and even cookies. But we are sticking to the classic layer cake in this mini Boston cream pie recipe.
6-Inch Layer Cake
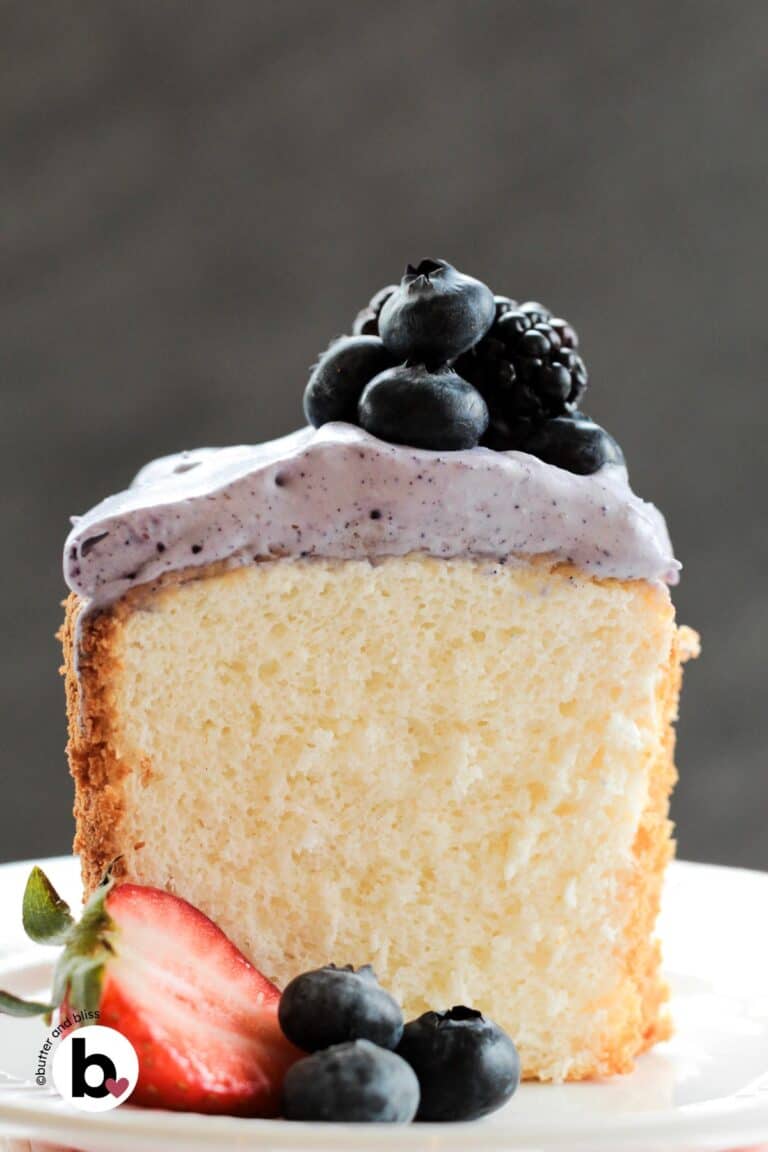
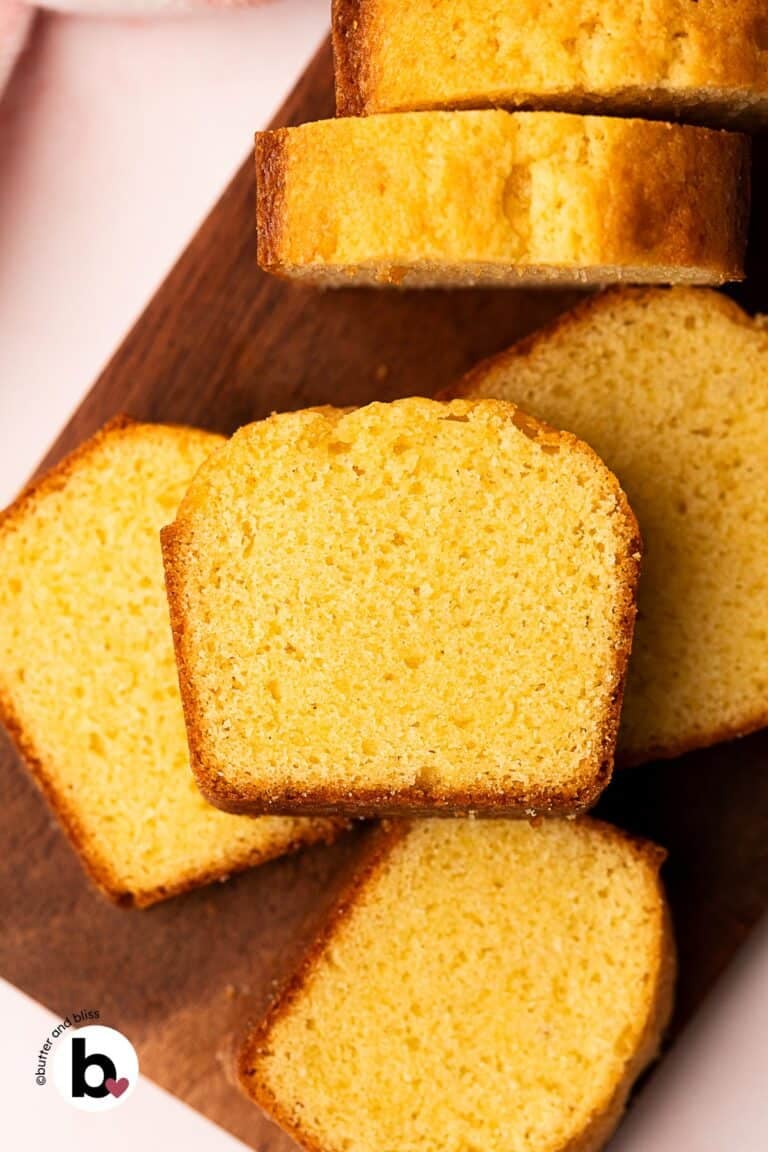
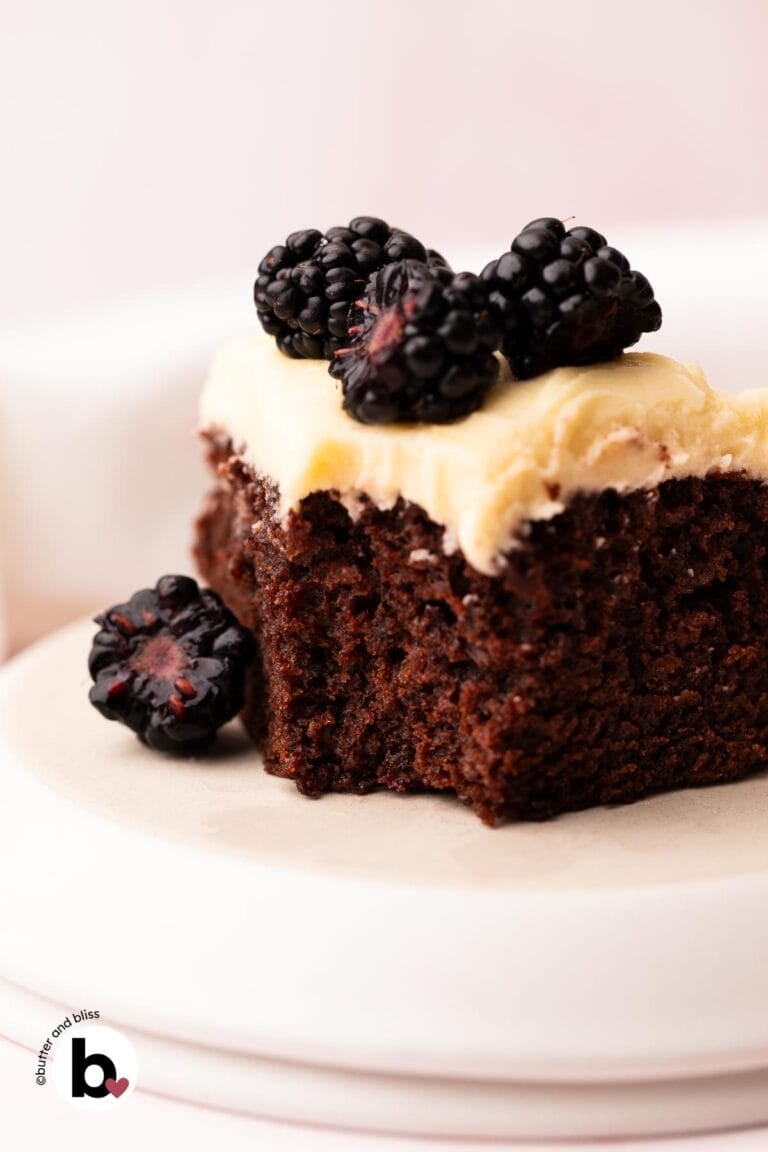
The cake in this 6-Inch Boston Cream Pie is a standard yellow cake recipe, and I consider it a base yellow cake recipe. It makes a great Birthday Mini Cake, snack cake, or if you just want a simple cake with Chocolate Butter Free Frosting.
Everything To Love About The Yellow Cake
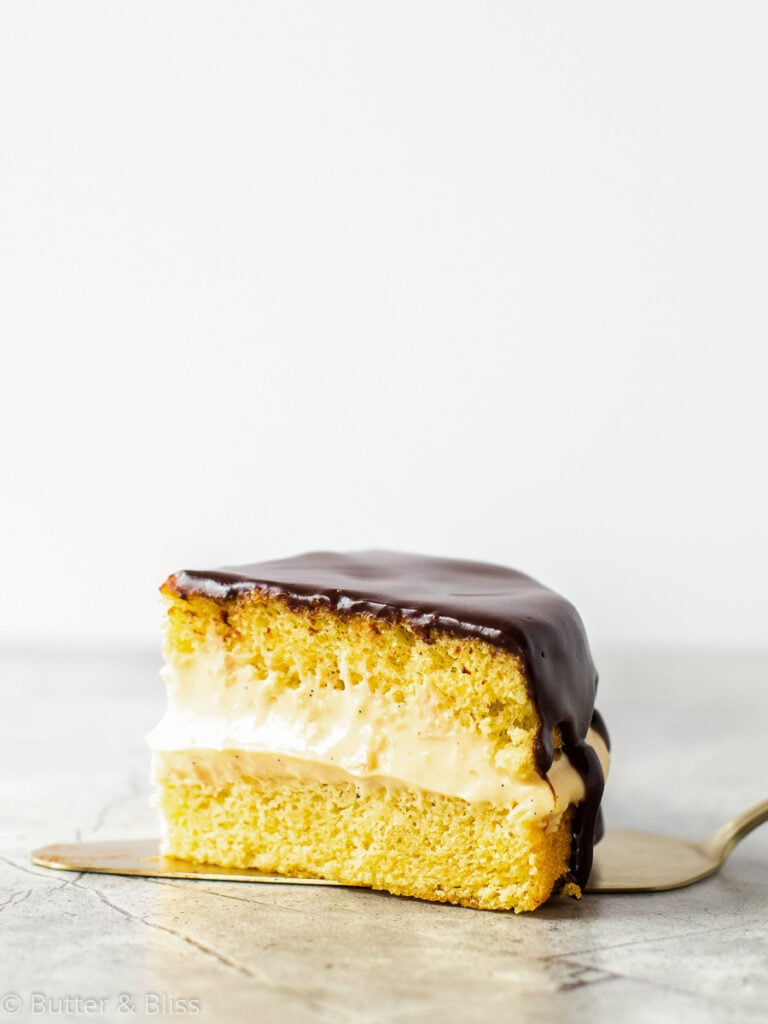
- Tender crumb
- Stays moist beyond day one
- Sturdy enough to support a layer of creamy pastry cream
- Mini, 6-inch cake

Vanilla Pastry Cream
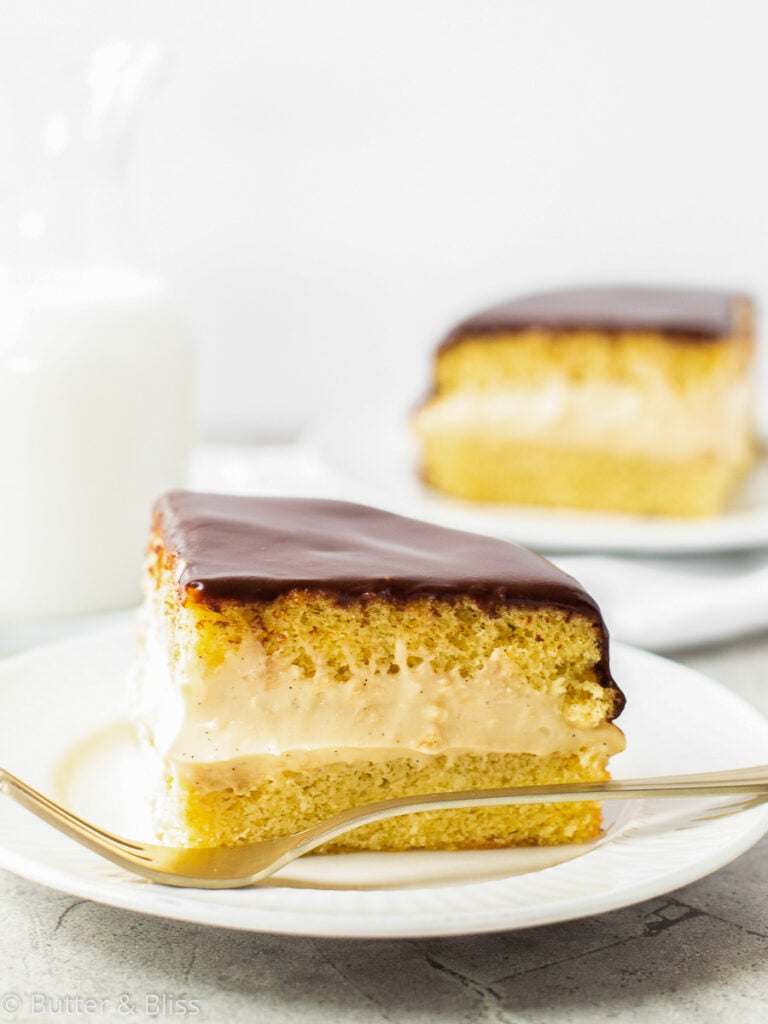
The luscious cream in the center of the mini Boston cream pie is a vanilla pastry cream. Which, let’s be honest, is a fancy way of saying vanilla pudding.
What makes up a pastry cream
- Base – The pastry cream gets its rich texture from egg yolks. The whole milk and cornstarch combine to make it creamy and thick. Then we add butter at the end for a silky custard.
- Flavor – I use vanilla bean paste in my pastry cream for deep vanilla flavor. Vanilla bean paste may be hard to come by, or just more than you’d like to spend. I get it. In this case, vanilla extract works just as well.
- Sweetener – Simple granulated sugar gives the cream it’s perfect sweetness. I have been tricky and used maple syrup before. And it works wonderfully and adds buttery, caramel notes.
Tips For Making A 6-Inch Boston Cream Pie
- Make the vanilla pastry cream first – The pastry cream needs time to set and firm. You can even make it the night before.
- Room temperature ingredients – Mixing and combining ingredients that are at room temp is easier. Plus, when all of the ingredients start at the same temperature, they bake better.
- Good chocolate for ganache – I recommend higher quality chocolate because it melts better.
- Cool the cakes completely – Warm cakes will make the pastry cream melt. Make sure the cakes are completely cool before assembling the cake.

6-Inch Boston Cream Pie
by Erin Cernich
Equipment
Ingredients
Vanilla Pastry Cream
- 2 large egg yolks, room temperature
- 2 tablespoons cornstarch
- 1 cup whole milk
- ⅓ cup granulated sugar
- 1 tablespoon unsalted butter, cold
- 2 teaspoons vanilla bean paste (or extract)
- 1 pinch salt
Yellow Cake
- 1 ¼ cups all-purpose flour
- ½ teaspoon baking powder
- ½ teaspoon baking soda
- ⅛ teaspoon salt
- ½ cup milk, room temperature (any kind)
- ¼ cup full fat sour cream, room temperature
- ⅔ cup granulated sugar
- ¼ cup canola oil (or any neutral oil)
- 1 large egg, room temperature
- 1 teaspoon vanilla extract
Chocolate Ganache
- ½ cup semi-sweet chocolate (chips or baking bar)
- 1 teaspoon vanilla extract
- ¼ cup heavy whipping cream
- 2 teaspoons corn syrup
Instructions
Vanilla Pastry Cream
- Make the pastry cream first, or even the night before. In a medium mixing bowl, add the egg yolks, cornstarch, and one-third of the milk. Whisk until the cornstarch is dissolved.2 large egg yolks, room temperature, 2 tablespoons cornstarch, cup whole milk
- In a small saucepan, add the remaining milk and sugar. Heat over medium until small bubbles appear along the sides of the saucepan. Do not boil. Remove the saucepan from the heat. Then very slowly drizzle in about half of the heated milk into the egg mixture, whisking constantly.1/3 cup granulated sugar, 1 cup whole milk
- Pour the egg mixture back into the saucepan, still whisking constantly, and return to medium heat. Cook until the cream starts to thicken and bubble. This will take about 2 to 3 minutes.1 tablespoon unsalted butter, cold, 2 teaspoons vanilla bean paste, 1 pinch salt
- Remove the cream from the heat. Add the butter, vanilla, and salt. Whisk until incorporated, and the butter has melted. Pour it through a fine mesh strainer set over a heat-proof mixing bowl. This will remove unwanted lumps. If needed, use a spatula to help it through the strainer.
- Cover the pastry cream with a piece of plastic wrap, directly touching the surface to keep a skin from forming. Transfer it to the refrigerator to chill until ready to assemble the cake. Ideally, it should have at least 2 hours in the fridge, but overnight is best.
Yellow Cake
- Preheat the oven to 350F degrees and adjust the oven rack to the middle position. Line the bottom of 2 6-Inch round cake pans with a piece of parchment paper cut to fit. Lightly grease and flour the pans.
- In a small mixing bowl, whisk together the flour, baking powder, baking soda, and salt.1 ¼ cups all-purpose flour, 1/2 teaspoon baking powder, 1/2 teaspoon baking soda, 1/8 teaspoon salt
- In a liquid measuring cup, measure out the milk and stir in the sour cream.1/2 cup milk, room temperature, 1/4 cup full fat sour cream, room temperature
- In a medium mixing bowl, add the sugar, oil, egg, and vanilla, and mix until smooth. Mix in half of the milk mixture. We reserve the rest to alternate with the dry ingredients.2/3 cup granulated sugar, 1/4 cup canola oil, 1 large egg, room temperature, 1 teaspoon vanilla extract
- Sprinkle half of the dry ingredients over the wet ingredients and fold into the batter until just incorporated. Mix in the remaining milk. Finish by sprinkling the remaining dry ingredients into the batter and fold until no dry streaks remain. Do not overmix – it is ok if there are a few lumps.
- Pour the batter equally into the prepared cake pans and bake for 18 to 22 minutes, or until the cakes are golden, spongy to the touch, and a toothpick inserted in the middle comes out clean. Tip – Use a cookie scoop to equally portion the batter into the cake pans.
- Cool the cakes in the pans set on a wire rack for 10 minutes. Then gently invert the cake pans onto the wire rack to release the cakes. Carefully peel away the parchment paper if it stuck, and flip the cakes back over to cool on the rack completely.
Chocolate Ganache
- Make the ganache while the cakes are cooling. In a small bowl, add the chocolate and vanilla extract.1/2 cup semi-sweet chocolate, 1 teaspoon vanilla extract
- In a microwave-safe liquid measuring cup, heat the cream for about 20 to 30 seconds, until it's warm, but do not let it boil. Pour the heated cream over the chocolate and let it sit for 2 to 3 minutes to allow the chocolate to melt.1/4 cup heavy whipping cream
- Add the corn syrup (this makes the ganache shiny) and whisk until the ganache is smooth. Set aside at room temperature so it can thicken slightly, and until ready to assemble the cake.2 teaspoons corn syrup
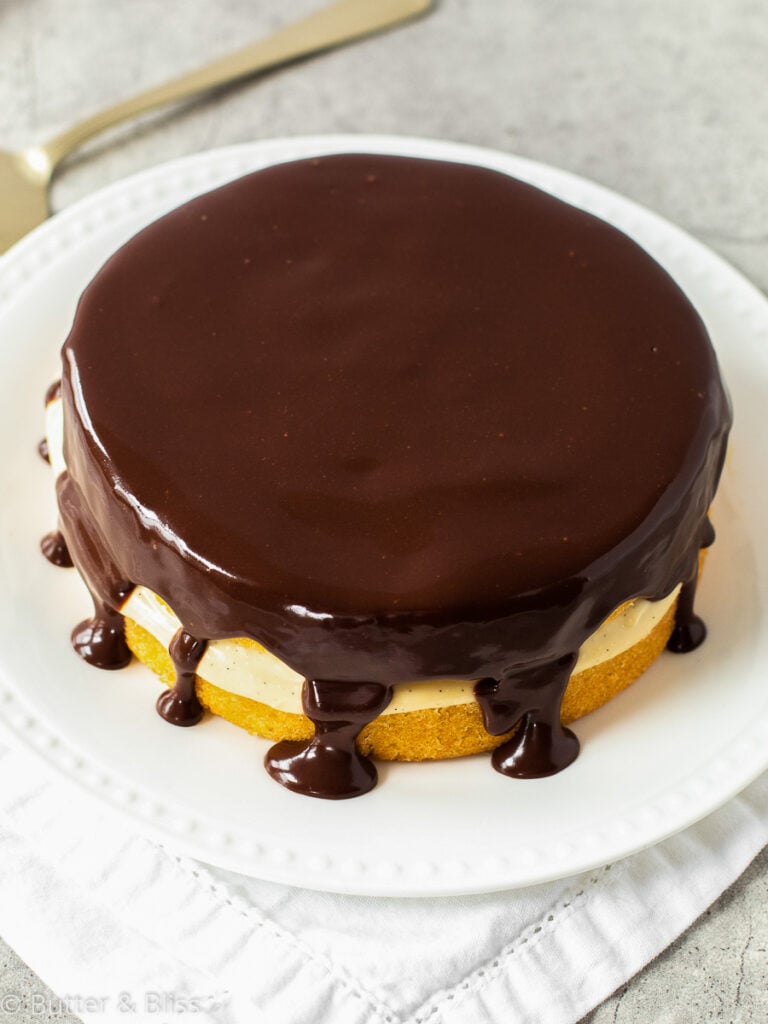
- Assemble the Cake – Stir the pastry cream to loosen it if it has been in the fridge overnight. Set one of the cakes on a serving platter, and smooth the pastry cream on top and all the way to the edges. Set the second cake on top. Stir the ganache again so it is nice and smooth, and pour it onto the top of the cake in the center. Using a spoon or offset spatula, smooth out the ganache to the edges of the cake, allowing some to drizzle down the sides.
- The cake is best enjoyed the day it is baked. It can sit at room temperature for up to 4 hours. Beyond that and I recommend covering and refrigerating it.
Nutrition Estimates
TRY THESE SMALL BATCH RECIPES NEXT!

About the Author …
Hi, I’m Erin! With years of experience baking for two in my own small household, I know about the love for desserts without the leftovers. I’ve tested, written, and photographed every one of the 300+ recipes on my website. And even had some of my desserts featured on Taste of Home, The Spruce Eats, ELLE, Parade, and more! From traditional to gluten free desserts for two, I have the recipe for you.
Click here to learn more about me →
I’m not sure what I did but the cake came out gummy.
Sorry to hear that! The problem could have been from mixing the batter too long – too much mixing causes too much gluten to develop. Or perhaps the cake wasn’t baked long enough? I like to use an oven thermometer to make sure my oven temp is accurate – I’ve had to recalibrate my oven several times to get the temperature right!
I had this book marked because it had a sponge cake which is the true Boston Cream Pie unless you buy a cheap one at the grocery, then it is just a plain yellow cake. Is the other recipe still available?
Hi Barb – I replaced the sponge cake with a yellow cake because readers were having trouble making the sponge. I can email you the original genoise sponge recipe I had for the Boston Cream Pie.
Loved this! Thank you! May put some orange in the cake next time. I did double the recipe and made two 8” cakes. Worked perfectly.
Hi Susan – I’m so happy to hear you enjoyed the cake! And putting orange in it sounds like a delicious idea. Thank you so much for trying the recipe and the lovely feedback! Happy Holidays
Question: I only have 4″ spring form pans. I plan to divide the cake mixture and use two 4″ spring form pans. Also, I do not have a small electric beater and have never needed one. Can I wisk OR use my KitchenAid mixer on low speed? Thank you.
Hi Kathleen – I think using 2 4-inch pans will work. You may have extra pastry cream and ganache – which you could just eat as pudding! I would use your Kitchen Aid. I’ve never whisked a Genoise by hand and imagine the Kitchen Aid will be easier.
Thank you so much for your reply. I can’t wait to make it this week. I can’t find cake flour anywhere but saw that I can ‘make’ it by taking 2T of the four out of the bowl, then adding 2T cornstarch and sifting them together a half dozen times or so, Do you agree?
I would agree with that – and sifting the mix well!
Hello! Two questions. The instructions for the cake, are you supposed to use whole eggs and when do you add the salt? I did use whole eggs and did not use salt because I’m pretty sure it’s missing from the instructions. My pastry cream seemed not to set up thick enough. My caked did not seem to rise as high and I feel I should have let my ganache thicken a bit longer. Hubby thought it was wonderful and questioned my reasoning for wanting to changed anything. Which, by the way is a correct response. ???
Hi Elizabeth – I’m so happy to hear that your husband enjoyed the cake! And thank you for the questions – seems I had a couple of typos in the recipe :(. For the salt – it should be added when you sift the flour with the sugar (I made that correction in the instructions). And you were correct – it is the whole eggs. For the pastry cream – if you try it again, you can add a bit more cornstarch if you want it to be thicker – I wouldn’t do more than 2 more teaspoons – otherwise it may set too thick. And for the ganache – yes, letting it sit longer will thicken it more. And since this is a genoise cake, it won’t rise as much as a regular yellow cake, since there is no baking powder or soda. Thank you for trying the recipe and visiting the blog! 🙂
Thank you for responding to my inquiries! You confirmed my thought process. I will definitely make again!