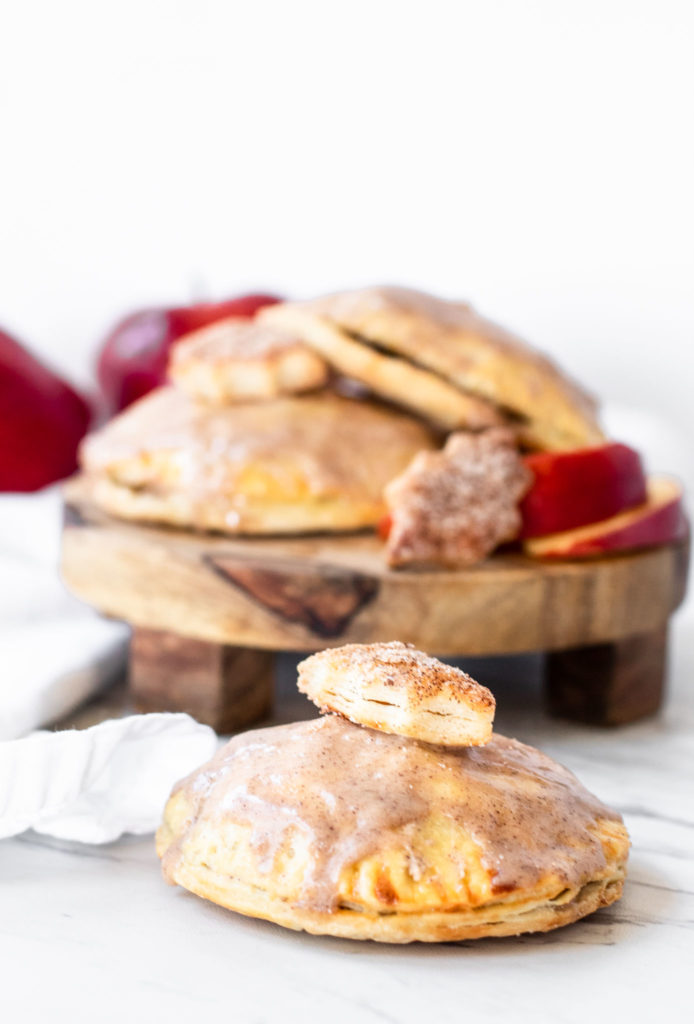
Just in time for Fall – Apple Brown Sugar Hand Pies with Cinnamon Brown Butter Glaze! These mini hand pies have a delicate flaky crust and are filled with brown sugar and caramelized apples. Then they get topped off with a spicy cinnamon brown butter glaze! Perfect for breakfast or dessert!
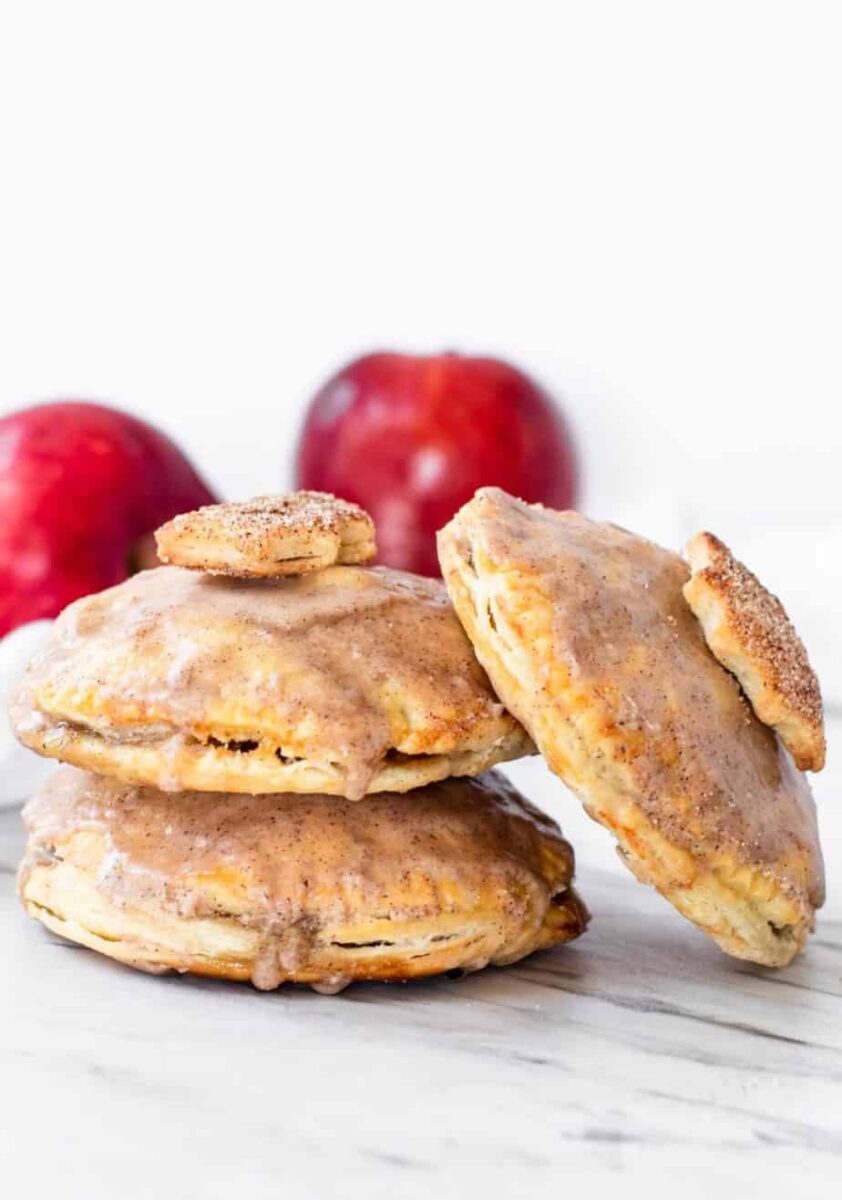
Perfect Hand Pie Crust
I can’t decide if I like the crust, the filling, or the glaze of these hand pies better. Either way, I will say that this is the best pie crust I have ever had. Now I must disclose that statement by saying the crust is light and flaky. Whereas, there are pie crusts that are a little more sturdy, and less flaky. But whichever side of the pie crust fence you are on, trust me when I say this one is delish!
The secret to this hand pie crust is the butter and the vinegar. The vinegar makes it tender and the butter creates the air pockets in the dough. Which in turn yields a flaky crust. I have also used this pie crust recipe for our Cherry Almond Galette For Two, and Individual Peaches and Cream Pies. I promise this pie crust won’t disappoint!
Brown Sugar Apple Pie Filling
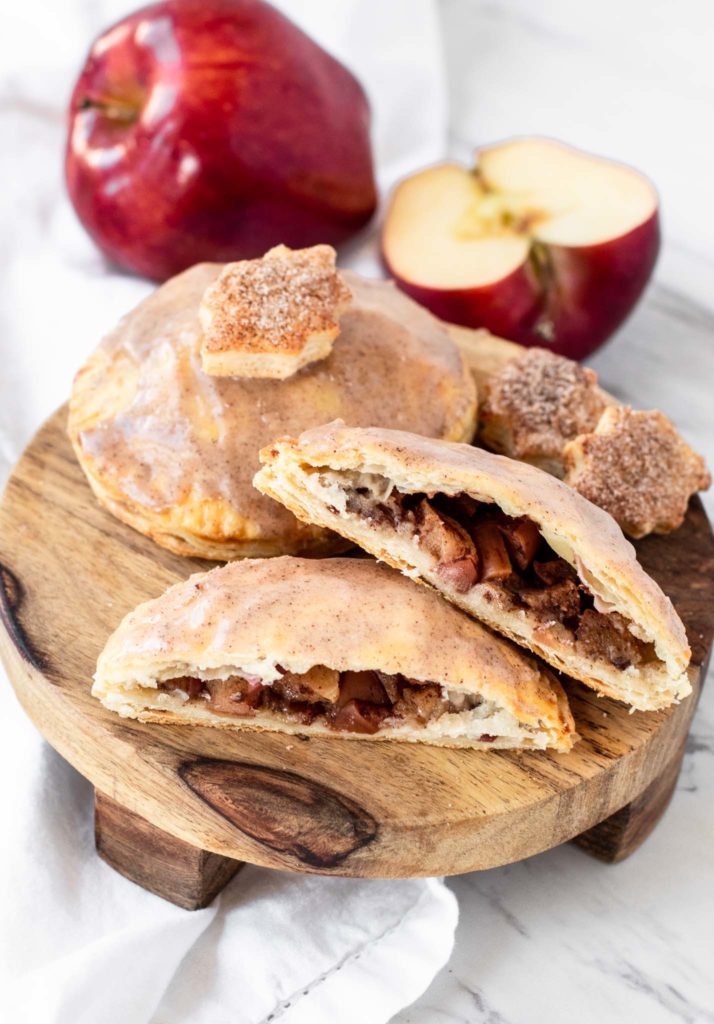
The filling for the Apple Brown Sugar Hand Pies is made up of, well, apples and brown sugar. And it doesn’t get any more complicated than that!
What apples should you use for apple pie filling
I used Red Delicious apples for this recipe. I like their sturdy texture and that they are more sweet than tart. However, there are other apples that you can use for hand pies. But before you go on to read the list, I must state that I believe the apples you use is a matter of personal preference. See, I don’t care for Granny Smith apples (too tart for me!) But you will notice that almost any website will say they are the best for baking. Regardless of that, I still don’t bake with them (yet 🙂 )!
- Granny Smith
- Honeycrisp
- Pink Lady
- Golden Delicious
How to prepare the apple pie filling
I do recommend cooking the apples with butter and sugar first. This will tenderize them and impart yummy flavor before baking. Although, do not overcook the apples – you don’t want them to turn to mush when they are baked. I say 3 minutes, 5 tops in the skillet and you’re done!
And to get even more goodness in your hand pies, the brown sugar and flour mixture makes for a creamy texture and pairs beautifully with the apple filling.
Making the Cinnamon Brown Butter Glaze
Making brown butter is really pretty easy. And once you’ve made it, you will want to use it for everything! Given the amount of butter in this recipe (1 tablespoon), it will not take too long to brown. So I recommend not leaving the skillet’s side while the butter browns, and swirl the skillet around so the butter melts evenly. As it browns, you will also start to see little brown flecks – which is just more flavor!
Finally, adding the cinnamon to the warm butter blooms the spice. Which is fancy for elevating the natural flavor of the cinnamon. Which then gives you a great spicy cinnamon flavor for your glaze!
Now the hard part – whether to eat these for breakfast or dessert! 🙂
Apple Brown Sugar Hand Pies
Ingredients
Pie Crust
- 1 and 1/4 cups all-purpose flour
- 4 teaspoons granulated sugar
- 1/2 teaspoon salt
- 1/2 teaspoon apple cider vinegar (or white distilled vinegar)
- 7 tablespoons unsalted butter, cold and cut into cubes
- 3 to 5 tablespoons ice water
- 1 egg, beaten (for brushing crust)
Apple Filling
- 1/2 cup apples, chopped (any apple of choice will work)
- 1 tablespoon unsalted butter
- 1/4 teaspoon ground cinnamon
- 3 tablespoons brown sugar (light or dark)
- 1 and 1/2 teaspoons all-purpose flour
Cinnamon Brown Butter Glaze
- 1 tablespoon unsalted butter
- 1/4 teaspoon ground cinnamon
- 1/4 cup powdered sugar
- 2 tablespoons milk, warmed (any milk will work)
Instructions
Pie Crust
- Note – The butter needs to be cold. Before you begin making the dough, cut the butter into cubes and place in the freezer for about 10 to 15 minutes ahead of time.
- In a medium mixing bowl, whisk together the flour, sugar, and salt. Add the butter cubes to the flour and press the butter cubes into small flat, flaky discs (about the size of a nickel) – making sure they are all coated with flour.
- Fill a small liquid measuring cup with ice water – as long as you have at least 1/2 cup of water. Make a well in the center of the flour and add the vinegar and 3 tablespoons of ice water to the well. Using a fork or spatula, stir the flour around the water, and continue to add water 1 tablespoon at a time until you start to get larger clumps of dough. To check if you have added enough water, grab some of the dough in your hand and squeeze it. If it sticks together without crumbling apart, you have added enough water. If it still crumbles apart, add another tablespoon of water, and check again. Note – The dough is supposed to be rough and not overly moist. Adding too much water will likely result in a tough dough. So will overmixing the dough. Work the dough gently when mixing in the water.
- Note – Weather and humidity can impact how much water you need to bring the dough together. You may find you need more water than the recipe states.
- Pour the dough onto a sheet of plastic wrap and form into a ball, then flatten into a small disc. Wrap tightly and refrigerate for at least 1 hour.
Apple Filling
- In a small skillet, add the chopped apples, butter, and cinnamon. Cook over medium heat until the apples start to get tender – about 3 to 5 minutes. Do not overcook as they will continue to soften when baked. Remove the apples from the skillet and set aside (you can use the same skillet to make the brown butter).
- In a small bowl, mix together the brown sugar and flour. Set aside.
- Baking the Hand Pies – Preheat the oven to 425F degrees and adjust the oven rack to the middle position. Line a baking sheet with a piece of parchment paper.
- Remove the cooled dough from the refrigerator and let it come to room temperature for at least 15 minutes. Lightly flour your work surface. Roll the dough into a rough 15-inch square. Using a 4.5-inch biscuit or cookie cutter, cut out 8 circles.
- You will have extra dough. You can cut that into leaf shapes using a small cookie cutter to decorate the hand pies. You can re-roll the scraps as well to make more decorations, however, I do not recommend re-rolling the dough more than one time – otherwise, it will get tough.
- Place 4 of the dough circles on the prepared baking sheet. Spoon equal amounts (about 2 and 1/4 teaspoons) of the brown sugar mix onto the center of each circle. Next, spoon equal amounts of the apple mix on top of the brown sugar – leaving at least a 1/4 inch border.
- Place the remaining 4 dough circles on top and crimp the edges together with a fork. Lightly brush the tops of the pies with the beaten egg.
- Bake the pies for 20 to 25 minutes, or until the tops are golden brown. Cool on the baking sheet for 5 minutes before transferring to a wire rack to cool completely.
- If you made pie cut-out decorations, bake them separately as they won't take as long to bake. Brush each with the beaten egg and sprinkle with cinnamon sugar for extra flavor. Bake for about 10 minutes, or until golden brown. Cool on a wire rack.
Cinnamon Brown Butter Glaze
- While the hand pies are baking, prepare the glaze.
- Wipe out the small skillet you used for the apples. Add the butter and melt over medium heat – swirling the pan occasionally so the butter melts evenly. Cook until the butter begins to turn to a toasty brown with a nutty aroma. Remove the skillet from the heat and stir in the cinnamon. Heating the cinnamon blooms and elevates the flavor of the spice. Let the butter cool in the skillet for a couple of minutes.
- While the butter is cooling, heat the warm milk in a microwave-safe glass or bowl, just so it is warm to the touch.
- In a small mixing bowl, mix together the cinnamon butter and powdered sugar. Add in the warm milk, a little at a time, until the mixture loosens slightly to the consistency of a glaze. If you prefer a thicker glaze, don't add all the milk.
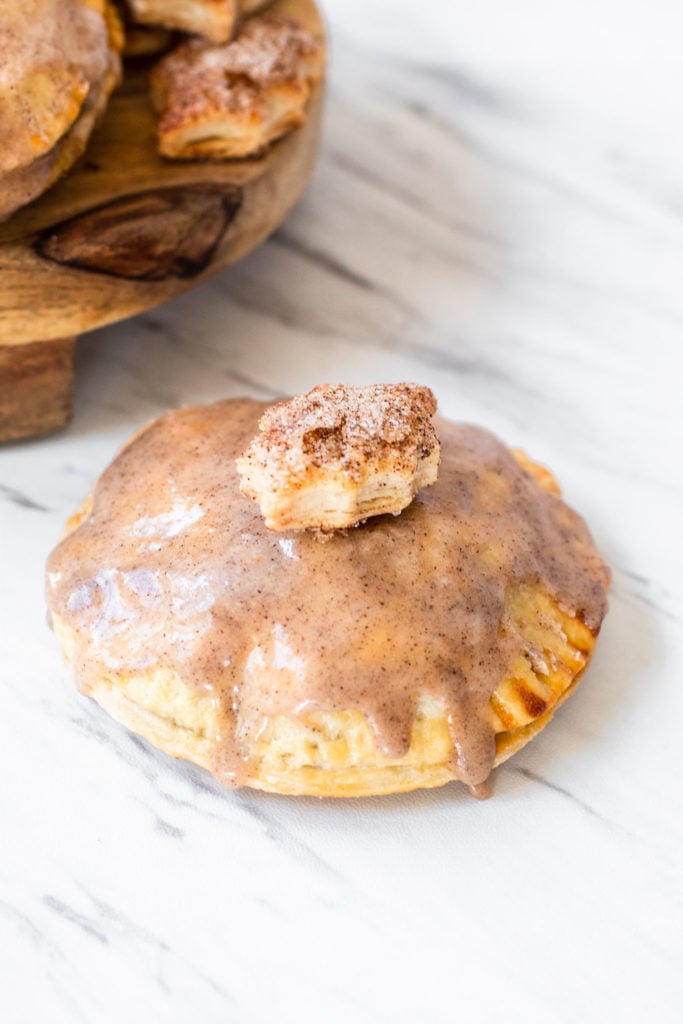
- Drizzle the glaze over the hand pies and allow the glaze to 'harden' on the pies for a few minutes. (Optional) Top each pie with a pie crust decoration. The hand pies are best enjoyed the day they are baked! If you do have leftovers, store at room temperature in a paper bag or wrapped in parchment paper.

about the author ...
I'm Erin and I'm all about desserts - and a little bit of butter!
I've tested, written, and photographed hundreds of recipes on my website. Here you'll find the tastiest small batch desserts - all homemade, all simple, and all for you! Click here to learn more about me!

