Healthier Coconut Candy Cups
This post may contain affiliate links. See my disclosure policy.
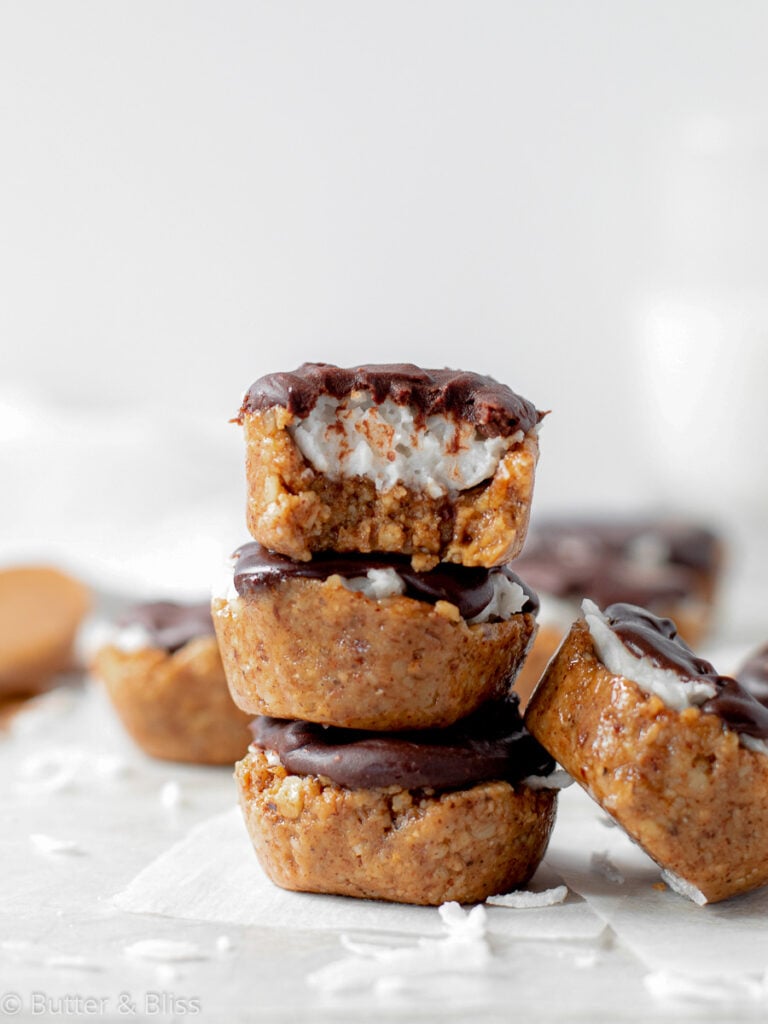
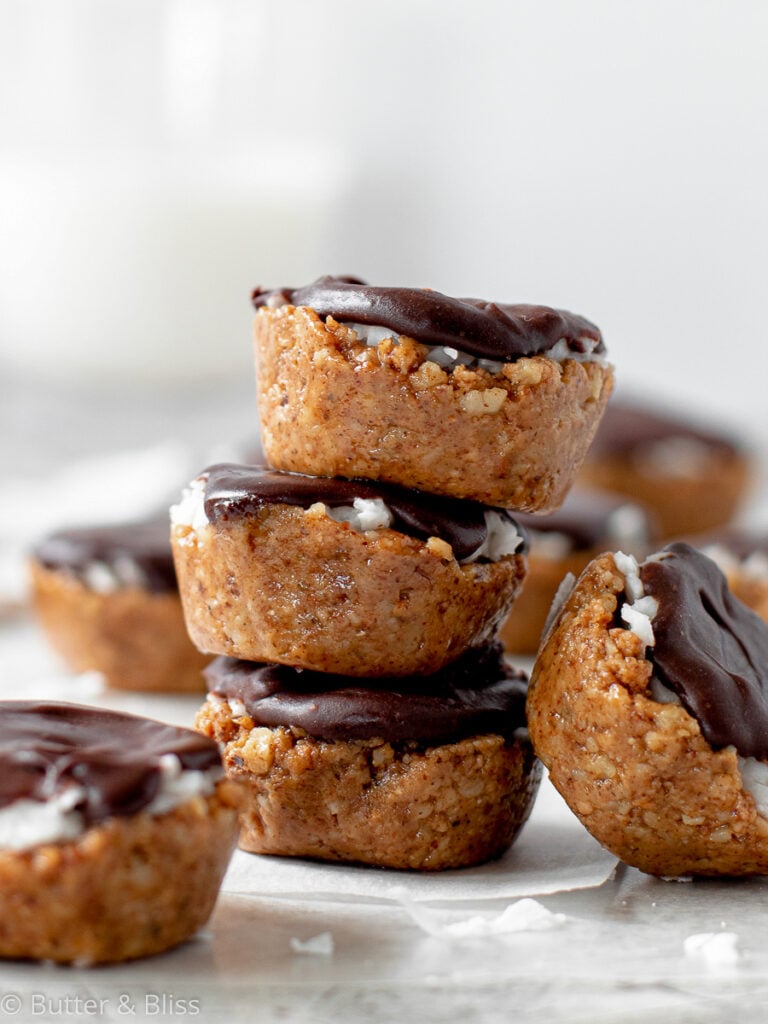
With these Coconut Candy Cups, now you can make a healthier candy choice! A crunchy and sweet candy crust holds a delicious coconut cream that is great on its own, but perfect as a filling! Top with a smooth chocolate ganache, and you have a candy that will not be around long enough to melt in your hand!
Healthier Coconut Candy Cups
Where did these come from, and more importantly where have they been my entire life?! These are my healthy rendition of the popular creamy almond candy bar. But these are healthier, and in my honest opinion, better. Naturally, I’m going to say that!
We all know I am a HUGE fan of unsweetened canned coconut milk. I use it to make Whipped Coconut Cream, and Butter-Free Buttercream Frosting, and now I can’t think of anything else to make the creamy coconut filling of these candies any better!
The great thing (one of many) about coconut cream is that it has given me a new appreciation for coconut itself. When combined with coconut flakes, it is like a dreamy creamy mix of pure tropical goodness. And the best part is it is not cloyingly sweet.
Coconut Cream Candy Filling
I can’t decide if I like the candy crust or the coconut cream filling better. It changes on the day of the week you ask me. What I do know is that it could not be easier to make the coconut cream filling. That said, we have created yet another filling for other treats!
For now, we’ll stick to a filling for these coconut candy cups. And when I say filling, I mean this is what makes up the bulk of these candies. Our candy crust creates the perfect little cup to store a healthy dollop of coconut cream. Even better, when the candies chill for a bit, the coconut cream sets firmer and creates a great thick, candy bite.

The Almond Butter Candy Crust
The cup itself of these coconut candy cups is pretty healthy, I must say. Almond butter, honey, walnuts, and toasted coconut mean there is no refined sugar. Yay! When you mix it all together, the nutty mixture creates a sticky crust that can carry the weight of the coconut cream filling.
You could swap out the honey with maple syrup. If you do, you may need to add more ‘filler’ with more almond butter, coconut flakes, or nuts. Maple syrup is a bit thinner than honey and we want to make sure the crust sticks together.
The Finishing Touch On The Candy Cups
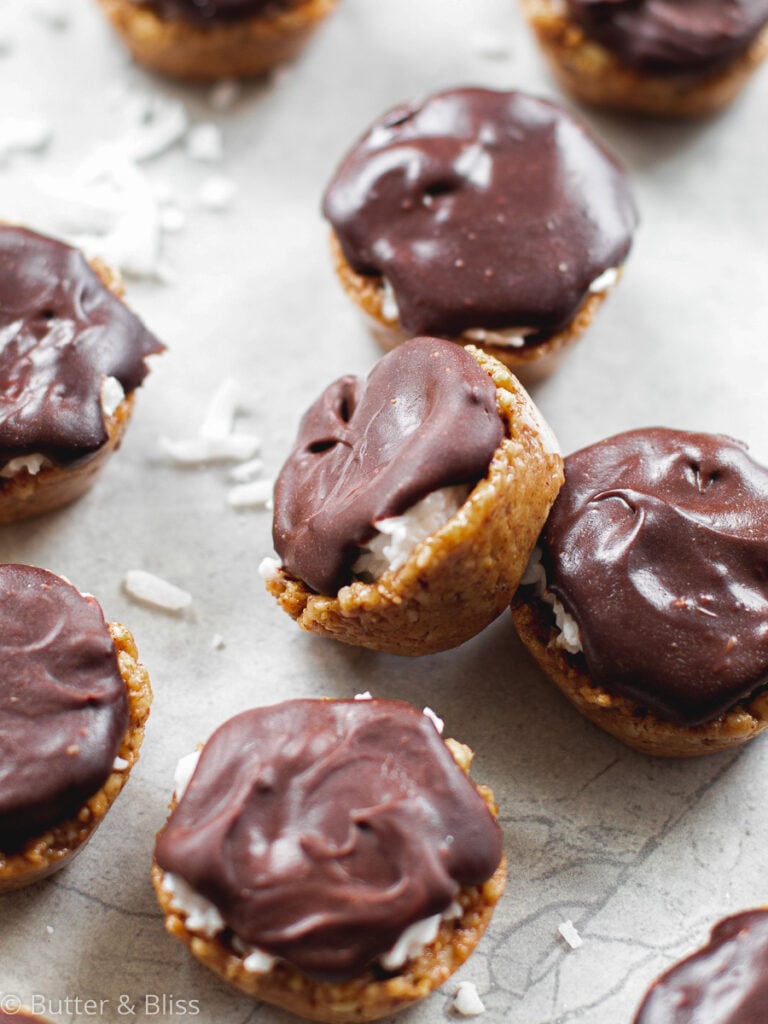
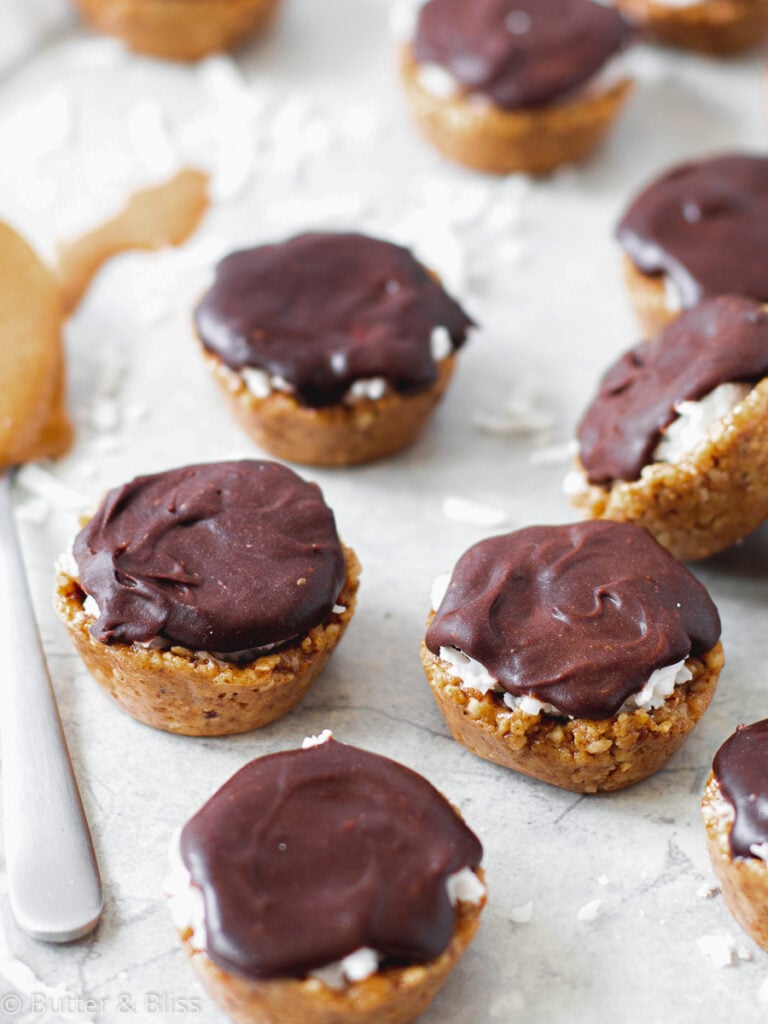
Can you call it a candy if there is no chocolate? Well, no worry on this one as we are topping the coconut candy cups with what else, but chocolate ganache. The simplicity of it also makes it simply decadent.
Just like the coconut cream, the chocolate does need time to set and firm up. Which is why we have to wait for a little while for the candies to chill in the fridge.
I promise the wait will be worth it!

Coconut Candy Cups
by Erin Cernich
Equipment
- Mini Muffin Baking Pan
Ingredients
Candy Cups
- 4 tablespoons almond butter
- 3 tablespoons honey
- 3 ounces walnuts (or any nut of choice)
- 3 ounces sweetened or unsweetened shredded coconut, toasted
Coconut Cream Filling
- ¾ cup sweetened or unsweetened shredded coconut
- ¼ cup unsweetened canned coconut cream, full fat (from a refrigerated can of unsweetened coconut milk)
Chocolate Ganache Topping
- ¼ cup coconut milk
- ⅓ cup sugar free chocolate chips (or semi-sweet)
Instructions
- Using a mini muffin pan, line 14 cups with 2 narrow strips of parchment paper – long enough to hang over the sides of the muffin cups. These parchment paper strips will make it easy to lift the candies out of the muffin cups when ready to serve.
Coconut Cream Filling
- In a food processor, add the coconut flakes and coconut cream. Mix for 20-30 seconds on low speed until the mix is combined and the coconut flakes have been slightly chopped.
- Transfer the filling to a small bowl, thoroughly scraping out the bowl with a spatula. We are going to use the same processor bowl for the crust. Set aside.
Candy Cups
- In the same food processor bowl (no need to worry about cleaning it!), add the almond butter, honey, walnuts, and toasted coconut. Mix on low speed for 30-45 seconds until the nuts are finely chopped and the mix resembles coarse crumbs. The mixture should stick together when pressed between your fingers – if it is too crumbly, add a little more almond butter.
- Spoon 2 teaspoons of the candy crust into the prepared mini muffin cups. Using the back of the teaspoon, tightly press the mix into the cup. Pressing the teaspoon into the mixture will create the 'cup' to hold the coconut cream filling.
- Next, add 1-2 teaspoons of the coconut filling at a time to each candy cup. Filling each cup evenly until you have used all of the coconut filling. Place the muffin pan in the refrigerator and let chill for at least 30 minutes.
Chocolate Ganache Topping
- In a microwave safe bowl, add the coconut milk and chocolate chips. Cook for 30 seconds, until the milk has heated. Remove from the microwave and mix with a spatula until the chocolate chips have melted. Place the bowl in the refrigerator to let the ganache cool while the candies continue to cool.
- Once the candies and ganache have cooled for 30 minutes, remove from the fridge and spoon 2 teaspoons (or more if you like) of the ganache on top of each candy. Spread and smooth out with the back of the spoon. Return the candies to the fridge to continue cooling and set for at least another 1.5 hours.
- Once the candies are set, use the parchment paper strips to carefully lift the candies out of the muffin cups. Serve and enjoy! Any leftovers can be kept in the refrigerator in an airtight container for 1 week (if they last that long!)
Nutrition Estimates
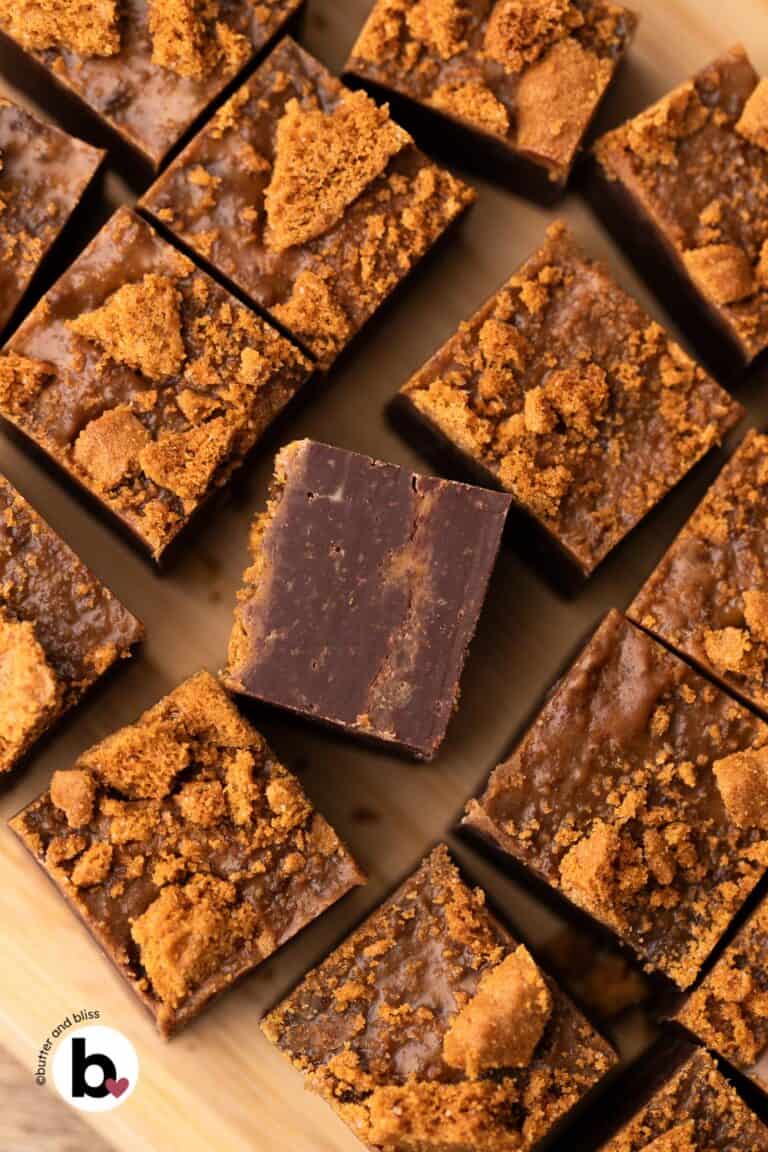
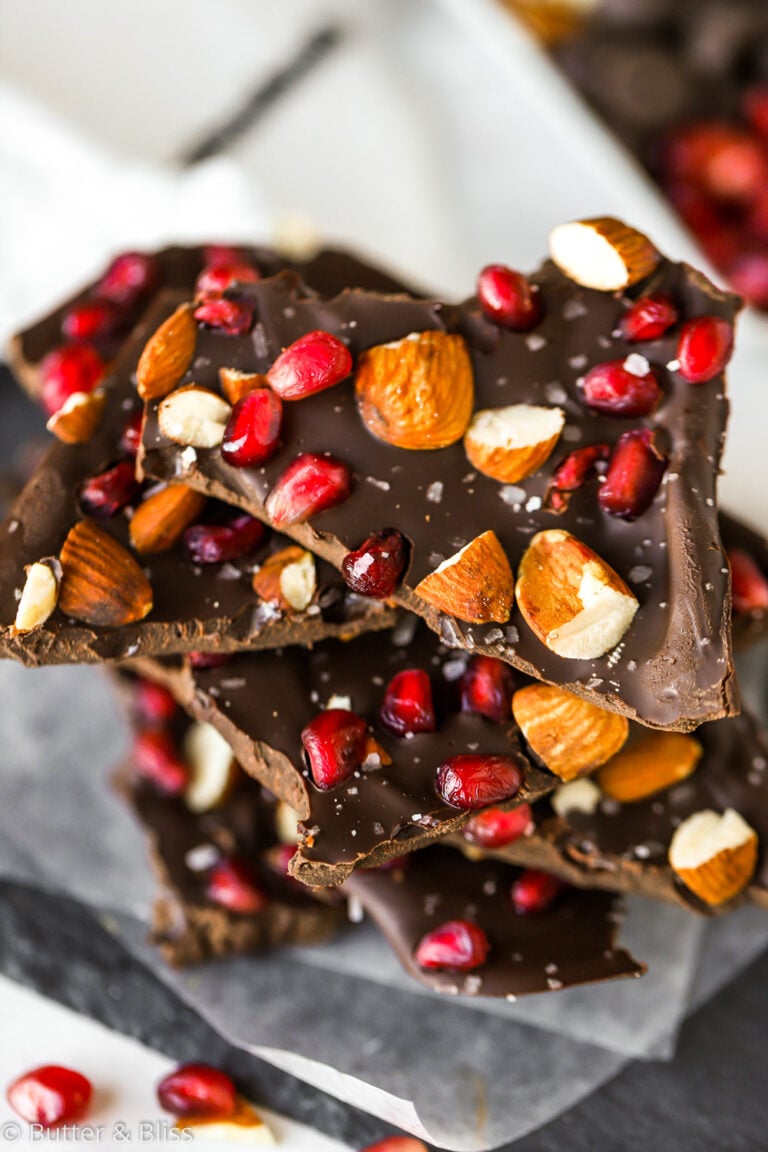
TRY THESE SMALL BATCH RECIPES NEXT!


About the Author …
Hi, I’m Erin! With years of experience baking for two in my own small household, I know about the love for desserts without the leftovers. I’ve tested, written, and photographed every one of the 300+ recipes on my website. And even had some of my desserts featured on Taste of Home, The Spruce Eats, ELLE, Parade, and more! From traditional to gluten free desserts for two, I have the recipe for you.
Click here to learn more about me →