Sparkling Berries and Cream Popsicles
This post may contain affiliate links. See my disclosure policy.
These Sparking Berries and Cream Popsicles are a refreshingly easy frozen treat, and perfect for your 4th of July celebration. The fresh berry puree is spiked with sparkling water for a fun, effervescent bite!
4th of July Popsicles
Getting a bit festive with this recipe! But I can’t help it because it’s summer and the 4th of July is one of my favorite holidays. Barbecues, pool parties, grilling, and the smell of fresh cut grass always impart such good memories of summer holiday. And most of the time, I was always carrying around one of those bomb popsicles that only taste good when purchased from the ice cream truck!
As you are planning your firework festivities for this summer, you know you will want to have a delicious frozen treat on hand! While you can go out and buy store-bought popsicles, how about making a batch of your own? Maybe the ice cream man will want to purchase one of yours!
Sparkling Berries and Cream Popsicles
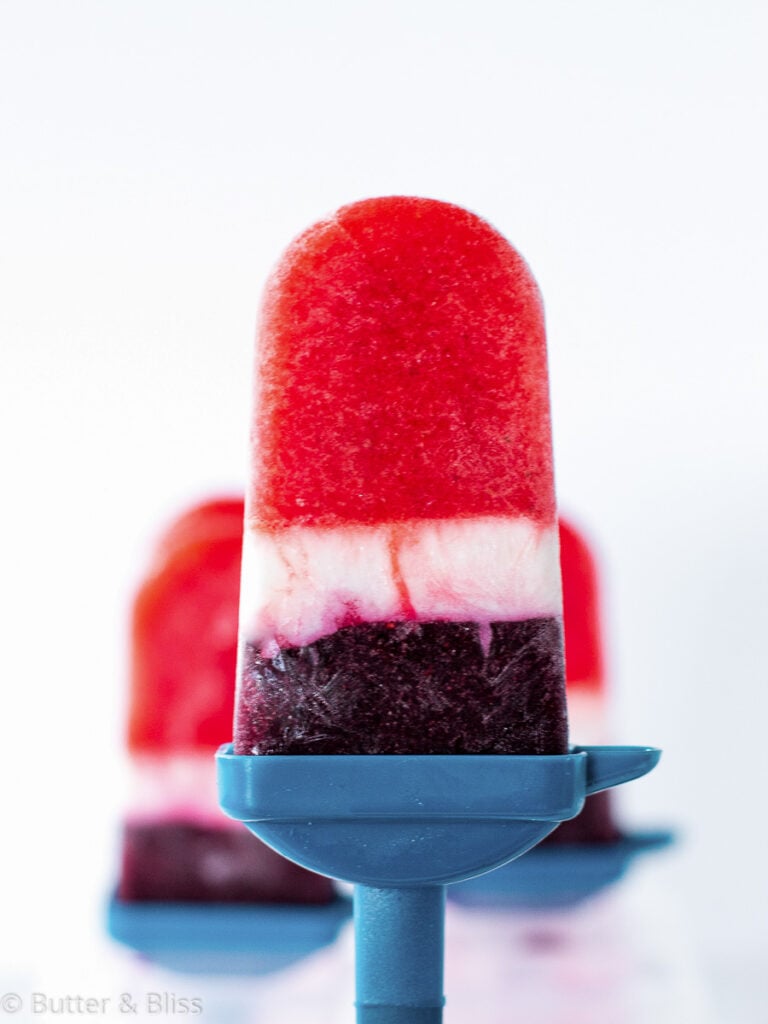
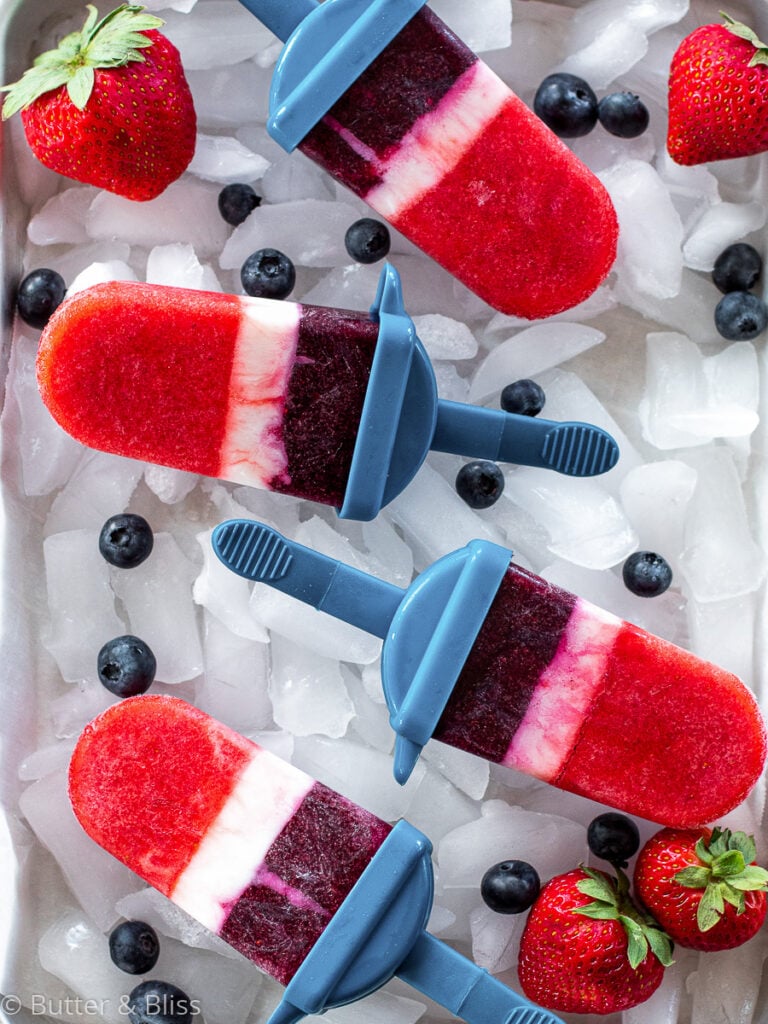
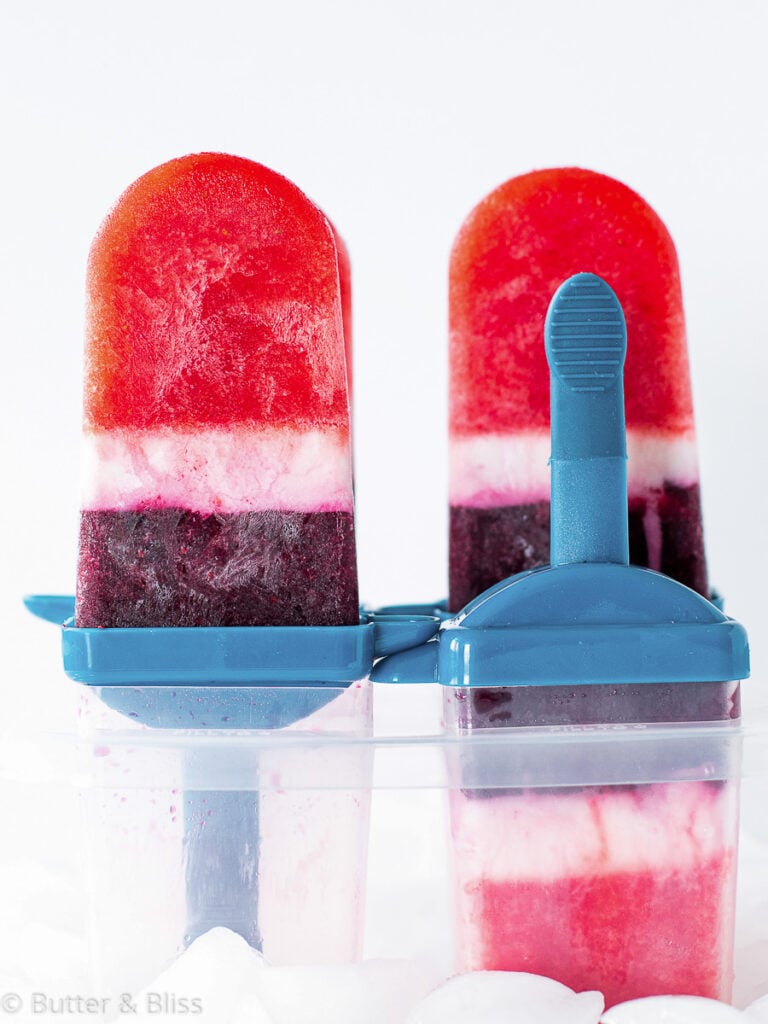
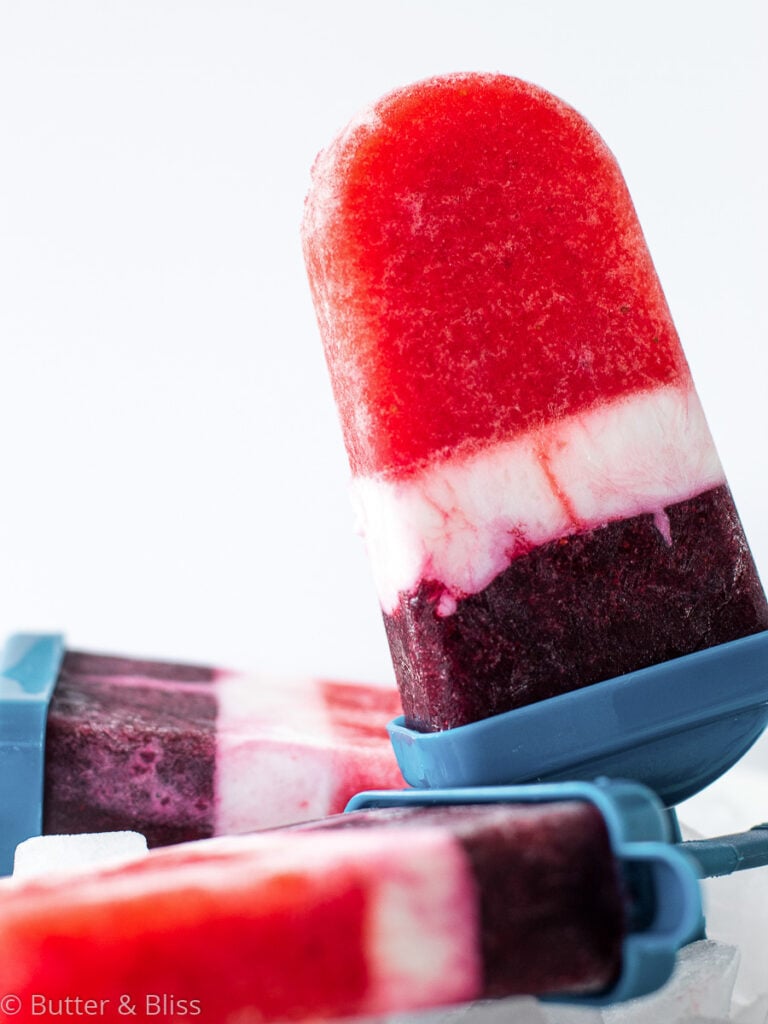
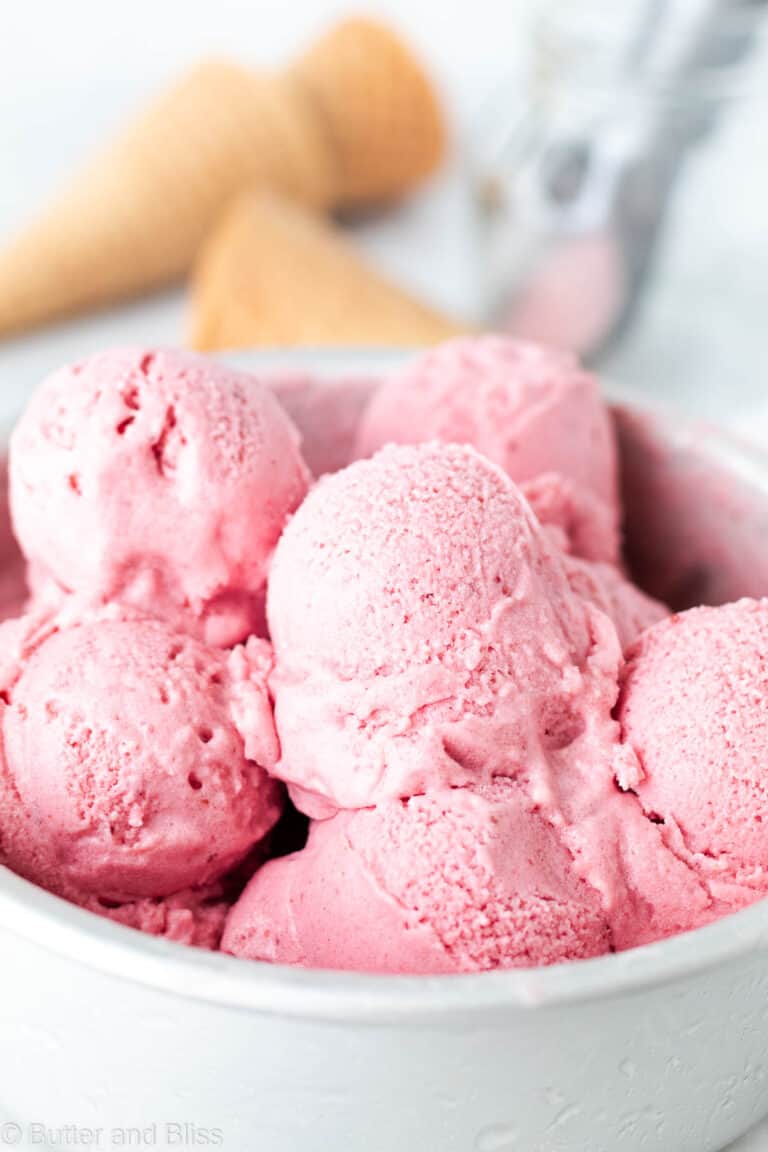
The Sparking Berries and Cream Popsicles add the ‘sparkler’ to your festive frozen dessert. Corn-y! For the red and the blue, we are going to get the sparkle from sparkling water. I know, pretty literal, but also pretty darn good. To take it a step further, the sparkling water we use in this recipe is flavored with natural berry flavors.
Frozen Coconut Milk
For the Sparkling Berries and Cream Popsicles, we are going to use canned coconut milk. I chose this instead of the carton coconut milk because I wanted the full-fat thickness of canned coconut milk. It freezes similarly to ice cream and is an awesome contrast to the sparkling berry layers.
We use the unsweetened canned coconut milk quite a bit here at Butter and Bliss. For our Whipped Coconut Cream to our Butter Free Buttercream Frosting. And this may be the only time (well, maybe not), that I tell you to shake the can before using it. As you will find, the coconut solids separate from the liquid in the can and we want it to be fully homogenous. And you will have extra that you can use for smoothies, or in a savory curry dish if you want to get fancy!
I also add a bit more sweetener to coconut milk ratio as well for this one. Because it is a popsicle, and the berry layers have only their natural sweeteners, and it is a summer dessert, I wanted it to be sweeter. You can certainly adjust the amount of maple syrup you use to adjust to your desired sweetness.

Sparking Berries and Cream Popsicles
by Erin Cernich
Equipment
Ingredients
- 1 cup fresh strawberries, lightly pureed
- 1 cup fresh blueberries, lightly pureed
- ½ cup unsweetened canned coconut cream, full fat
- 3 tablespoons pure maple syrup
- ½ cup sparkling water, berry flavored
Instructions
- In a blender, puree the strawberries first, then the blueberries. Pour each into separate cups and add 1/4 cup of the sparkling water to each. You will probably have extra berry juice, depending on the size of your popsicle molds. Use the extra as a flavored sparkling water or add to a smoothie!
- For the coconut milk, shake the can so the liquid and coconut solids mix. Open the can and stir as needed. Pour 1/2 cup of the coconut milk into a cup and add the maple syrup. Stir until combined. Add more or less maple syrup to your sweetness preference.
- Start with the strawberry juice and pour equal amounts into each of the popsicle molds, 1/3 full. Place the uncovered popsicle mold in the freezer and allow the strawberry liquid to freeze for at least 30 minutes – this is so the next layer does not seep into the layer below it. Follow with the coconut milk, pour equal amounts 2/3 full, freeze for 30 minutes. Finish with the blueberry juice and place the sticks into the molds and freeze until solid – about 3 more hours.
Nutrition Estimates


About the Author …
Hi, I’m Erin! With years of experience baking for two in my own small household, I know about the love for desserts without the leftovers. I’ve tested, written, and photographed every one of the 300+ recipes on my website. And even had some of my desserts featured on Taste of Home, The Spruce Eats, ELLE, Parade, and more! From traditional to gluten free desserts for two, I have the recipe for you.
Click here to learn more about me →