Small Batch Pumpkin Apple Pie Bars
This post may contain affiliate links. See my disclosure policy.
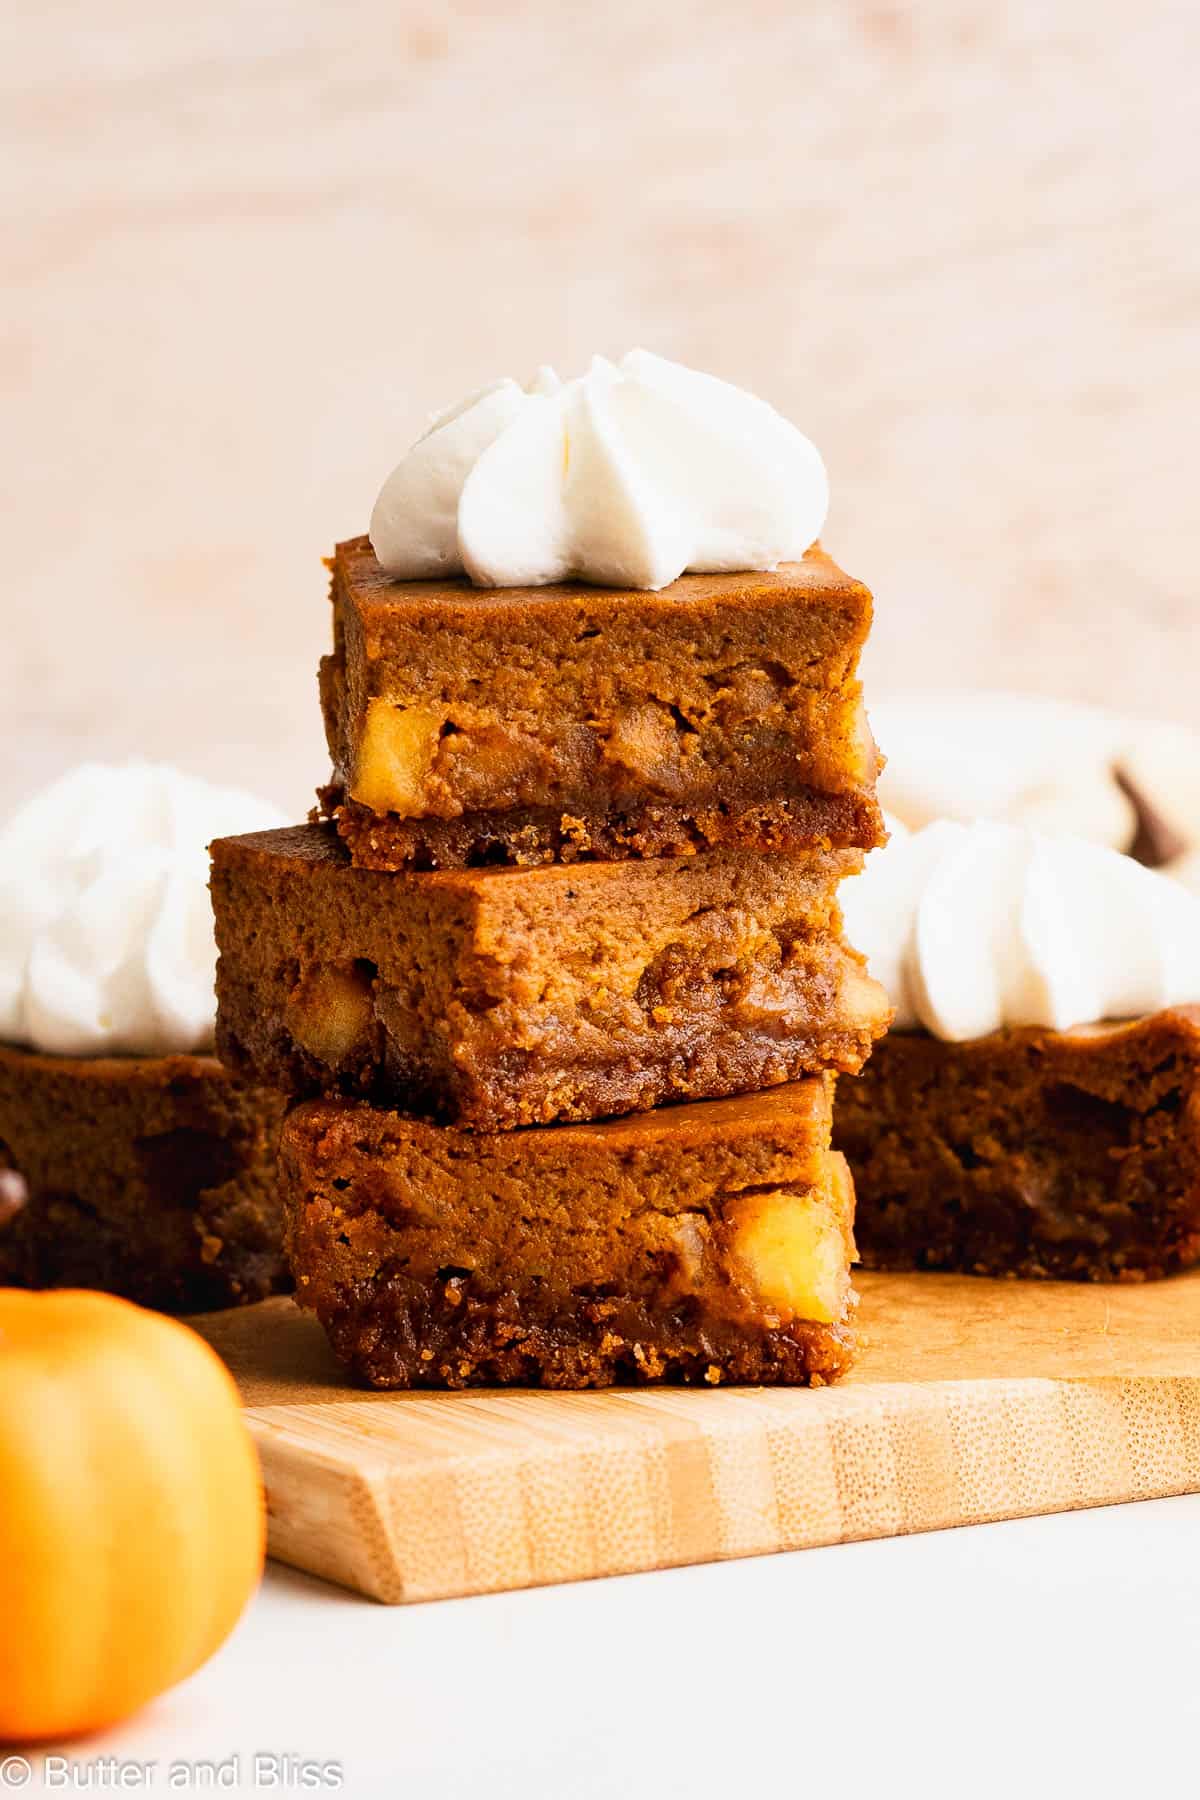
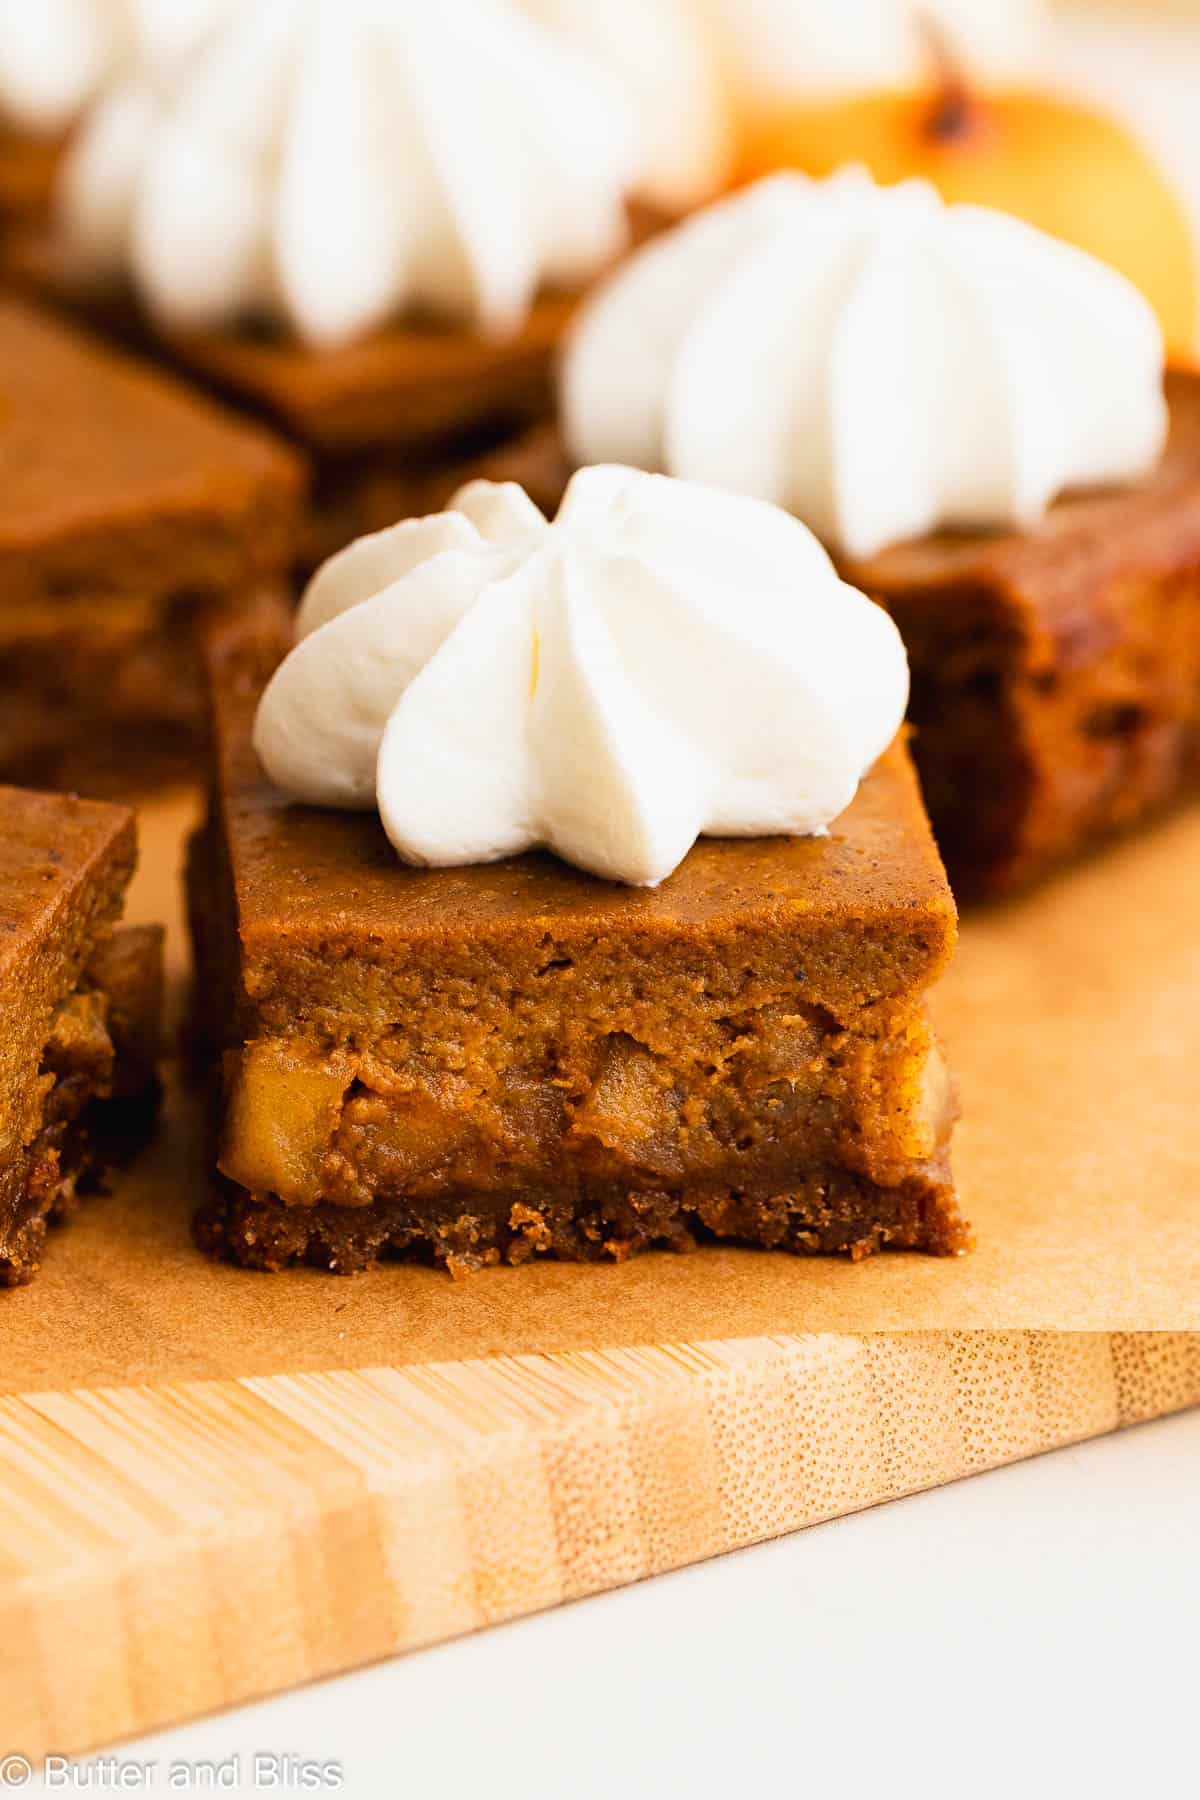
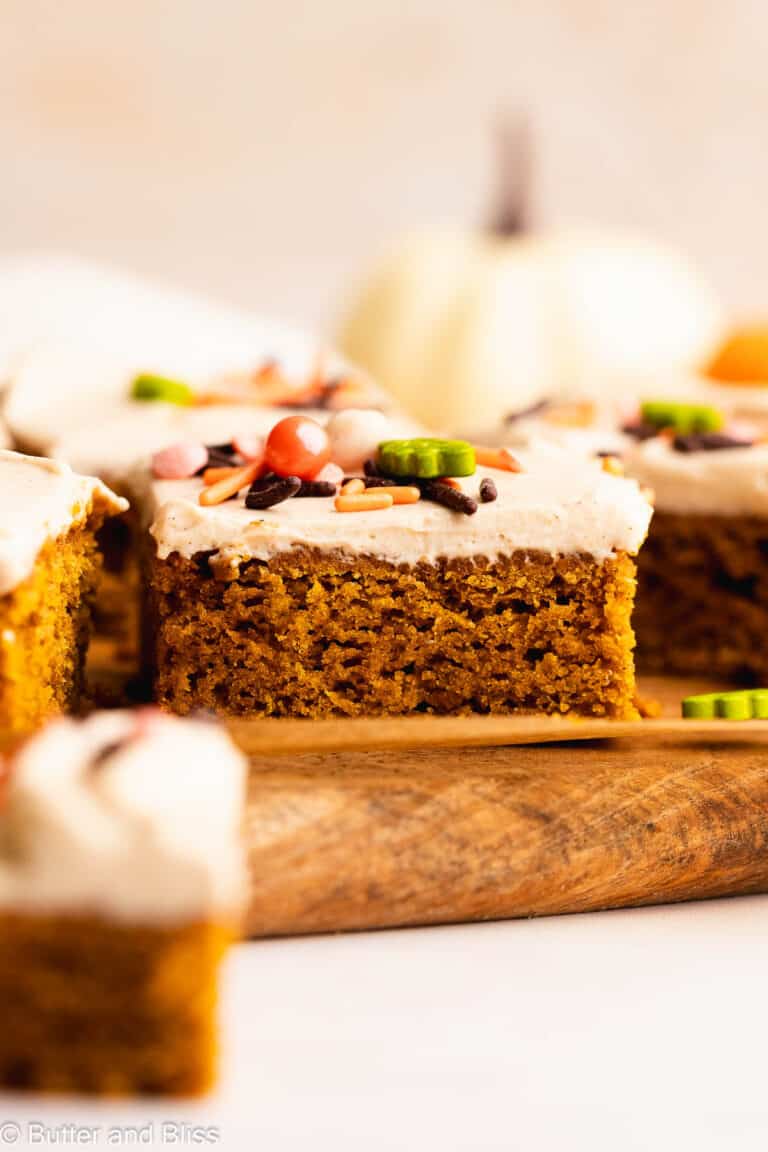
These pumpkin apple pie bars bring two favorite fall pies together in easy bar form. Layers of spiced apples, creamy pumpkin filling, and a buttery gingersnap crust make an easy simple, small batch dessert — easily made gluten free with a cookie swap. Bake, chill, slice, and serve straight from the pan, no pie plate required.
Can’t Pick Between Pumpkin or Apple Pie? Start Here.

I get pretty giddy when that first can of pumpkin opens for the season. I dig into my small batch pumpkin archives to figure out what I’m going to make first. Naturally, the baker in me goes right to my small 6-inch pumpkin pie. But the impatient sweet-lover in me requires something a little easier on time: enter these bars.
Don’t get me wrong, I love a good pie, but sometimes you want the creamy goodness of the filling, stat. And to accomodate the dueling pumpkin and apple lovers in my house, these bars come in handy.
You have a layer of gooey apples (think apple pie), pumpkin pie filling, and an easy cookie crust. You pick the cookie — I went with gingersnaps to lean into the fall flavor.
And if that’s not enough, these bars are great for your gluten-free friends (or you!) by swapping in your favorite GF cookie. These bars were a dessert savior the year I went gluten free.
And that’s it, really. The bars are easy to make. No fancy equipment, techniques, or ingredients. The kind of dessert my impatient-side likes to make!

5 Steps To Make The Bars
- Start with the cookie crust by pulsing (or crushing) them into crumbs and mix with the butter and sugar. Press it into the pan and pre-bake for a few minutes.
- The apple layer comes together by chopping them into chunks and heating with a little sugar and cinnamon so it caramelizes.
- For the pumpkin filling, you mix all of the ingredients in one bowl. That’s it.
- Assemble the bars by layering the caramelized apples over the pre-baked crust, then pour on the pumpkin pie filling.
- Bake until the center doesn’t jiggle. Then you will want the bars to cool and chill before slicing. This gives them time to set up (i.e. slice cleanly).

Want to make your own pretty whipped cream stars? Try my dairy free whipped cream!
My Tested Tips
- Don’t overbake the crust with the pre-bake – We just want to heat it to where the butter and sugar melt, which holds it together. If you bake too long, chances are it will be very crunchy.
- Best choice of apples – I recommend a firmer variety like Honeycrisp, Pink Lady, or Granny Smith. Or do a combo of both like I did in my small gluten free apple pie.
- Your choice on heating the apples – I do it because I like caramel’y apples. However, you can certainly just toss the apples with the cinnamon and sugar.
Did You Make It? Let’s Hear About It!
⭐⭐⭐⭐⭐
I love to hear from you when you make one of my recipes! Leave me a comment below if you are team pumpkin or team apple pie — or did these bars solve that dilemma for you too?! And a star rating is greatly appreciated too. 🍎
Small Batch Pumpkin Apple Pie Bars
by Erin Cernich
Ingredients
Gingersnap Crust
- ¾ cup gingersnaps, regular or gluten free (about 14 small cookies)
- 2 ½ tablespoons unsalted butter, melted
- 1 tablespoon organic cane sugar (or granulated sugar)
Apple Filling Layer
- ½ cup apple, peeled and chopped into small chunks (about 1/2 an apple – I use Honeycrisp)
- 1 tablespoon brown sugar (light or dark)
- ¼ teaspoon ground cinnamon
Pumpkin Pie Filling
- 3 tablespoons dark brown sugar
- 2 tablespoons organic cane sugar (or granulated sugar)
- ¼ cup milk, or heavy cream
- 1 large egg, room temperature
- ½ cup pure canned pumpkin
- 1 teaspoon pumpkin pie spice
- ¼ teaspoon ground cinnamon
- 1 teaspoon vanilla extract
- ¼ teaspoon salt
Instructions
Gingersnap Crust
- Preheat the oven to 350F degrees and adjust the oven rack to the middle position. Line a 6-inch square cake pan with two strips of parchment paper – cut long enough to hang over the sides of the pan. Lightly grease any corners where the parchment didn't cover.
- In the work bowl of a food processor, add the gingersnap cookies. Pulse to small crumbs. Add the melted butter and sugar, and pulse a few more times to combine and all the crumbs are moistened by the butter.3/4 cup gingersnaps, regular or gluten free, 2 ½ tablespoons unsalted butter, melted, 1 tablespoon organic cane sugar
- Pour the crust into the prepared cake pan and press evenly into the pan using your fingers, or the back of a small measuring cup.
- Bake the crust for 8 minutes, then set on a wire cooling rack to cool while you make the filling. Keep the oven on.
Apple Filling Layer
- Peel and chop half of an apple into 1/4 inch cubes. I use Honeycrisp apples, but any firm apple will work.1/2 cup apple, peeled and chopped into small chunks
- Add the apple chunks to a small saucepan. Sprinkle the brown sugar and cinnamon over the top and heat over medium-low heat until the sugar melts and the apples soften slightly. Note – Heating in the saucepan is optional. It will soften the apples and caramelize the sugar. If you opt not to, simply toss the apples with the sugar and cinnamon in a mixing bowl. Set aside while you make the pumpkin filling.1 tablespoon brown sugar, 1/4 teaspoon ground cinnamon
Pumpkin Pie Filling
- In a small mixing bowl, add all of the pumpkin pie filling ingredients. Use a whisk and mix until ingredients are fully incorporated and smooth. Note – I like to use heavy cream to make the filling creamy. Though any milk-fat will work.3 tablespoons dark brown sugar, 2 tablespoons organic cane sugar, 1/4 cup milk, or heavy cream, 1 large egg, room temperature, 1/2 cup pure canned pumpkin, 1 teaspoon pumpkin pie spice, 1/4 teaspoon ground cinnamon, 1 teaspoon vanilla extract, 1/4 teaspoon salt
- Assemble the bars – Spoon the apples evenly over the pre-baked crust. Then pour the pumpkin filling over the top. Bake the bars for 30 to 40 minutes, or until the center is no longer jiggly.
- Cool the bars completely in the pan set on a wire cooling rack. Once cool, cover and transfer to the refrigerator and let the bars chill for at least 1 hour, or overnight.
- When ready to serve, carefully lift the bars out of the pan using the parchment paper overhang. Slice into desired slices and top with whipped cream. Enjoy!
Notes
- Serving Size – This recipe is easily doubled and made in an 8-inch square cake pan. Your bake time may need to be increased by 5 or 10 minutes.
- Yield – You can get 4 to 9 bars – depending on how large you make your slices.
- Gingersnap Cookie Crust – Any cookie will work to make the crust. Traditional gingersnaps, gluten free gingersnaps, graham crackers, and Biscoff cookies are tasty options.
- Pumpkin – You can use pumpkin pie filling instead of pure pumpkin. Follow the instructions on the can for how to prepare. However, I recommend pure pumpkin since we add our own flavors.
- Apple – You can chop more apple to make a thicker apple layer if you like. For the apple, I recommend a firm apple like Honeycrisp, Pink Lady, or Granny Smith.
- Storing Pumpkin Bars – The bars will keep for up to 3 days covered in the refrigerator.
- Freezing Pumpkin Bars – Baked and cooled pumpkin bars can be frozen for up to 3 months. Wrap tightly in plastic and place in a freezer bag. Thaw in the refrigerator.
Nutrition Estimates


About the Author …
Hi, I’m Erin! With years of experience baking for two in my own small household, I know about the love for desserts without the leftovers. I’ve tested, written, and photographed every one of the 300+ recipes on my website. And even had some of my desserts featured on Taste of Home, The Spruce Eats, ELLE, Parade, and more! From traditional to gluten free desserts for two, I have the recipe for you.
Click here to learn more about me →
My husband’s favorite fall Birthday dessert! awesome texture and flavors. Thank you!
This is so fun to hear – thank you Jen!!