Mini Chocolate Wacky Cake Recipe
This post may contain affiliate links. See my disclosure policy.
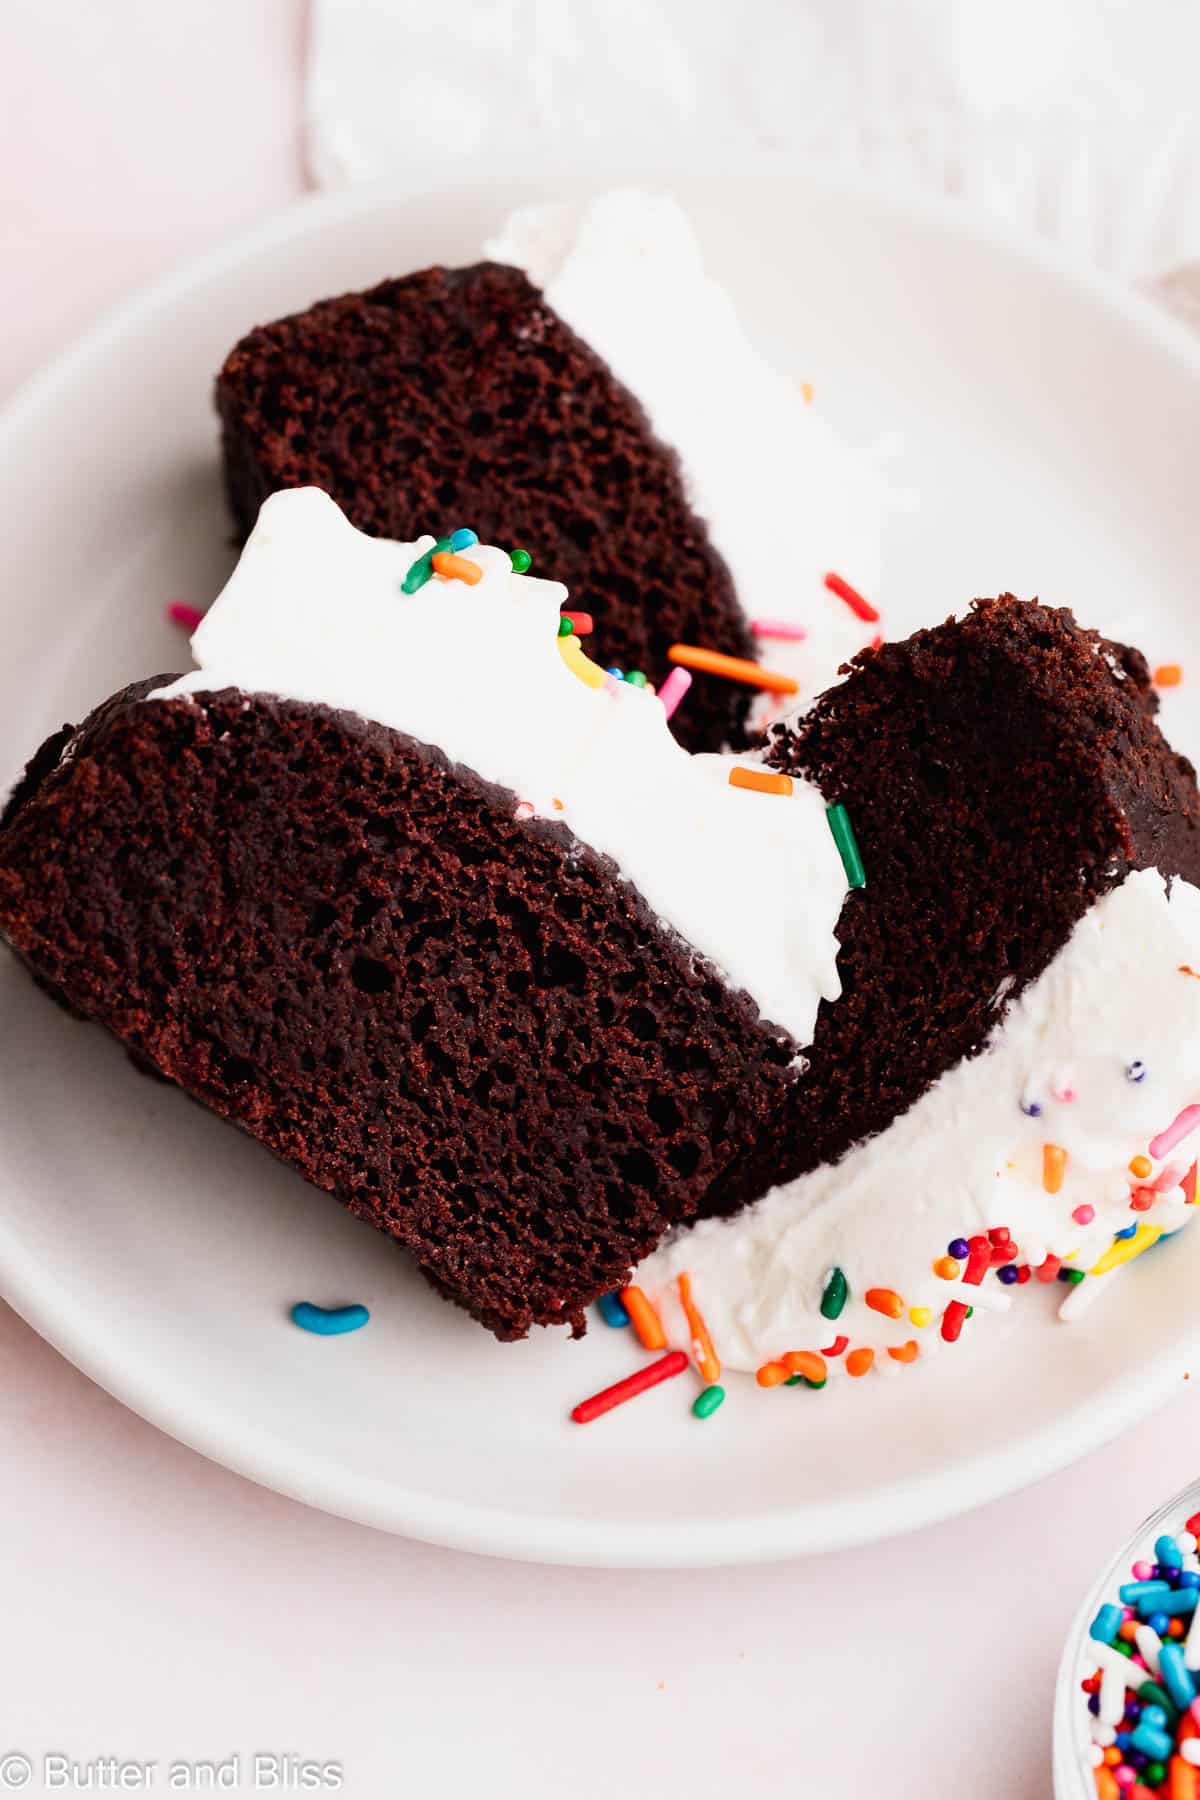
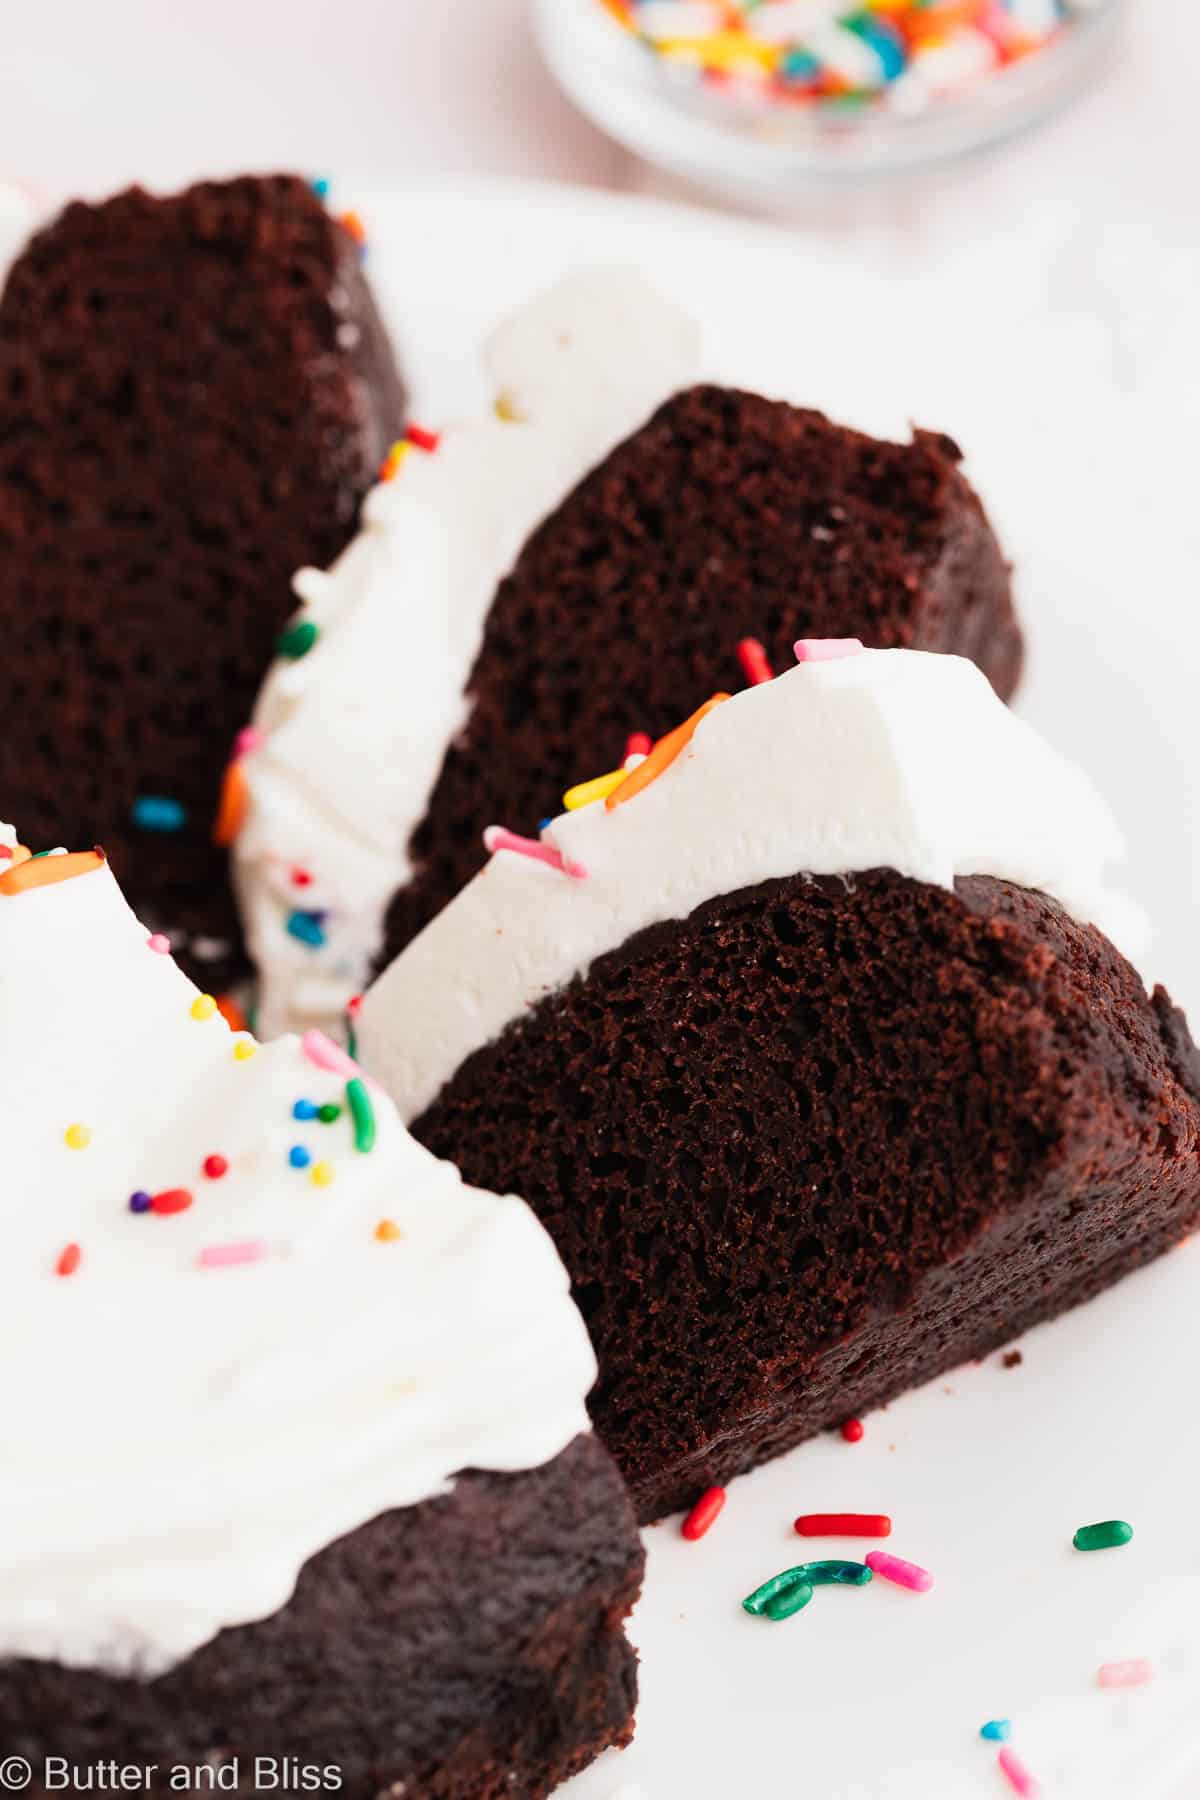
Call it a mini chocolate wacky cake, Depression cake, or vegan-friendly chocolate cake – whichever you choose, this cake is easy to make with simple pantry staples, with no eggs, milk, or butter required! The smaller portion cake has a deep cocoa flavor, and it stays moist for days after baking.
Ok, what’s the deal with a wacky cake? I mean, why do we call a cake wacky (my recipe for the double layer chocolate cake for two is anything but wacky!) Well, the wacky cake has a bit of history. You may also see this easy chocolate cake called a Depression cake, crazy cake, or WWII cake. Essentially, the cake came to be when families couldn’t afford or were rationing ingredients like butter, milk, and eggs.
The bakers back then were pretty sharp in realizing that oil and vinegar work as great substitutes for dairy and eggs. Vinegar combines with baking soda to make the cake soft and lofty, while oil makes the cake extra moist.
And if the idea of an egg-free cake has piqued your interest, you’ll want to try the recipe for a small batch of eggless chocolate cupcakes next. Or better yet, add a few extra finishing touches with my black forest cupcakes recipe for two, which are also egg-free, with the added flavors of cherries and whipped cream.
Ingredient Notes
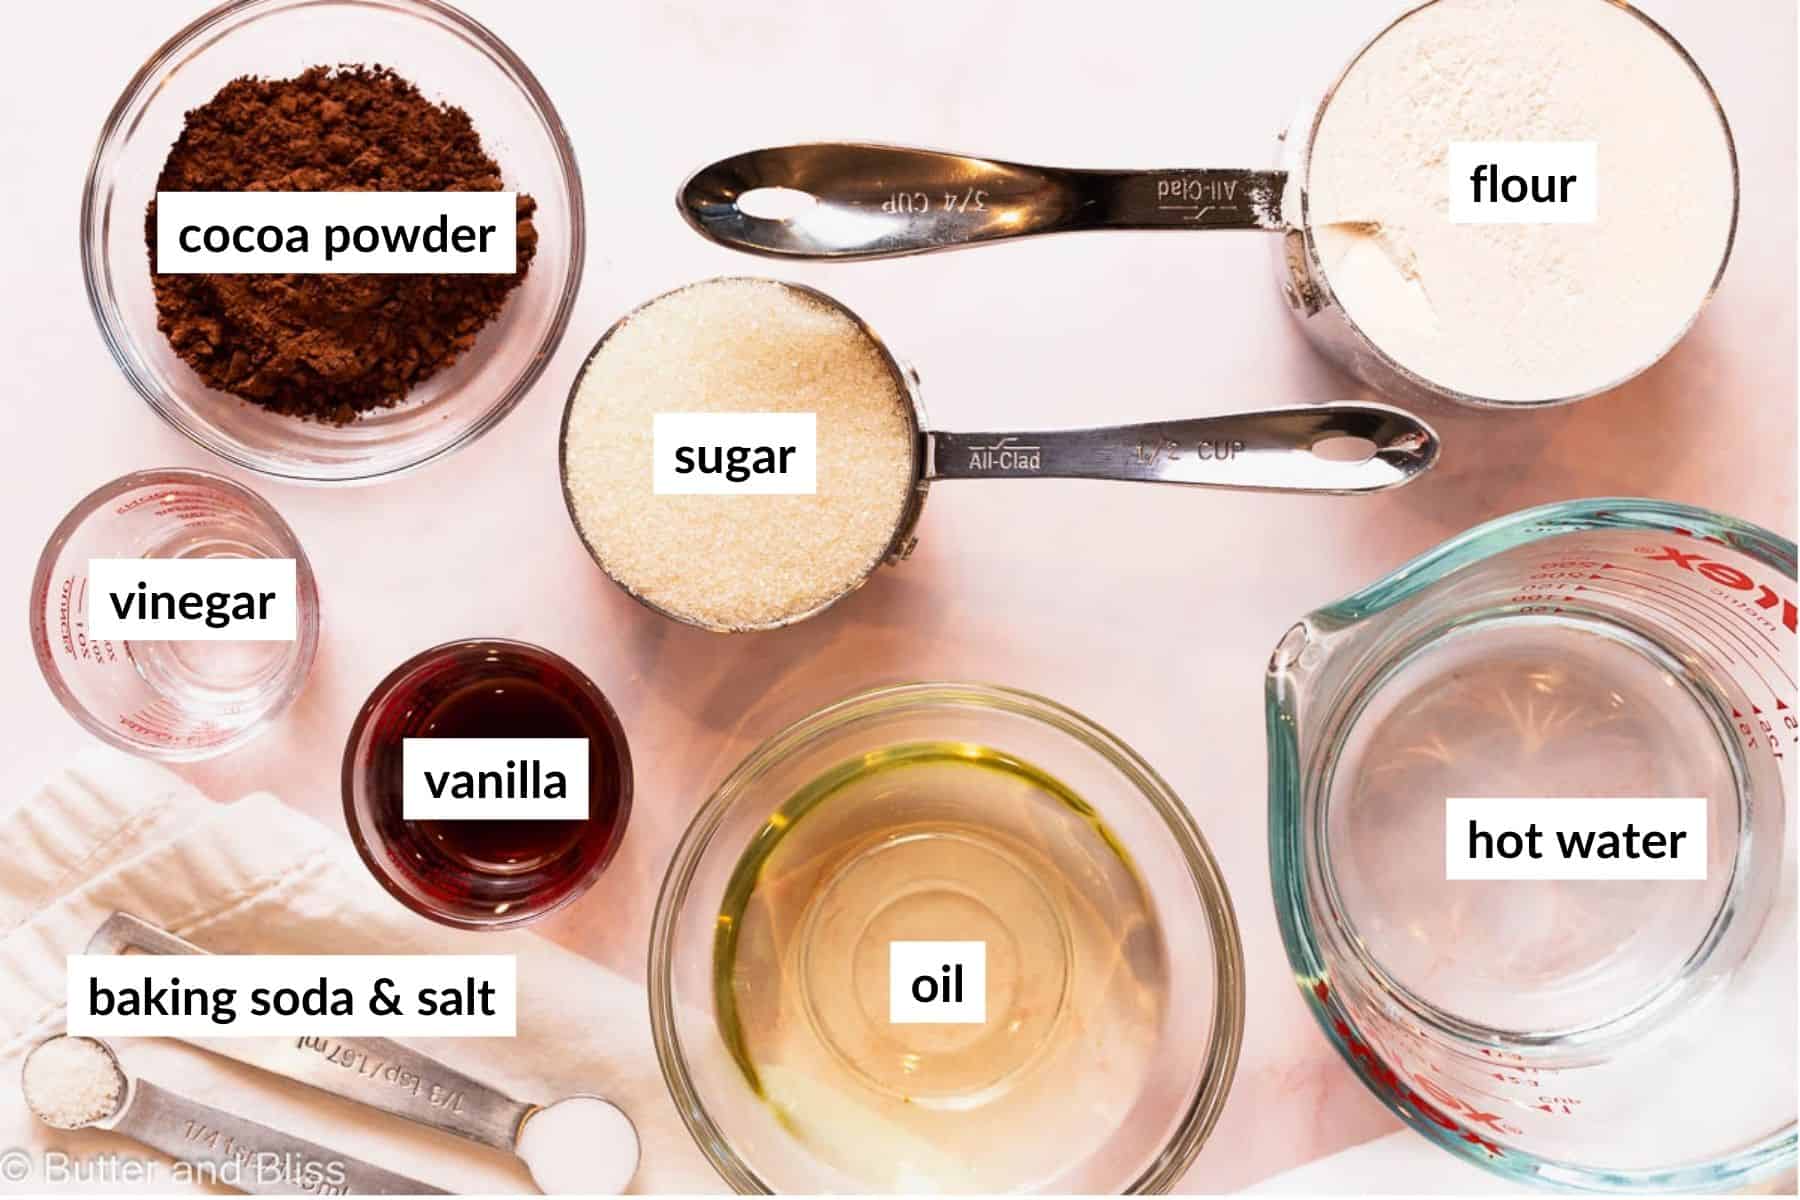
This should be easy – all of these ingredients may already be in your pantry! Flour, sugar, cocoa powder, baking soda, salt, oil*, vinegar, vanilla extract, and water (not in your pantry per se …), and that’s it! No eggs or dairy are needed!
*I like to use coconut oil because of its neutral flavor, but any other neutral oil will work (like canola oil, grapeseed oil, or even avocado oil.
Step-By-Step Instructions
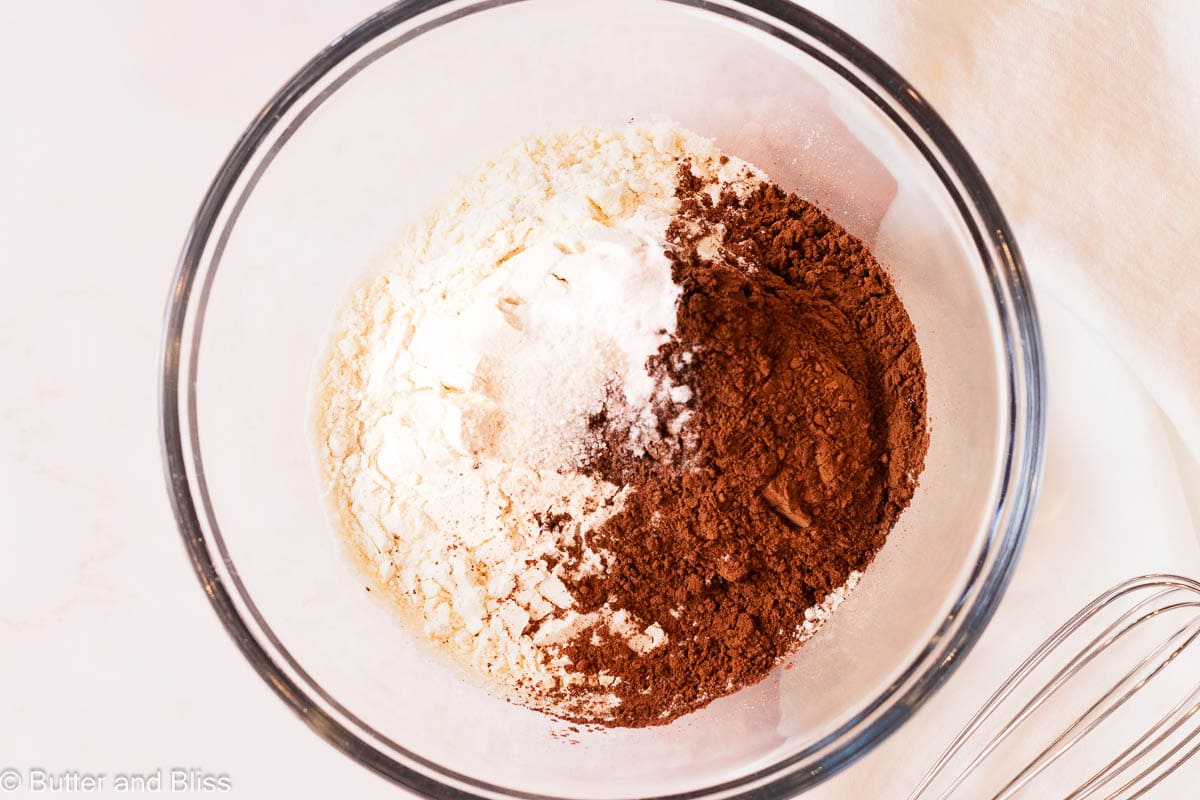
1. Whisk Together all the Dry Ingredients
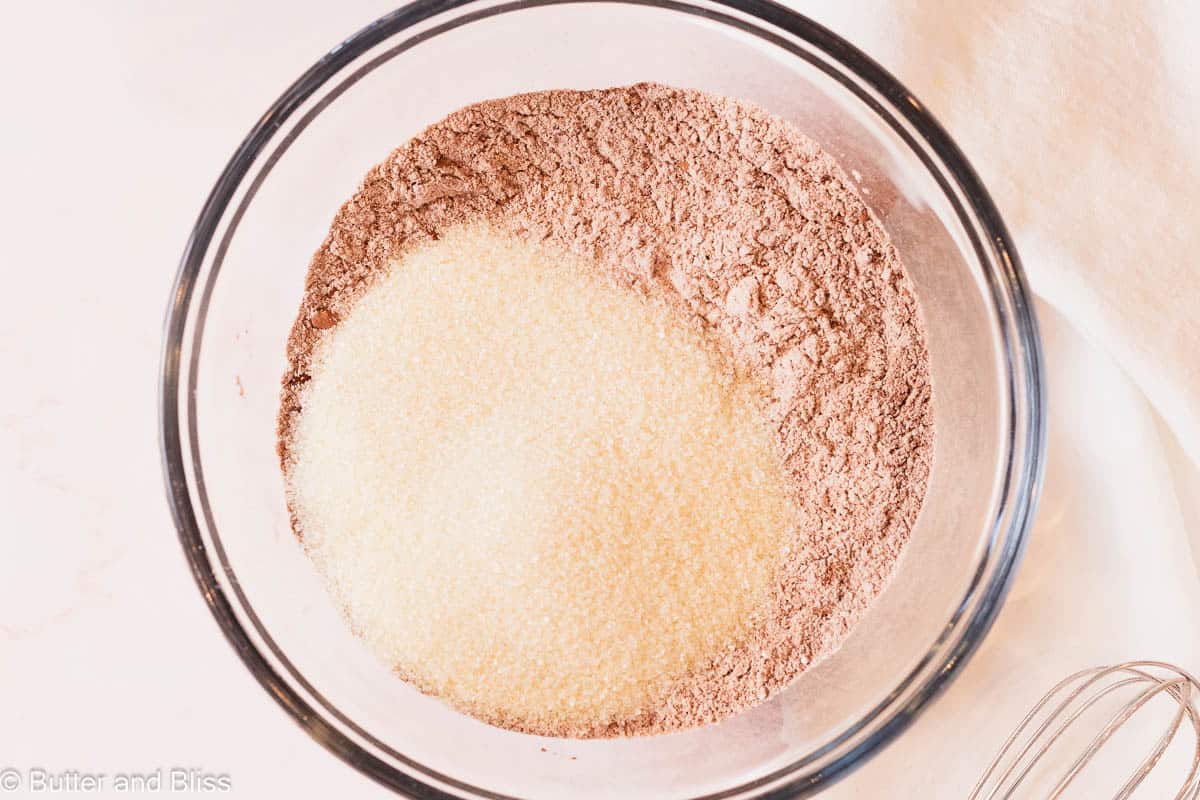
In a medium mixing bowl, add the flour, cocoa, baking soda, and salt, and give a good whisk. I like to mix these ingredients first to remove any lumps of cocoa powder. Then you whisk in the sugar.
2. Make Little Wells For the Wet Ingredients
Once you have the dry ingredients combined, make 3 wells. These will hold the vinegar, vanilla, and oil.
What is the purpose of these 3 wells you ask? Well … it is just a nod to the original wacky cake recipes. The reason is likely because when baking soda combines with vinegar, the reaction is immediate. The wells will delay this reaction slightly.
However, if the wacky cake goes into the oven right away, there is no reason you can’t make one well for the wet ingredients. I’ve tested it, and the result is the same.

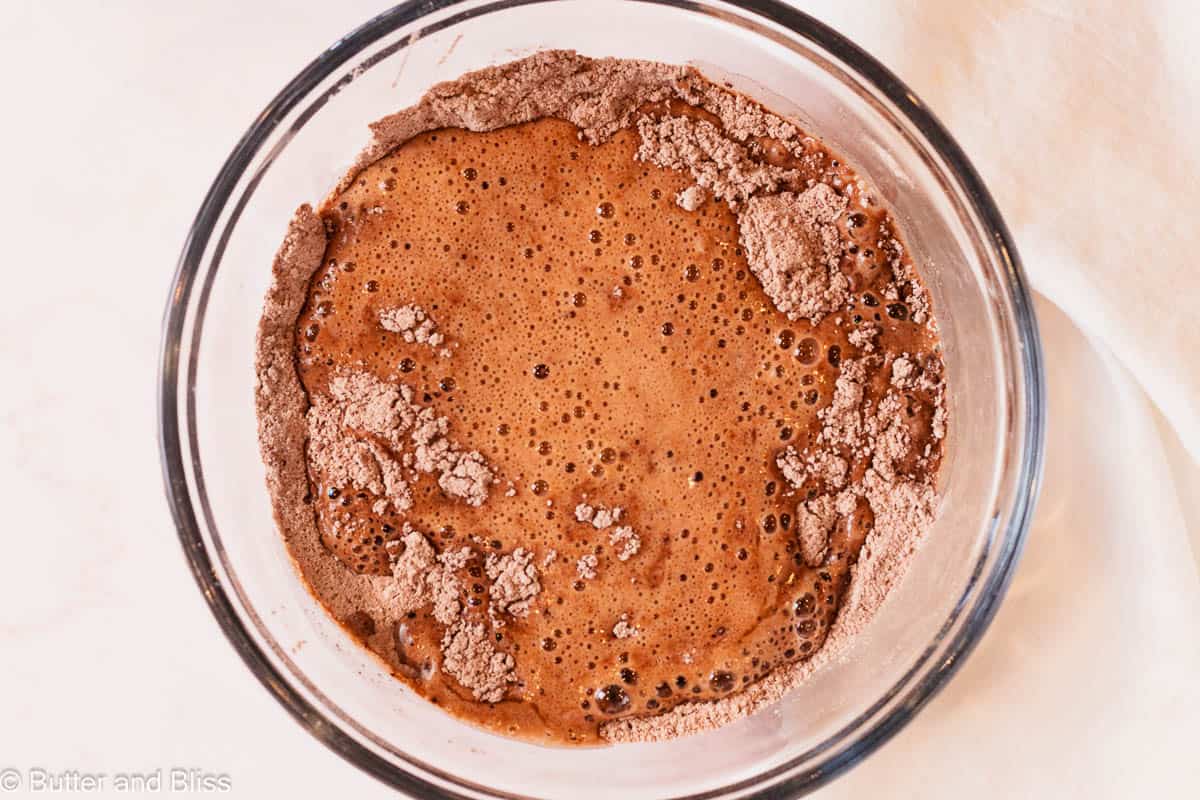
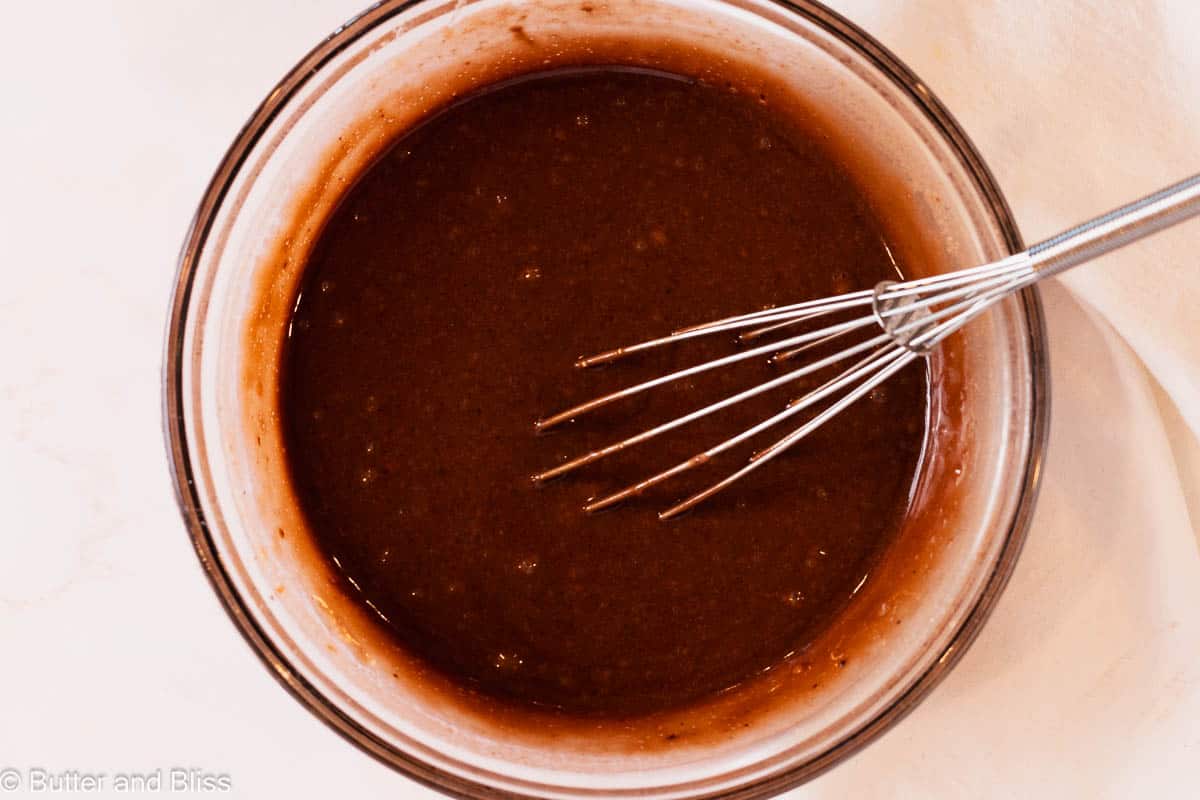
3. Pour Over The Hot Water
Now, pour on that hot water! You will see the mixture gets bubbly (thanks to the baking soda + vinegar), and you just want to give the batter a good mix until no dry streaks remain.
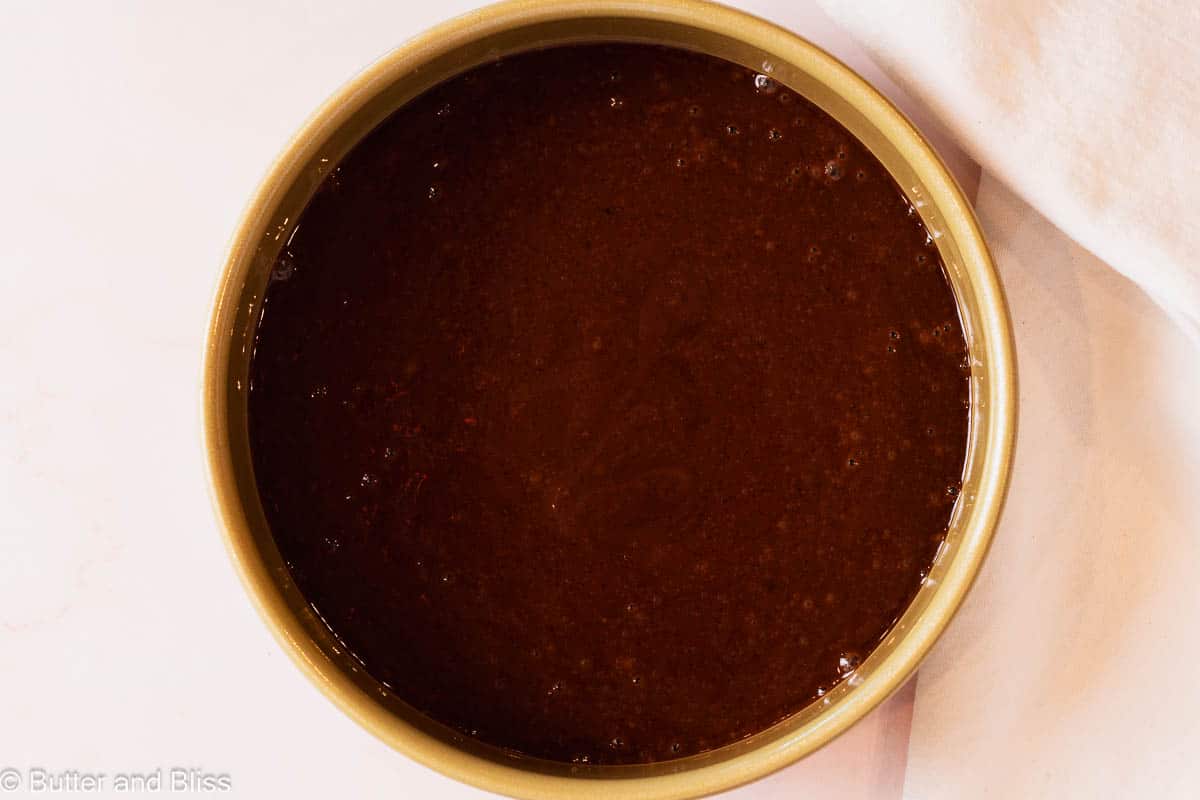
4. Bake
Pour your batter into the prepared cake pan and bake the cake for 22 to 24 minutes at 350F degrees. You will know the cake is done when it is springy to the touch, and the ol’ toothpick in the middle comes out mostly clean.
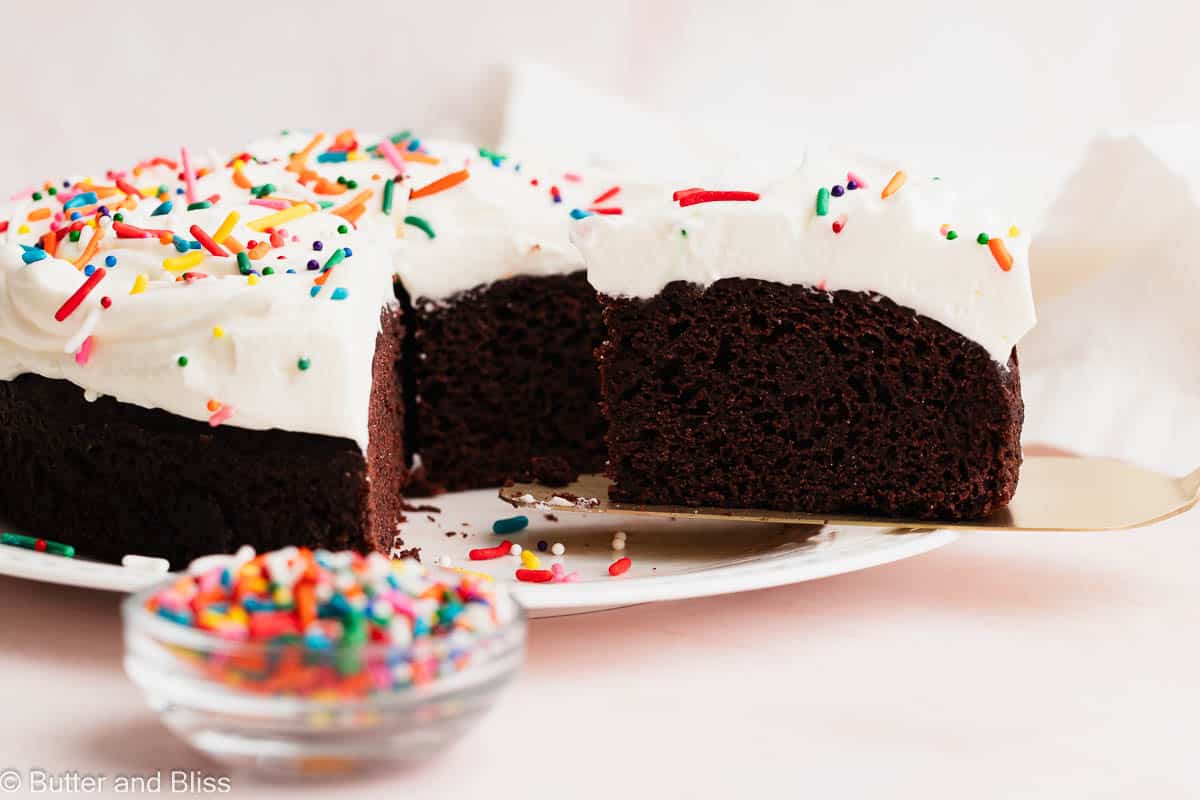
5. Frost With Your Favorite Frosting
And some cute sprinkles, because, why not?! Just make sure the cake is completely cool before you start slathering on the delicious topping. For reference, I frosted my chocolate wacky cake with marshmallow whipped cream frosting.
Mini Chocolate Wacky Cake Recipe
by Erin Cernich
Equipment
Ingredients
- ¾ cup (93.75 g) all-purpose flour
- 2 tablespoons (15 g) unsweetened cocoa powder, Dutch process
- ⅓ teaspoon baking soda
- ¼ teaspoon salt
- ½ cup (106 g) granulated sugar
- 3 tablespoons (42 g) canola oil (or any neutral oil)
- 1 teaspoon vanilla extract
- 1½ teaspoons white distilled vinegar (or apple cider vinegar)
- ½ cup (118.29 ml) hot water
Instructions
- Preheat the oven to 350F degrees and adjust the oven rack to the middle position. Line the bottom of a 6-inch round cake pan with a piece of parchment cut to fit. Lightly grease the pan.
- In a medium mixing bowl, sift together the flour, cocoa powder, baking soda, and salt. Whisk in the sugar. Then, make 3 wells in the dry ingredients.¾ cup all-purpose flour, 2 tablespoons unsweetened cocoa powder, Dutch process, ⅓ teaspoon baking soda, ¼ teaspoon salt, ½ cup granulated sugar
- Add the oil in one well, the vanilla in the second, and the vinegar in the third. Then, pour the hot water over the top and whisk together until all ingredients are combined.3 tablespoons canola oil, 1 teaspoon vanilla extract, 1½ teaspoons white distilled vinegar, ½ cup hot water
- Pour the batter into the prepared cake pan and bake for 22 to 24 minutes, or until the cake is springy to the touch and a toothpick inserted in the middle comes out mostly clean.
- Cool the cake in the pan set on a wire cooling rack for 10 minutes. Then, flip the pan over onto the wire rack to remove the cake and let it cool completely. If needed, run an offset spatula or sharp knife around the edge of the cake to release it from the pan.
- Allow the cake to cool completely before frosting. The cake can be stored covered at room temperature for up to 3 days. I like to frost the cake with my stable vanilla whipped cream frosting recipe for a light contrast to the cake.
Notes
- Serving Size – This is a small batch recipe that is easily doubled. Use an 8-inch cake pan and start checking the cake at 25 minutes.
- Yield – The recipe as written will yield 1 6-inch cake that can be cut into 4 to 6 slices.
- Cake Pan – You can also bake the small cake in a 6-inch square cake pan.
- Cocoa Powder – I prefer Dutch process cocoa because it is less acidic with a strong cocoa flavor. Natural cocoa will also work.
- Storing – The cake can be covered and stored at room temperature for up to 3 days. Beyond that, it may start to dry out. If using a whipped cream based frosting, I recommend refrigerating the cake.
- Freezing – The unfrosted, baked cake can be frozen for up to 3 months. Wrap tightly in plastic wrap and place in a freezer bag. Thaw in the refrigerator.
Nutrition Estimates
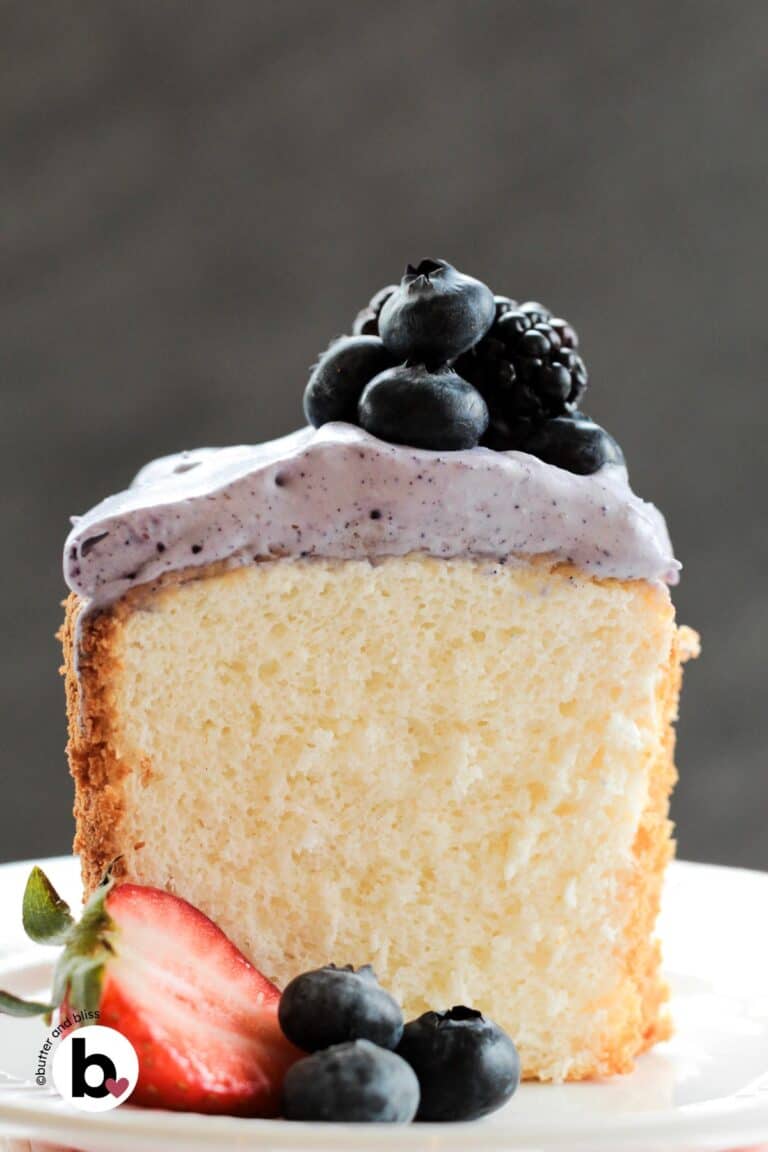
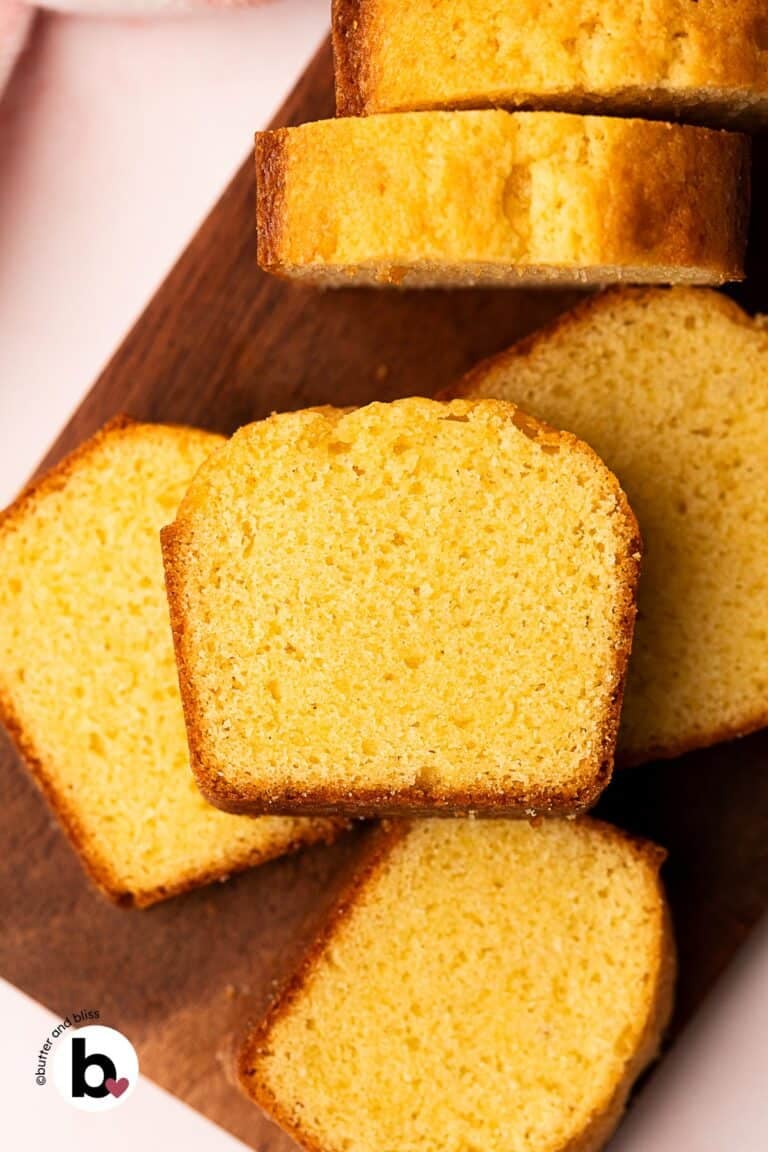
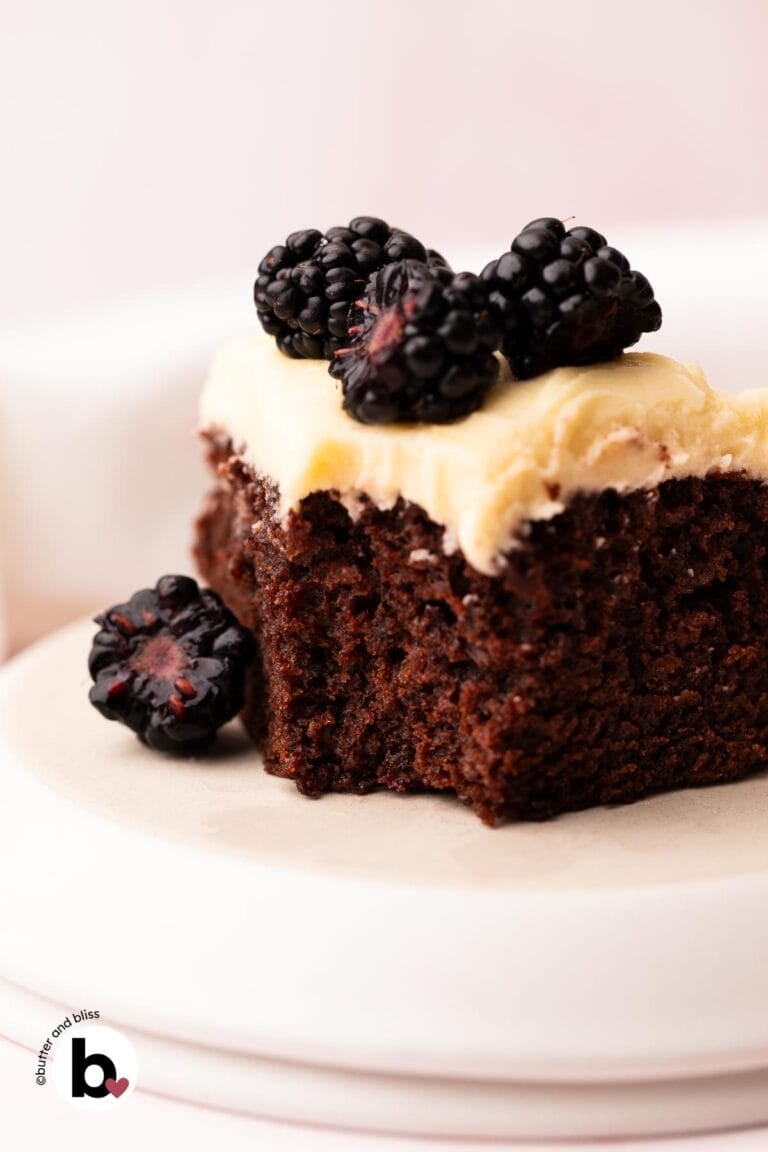
TRY THESE SMALL BATCH RECIPES NEXT!

About the Author …
Hi, I’m Erin! With years of experience baking for two in my own small household, I know about the love for desserts without the leftovers. I’ve tested, written, and photographed every one of the 300+ recipes on my website. And even had some of my desserts featured on Taste of Home, The Spruce Eats, ELLE, Parade, and more! From traditional to gluten free desserts for two, I have the recipe for you.
Click here to learn more about me →