Small Batch Rich Chocolate Layer Cake
This post may contain affiliate links. See my disclosure policy.
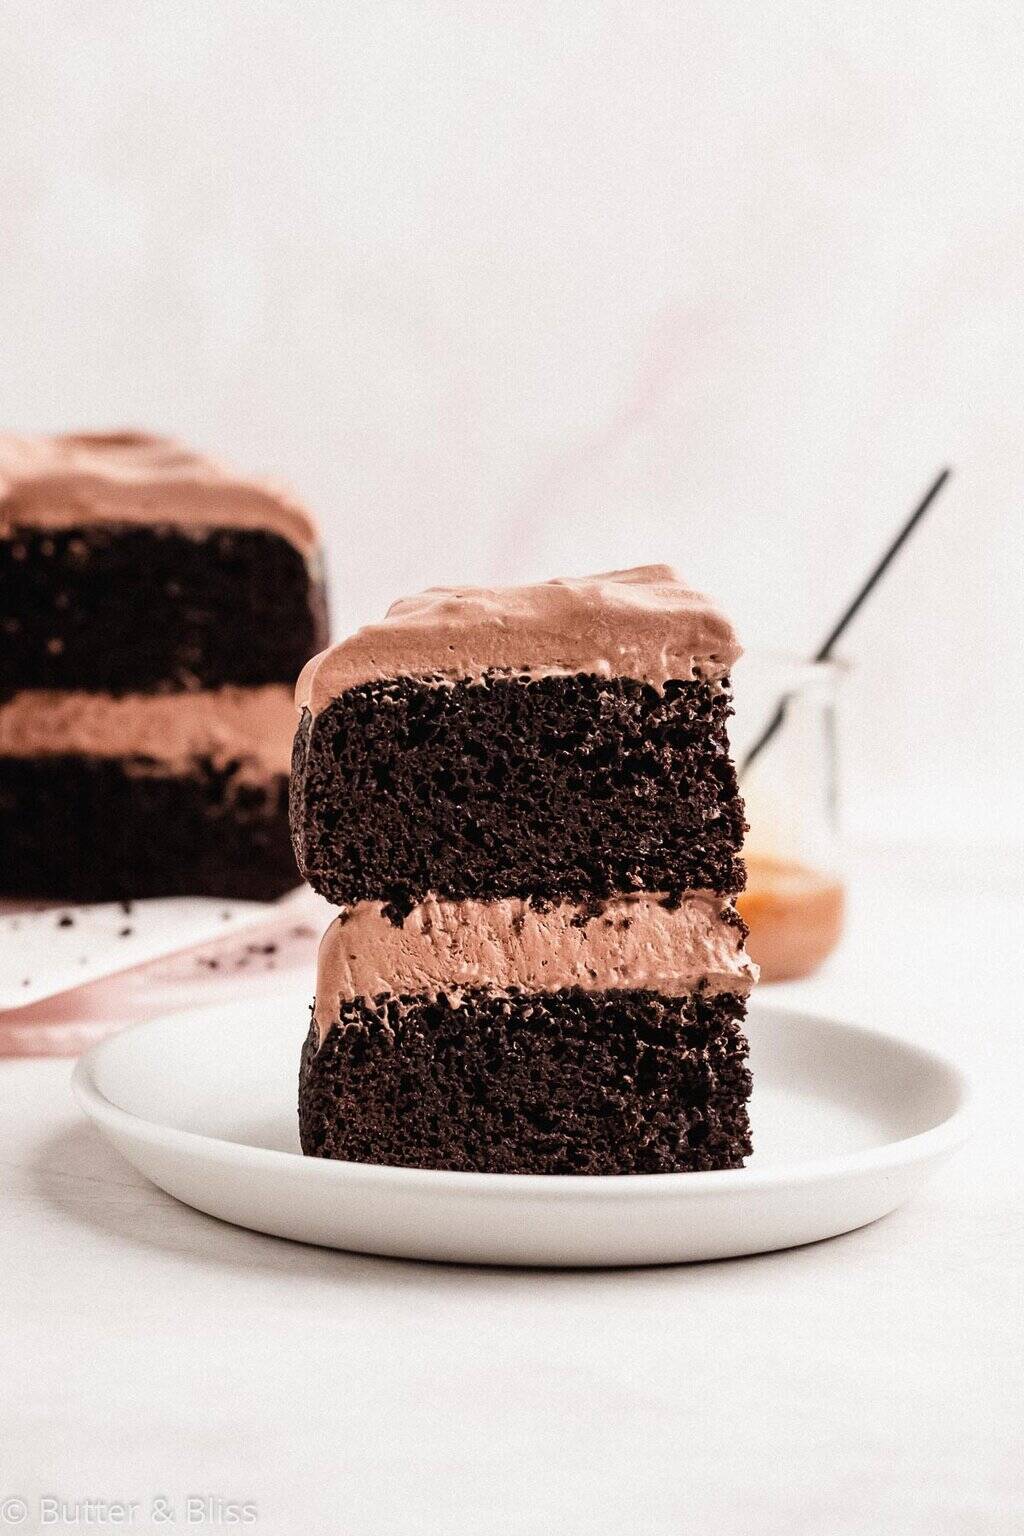
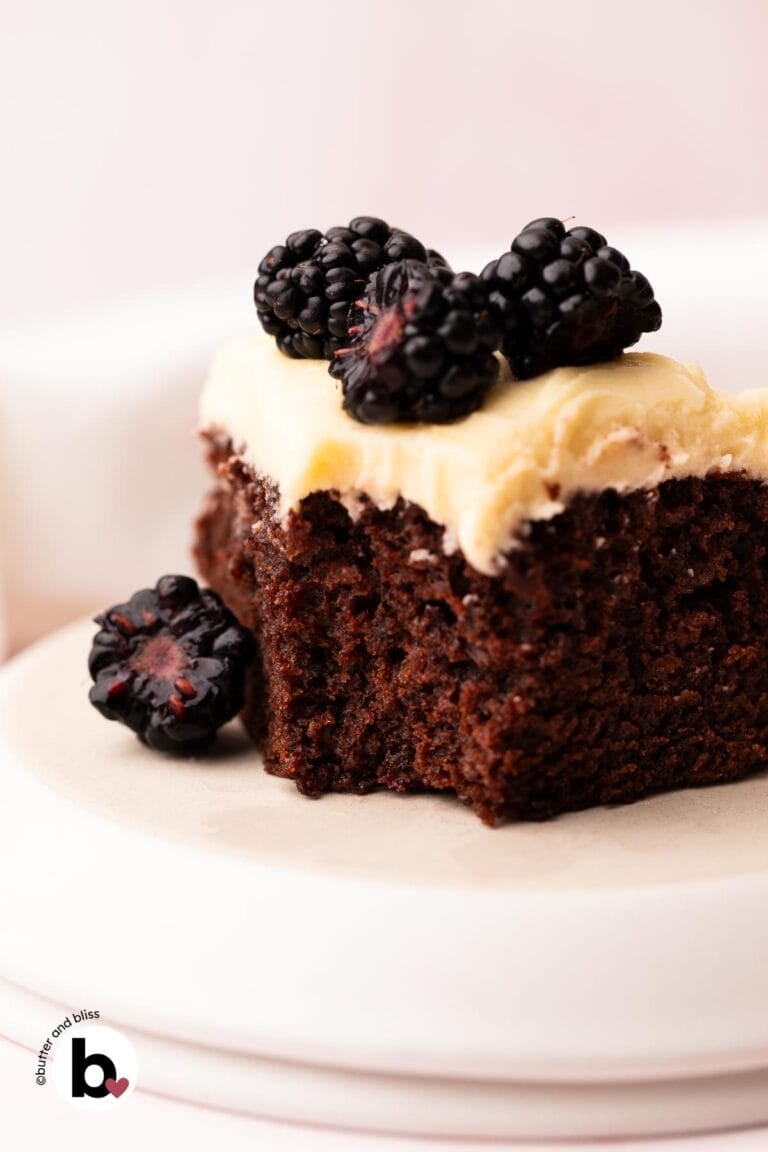
This small chocolate layer cake checks all the boxes when you want a cake that has an ultra-moist crumb, deep chocolate flavor, and is perfectly sized for two. Oil and sour cream keep the cake soft, and coffee intensifies the Dutch cocoa. Finish the cake with a caramel soak and chocolate whipped cream for a sweet occasion dessert.

This cake is so good, you can go to it over and over for holidays or celebrations (hello Valentine’s Day), or just because. And it doesn’t just satisfy my hankering for cake – it has inspired a whole family of chocolate cakes. I have a smaller version of this cake with my 6-inch single-layer chocolate cake, and I developed a holiday favorite with the peppermint mocha small batch layer cake.
After several rounds of rigorous testing (translation: 8 hours later with a sink full of dirty mixing bowls), I cracked the code to make a soft chocolate cake with pronounced cocoa flavor. So, if you’re ready for a cake so indulgent it feels like an event, let’s dive in!
My Secret To Soft And Moist Chocolate Cake
- I use Dutch process cocoa for a rich chocolate flavor.
- Full-fat sour cream + oil makes the cake tender and moist for days.
Eggs are a factor, as are the types of leaveners and cocoa powder. And let’s not forget what it takes to make – and keep – a cake moist. Now, I will be the first to tell you that there is no right or wrong way – as long as the result is delicious. Let’s get to how I make mine.
My Tips For This Chocolate Layer Cake
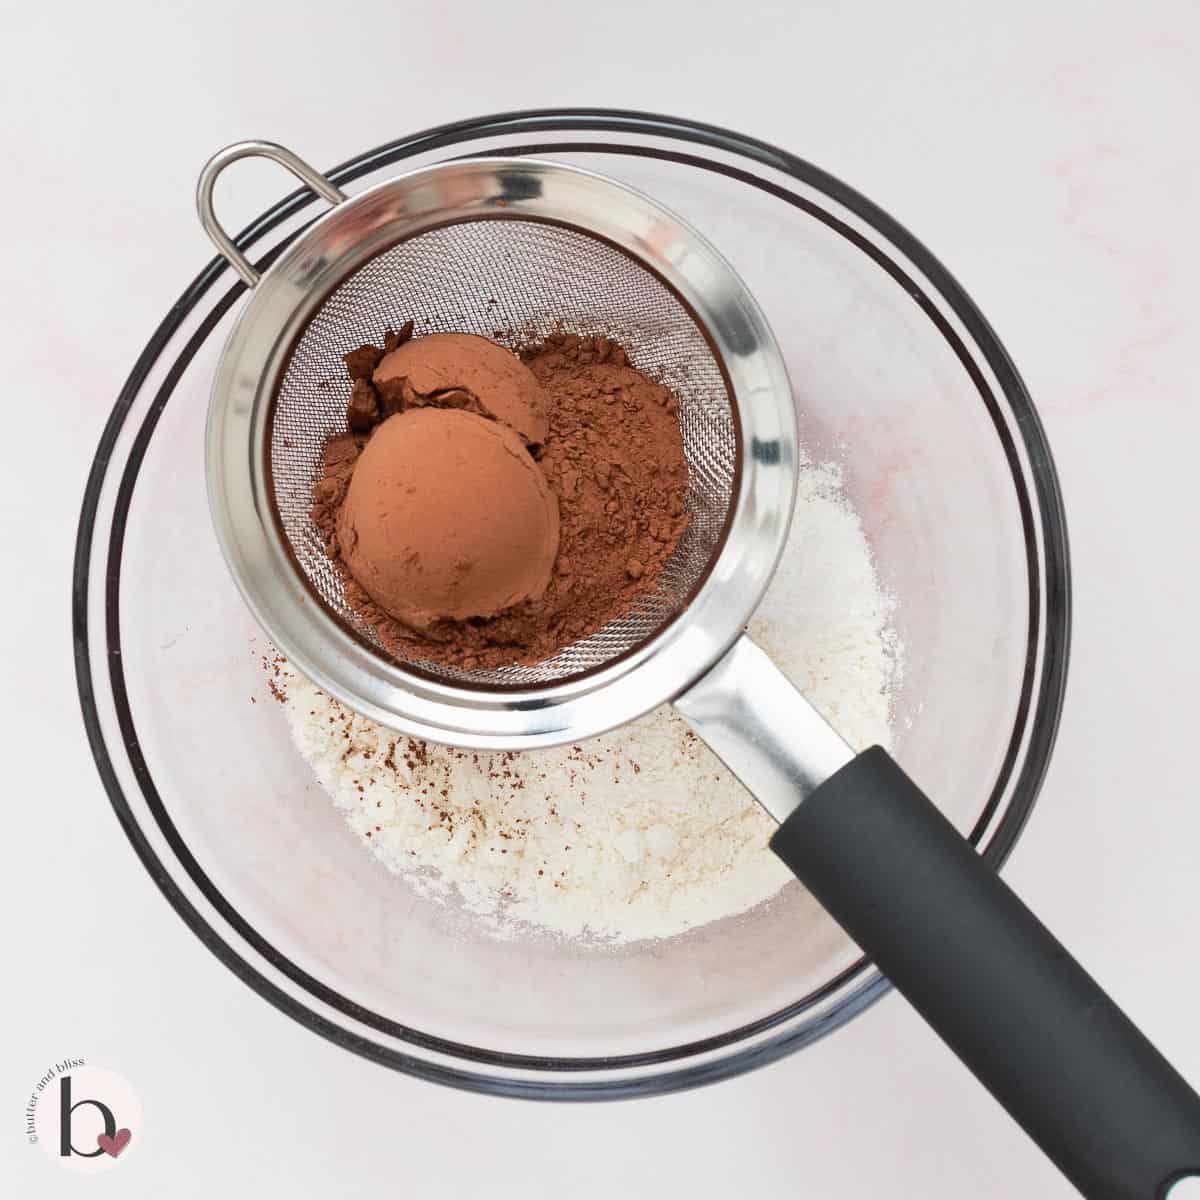
Sift the dry ingredients – especially the cocoa powder – if they are lumpy.
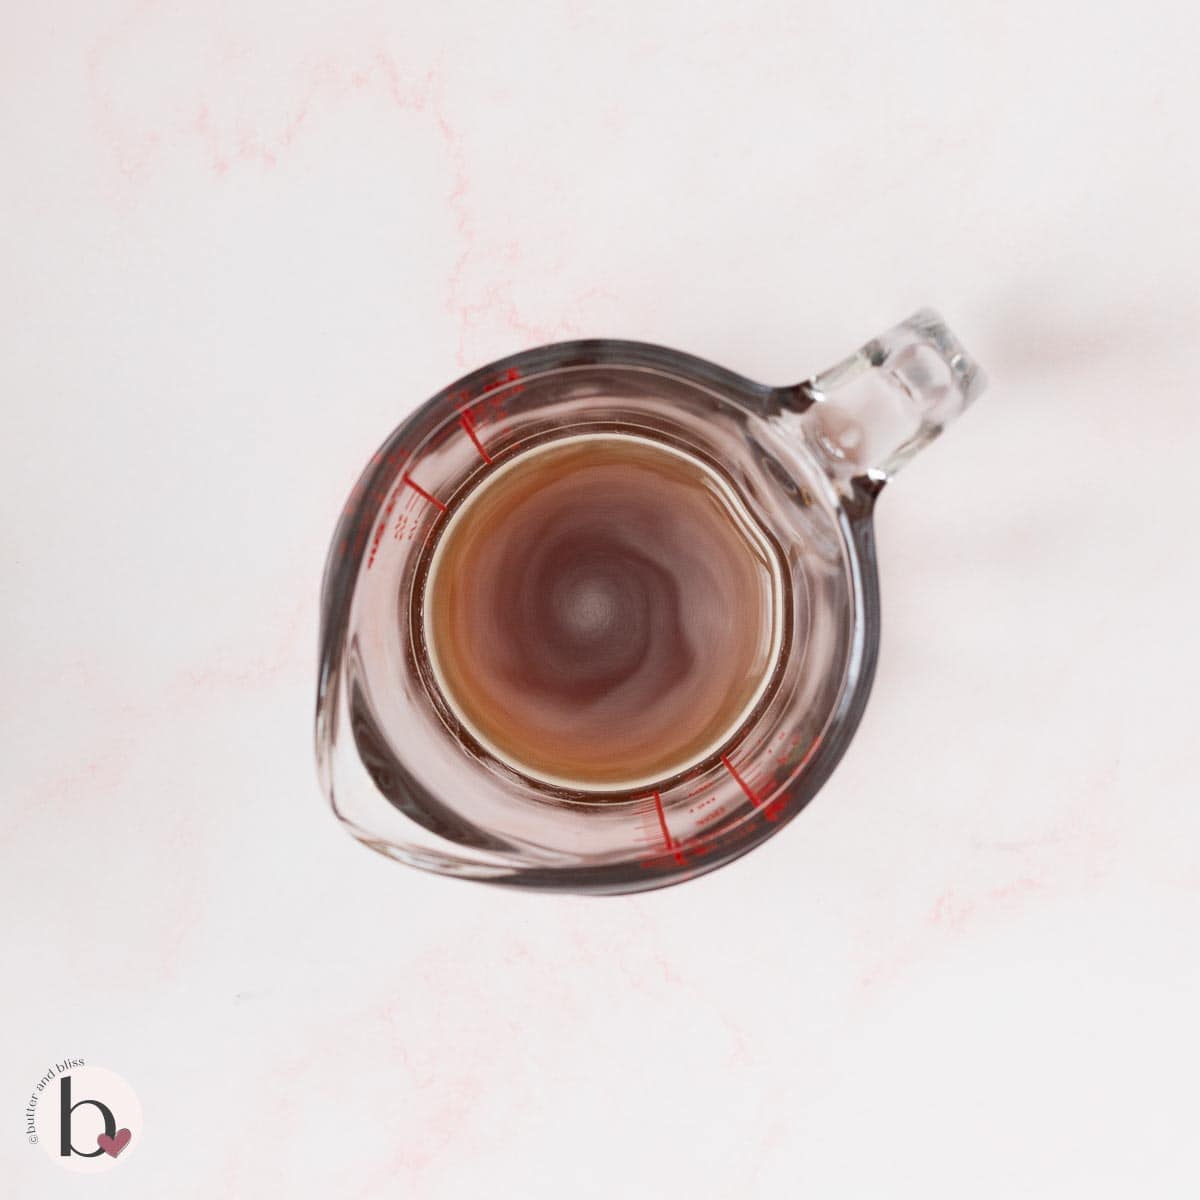
Use hot coffee to enhance the cocoa flavor. And I recommend coffee you like to drink. And if you don’t drink coffee, use hot water.
Don’t overmix the cake batter. Mix until no flour streaks remain, but it is ok if the batter is lumpy. Too much mixing will yield a tough and dense cake.

If the cakes have a domed top, trim off the top with a serrated knife to make the layers level. Not mandatory, but it makes the presentation pretty.
Decorating Ideas


Now that we have our favorite chocolate cake recipe, the sky is the limit on how you can decorate it. Like, you can get super creative and make the cake into small marshmallow heart cakes for Valentine’s Day! Or, keep it simple, as I did for this photoshoot.
For this recipe, I include caramel sauce, which works great as a drizzle on the cake. Or, you can always use store-bought caramel to keep it simple (I’ve done it, so no judgment here).
Along with easy chocolate whipped cream. Heavy cream and melted chocolate are all you need to make a lighter alternative to buttercream.
Did You Make It? Let’s Hear About It!
⭐⭐⭐⭐⭐
I’d love to hear if you made the cake for a special celebration. Or, if you’re like me, just because you wanted cake. 🙂 Let me know in the comments below!

Small Batch Rich Chocolate Layer Cake
by Erin Cernich
Equipment
Ingredients
Small Chocolate Layer Cake
- 1 cup granulated sugar
- ¼ cup canola oil (or any neutral oil)
- ½ cup full fat sour cream, room temperature (room temperature)
- 1 large egg (room temperature)
- 2 teaspoons vanilla extract
- 1 cup all-purpose flour
- ½ cup unsweetened cocoa powder, Dutch process
- ¾ teaspoon baking powder
- ½ teaspoon baking soda
- ½ teaspoon salt
- ½ cup medium brew coffee, very hot
Chocolate Whipped Cream
- ½ cup chocolate chips, any kind
- 1 cup heavy whipping cream
- optional caramel drizzle (homemade or store bought)
Instructions
Small Chocolate Layer Cake
- Preheat the oven to 350F degrees and adjust the oven rack to the middle position. Grease the pans and line the bottoms with a piece of parchment paper cut to fit.
- In a medium mixing bowl, whisk together the sugar and oil. Add the sour cream, egg, and vanilla extract. Whisk until smooth and creamy.1 cup granulated sugar, 1/4 cup canola oil, 1/2 cup full fat sour cream, room temperature, 1 large egg, 2 teaspoons vanilla extract
- In another medium mixing bowl, whisk together the flour, cocoa powder, baking powder, baking soda, and salt. Tip – Set a fine mesh strainer over the bowl to sift the dry ingredients if they are lumpy.1 cup all-purpose flour, 1/2 cup unsweetened cocoa powder, Dutch process, 3/4 teaspoon baking powder, 1/2 teaspoon baking soda, 1/2 teaspoon salt
- Sprinkle half of the dry ingredients over the wet ingredients and whisk until just combined. Add the remainder of the dry ingredients, along with the hot coffee, and whisk just until no dry streaks remain.1/2 cup medium brew coffee, very hot
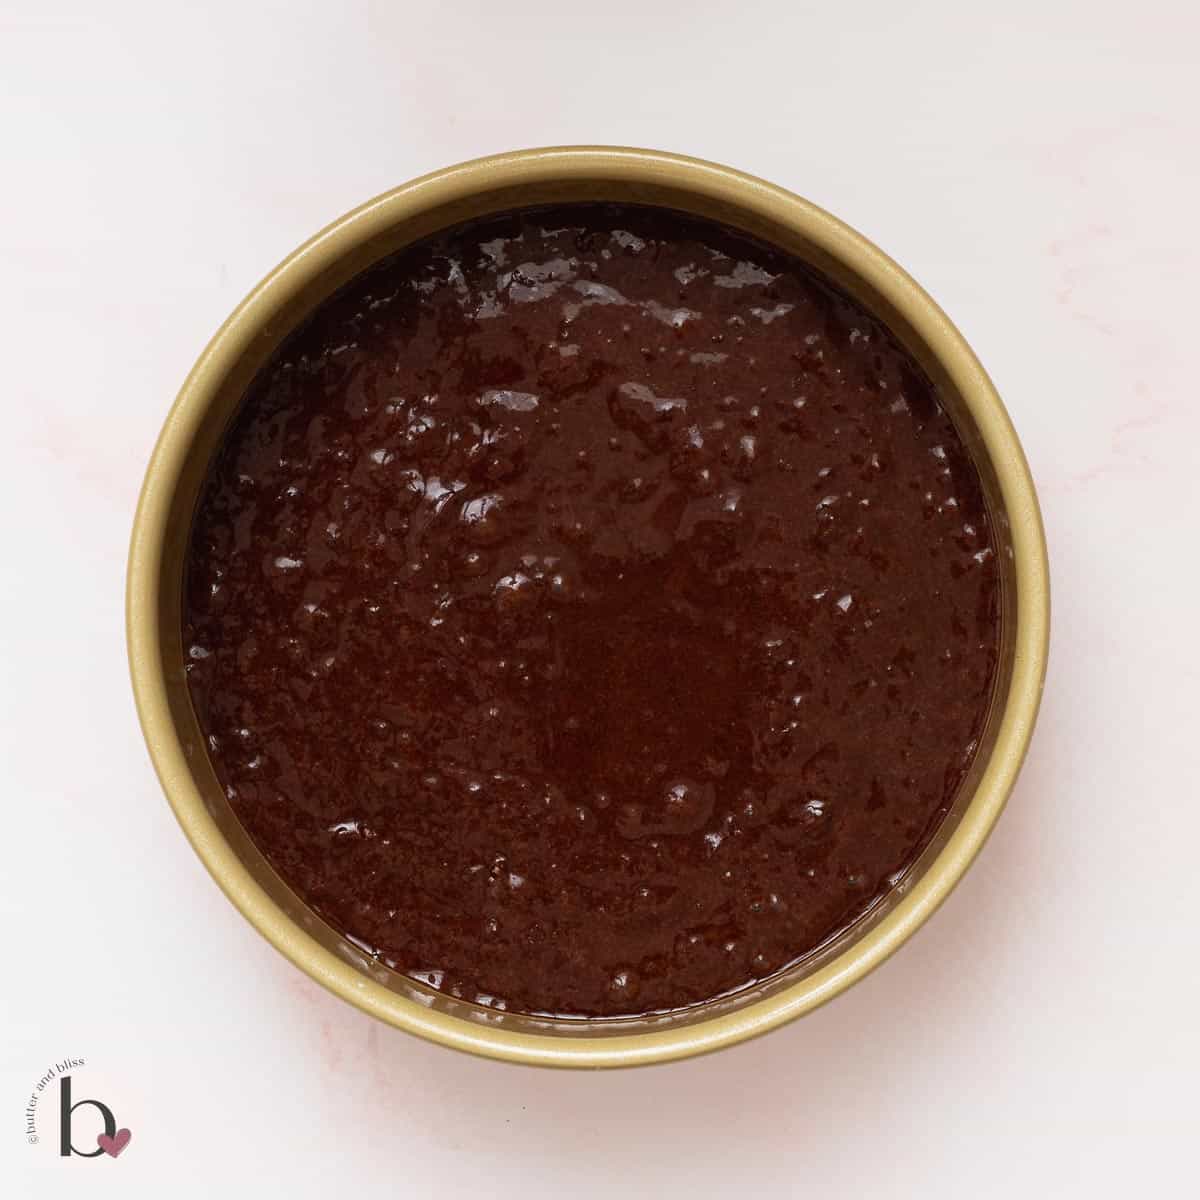
- Pour the batter into the prepared cake pans and bake for 22 to 26 minutes, or until the cake is springy to the touch and a toothpick inserted in the middle comes out clean.
- Cool the cakes in the pan set on a wire cooling rack for 10 minutes. Then, invert the cakes onto the rack to cool completely before assembling.
- While the cakes are baking and cooling. Make homemade maple syrup caramel sauce, or use store-bought for the drizzle on the cake.optional caramel drizzle
Chocolate Whipped Cream
- In a microwave-safe bowl, melt the chocolate chips – stirring every 30 seconds – until the chocolate is smooth. Set aside to cool.1/2 cup chocolate chips, any kind
- In a medium mixing bowl, use a hand mixer to whip the heavy cream to soft peaks. Add 1/4 of the whipped cream to the melted and cooled chocolate and mix until well incorporated – this gets the chocolate to the right consistency to mix with the whipped cream. Add the chocolate mixture to the remaining whipped cream and gently fold with a rubber spatula until fully incorporated.1 cup heavy whipping cream
- Assemble the cake – If the cakes domed too much, level out the tops with a serrated knife. Drizzle each top with caramel sauce and dollop generous amounts between the layers and on top.
Notes
- Serving Size – This is a small batch recipe that can be doubled and made into an 8-inch layer cake. Increase the bake time by 1 to 2 minutes. As written, the cake can also be made into a single-layer 8-inch cake.
- Cocoa Powder – I prefer Dutch cocoa because I like the less-acidic, deep flavor. However, you can swap in natural cocoa powder with no recipe modifications.
- Coffee – Use coffee you like to drink. Be careful with coffee that is too strong, as it can overpower the cocoa flavor.
- Chocolate Whipped Cream – If you use unsweetened or bittersweet chocolate chips, you will want to add powdered sugar while whipping the cream – about 3 to 4 tablespoons to sweeten to taste.
- Caramel Sauce – This is optional and store-bought will work just fine.
- Storage – The assembled can should be covered and can sit at room temperature for 6 to 8 hours. Beyond that, I recommend refrigerating it because of the whipped frosting.
- Freezing – Unfrosted/unassembled cakes can be wrapped in plastic wrap, placed in a freezer bag, and frozen for up to 3 months. Thaw in the refrigerator.
Nutrition Estimates
TRY THESE SMALL BATCH RECIPES NEXT!

About the Author …
Hi, I’m Erin! With years of experience baking for two in my own small household, I know about the love for desserts without the leftovers. I’ve tested, written, and photographed every one of the 300+ recipes on my website. And even had some of my desserts featured on Taste of Home, The Spruce Eats, ELLE, Parade, and more! From traditional to gluten free desserts for two, I have the recipe for you.
Click here to learn more about me →