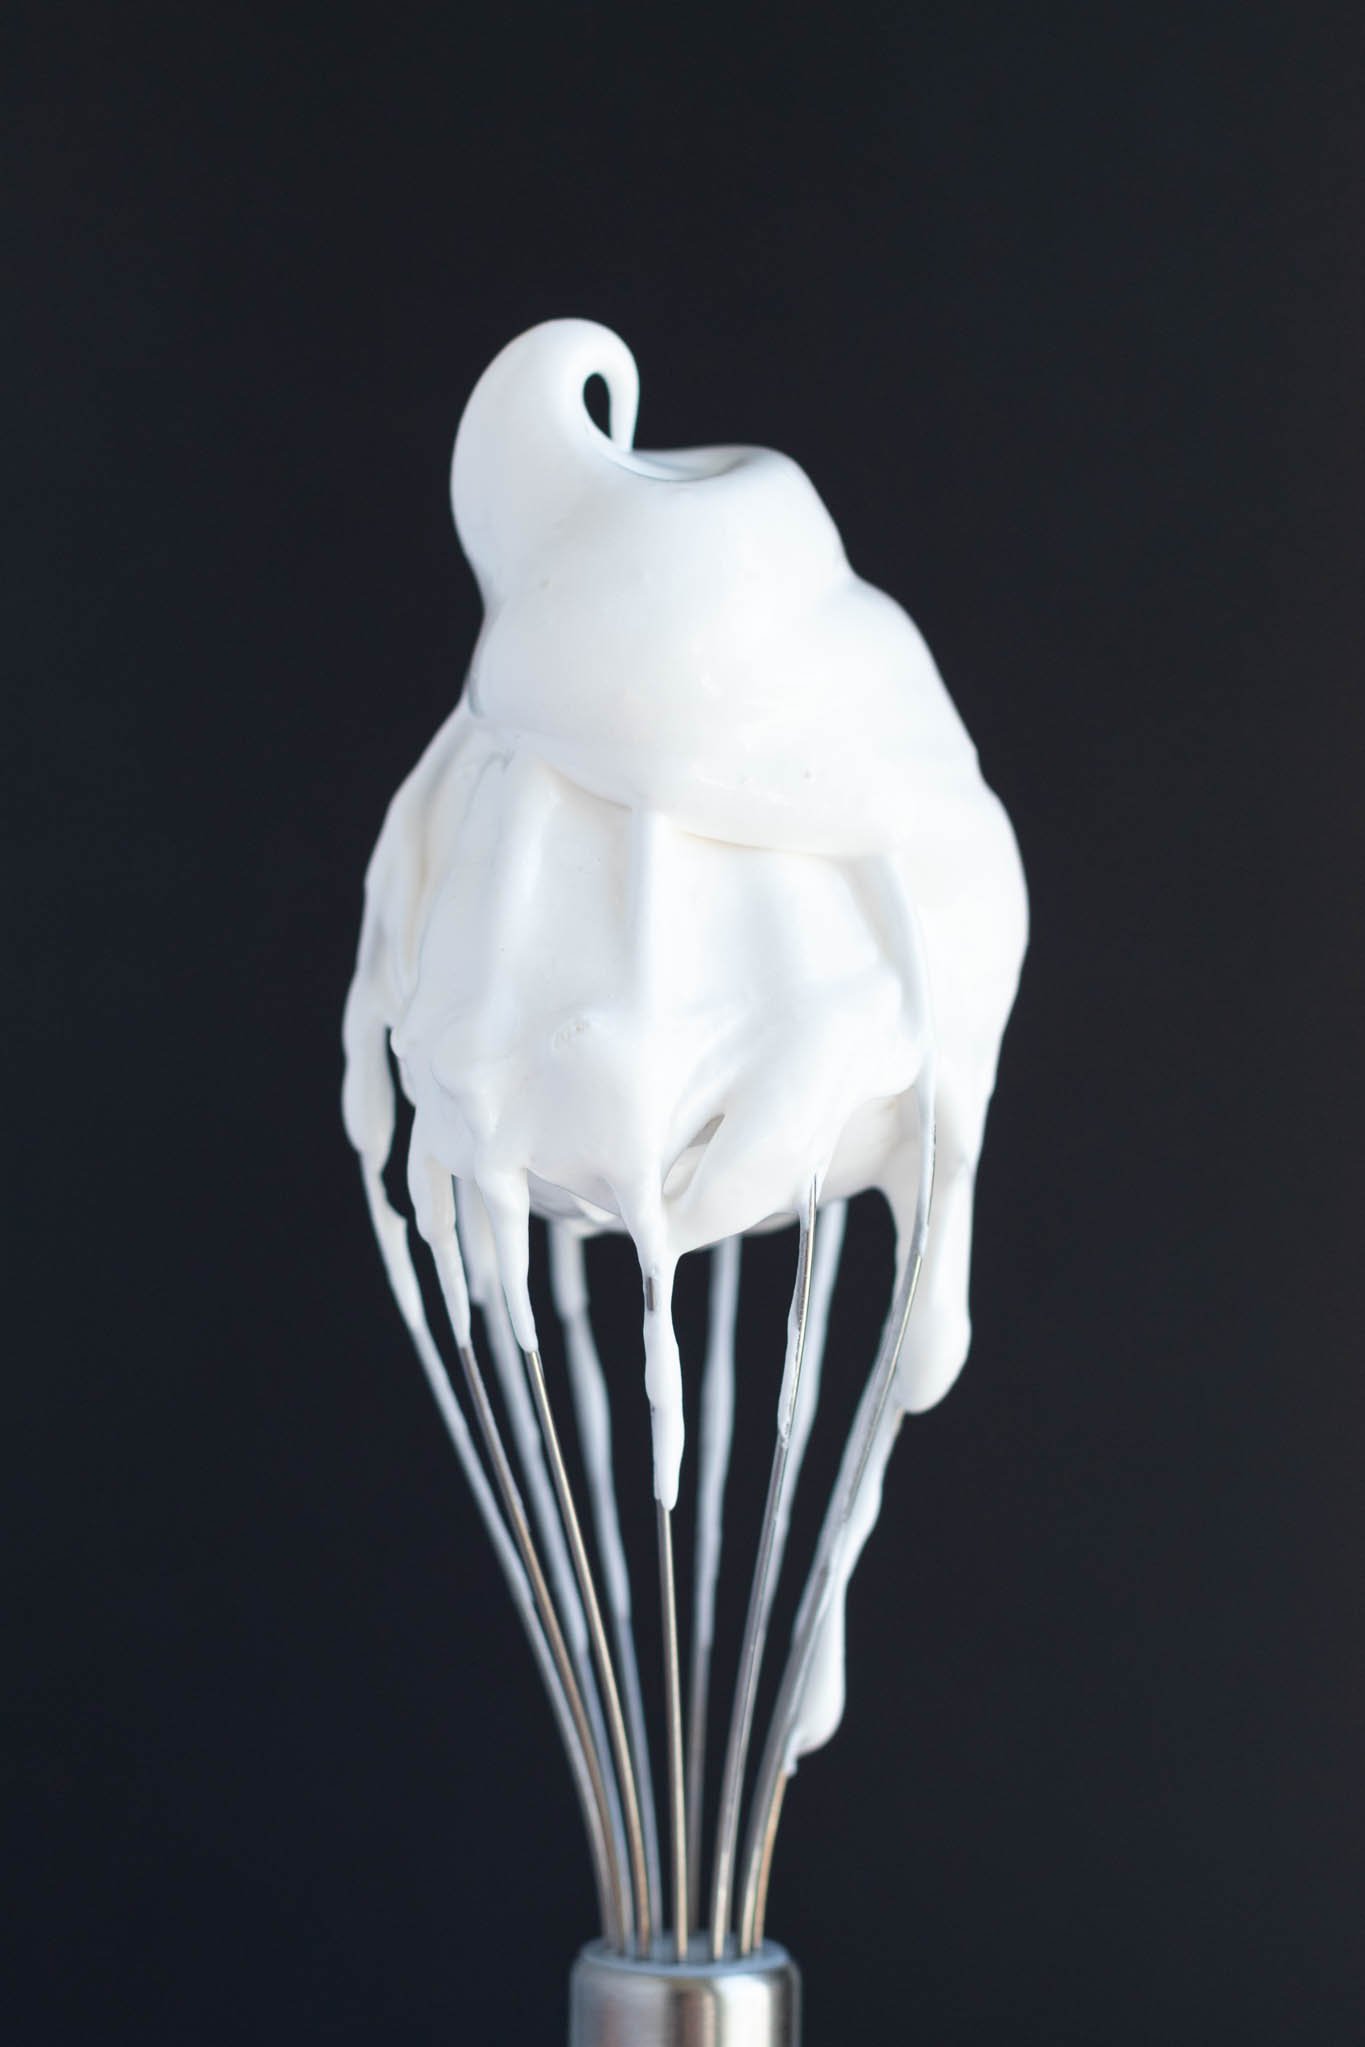
Glossy Marshmallow Meringue Frosting
This post may contain affiliate links. See my disclosure policy.
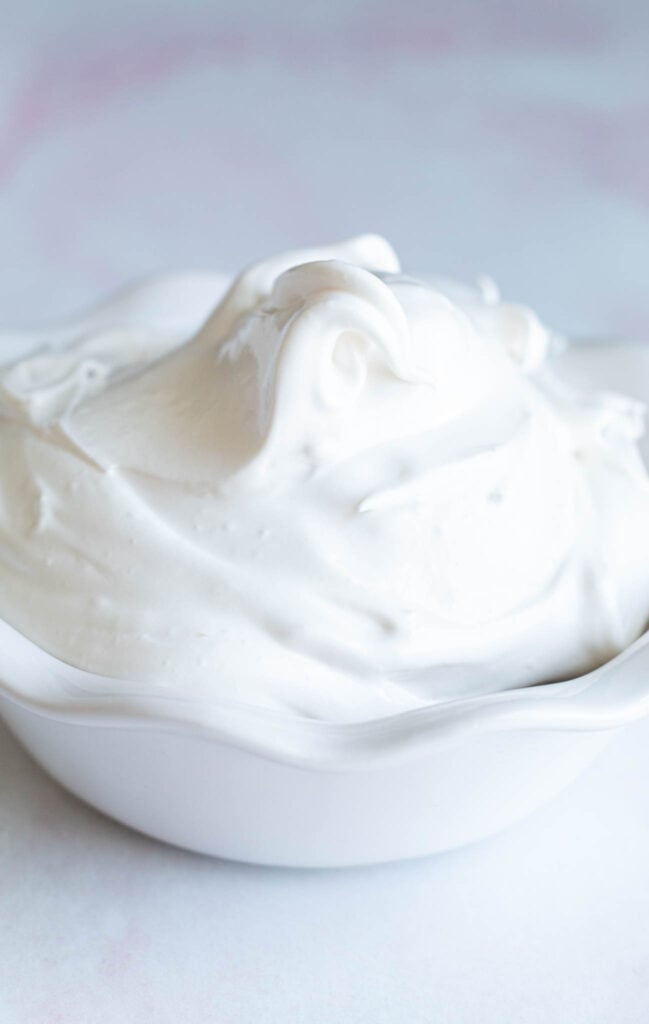
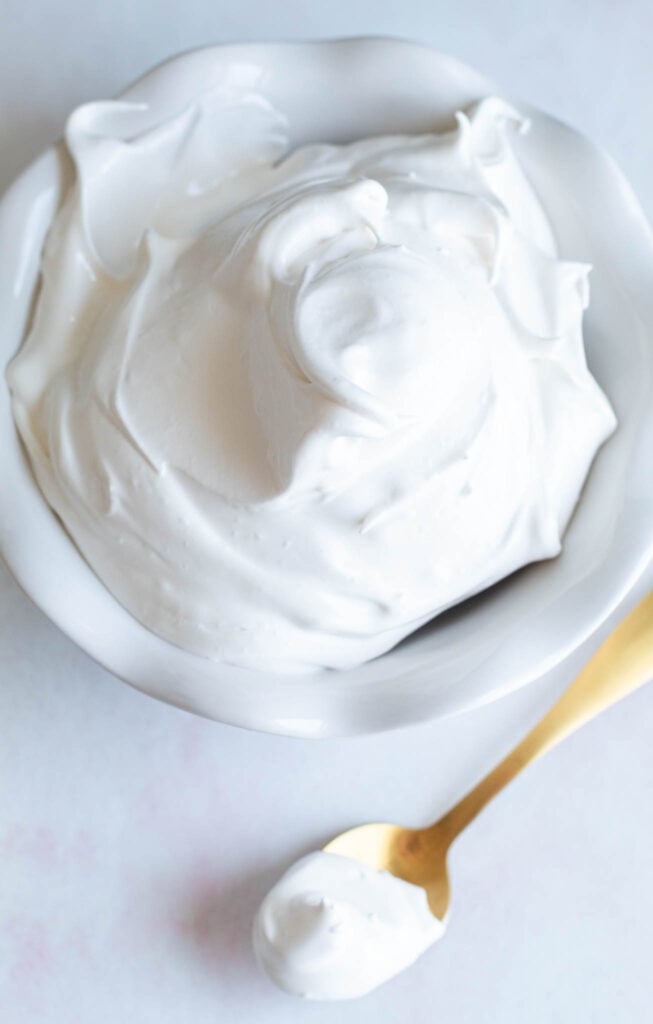
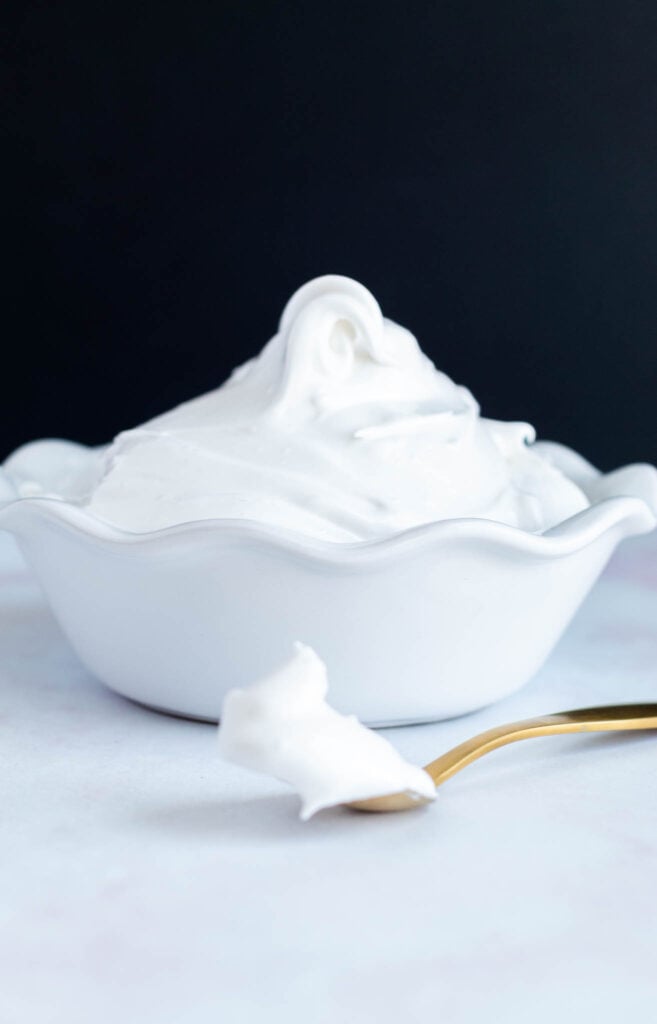
This is an easy small batch recipe for glossy marshmallow meringue frosting. With just a few ingredients, you have homemade silky and creamy marshmallow meringue that is better than any store-bought frosting! The frosting is perfect for topping cakes and cupcakes, or to use as a filling for trifles or sandwich cookies.
New and Improved Marshmallow Frosting
I recently updated this recipe for marshmallow meringue frosting. I have been knee deep in testing recipes for the holiday’s and I found the changes to the original recipe to be much better.
So much so you can find this marshmallow frosting on top of my chocolate Halloween cupcakes, and nestled inside of the chocolate mini cakes for Valentine’s day.
Improvements To The Frosting
- Granulated sugar – I have found through many trials and errors that granulated sugar creates a creamy and smooth texture. More so than the powdered sugar.
- Light corn syrup – I found this makes the frosting even more glossy. And the addition of the corn syrup mimics a lot of the flavor you get from an actual marshmallow. Could you omit it – yes. However, I have tested so many batches of marshmallow frosting – the batches I favored are the ones with the corn syrup.
- Water – I consider the water as an emulsifier (this is my opinion) and helps to dissolve the corn syrup.
Is Marshmallow Frosting The Same As Meringue
Yes, it is truly a meringue. We whisk egg whites and sugar until glossy and creamy.
This frosting can be torched as well – if you would like to create a s’mores effect on top of your cakes or cupcakes. Just like I did on top of the eggnog cupcakes with toasted marshmallow!
And now that you know you can make up your own batch of marshmallow’y goodness at home, I challenge you not to make this to top every cake and cupcake you make!
Is Marshmallow Frosting The Same As Marshmallow Cream
It depends on who you ask. The ingredients are basically the same. However, when I think of marshmallow cream, I think of the delicious fluff in tubs at the grocery. With the main differences being the consistency and sugar content.
I consider this recipe a true frosting because it can be piped and holds its shape. You’d be hard-pressed to pipe the tub of fluff. Which makes it so great to eat by the spoon!
One other thing I want to point out – is even though this is a marshmallow frosting, it will not make the cute little marshmallow cubes that you can toss on top of hot chocolate. To make an actual marshmallow, gelatin is used. In addition to a different process.
How to make Homemade Marshmallow Meringue Frosting
It really is super easy to make glossy marshmallow meringue frosting. We only need a few ingredients, a hand-held mixer, saucepan, and heat-proof mixing bowl.
- Create a double-boiler – a saucepan with a couple of inches of water and a heat-proof mixing bowl (i.e. glass) on top = homemade double-boiler.
- Use one of the whisk attachments – from your hand held mixer, to mix while on the double broiler. One less utensil to clean.
- Whisk the mixture constantly – This is to avoid making scrambled eggs. It also ensures sugar is dissolved and mix is heating evenly.
- Whisk to 160 degrees – this makes sure the egg white is safe to consume. This will take a few minutes. It took me about 4 minutes – the mix gets foamy and white. It may take shorter/longer depending on your stove, the size of your pans/bowls. This is where the thermometer comes in handy.
- If you don’t have a thermometer – I would recommend getting one. Until then, whisk until the sugar dissolves, the mix is foamy and white, and if you rub a little between your fingers, you will not feel any sugar granules.
- Remove the mixing bowl from the double boiler – and add the vanilla.
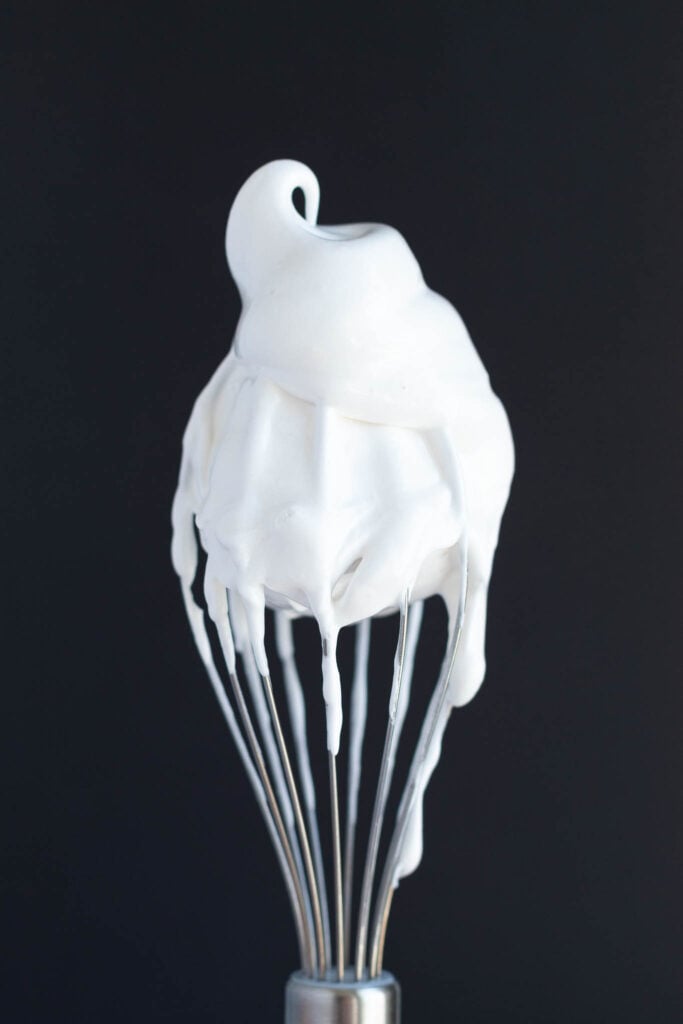
- Beat to stiff peaks – on medium speed. The frosting will start to get glossy, fluffy and reach stiff peaks at about 2 and 1/2 minutes. Again, depending on your mixer.
- Use immediately – no need to chill or give time to set. It can be piped on cakes or cupcakes right away.
Small Batch Marshmallow Frosting
Few things on this small batch of marshmallow frosting:
- It is a small batch – Therefore it is perfect for a small batch of mini lemon cakes, chocolate cupcakes, and even a small vanilla cake.
- This is not your typical frosting – It will pipe nicely, but if you are looking to make detailed designs or decorations, it’s probably not going to work as well as buttercream. And, you don’t have to pipe it – it is just as beautiful dolloped on top of your bake.
- It is an egg-based frosting – I recommend you enjoy this the day you make it (much like any fresh baked treat!) However, it can be stored in the refrigerator for up to 2-days. Beyond that, it may start to loosen and separate.
Uses for Glossy Marshmallow Meringue Frosting
Now that you have your own homemade, the possibilities are endless!
- the topping on Pumpkin Napoleons
- sandwiched between two Flourless Chocolate Cookies
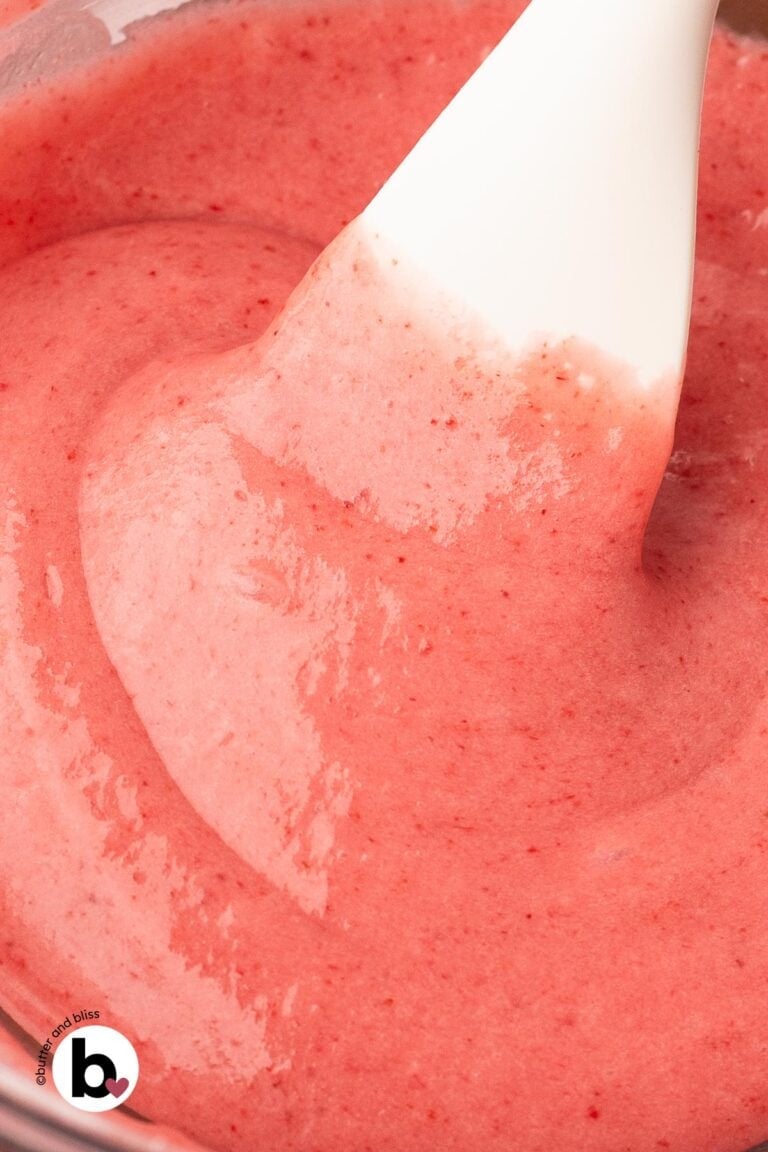
- frosting for Vanilla or Strawberry cupcakes
- torch on top of Brownies
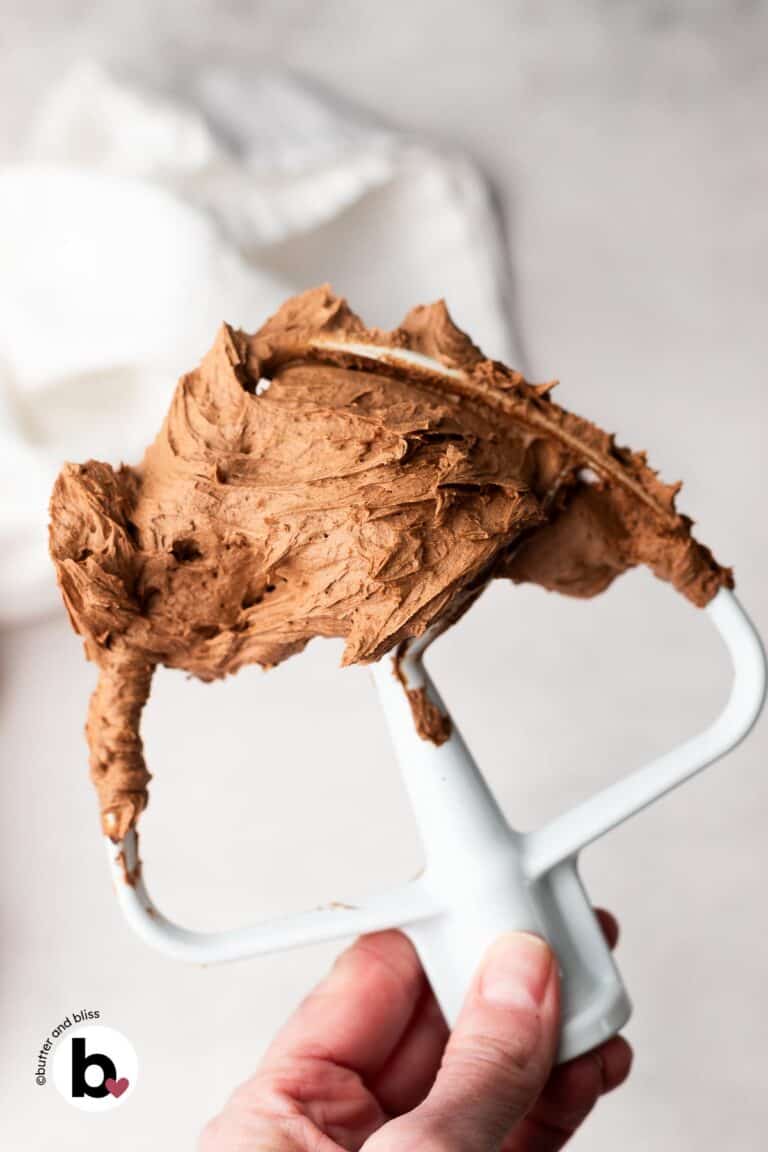
- frosting on an easy Chocolate Cake
Glossy Marshmallow Meringue Frosting
by Erin Cernich
Equipment
Ingredients
- 1 large egg white, room temperature
- 1 tablespoon water, room temperature
- 1 teaspoon light corn syrup
- ¼ cup granulated sugar
- ⅛ teaspoon cream of tartar
- ½ teaspoon vanilla extract
Instructions
- Create a double boiler – Simmer about 2-inches of water in a saucepan. In a heat-proof mixing bowl large enough to fit on top of the saucepan – without touching the water – add the egg white, water, corn syrup, granulated sugar, and cream of tartar. Set the bowl on top of the saucepan.1 large egg white, room temperature, 1 tablespoon water, room temperature, 1/4 cup granulated sugar, 1 teaspoon light corn syrup, 1/8 teaspoon cream of tartar
- Using one of the whisk attachments as your whisk, constantly whisk the mixture until foamy and white. We want the sugar to dissolve and the temperature of the mixture to reach 160F degrees. This may take up to 4 minutes. If you don't have a thermometer, you can test if the sugar has dissolved by carefully rubbing a little of the egg white between your thumb and index finger – if done, you will not feel sugar granules.
- Remove the bowl from the heat, and add the vanilla extract. Using a hand-held mixer with whisk attachments, beat on medium speed until stiff peaks form, and the frosting is pillowy and glossy. This may take about 2 and 1/2 minutes.1/2 teaspoon vanilla extract
- The frosting is ready to be used immediately. If storing, place in an airtight container and refrigerate for up to 2 days. Longer than that, the frosting may start to loosen and separate. I do not recommend keeping the frosting at room temperature for longer than 4 hours.
Notes
- Serving Size – This recipe is easily doubled to make a larger batch.
- Separate the egg white when it is cold – I’ve learned this through practice and professional advice.
Nutrition Estimates


About the Author …
Hi, I’m Erin! With years of experience baking for two in my own small household, I know about the love for desserts without the leftovers. I’ve tested, written, and photographed every one of the 300+ recipes on my website. And even had some of my desserts featured on Taste of Home, The Spruce Eats, ELLE, Parade, and more! From traditional to gluten free desserts for two, I have the recipe for you.
Click here to learn more about me →
Super easy and quick to make. I piped it on to the rim of hot cocoa mug and did a lite butane toasted of it. Added a bit to the top of the hot cocoa. It’s a Smore in a mug!
Love this idea! Thank you Lori!