Cranberry Mousse No-Bake Mini Cheesecake
This post may contain affiliate links. See my disclosure policy.
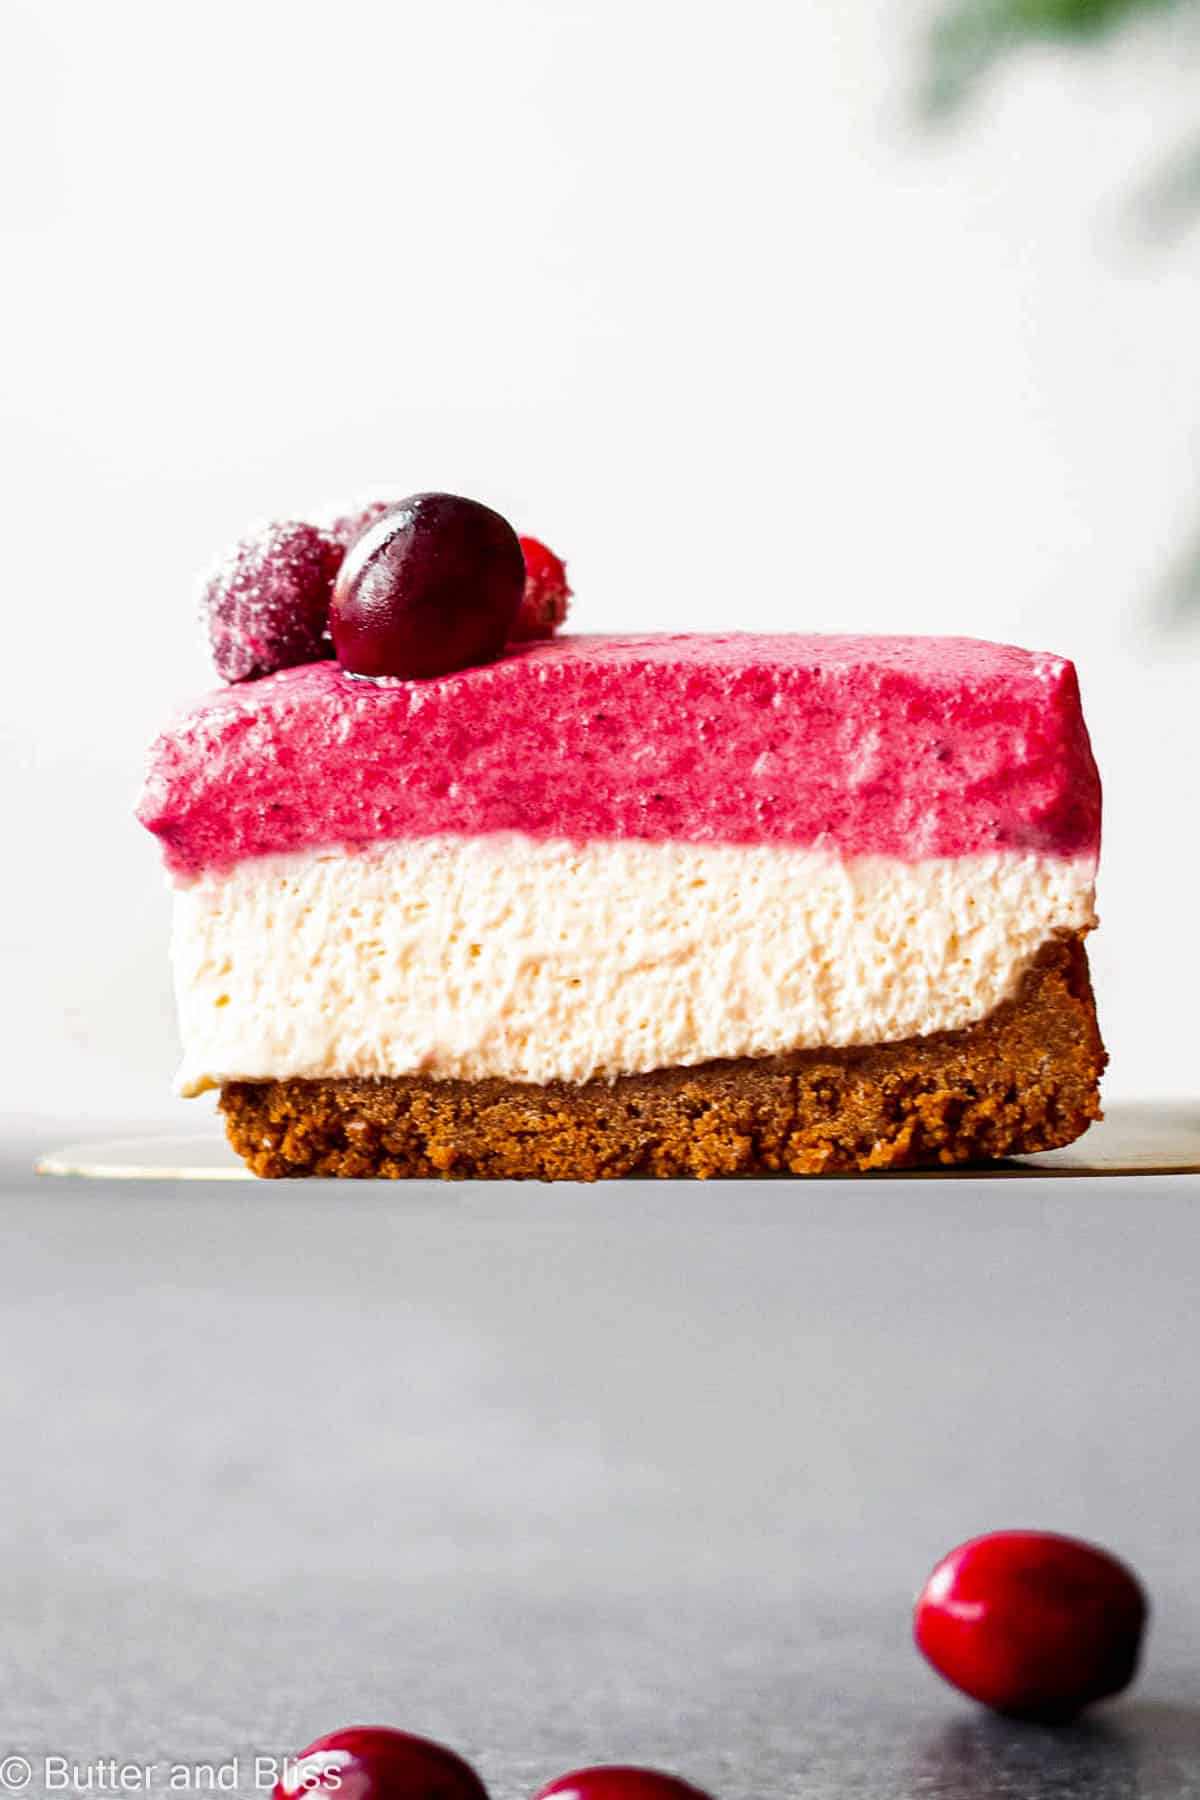
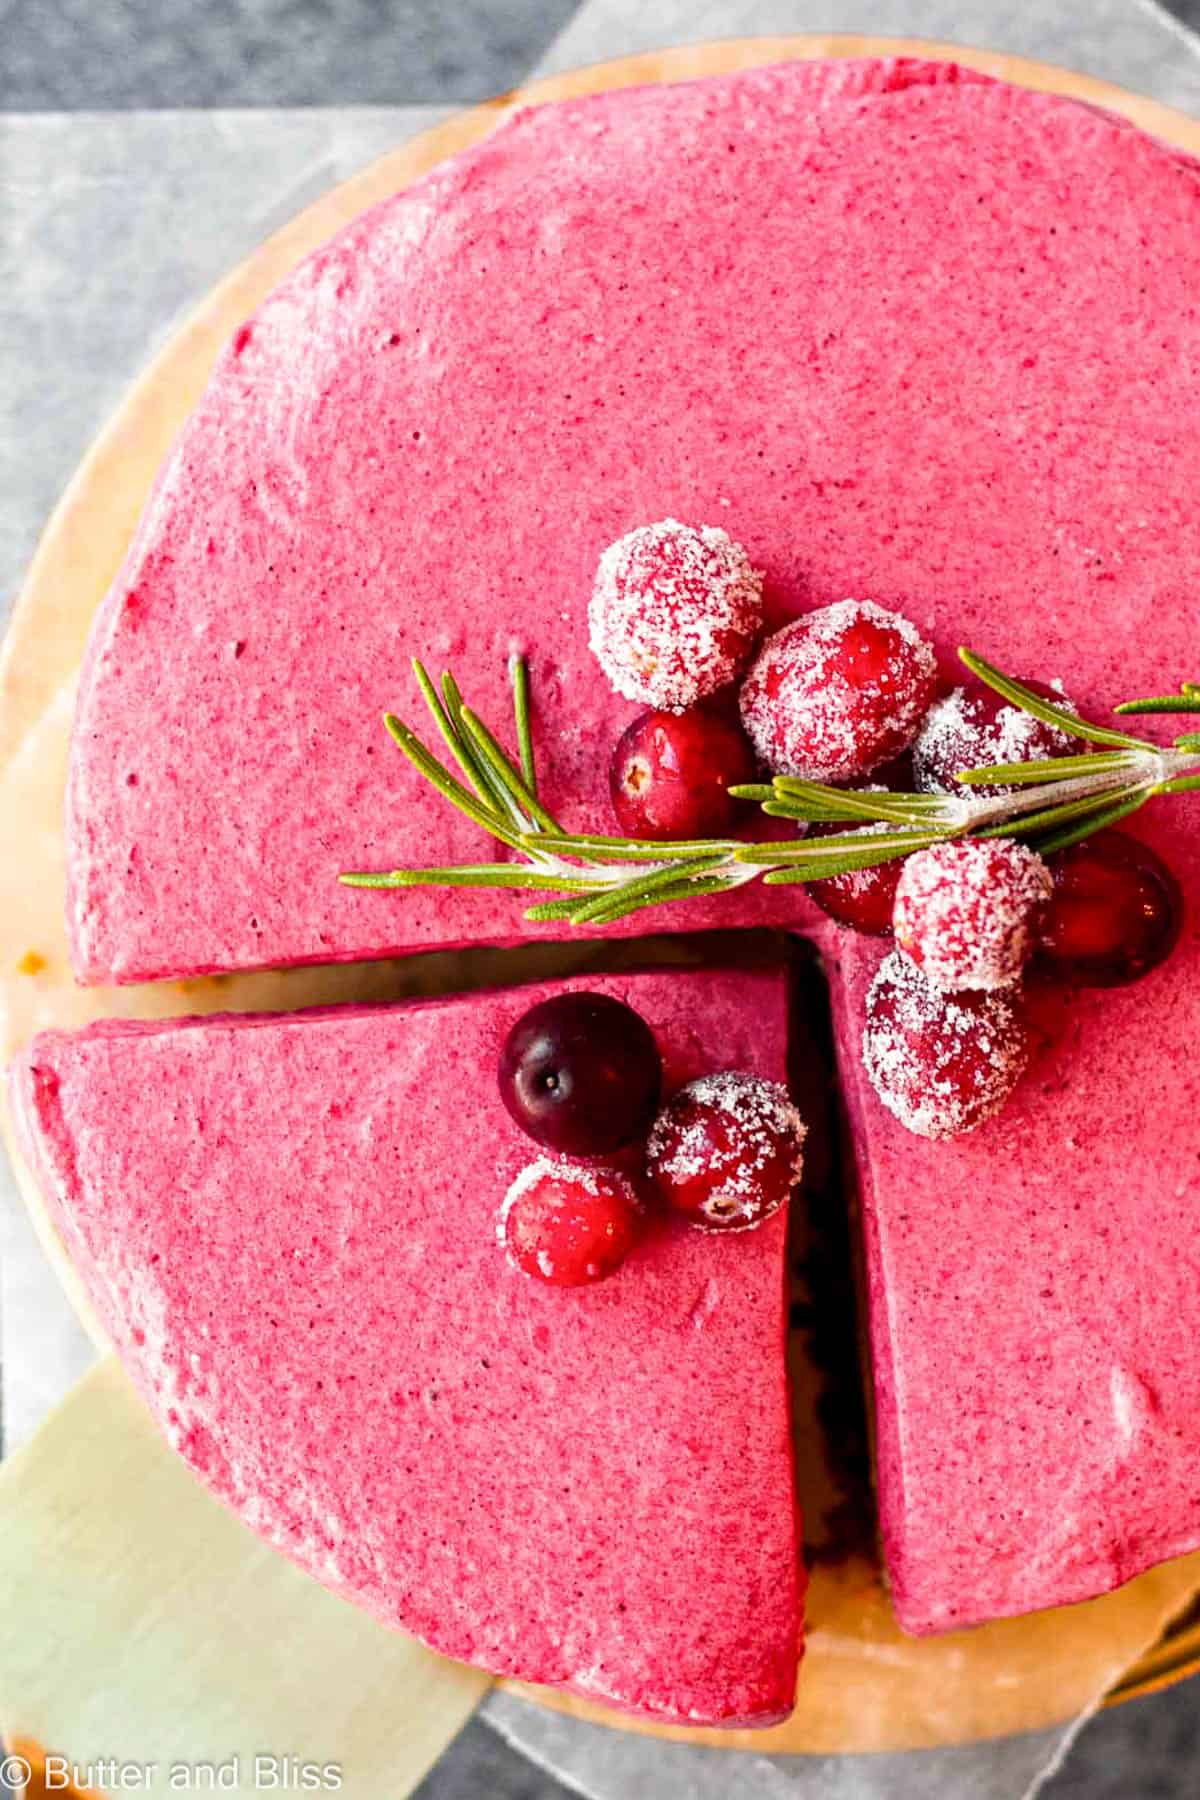
This cranberry mousse no-bake cheesecake is a must for the holidays! The mini cake features a creamy layer of no-bake cheesecake topped with beautiful and vibrant cranberry mousse – all set on Biscoff cookie crust. The 6-inch cheesecake evokes the holidays with a medley of sweet, tart, and spicy flavors!
A Pretty mini Cake Worthy Of Your Holiday Table

I was assigned dessert one Thanksgiving. Imagine that. A baking blogger asked to make something sweet! I accepted the assignment with a bit of hesitation because I wanted something a little more ‘wow’ than your traditional pumpkin pie.
Then the idea came to me. After I made my cranberry granita pudding parfaits I was hooked on the flavor combo and tart cranberries balanced with creamy vanilla. So I reproduced the pairing into this sweet 6-inch cake.
The no-bake cheesecake filling is light, soft, and delicately sweetened. Topping that is a pretty lush cranberry mousse – that’s starts off like a typical cranberry sauce then gets mixed with whipped cream. Then you add the spicy sweet Biscoff cookie crust and you have all the flavor makings for the perfect holiday dessert.
The bonus: A dessert that doesn’t need time in the oven. Which is good, because I bet your oven is already reserved for other dishes. 🙂 Not to mention – how pretty is the no-bake cheesecake?!
And I’m going to go out on a limb and say you bought a few extra bags of cranberries. If you have more rolling around, go full-on cranberry dessert bar and add a small batch of cranberry pecan bars for some texture, a cranberry breakfast almond flour mini cake for your holiday mornings, and some cranberry buttercream frosting to top your other holiday cakes.

3 Easy Components to This Cheesecake
The Biscoff cookie crust is blitzed in the food processor with melted butter, then pressed into the springform pan. The freezer replaces the work of the oven to set the crust.
Creamy, dreamy cheesecake filling is simply flavored with vanilla. A bit of tang comes through from the cream cheese plus a little lemon juice.
Bright cranberry mousse starts off as cranberry sauce, which means you can add your favorite holiday spices! Then a little gelatin and fluffy whipped cream transform it into mousse.
Tell me, what’s your favorite dessert to make for the holidays – and does it involve cranberries?🎄Let me know in the comments below – and I’d especially love to hear if you made (and loved) the cranberry cheesecake with a star rating and review!
Cranberry Mousse No-Bake Cheesecake
by Erin Cernich
Ingredients
Biscoff Cookie Crust
- ¾ cup Biscoff cookies, crushed to fine crumbs (about 16 cookies)
- 3 tablespoons unsalted butter, melted
Cranberry Mousse
- 10 ounces fresh or frozen cranberries
- ¼ cup pure maple syrup (or any preferred sweetener)
- 2 tablespoons orange juice (fresh or carton)
- ½ teaspoon ground cinnamon
- ½ teaspoon fresh ginger, grated
- 2 teaspoons lemon juice
- ¾ teaspoon unflavored gelatin powder
- ¼ cup heavy whipping cream
No-Bake Cheesecake Filling
- 5 ounces cream cheese, room temperature
- ¼ cup powdered sugar
- ½ teaspoon vanilla extract
- ¼ teaspoon lemon juice
- ¼ cup heavy whipping cream
Instructions
Biscoff Cookie Crust
- With the springform pan dis-assembled, line the removable bottom with a piece of parchment paper. Re-assemble the pan. Optional – Line the inside of the pan with a strip of parchment, so cake doesn't stick to the springform ring when you remove the cake. I recommend this if your pan isn't non-stick.
- In a food processor, add the Biscoff cookies and pulse until they are the size of small pebbles. Drizzle in the melted butter and pulse until the cookies are finely ground and fully coated with the butter.3/4 cup Biscoff cookies, crushed to fine crumbs, 3 tablespoons unsalted butter, melted
- With the back of a small measuring cup, or your fingers, press the cookie crust firmly and evenly into the bottom of the springform pan. Place in the freezer to set while you prepare the cranberry mousse and cheesecake filling.
Cranberry Mousse
- In a medium saucepan, add the cranberries, maple syrup, orange juice, ground cinnamon, and grated ginger. Cook the cranberries over medium heat until all of the cranberries pop and release their fruit juices. About 8 to 10 minutes.10 ounces fresh or frozen cranberries, 2 tablespoons orange juice, 1/4 cup pure maple syrup, 1/2 teaspoon ground cinnamon, 1/2 teaspoon fresh ginger, grated
- With 5 minutes left to cook the cranberries, bloom the gelatin. In a small prep bowl, add the lemon juice and sprinkle the powdered gelatin over the top. Let sit for 5 minutes, or until the gelatin gets thick. When the cranberries are just about done, pour in the gelatin mix and stir until it melts and is fully mixed in.2 teaspoons lemon juice, 3/4 teaspoon unflavored gelatin powder
- Pour the cranberries into a fine-mesh strainer set over a medium mixing bowl. Press the cranberries through the strainer using the back of a spoon or spatula until you have gotten all of the juice out of the cranberries. Scrape the bottom of the strainer as well to get all of those juices too! Discard the pulp. Set the cranberry sauce aside to cool at room temperature.
No-Bake Cheesecake Filling
- While the cranberry sauce is cooling, make the cheesecake filling. In a medium mixing bowl add the cream cheese, powdered sugar, vanilla, and lemon juice. Use a hand held mixer on medium speed to beat until smooth. Set aside.5 ounces cream cheese, room temperature, 1/2 teaspoon vanilla extract, 1/4 cup powdered sugar, 1/4 teaspoon lemon juice
- In another small mixing bowl, add the heavy cream. Use a hand held mixer on high speed to whip the heavy cream until stiff peaks form.1/4 cup heavy whipping cream
- Using a spatula, gently fold the whipped cream into the cheesecake filling until combined. Make slow folds so the whipped cream does not deflate. Tip – Save the whipped cream bowl to make the whipped cream for the cranberry mousse. One less bowl to wash!
- Remove the cookie crust from the freezer. Pour the cheesecake filling over the crust and smooth out evenly with a spatula. Place the cheesecake in the refrigerator while you finish the cranberry mousse.
- Finish the cranberry mousse. In the bowl you used to make the whipped cream for the cheesecake, make the whipped cream for the mousse. Use a hand mixer on high speed and whip the cream to stiff peaks.1/4 cup heavy whipping cream
- Very gently, use a spatula to fold the whipped cream into the cooled cranberry sauce – until no white streaks remain. Make slow folds so the whipped cream does not deflate.
- Remove the cheesecake from the refrigerator. Pour the cranberry mousse on top use a small spatula to spread the mousse evenly. Cover the cheesecake with plastic wrap and refrigerate for at least 8 hours, or overnight. Note – If you lined the inside of the pan with parchment and it is sticking out the top of the pan, gently fold it back so you can cover the pan to refrigerate.
- When ready to serve, release the spring on the springform pan. Carefully peel away the parchment on the sides if it stuck (if you didn't use parchment inside the pan, run a sharp knife around the outside of the cake to release it). Lift the cheesecake off the removable bottom using a large spatula and with the help of the parchment. Place on your serving platter and gently wiggle the parchment out from under the cake.
- To slice the cheesecake, warm a sharp knife with hot water (wipe off the water), to get clean cuts. Garnish with cranberries rolled in sugar and whipped cream and Enjoy!
Notes
- Serving Size – This recipe is easily doubled and made in a 9-inch springform pan.
- Yield – You can get 4 to 6 slices from the 6-inch cake.
- Line the Springform Pan – To get the cake to release from the removable bottom of the pan, you need to line it with parchment. Otherwise, the cookie crust will most likely stick to the bottom. I also recommend lining the inside with a strip of parchment so the cake doesn’t stick to the sides of the pan.
- Cookie Crust – Swap in any other cookie, graham cracker, or gingersnap if you prefer.
- Maple Syrup – I like to use maple syrup to make the cranberries for the buttery flavor, but swap in any sweetener of choice.
- Chill – This cake does require ample time to chill so the cheesecake and mousse can set up. This is a great make-ahead dessert!
- Storing – Cover and store the cake in the refrigerator for up to 5 days.
- Freezing – The fully set cake can be frozen for up to 3 months. Wrap tightly in plastic wrap and place in a freezer bag. Thaw in the refrigerator.
Nutrition Estimates


About the Author …
Hi, I’m Erin! With years of experience baking for two in my own small household, I know about the love for desserts without the leftovers. I’ve tested, written, and photographed every one of the 300+ recipes on my website. And even had some of my desserts featured on Taste of Home, The Spruce Eats, ELLE, Parade, and more! From traditional to gluten free desserts for two, I have the recipe for you.
Click here to learn more about me →