Orange and Almond Breakfast Scones
This post may contain affiliate links. See my disclosure policy.
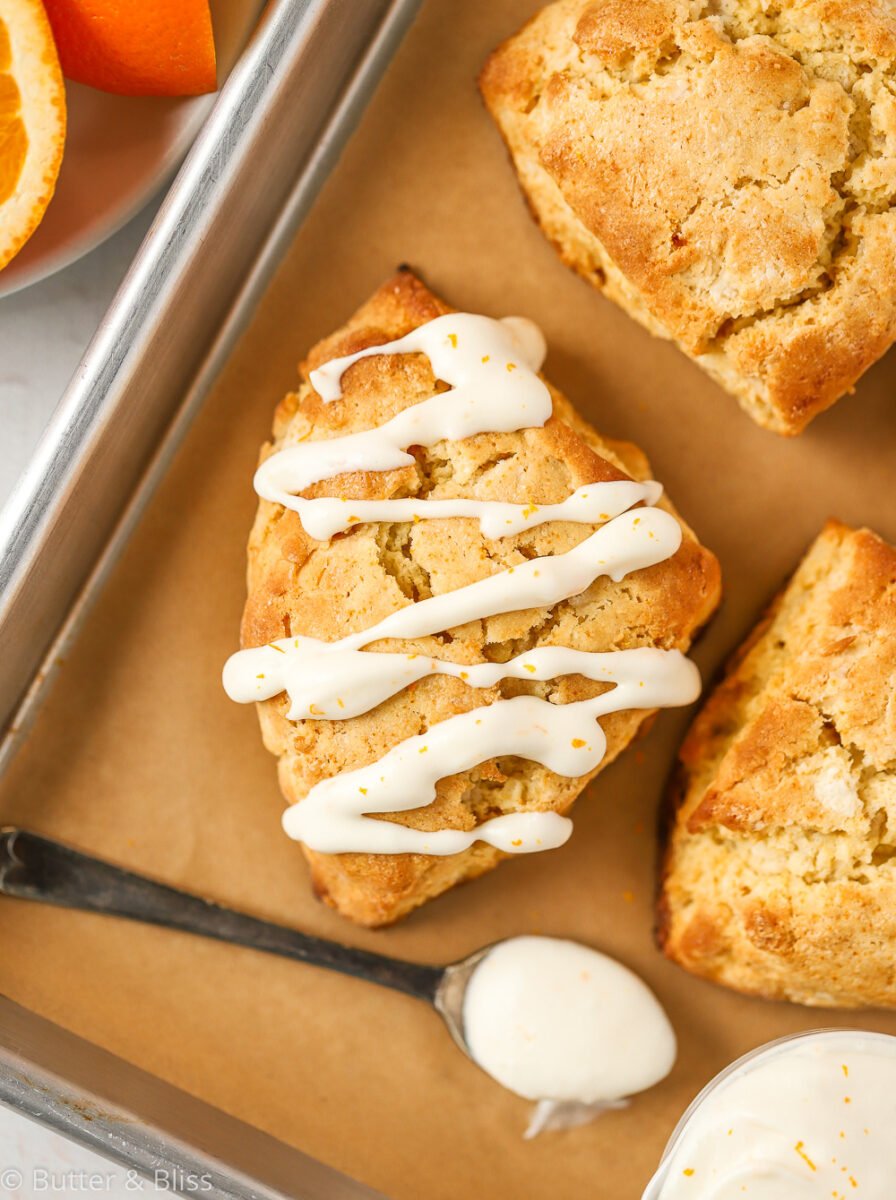
Breakfast just got better with these Orange and Almond Scones! This small batch of tender scones has tons of bright citrus flavor with fresh orange juice and zest. And almond paste adds depth of flavor that pairs deliciously with the orange. Top with a creamy orange glaze for an easy-to-make breakfast treat!
Orange and Almond Scones
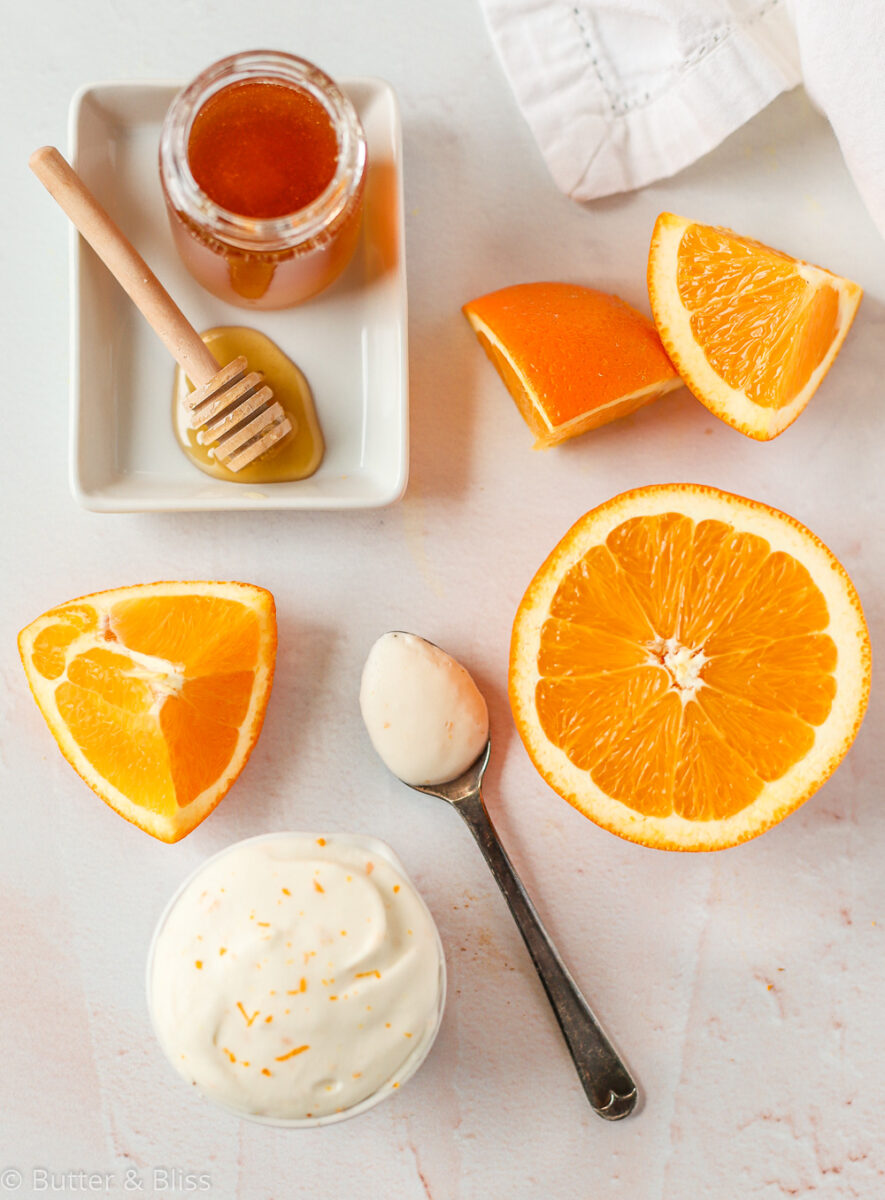
Orange + Almond + Honey = Breakfast that could pass as dessert!
- Orange – The orange in these scones comes from fresh orange juice and zest. And you can add as little or as much zest as you want. You want to be careful with more/less juice because too much liquid can alter the outcome of the scones.
- Almond – I use almond paste in this recipe. Not to be confused with marzipan – which is usually sweeter. Though I suppose if you have marzipan you can certainly use it instead. You can typically find almond paste in the baking aisle at the grocery.
- Honey – Scones are not an overly sweet breakfast bread. For this recipe, we use honey. I like the combination of honey and orange – flavors that are meant to go together!
Small Batch Breakfast Scones
The one thing with scones, as with most homemade bread, they are best enjoyed the day they are baked. After about day 2, they will probably start to dry out. Bringing back bad memories of dry coffee-house scones …
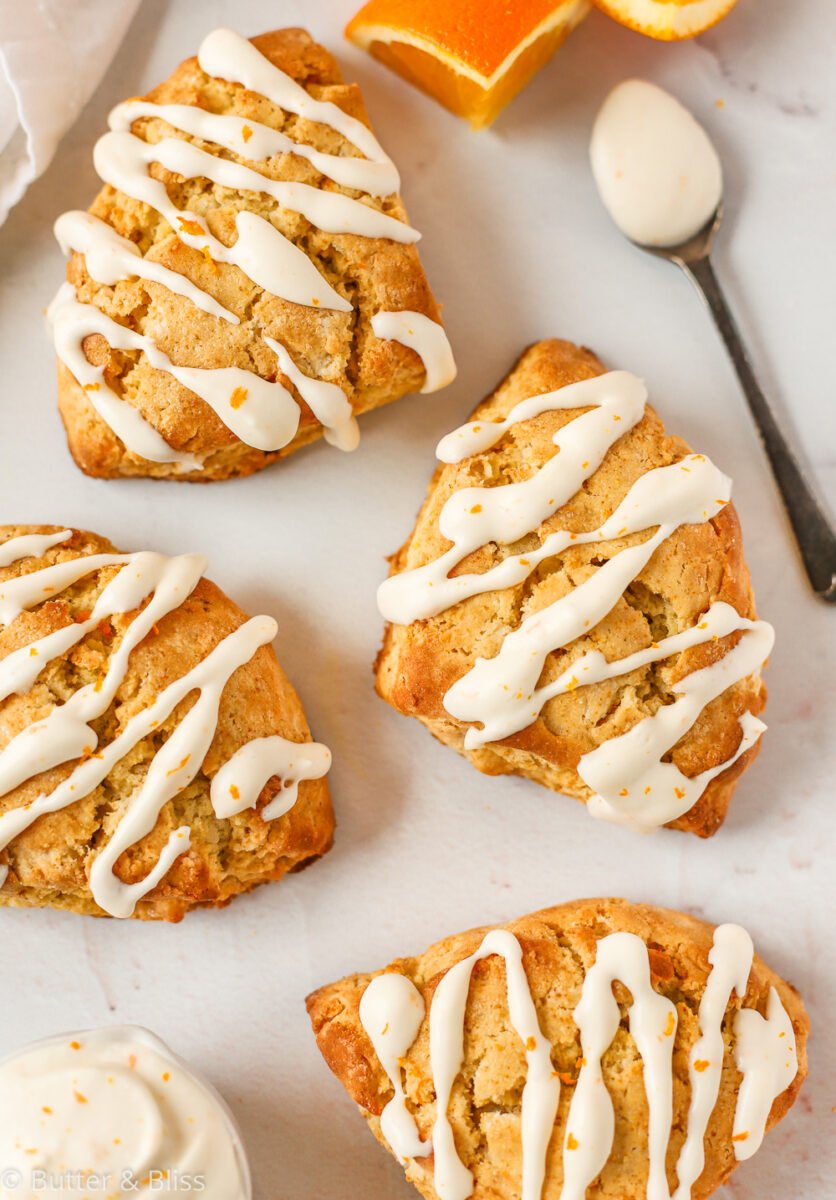
This small batch recipe of Orange and Almond Breakfast Scones makes 4 scones. Perfect for just two, or to save a couple extra to eat for dessert later the same day. I speak from experience. And the scones are everything that you would want in a breakfast bread:
- Easy – Since scones are a no-yeast bread, there is no need to worry about proofing, resting, a second proof, etc., etc. The dough easily comes together in one bowl in less than 10 minutes.
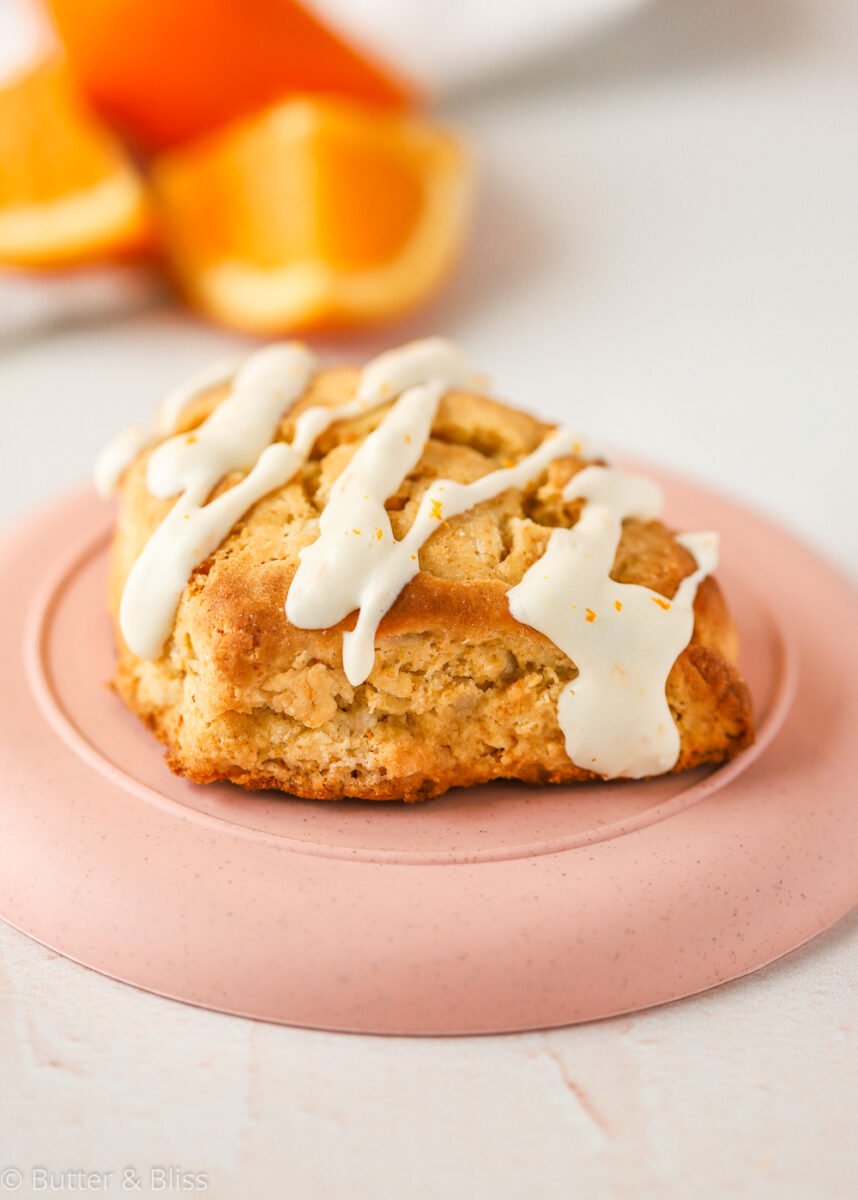
- Tender – No dry scones here! The heavy cream and butter in the scones make sure the scones are tender, yet still have the bread quality. Think buttermilk biscuit, but a little sweeter.
- Versatile – No rule says scones have to be sweet. I can envision a savory scone to scoop up the eggs and bacon for breakfast.
- Flavorful – Along with the versatility of the scone, the flavor combinations are nearly endless for scones, and yet they are just as delicious plain. I think my next batch may just be plain old chocolate chip.
- Bedazzled – And by this I mean the creamy glaze on top. I’m a sucker for any breakfast treat that has even more treat on top.

Ingredient List
- All-Purpose Flour
- Baking Powder
- Baking Soda
- Salt
- Almond Paste
- Heavy Cream
- Egg Yolk
- Honey
- 1 Large Orange

Tips For Making Orange Scones
- Sift the dry ingredients – This is not a must, but I am learning to appreciate how sifting flour with the leaveners (baking soda, baking powder), evenly distributes the ingredients.
- The butter needs to be COLD – And for that matter, cold almond paste too. I keep sticks of butter in the freezer for such recipes. And I grate the butter. The smaller pieces are incorporated into the flour more evenly. Warm butter may result in a flat scone.
- Do not overwork the dough – The result will be flat scones. Gently form the dough into a ball while it is still in the mixing bowl, then gently press it into a 5-inch circle on a lightly floured surface.
- Use as much zest – You can add more zest to the scones, just not more juice. Too much liquid can affect the outcome of the scones (i.e. more flat scones).
- No rules on the glaze – I am partial to canned coconut milk and use it wherever I can. For this glaze, the result is a thick, but creamy glaze that reminds me of orange ice cream. No joke. But, if you want a more traditional glaze, you can use powdered sugar and add liquid to it until you reach your desired consistency.
- Enjoy the day they are baked – The scones will dry out after about day 2. But, if you do have leftovers, they can be stored covered at room temperature.
These Orange and Almond Breakfast Scones may just be the breakfast of champions! 🙂
More Small Batch Scones

Small Batch Orange and Almond Scones
by Erin Cernich
Ingredients
Orange Scones
- 1 cup, plus 2 tablespoons all-purpose flour
- ¼ teaspoon baking powder
- ¼ teaspoon baking soda
- ¼ teaspoon salt
- 2 tablespoons almond paste, cold (optional)
- 3 tablespoons unsalted butter, cold
- ¼ cup heavy whipping cream, cold (plus additional to brush on the scones)
- 1 large egg yolk
- 2 tablespoons honey
- zest from half of a large orange
- juice from half of a large orange
Creamy Orange Glaze
- ¼ cup unsweetened canned coconut cream, full fat (only the coconut solids)
- 1 tablespoon honey
- 1 to 2 teaspoons orange zest (more or less to taste)
- 1 to 2 teaspoons orange juice (more or less to taste)
Instructions
Orange Scones
- Preheat the oven to 400F degrees and adjust the oven rack to the middle position. Line a baking sheet with a piece of parchment paper.
- In a medium mixing bowl, whisk together the flour, baking powder, baking soda, and salt.
- Grate the cold butter and almond paste (if using). Add to the dry ingredients and gently mix with your fingers to incorporate. If the almond paste clumped while adding it, break it back up into small pieces with your fingers. Note – I put my butter and almond paste in the freezer 15 minutes, before I start making the recipe – so they are nice and cold.
- In a liquid measuring cup, measure out the heavy cream. Then add the egg yolk, honey, orange juice, and orange zest. Stir thoroughly with a fork or small whisk.
- Stir the wet ingredients into the dry ingredients and mix until the flour is moist. The dough will be crumbly. Gently form the dough into a ball with your hands, then place on a lightly floured surface. Flatten the dough ball into a 6-inch circle with your hands. Do not overwork the dough.
- With a knife or bench scraper, cut the dough circle into 4 wedges. Transfer the scones to the prepared baking sheet at least 2 inches apart. Brush the tops of each scone with the extra cream. Bake for 20 to 25 minutes or until the scones are golden brown.
- Cool the scones on the baking sheet set on a wire cooling rack for 5 minutes. Then transfer the scones to the wire rack. If glazing the scones, I recommend allowing the scones to come to room temperature before adding the glaze.
Creamy Orange Glaze
- While the scones are cooling, make the creamy glaze. Note – This is not a traditional glaze. It is creamy. See Notes below for alternative glaze option.
- In a small mixing bowl, add the coconut milk solids, honey, orange juice, and orange zest. Using a hand held mixer, beat on medium speed until smooth and creamy.
- Spoon the creamy glaze over the tops of the cooled scones and enjoy! The scones are best enjoyed the day they are baked. Leftovers can be stored covered at room temperature.
Notes
- Serving Size – This is a small batch recipe that can be doubled.
- Cold Ingredients – The refrigerated ingredients (butter, cream, almond paste) should be cold. Otherwise, your scones may come out flat. I freeze my butter and almond paste 15 minutes before I start the recipe.
- Almond Paste – This is optional, but I recommend it. The almond paste can usually be found in the baking aisle at the grocery. If you prefer not to use, or cannot find it, you can substitute a 1/4 teaspoon of almond extract.
- Canned Coconut Milk – I recommend refrigerating the can of coconut milk overnight to allow the liquids and solids separate. We are only using the solids.
- Alternative Glaze – Start with 1/4 cup powdered sugar and the orange zest. Add teaspoons of milk (any kind) and/or orange juice until you reach your desired consistency.
Nutrition Estimates
TRY THESE SMALL BATCH RECIPES NEXT!


About the Author …
Hi, I’m Erin! With years of experience baking for two in my own small household, I know about the love for desserts without the leftovers. I’ve tested, written, and photographed every one of the 300+ recipes on my website. And even had some of my desserts featured on Taste of Home, The Spruce Eats, ELLE, Parade, and more! From traditional to gluten free desserts for two, I have the recipe for you.
Click here to learn more about me →