Small Batch Jam Scones with Peanut Butter
This post may contain affiliate links. See my disclosure policy.
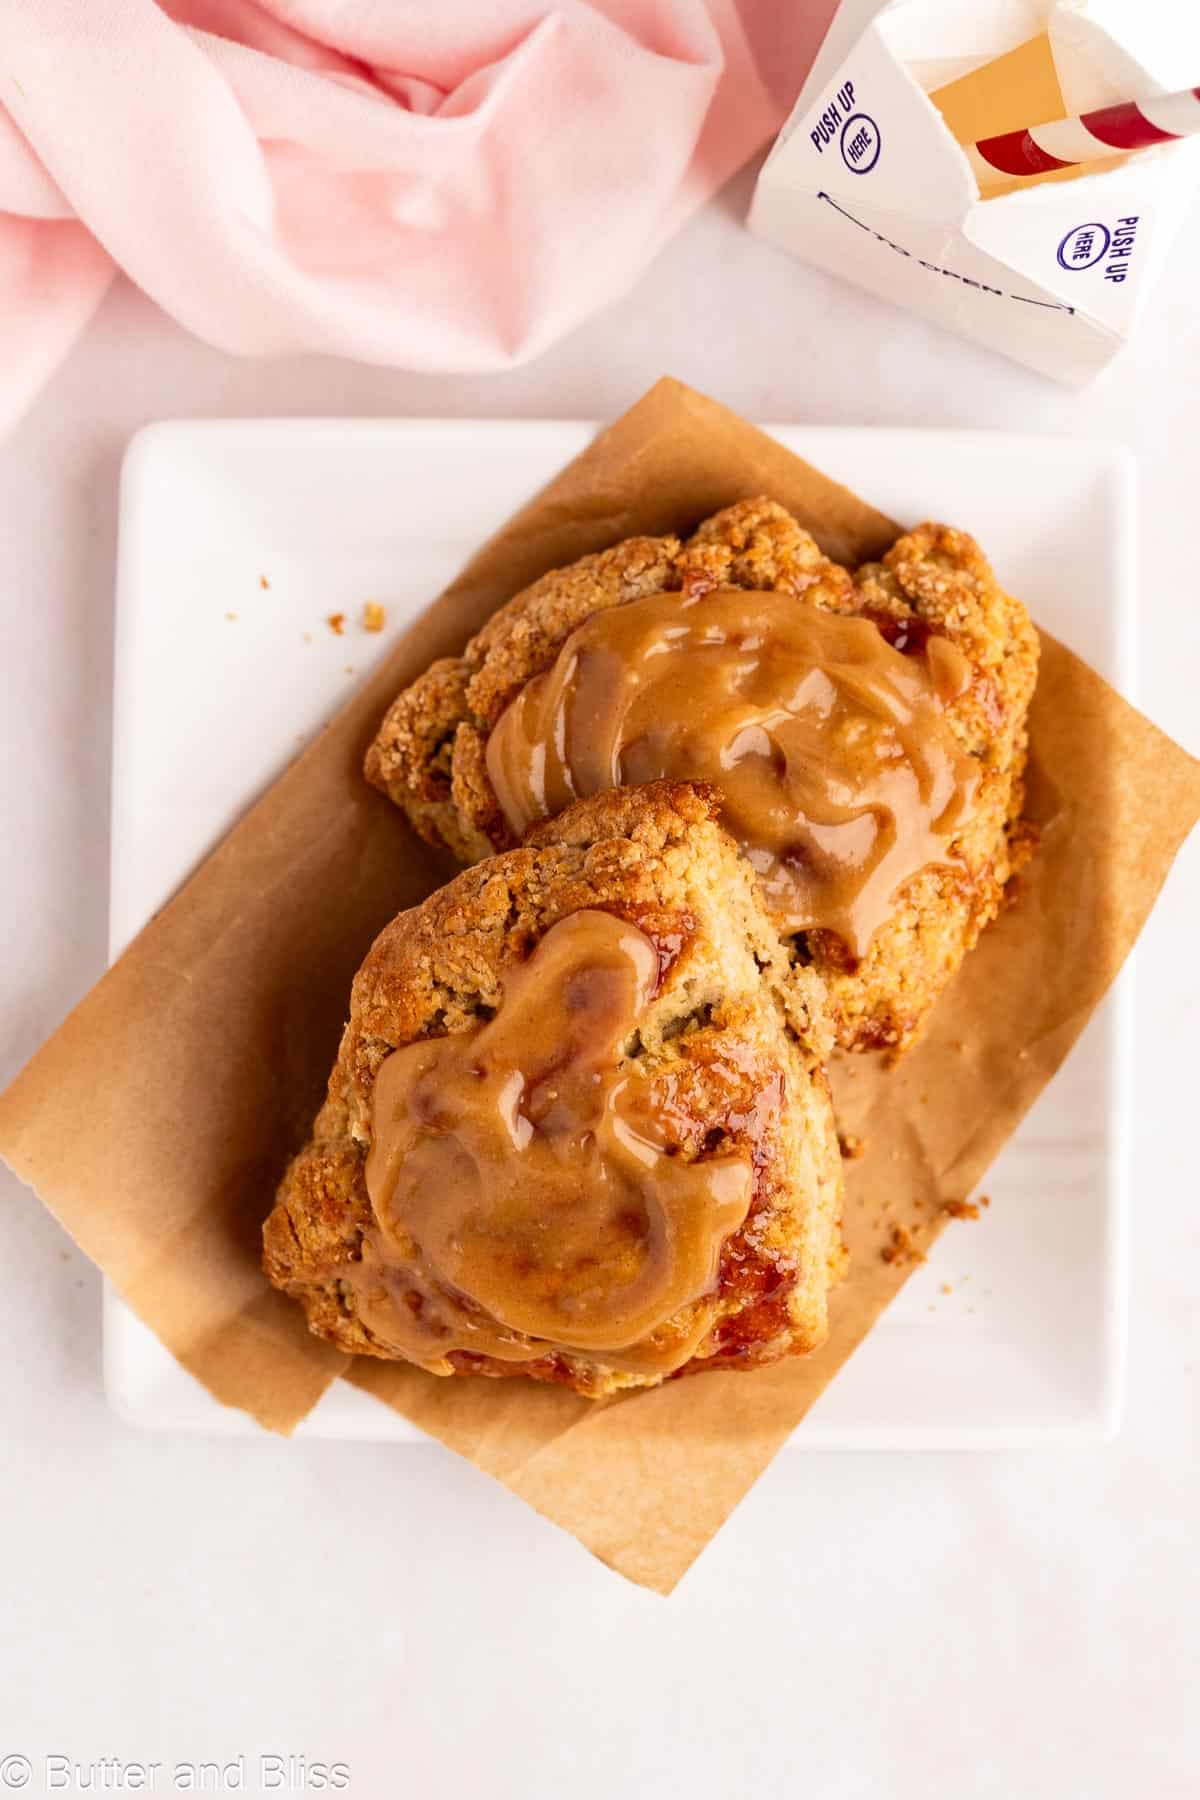
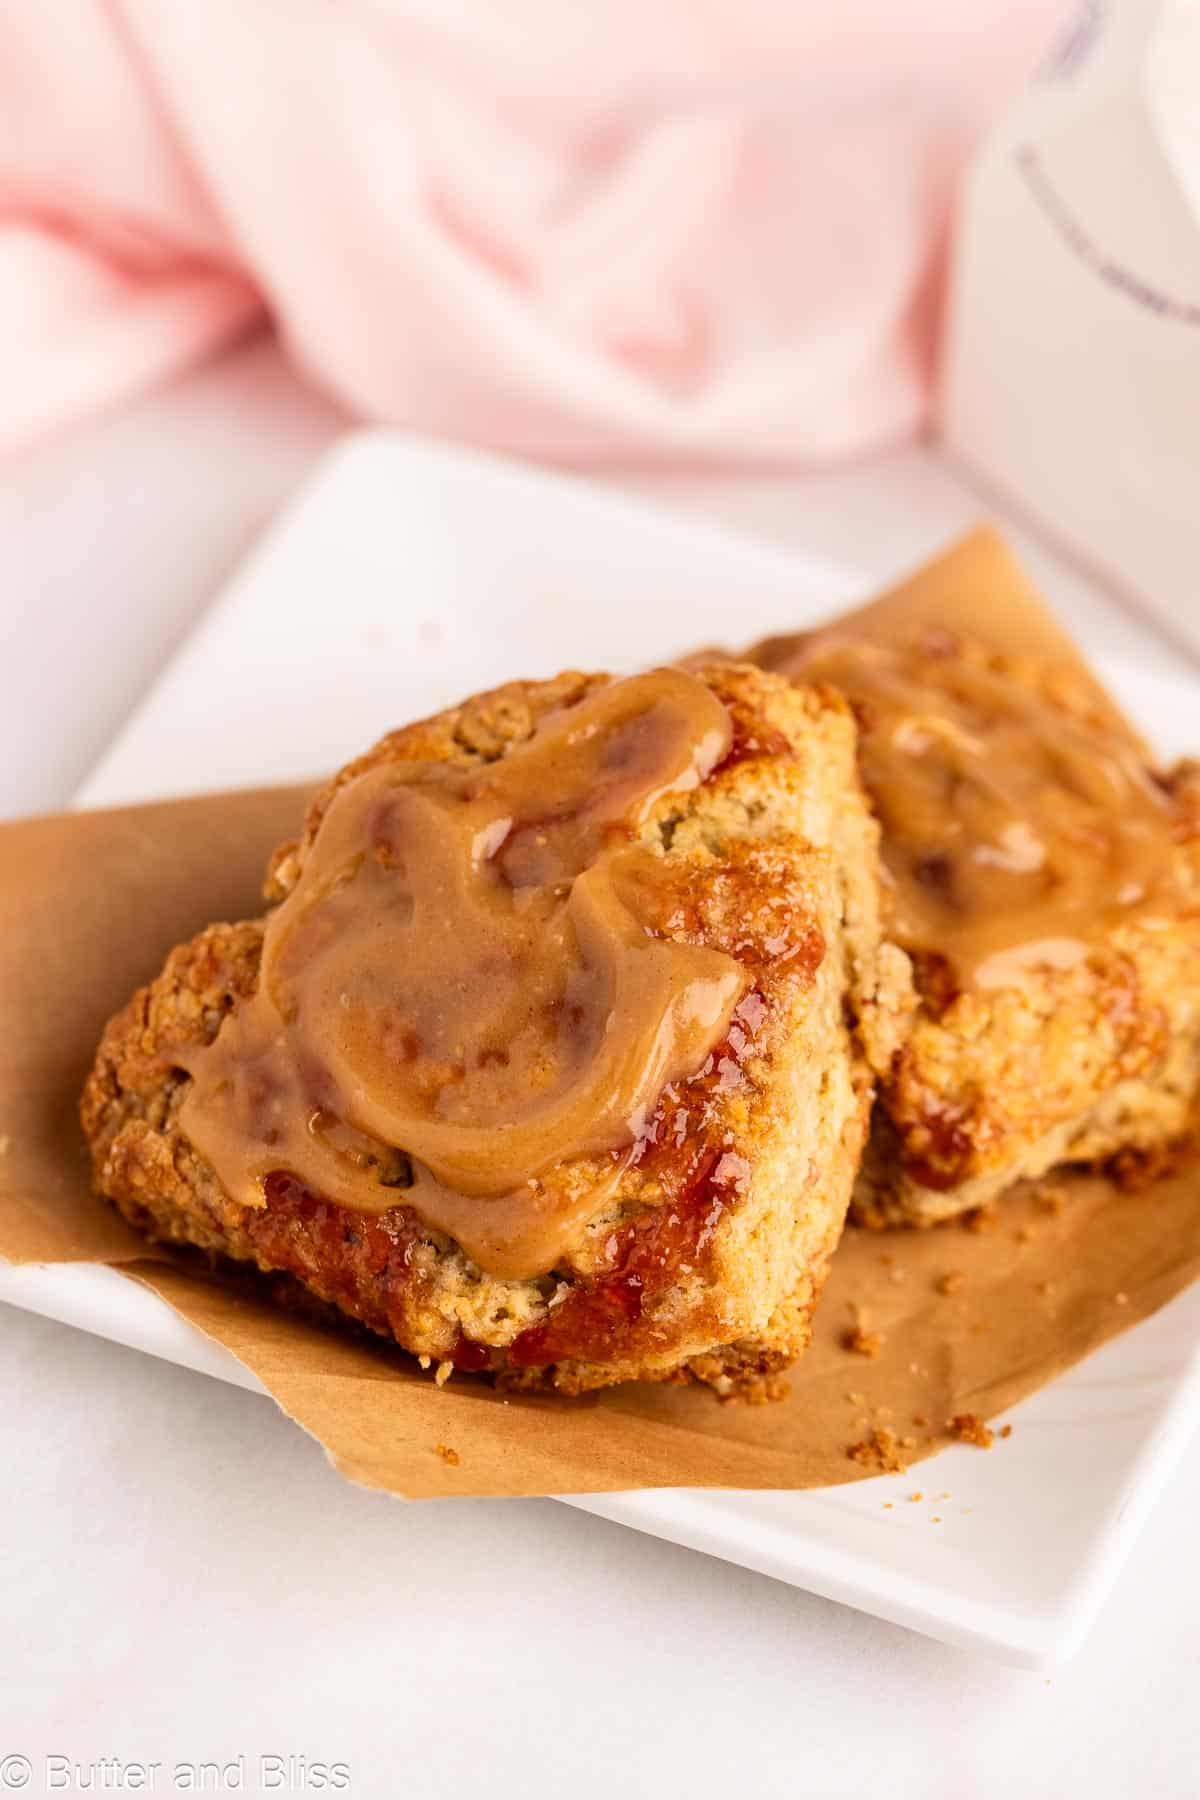
Fruit jam is swirled throughout, and on top, of these buttery, soft small batch jam scones! Enjoy tender scones finished with peanut butter glaze in less than an hour with this easy small batch recipe. Perfect for breakfast, but even better as a snack or dessert!

Easy Jam Scones For Two
I get it. Sometimes you just want soft, tender, and buttery bread for breakfast (hello easy buttermilk biscuits)! These jam scones are all that in one easy, quick-bread recipe. In less than an hour, you’ll be well on your way to enjoying bite after tender bite. And there is so much more to these scones.
Better Than A Peanut Butter And Jelly Sandwich
How about one of these soft scones in your brown bag lunch instead of the classic grade-school sandwich? 🙂
- Soft – I make my scones with an egg yolk plus heavy cream and butter. All of these ingredients combined make moist, super-soft scones.
- Delicately Sweet – The light addition of sugar makes the scones sweet and contributes to the texture and crispy caramelized exterior.
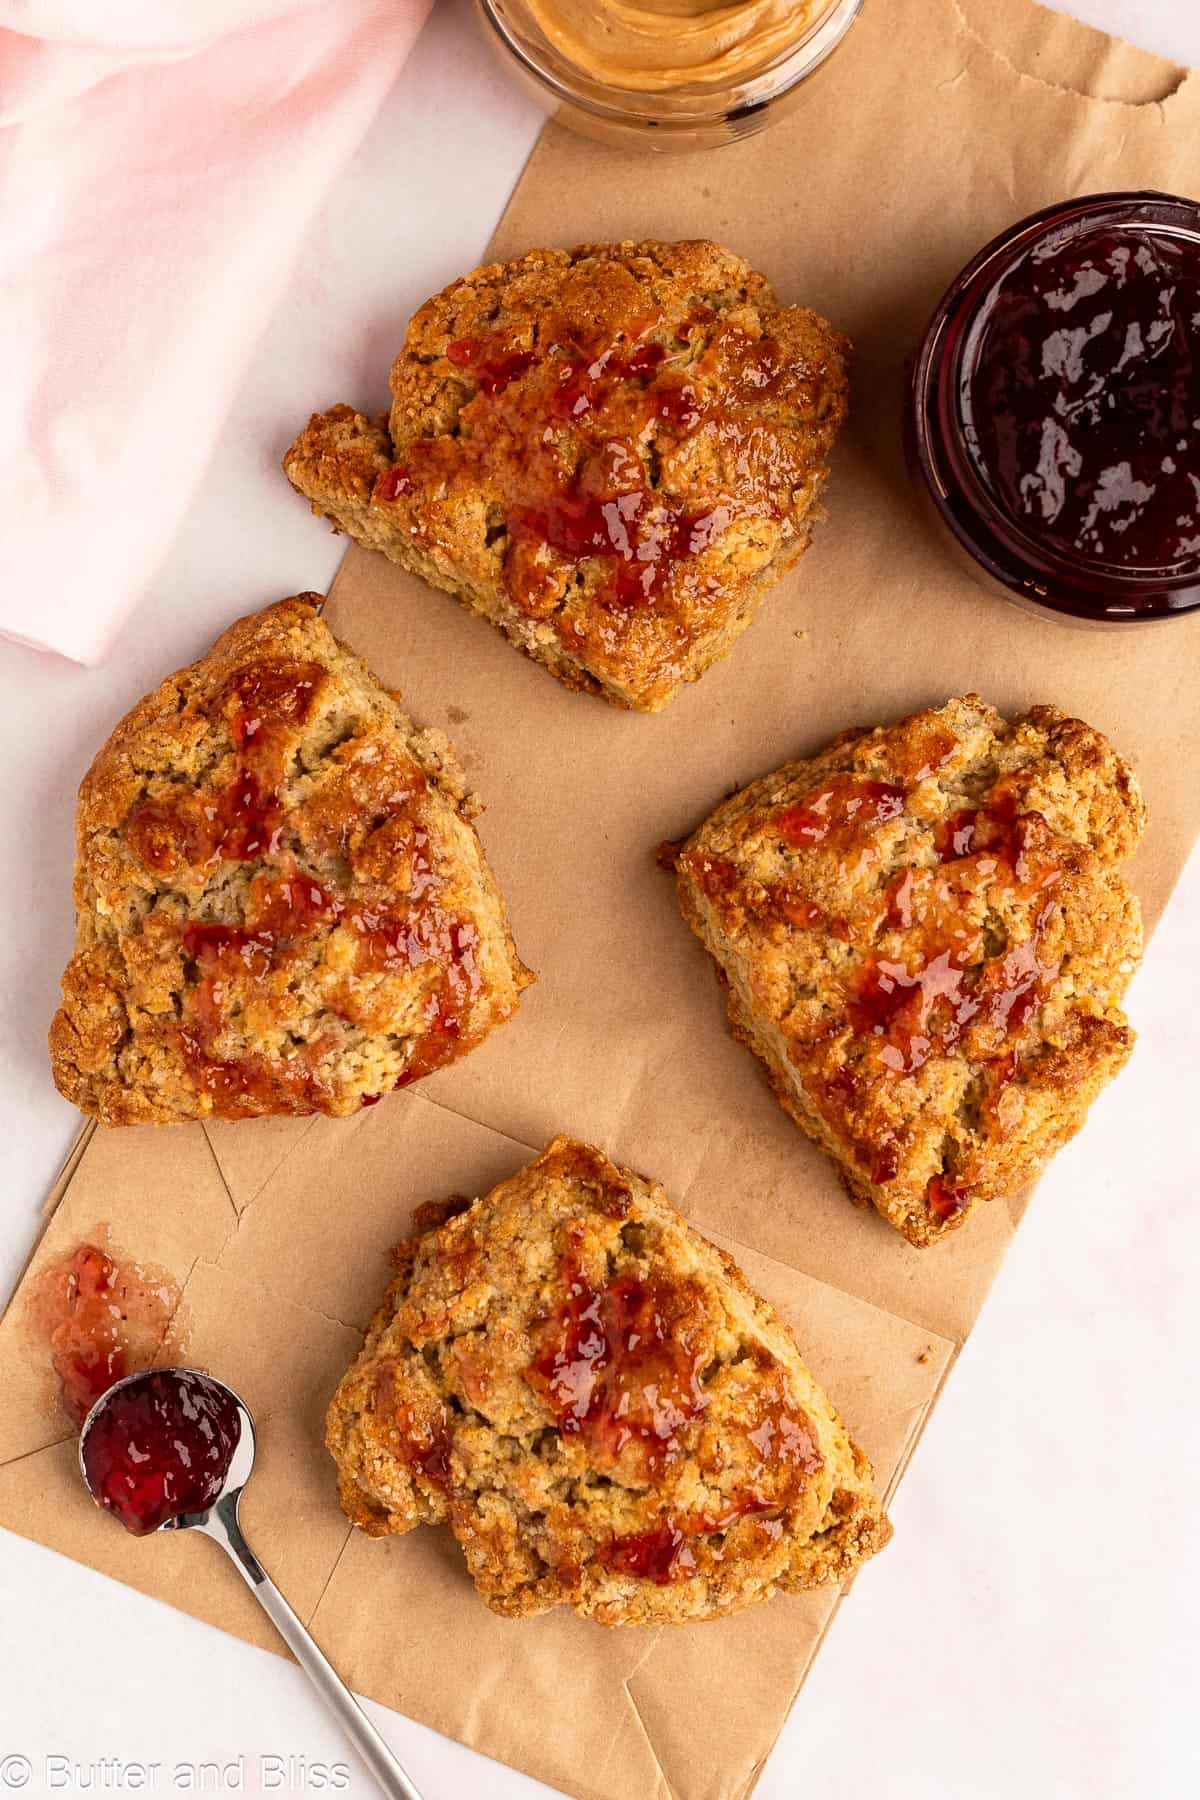
- Fruity – The fruit jam of your choice ripples through the buttery scones and adds tremendous flavor – and texture if you choose a chunky jam.
- Peanut Butter – The peanut butter glaze on the scones is the tastiest way to punctuate the peanut butter and jelly flavor of the scones!
I originally published this recipe in 2021 and have updated it with refreshed photos, additional tips and FAQ, and refinements to the recipe.

If scones are what you crave, be sure to try my cranberry orange small batch scones for the holidays, orange and almond scones for two, easy small batch strawberry scones, and the texture-abundant cherry cornflake cornmeal scones.
Easy Ingredients

- All-Purpose Flour – AP flour is lighter than bread flour, which is why I use it to make scones.
- Salt – Salt balances and enhances all the flavors in the scones. It will boost the flavor of the jam in the scones.
- Baking Powder – We need a little baking powder to give the scones lift and texture.
- Sugar – Not only does sugar add sweetness, but it will also help retain moisture and give the scones great texture.
- Unsalted Butter – I like to use unsalted cold butter in the scones since we add our own.
- Heavy Cream – Like a classic cream scone, the heavy cream is fundamental in making the scones soft.
- Egg Yolk – The egg yolk may be an unconventional ingredient in scones, but it works as a binder, adds fat (i.e. flavor and texture!), and will make the scones light.
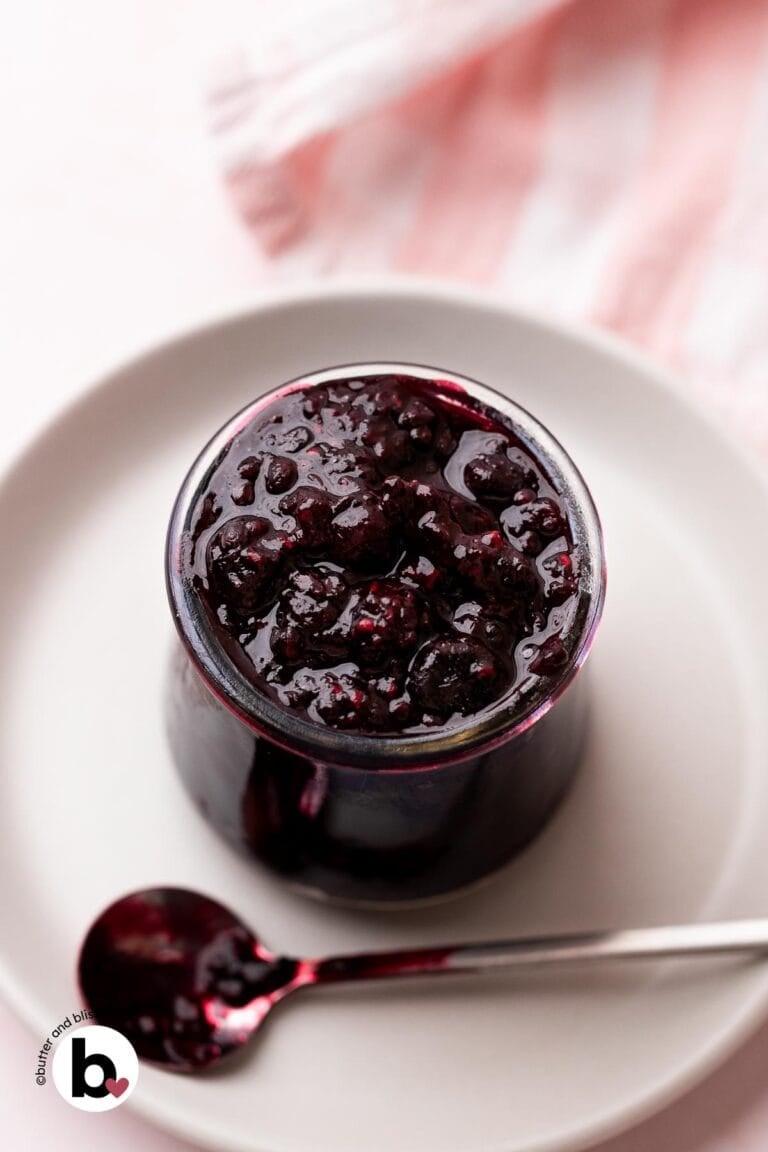
- Jam or Jelly – Choose any fruit jam or jelly you like!
Jam Scones Are Easy To Make
You’ll want to refer to the recipe card for complete step-by-step instructions. But this gives you an idea of how quickly the small batch of jam scones come together!
- Whisk together the flour, baking powder, salt, and sugar.
- Add the cold butter to the dry ingredients and press into nickel-sized discs.
- Mix the cream and egg yolk first, then pour over the dry ingredients.
- Stir the dough with a wooden spoon (or your hand is even better!) until you have a shaggy dough.
- Drizzle the jam into the scone dough and stir it a couple of times until swirled in.
- Shape the dough into a ball, press into a disc, and cut into 4 wedges.
- Brush with jam before baking and bake until golden and crispy.

Brush the small batch of scones with even more jam (optional) after baking, then finish with the peanut butter glaze.
Helpful Tips
- The colder the butter, the better – Cold butter is what will make the scones lofty and light. You can also grate the butter and freeze it right before you use it.
- Don’t overwork the dough – Handling the dough too much will make the scones tough. It is ok if the dough is rough.
- Carefully mix in the jam – For the same reasons above, we don’t want to overwork the dough. The jam doesn’t – and shouldn’t – be thoroughly mixed in. Just swirled in.
- Refrigerate before baking – Even with a gentle hand mixing the dough, chilling the scones before they bake will firm the butter and hydrate the dough.
Recipe FAQ
I recommend cream or buttermilk for the scones. Milk can work, but the result may be scones that are a little more flat, and a little less soft.
Yes! Start with 4 tablespoons and gently mix after adding the liquid ingredients. You can also place some on top before baking too.
The scones can be stored covered at room temperature for up to 3 days.
Yes! Place baked, unglazed, and cooled scones in a freezer bag and freeze for up to 3 months. Thaw at room temperature then glaze.
More Easy Breakfast Recipes For Two
Small Batch Jam Scones With Peanut Butter
by Erin Cernich
Ingredients
Jam Scones
- 1 cup, plus 2 tablespoons all-purpose flour
- 2 tablespoons granulated sugar
- ½ teaspoon baking powder
- ¼ teaspoon salt
- 4 tablespoons unsalted butter, cold and cut into cubes
- 4 tablespoons heavy whipping cream, cold
- 1 large egg yolk
- 2 tablespoons fruit jam (any flavor, plus more to brush on top)
Peanut Butter Glaze
- 1 to 2 tablespoons creamy peanut butter (more or less to taste)
- 1 tablespoon milk, any kind
- ¼ cup powdered sugar
Instructions
Jam Scones
- In a medium mixing bowl, whisk together the flour, sugar, baking powder, and salt.1 cup, plus 2 tablespoons all-purpose flour, 2 tablespoons granulated sugar, 1/2 teaspoon baking powder, 1/4 teaspoon salt
- Add the cold butter cubes to the flour. Using your fingertips, press the butter cubes into small flat, flaky discs (about the size of a nickel) – making sure they are all coated with flour. You should still see butter chunks in the dough when you are done mixing it. Note – You can also freeze the stick of butter, grate it on a box grater, and toss in the flour until coated.4 tablespoons unsalted butter, cold and cut into cubes
- In a liquid measuring cup, add the cream and egg yolk. Stir until thoroughly mixed.1 large egg yolk, 4 tablespoons heavy whipping cream, cold
- Pour the liquid into the flour mix. Using a spatula or wooden spoon, gently mix until a rough, shaggy dough forms and the flour is moistened. If the dough is very dry, add more heavy cream, 1 tablespoon at a time. Drizzle the fruit jam into the dough and stir a few times to create a jam swirl in the dough. Do not overwork the dough – it should be rough and shaggy.2 tablespoons fruit jam
- Pour the dough onto your rolling mat (or lightly floured surface). Gently work the dough into a ball. It will be sticky, so you can flour your hands to make it easier. Press the dough ball into a 6-inch disc. Use a bench scraper or sharp knife to cut into 4 wedges.
- Place the wedges 2 inches apart on the prepared baking sheet. Brush the tops with a little more fruit jam.
- Refrigerate the scones for 10 to 15 minutes (while the oven is preheating) to rest and hydrate the dough.
- Preheat the oven to 400F degrees and adjust the oven rack to the middle position. Line a baking sheet with a piece of parchment paper.
- Bake the chilled scones for 23 to 25 minutes, or until the tops and edges are golden. Cool the scones on the baking sheet set on a wire cooling rack while you make the glaze.
Peanut Butter Glaze
- ln a small bowl, add the peanut butter, milk, and powdered sugar. Whisk until combined and smooth. Note – Add 2 tablespoons of peanut butter if you prefer a strong peanut butter flavor. You can add more or less milk to reach your desired glaze consistency.1 to 2 tablespoons creamy peanut butter, 1 tablespoon milk, any kind, 1/4 cup powdered sugar
- Spread more jam on top of the baked scones (optional). Then drizzle the glaze over the tops of the scones. The scones are best enjoyed the day they are baked. Leftover scones can be stored covered at room temperature for up to 3 days.
Notes
- Serving Size – This is a small batch recipe that can be doubled. I recommend 2 egg yolks if making a double batch.
- Fruit Jam – Use any fruit jam or jelly you like. Chunky fruit jam adds delicious texture and flavor to the scones.
- Peanut Butter – I recommend creamy, regular peanut butter since it is a glaze. Natural peanut butter may be too oily and loose.
- Chill Before Baking – I recommend chilling the cut scones for 10 to 15 minutes to let the dough rest and hydrate. Otherwise, the scones may be extra crumbly.
- Overnight Instructions – To make the night before, prepare to step 7, cover the scones and refrigerate, then follow the instructions to bake.
- Freezing Baked Scones – Baked, un-glazed, and cooled scones can be frozen for up to 3 months. Gently place in a sealed freezer bag. Thaw at room temperature and glaze.
Nutrition Estimates
TRY THESE SMALL BATCH RECIPES NEXT!


About the Author …
Hi, I’m Erin! With years of experience baking for two in my own small household, I know about the love for desserts without the leftovers. I’ve tested, written, and photographed every one of the 300+ recipes on my website. And even had some of my desserts featured on Taste of Home, The Spruce Eats, ELLE, Parade, and more! From traditional to gluten free desserts for two, I have the recipe for you.
Click here to learn more about me →
I like to make these scones when I’m craving peanut butter and jelly – but don’t have simple white bread to make a sandwich! 🙂