Peppermint Mocha Mini Layer Cake
This post may contain affiliate links. See my disclosure policy.
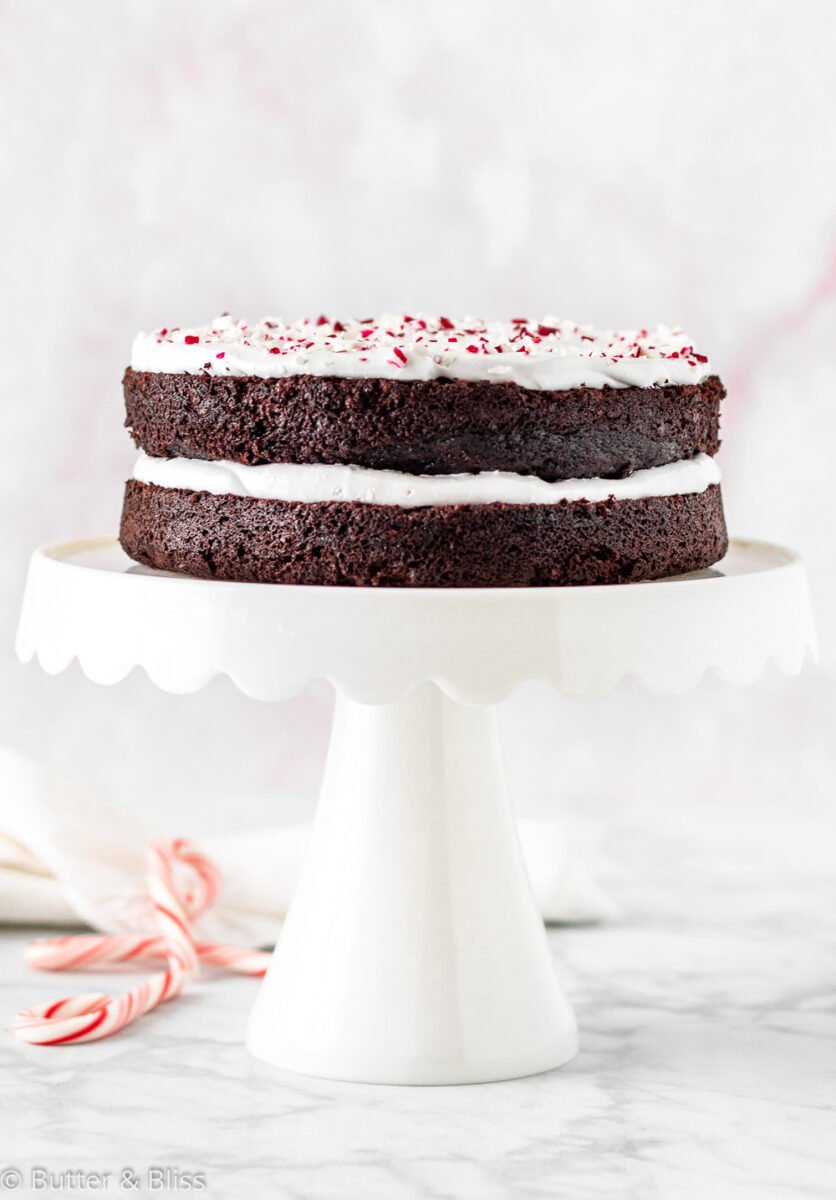
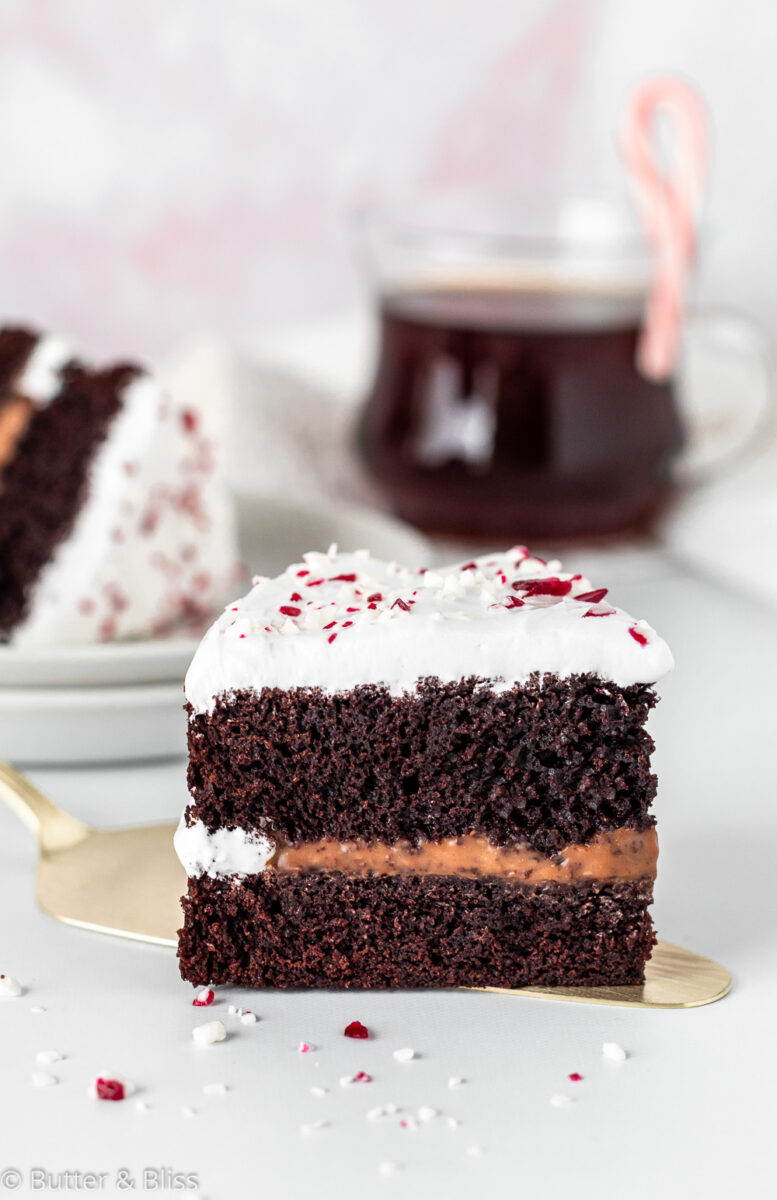
The Holiday’s and peppermint are the perfect match, and this Peppermint Mocha Mini Layer Cake celebrates both! Tender and moist chocolate cakes are layered with creamy chocolate filling and topped with peppermint marshmallow meringue – for the most festive 6-inch cake!
Peppermint Mocha Mini Layer Cake
I couldn’t let the holiday’s pass without a recipe containing peppermint. And given it is the time of year when every coffee house has the Peppermint Mocha Latte featured, I figure why not make a cake celebrating the flavors!
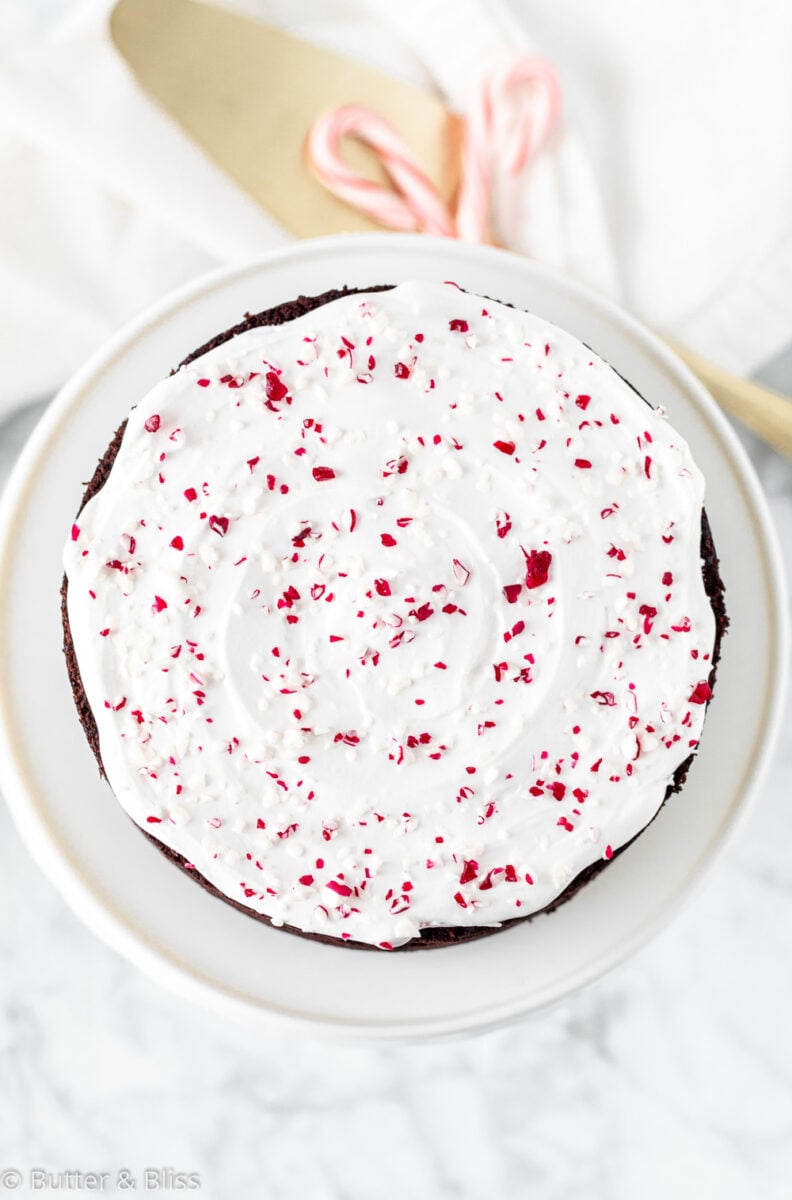
- Peppermint – the peppermint in this mini layer cake is in the meringue frosting. And of course, some festive crushed candy sprinkles on top.
- Mocha #1 – for the coffee part of the mocha, we get this from the piping hot brewed coffee in the cake. I recommend a medium brew. So you get a hint of the coffee flavor. Plus, coffee amps up the cocoa flavor and the hot liquid makes the cake tender.
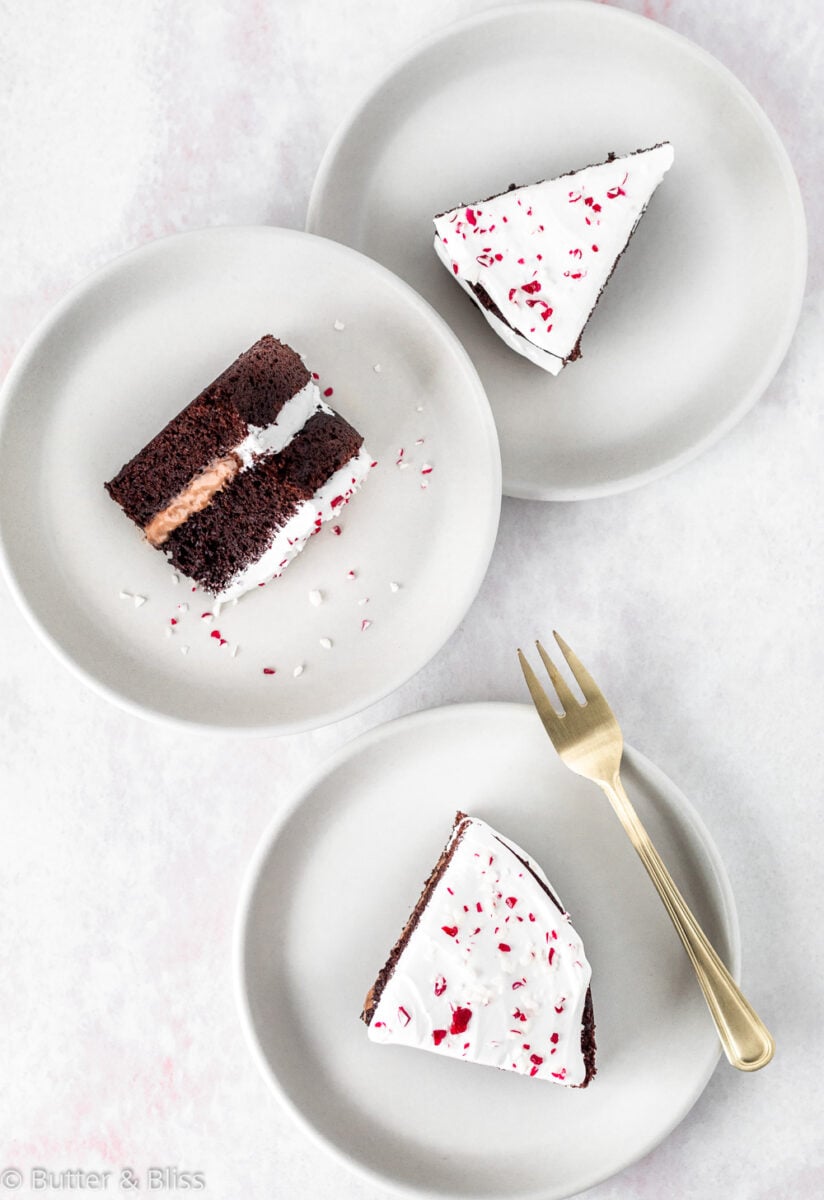
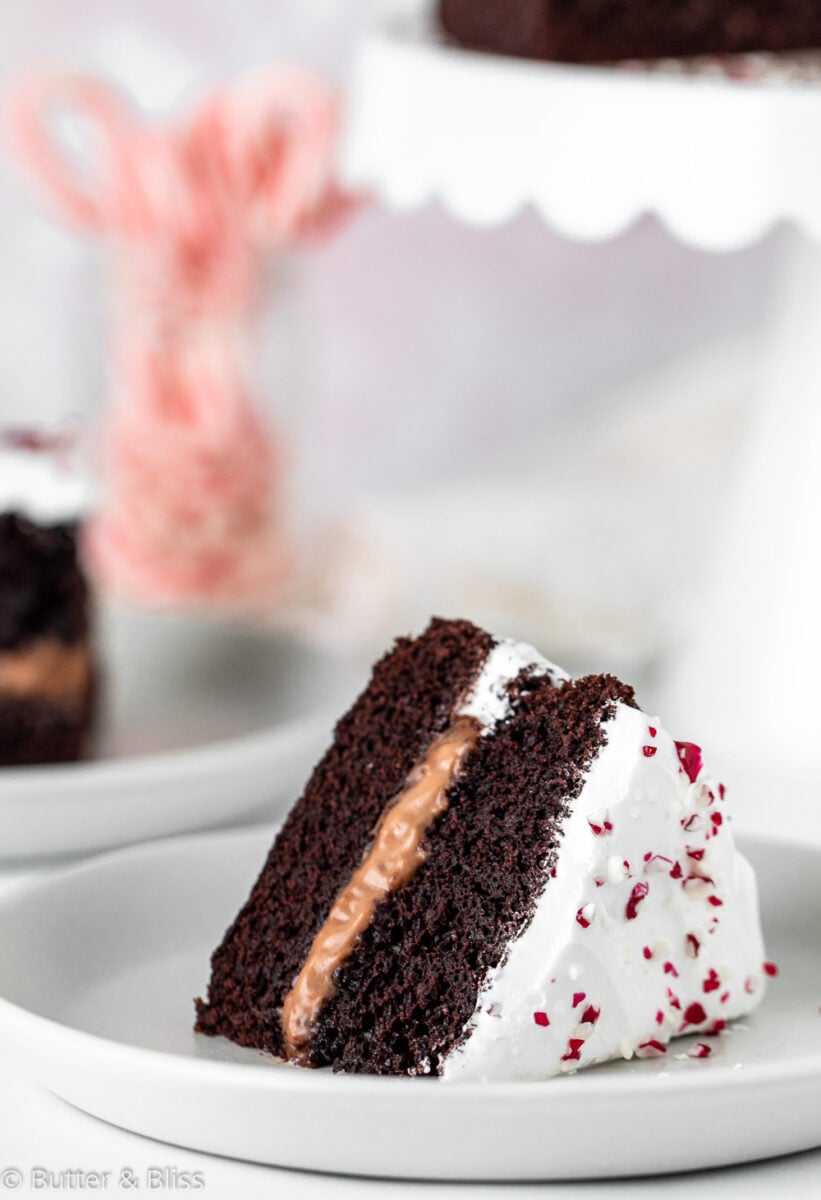
- Mocha #2 – the second part of chocolate is in the filling. A rich and creamy pudding filling to be exact. I mean, pudding layered between two chocolate cakes – come on, that’s fantastic!
Now, we take all that yummy and put it in a delicious 6-inch mini layer cake. I call that a festive Christmas dessert!
Peppermint Christmas Cake
One of the great things I love about holiday baking is the variety of flavors that evoke the season. I think peppermint lands close to the top of that list of flavors.
When you pair peppermint and chocolate, something magical happens. At least for me. Chocolate is a wonderfully decadent flavor – especially in a super moist cake. The peppermint comes in subtly and gives me a little refresh, so flavors don’t seem so heavy. And I can go in for another slice.

What You Need To Make The Mini Peppermint Mocha Cake
- All-purpose flour – I’ve only test the recipe with AP flour.
- Unsweetened cocoa powder – I use Dutch processed cocoa because I find it results in a smoother chocolate taste. However, if all you have on hand is Natural cocoa powder, you can swap that in with no recipe modifications.
- Baking soda and powder – We are using both to get the lift in the cake and balance the cocoa powder and sour cream.
- Salt
- Granulated sugar – I’ve only tested with good old white table sugar.
- Canola oil – I only (for the most part) bake with canola oil. I find that vegetable oil leaves a flavor. And the oil helps with moistness.
- Sour cream – It has a high fat content that keeps cakes deliciously rich, moist, and tender.
- Vanilla extract – FLAVOR!
Chocolate Pudding Filling Ingredients
- Egg yolk – for rich and creamy pudding
- Milk and heavy cream – more rich and creamy. I use whole milk. Although you could use any milk fat – I just wouldn’t use skim milk.
- Corn starch – purely to thicken the pudding.
- Pure maple syrup – my sweetener of choice when it makes sense. But by all means, use your preferred sweetener.
- Unsalted butter – makes the pudding silky.
- Vanilla extract – FLAVOR!
Peppermint Meringue Frosting Ingredients
- Egg white – the lovely thing about this recipe is you use the whole egg between the pudding and frosting. Awesome!
- Water – a little more moisture to supplement the egg white.
- Sugar and corn syrup – I like to add a little corn syrup for a glossy finish.
- Cream of tartar – this helps to stabilize the egg whites – i.e. helps them to whip up.
- Vanilla extract – you guessed it … FLAVOR!
- Peppermint extract – it wouldn’t be peppermint frosting without it. But go easy with it! It may not seem like a lot, but a little goes a LONG way!
Tips For Making The Peppermint Mocha Mini Layer Cake
- Make the pudding first – even the night before would be awesome. The pudding needs time to chill and set up.
- Use medium brew coffee – in the cake batter. My light as a feather vanilla coffee in the morning doesn’t bring enough of a coffee note to the cake. However, I wouldn’t go as far as using espresso – the strong flavor may overpower the cocoa.
- Watch bake time – whether you live at high altitude, or the fact that all ovens are different, cakes bake differently from oven to oven. The cakes are done when they are springy to the touch, start to pull away from the sides of the pan, and the old toothpick in the middle test comes out mostly clean.
- Cut the top of the cakes – if you want a flat surface for both the filling in the middle and the top of the cake, you can cut the top of the cakes to make them even. Totally optional.
- Enjoy the day it is baked – even saying that, the cake is so moist it will still be delicious the next day!
Happy holiday baking!
More Mini Cake Recipes
- Pumpkin Roll Cake with Chocolate Filling
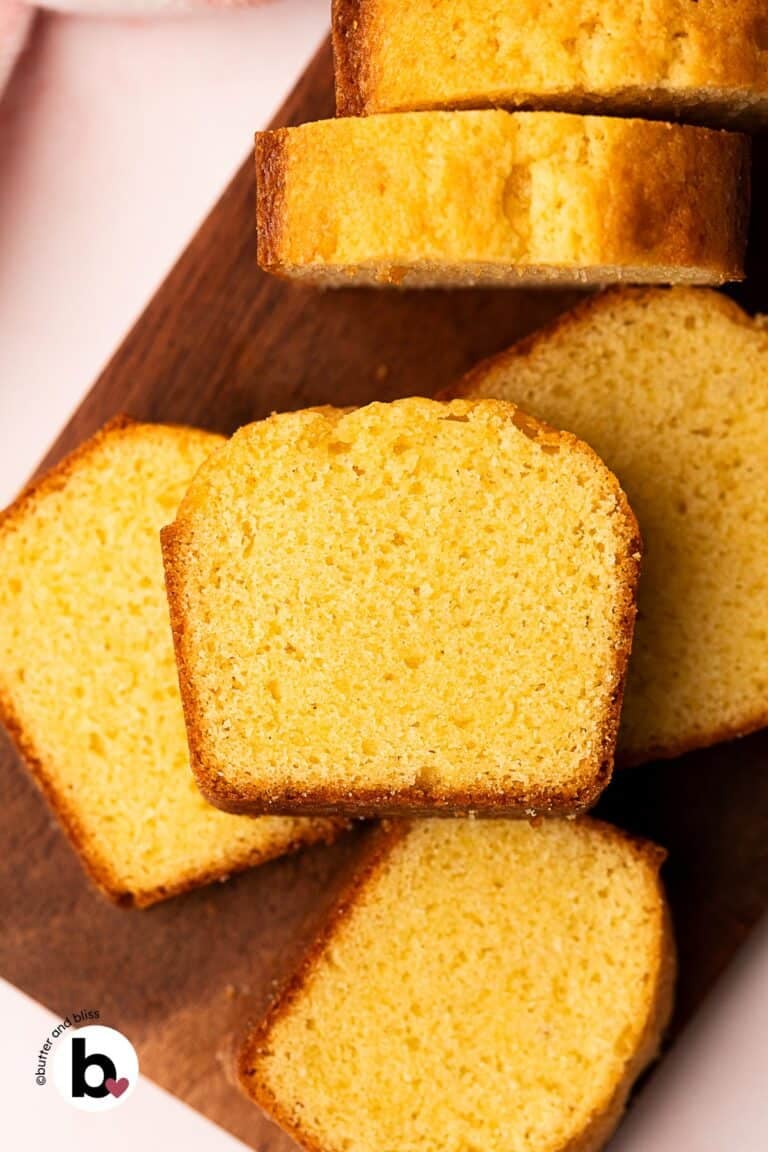
- Classic Mini Yellow Cake (Neapolitan Cake)
- No-Bake Cranberry Mousse Cheesecake
- Peanut Butter & Jelly Hot Milk Cake
- Mini Apple Cider Cake

Peppermint Mocha Mini Layer Cake
by Erin Cernich
Ingredients
Chocolate Pudding Filling
- 1 large egg yolk, room temperature
- 2 tablespoons cornstarch
- ½ cup heavy whipping cream
- ½ cup whole milk
- 2 tablespoons pure maple syrup (or sweetener of choice)
- 3 ounces semi-sweet chocolate chips (or bittersweet/dark)
- 1 teaspoon vanilla extract
- 1 tablespoon unsalted butter
Chocolate Cake
- 1 cup granulated sugar
- ¼ cup canola oil (or any neutral oil)
- ½ cup full fat sour cream, room temperature
- 1 large egg, room temperature
- 2 teaspoons vanilla extract
- 1 cup all-purpose flour
- ½ cup unsweetened cocoa powder, Dutch process
- ¾ teaspoon baking powder
- ¼ teaspoon baking soda
- ½ teaspoon salt
- ½ cup medium brew coffee, very hot
- candy canes, crushed (for topping the cake)
Peppermint Meringue Frosting
- 1 large egg white, room temperature
- 1 tablespoon water, room temperature
- ¼ cup granulated sugar
- 1 teaspoon light corn syrup
- ⅛ teaspoon cream of tartar
- ½ teaspoon vanilla extract
- ⅛ teaspoon peppermint extract
Instructions
Chocolate Pudding Filling
- Make ahead of time – The pudding needs time to chill and set up. I recommend making it the night before if possible.
- In a small mixing bowl, whisk the egg yolk and cornstarch until thoroughly combined.1 large egg yolk, room temperature, 2 tablespoons cornstarch
- In a medium saucepan, whisk to combine the milk, cream, and maple syrup. Heat over medium heat until bubbles start to form along the sides of the pan. Do not boil.½ cup heavy whipping cream, ½ cup whole milk, 2 tablespoons pure maple syrup
- Whisking constantly, slowly drizzle about half the warmed milk mix into the egg mix. This tempers the egg so it does not scramble. Add the tempered egg mixture back into the saucepan. Still whisking constantly, cook the pudding over medium heat until it thickens and bubbles – about 3 to 5 minutes.
- Remove the saucepan from the heat. Add the chocolate chips, vanilla, and butter. Stir until the chocolate chips have melted and the ingredients are thoroughly combined.3 ounces semi-sweet chocolate chips, 1 teaspoon vanilla extract, 1 tablespoon unsalted butter
- Optional – Strain the pudding through a fine mesh strainer set over a medium bowl. This will remove any lumps.
- Cover the pudding with plastic wrap with the wrap directly touching the top of the pudding. This will keep a skin from forming on the top of the pudding. Refrigerate the pudding for at least 4 hours, or overnight.
Cake
- Preheat the oven to 350F degrees and adjust the oven rack to the middle position. Line the bottom of 2 6-inch round cake pans with a pieces of parchment cut to fit. Lightly grease the pan.
- In a medium mixing bowl, whisk together the sugar and oil. Add the sour cream, egg, and vanilla. Whisk until smooth and creamy.1 cup granulated sugar, ¼ cup canola oil, ½ cup full fat sour cream, room temperature, 1 large egg, room temperature, 2 teaspoons vanilla extract
- In a small mixing bowl, whisk together the flour, cocoa powder, baking powder, baking soda, and salt.1 cup all-purpose flour, ½ cup unsweetened cocoa powder, Dutch process, ¾ teaspoon baking powder, ¼ teaspoon baking soda, ½ teaspoon salt
- Sprinkle half of the dry ingredients over the wet ingredients and whisk until just combined. Add the remainder of the dry ingredients, along with the hot coffee, and whisk just until no dry streaks remain.½ cup medium brew coffee, very hot
- Pour the batter equally into the two prepared cake pans and bake for 18 to 22 minutes – until the cake is springy when touched, and a toothpick inserted in the middle comes out mostly clean.
- Cool the cakes in the pans set on a wire cooling rack for 10 minutes. Then, invert the cakes onto to the cooling rack and gently remove the parchment paper (if it stuck to the cakes). Cool the cakes completely before frosting and assembling.
Peppermint Meringue Frosting
- When ready to assemble – make the frosting.
- Simmer about 2-inches of water in a saucepan. In a heat-proof mixing bowl large enough to fit on top of the saucepan without touching the water, add the egg white, water, corn syrup, granulated sugar, and cream of tartar. Set the bowl on top of the saucepan.1 large egg white, room temperature, 1 tablespoon water, room temperature, ¼ cup granulated sugar, 1 teaspoon light corn syrup, ⅛ teaspoon cream of tartar
- Using one of the whisk attachments, constantly whisk the mixture until foamy and white. We want the sugar to dissolve and the temperature of the mixture to reach 160F degrees. This may take up to 4 minutes. Tip – If you don't have a thermometer, you can test if the sugar has dissolved by rubbing a little of the egg white between your thumb and index finger – if done, you will not feel sugar granules.
- Remove the bowl from the heat and add the vanilla and peppermint extract. Using a hand held mixer with whisk attachments, beat on medium speed until stiff peaks form, and the frosting is pillowy and glossy. This may take about 2 to 3 minutes.½ teaspoon vanilla extract, ⅛ teaspoon peppermint extract
- The frosting is ready to be used immediately. If storing, place in an airtight container and refrigerate for up to 2 days. Longer than that, the frosting may start to loosen and separate. I do not recommend keeping the frosting at room temperature for longer than 4 hours.
- Assemble the cake – Place one of the cakes on your cake platter. Optional – Pipe a small ring of frosting around the edge of the cake. This creates a dam so the pudding filling doesn't spill out the sides of the cake. Smooth the pudding filling on the top of the cake.
- Set the second cake on top of the bottom cake. Either pipe, spoon, or use an offset spatula to frost the top of the cake with the meringue frosting. Sprinkle the top of the cake with crushed peppermint candies.candy canes, crushed
- Because of the frosting, if there are any leftovers, I recommend covering and refrigerating the cake.
Nutrition Estimates
TRY THESE SMALL BATCH RECIPES NEXT!

About the Author …
Hi, I’m Erin! With years of experience baking for two in my own small household, I know about the love for desserts without the leftovers. I’ve tested, written, and photographed every one of the 300+ recipes on my website. And even had some of my desserts featured on Taste of Home, The Spruce Eats, ELLE, Parade, and more! From traditional to gluten free desserts for two, I have the recipe for you.
Click here to learn more about me →