
Small Batch Brownies
This post may contain affiliate links. See my disclosure policy.
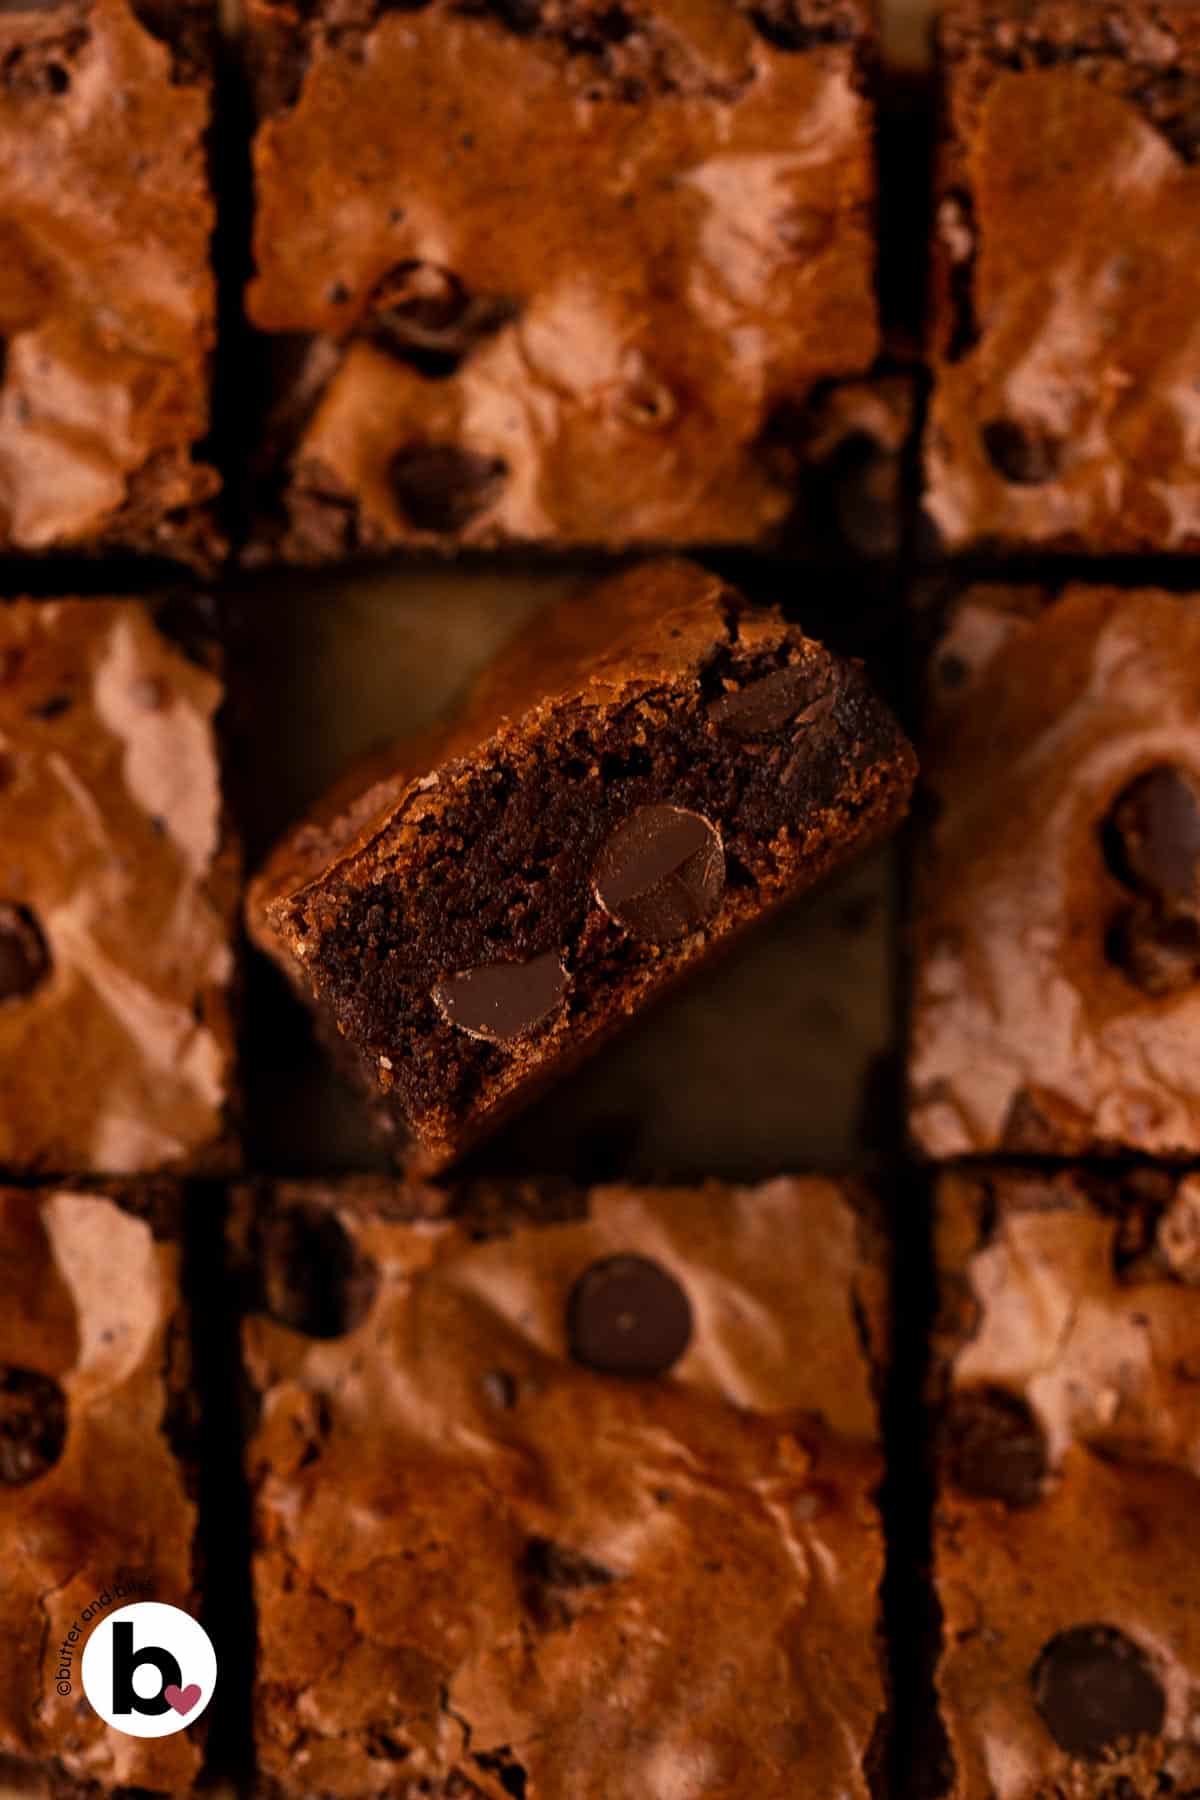
These small batch brownies bake in a 6-inch pan to give you nine thick squares with a shiny, crackly top and a dense, fudgy center. For the best texture and flavor, the brownies are made with one egg, along with oil and butter, plus melted chocolate and cocoa powder. The scaled-down recipe means there’s plenty for two, without piles of leftovers to go stale on the counter.
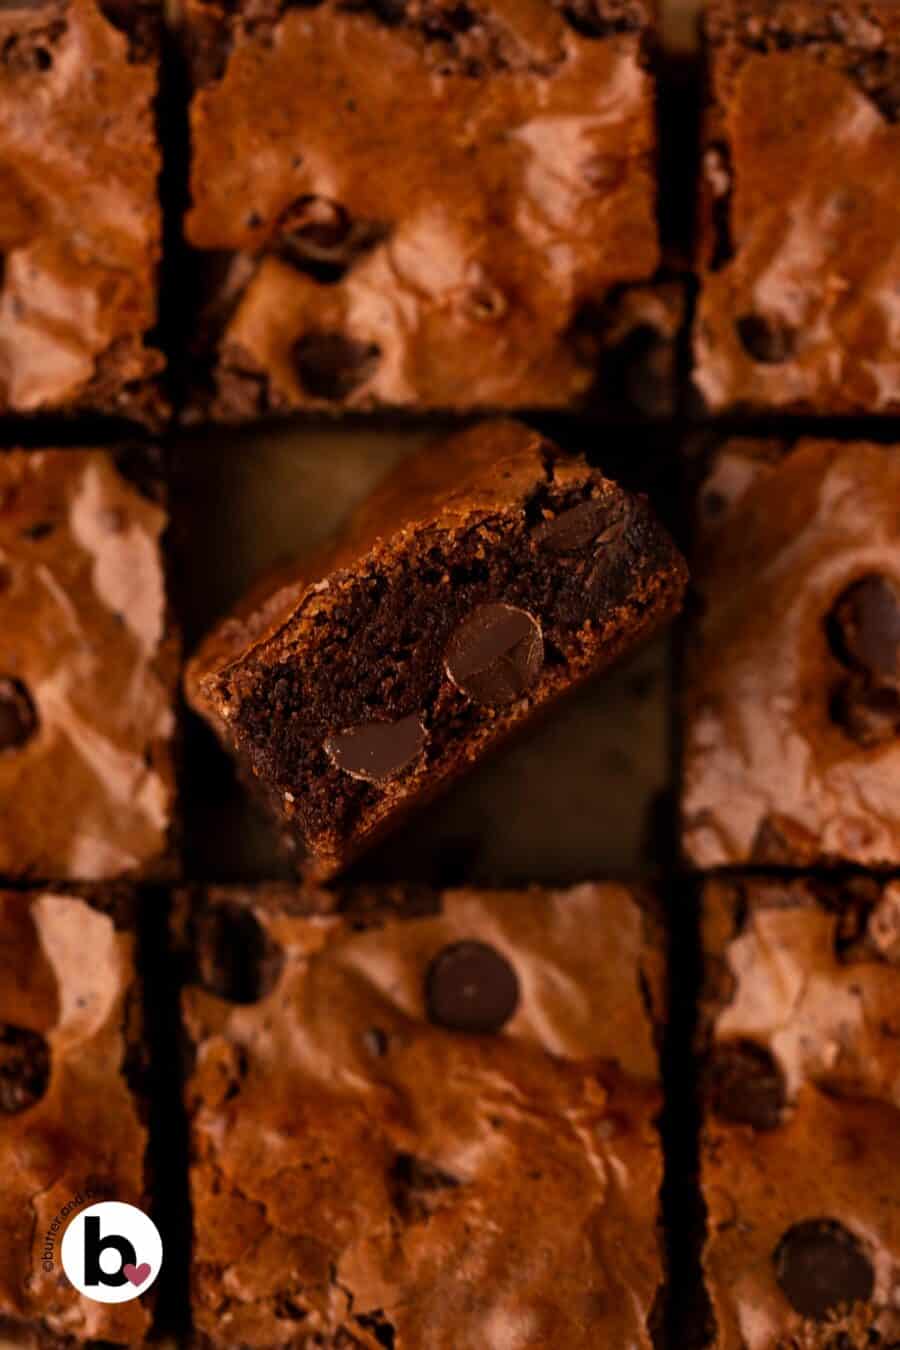
A Brownie Built For Fudge Lovers

Brownies can be a polarizing dessert. Some love a softer, cake-like texture. Others prefer a dense and fudgy brownie, and that’s exactly what these are.
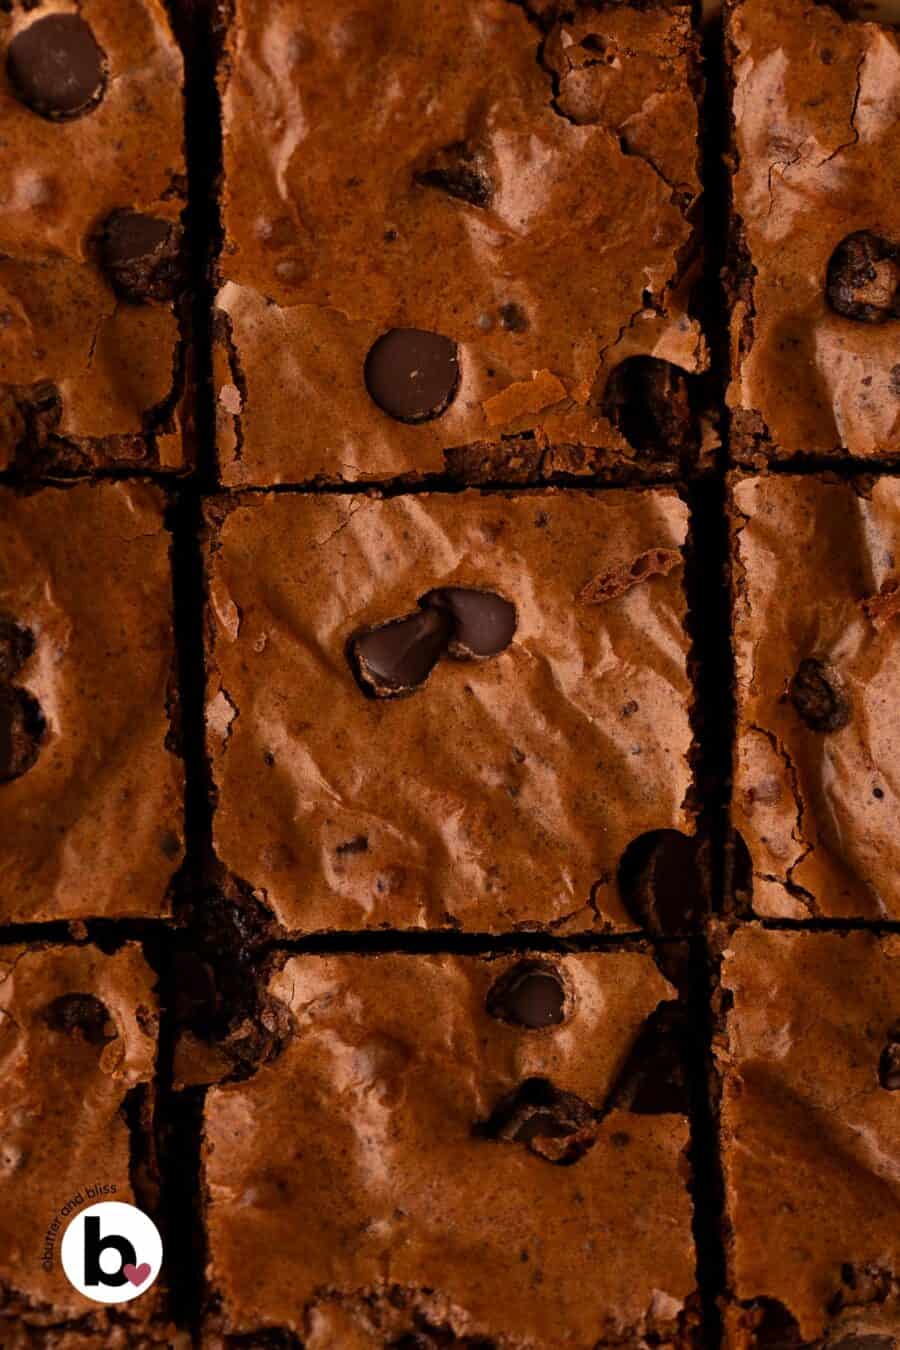
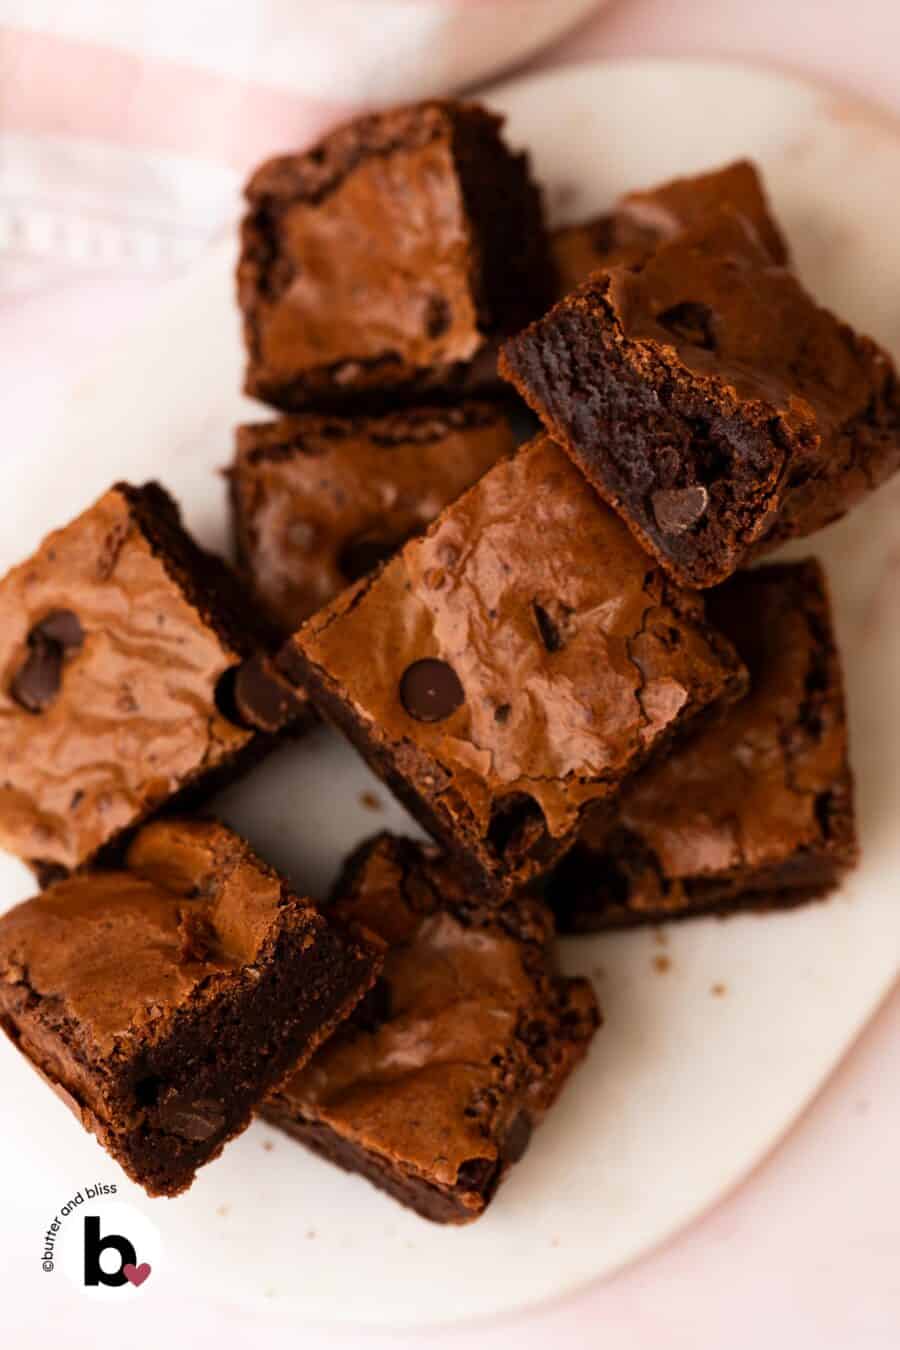
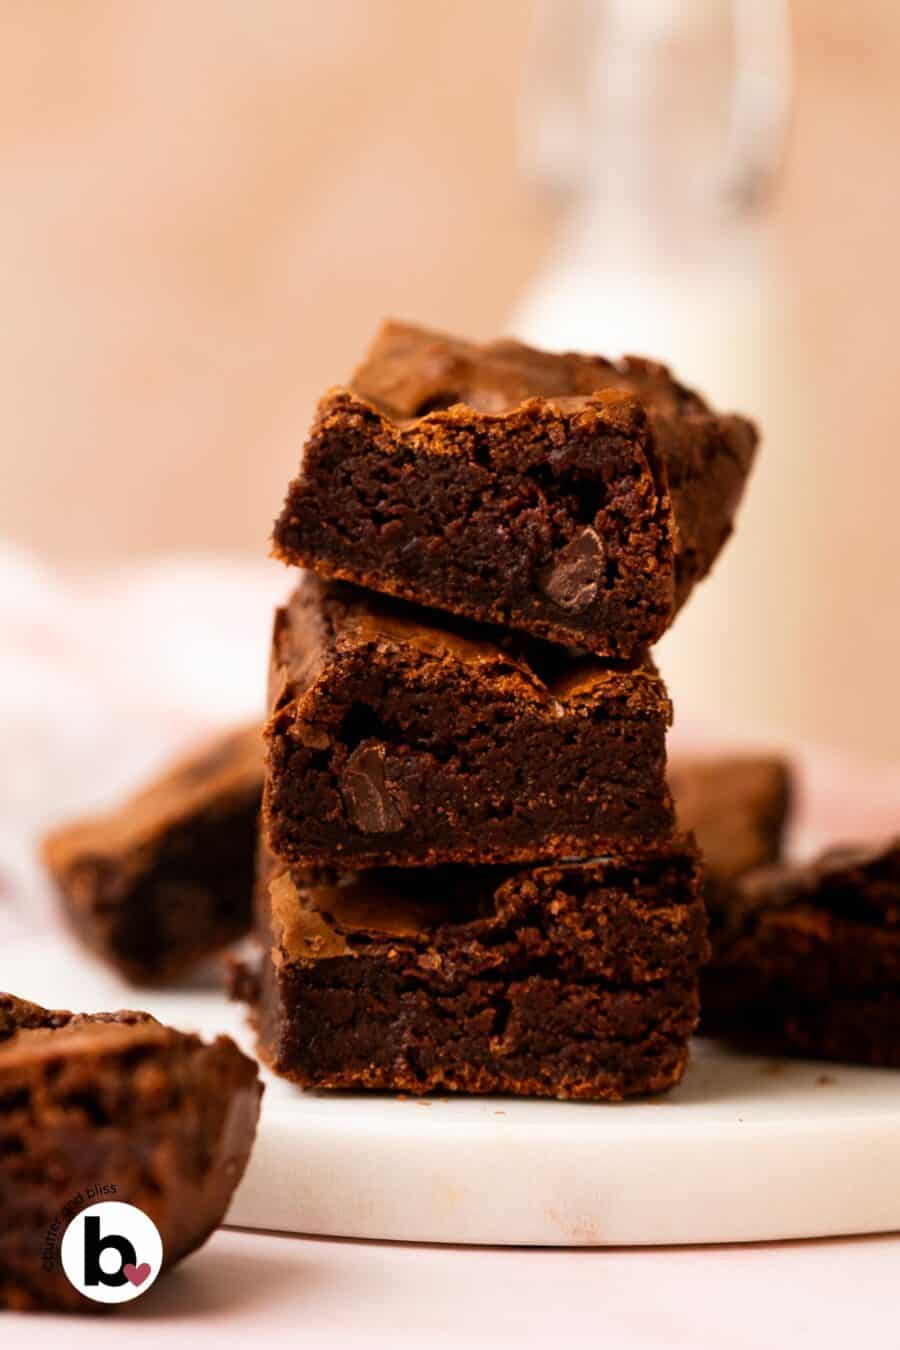
These brownies have all the quintessential features of what I think a brownie should be: moist and thick centers that can pass as candy, paper-thin crackly tops, toothsome edges, and unmistakable chocolate flavor.
As easy as it may seem to make a smaller batch of brownies, there is some finesse involved. I should know — I tested this recipe a lot, from mixing technique to ingredients and ratios.
And the result is a brownie recipe I stand behind (and happens to be the backbone of my raspberry brownies and skillet brownie for two). It delivers strong chocolate flavor in a brownie that stays chewy for days. Because nobody likes a dry, flavorless brownie.

Small Batch Brownie Testing (And Why It Matters)
I wanted to develop a small batch brownie recipe around one whole egg. The yolk provides fat and moisture for a fudgy texture, while the white provides protein and structure. I use the same approach with my small batch blondies, and have built the remaining ingredient ratios around that one egg.
The early test batches looked promising, with glossy tops, but the batter crept up the edges and the centers baked up sad and thin.
Popular brownie advice says to whip the egg and sugar to ribbon stage—until pale, thick, and able to hold its shape as it falls from the whisk. That works for a full-size batch, but I found it was too much aeration for this small batch batter.
But in a small batch brownie batter, there isn’t enough mass. And tweaking other ingredient ratios will throw off the brownie’s texture entirely (translation: dry brownies). When I whipped to ribbon stage, the centers rose right along with the whipped egg, then caved in the moment the structure couldn’t hold itself up.
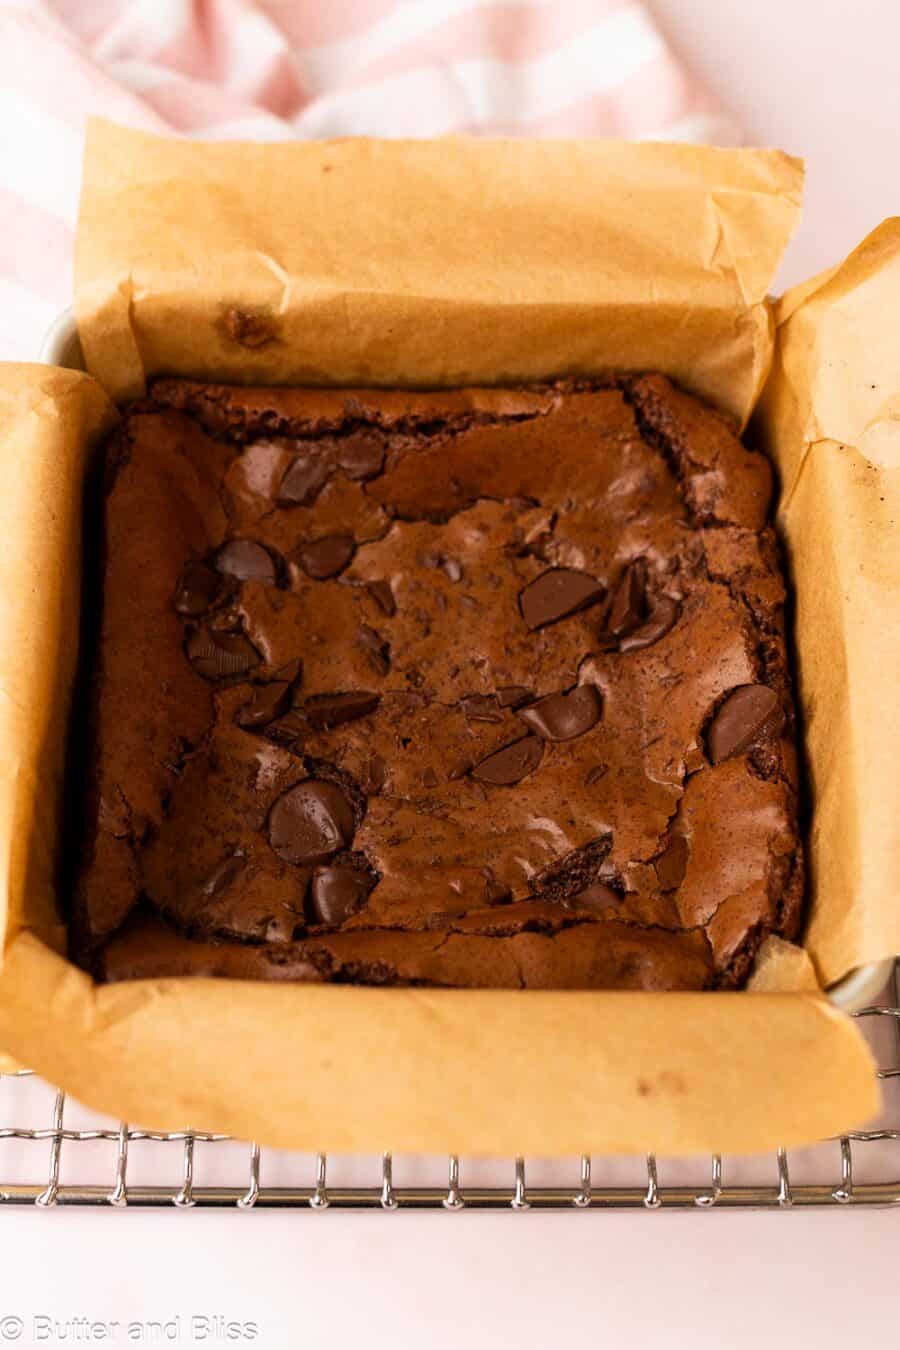
💡 Once I took a step back and whisked the egg and sugar only until foamy, everything changed. The sugar dissolves, and the light aeration gives these brownies their shatter-when-you-bite tops, and the inside stays thick. It’s a small difference in technique (I also use it for my fudgy almond flour brownies) and made all the difference in this small batch.
Four ingredients, Four Different jobs
- Cocoa powder – I use Dutch for deep flavor (but natural can be swapped in). Not only does it add flavor, but since it’s a dry ingredient, it builds on the brownie structure along with the flour. Too much, and it can tip things to the dry and cakey side.
- Chocolate chips – More flavor and sweetness, but they are made with cocoa butter. Which when melted and then cooled, it firms up to give you that chewy bite.
- Oil – Any neutral oil is what will give the brownies their sought-after fudgy texture that stays that way for up to a week.
- Melted butter – One of my favorite ways to add rich flavor, but the butter also contains fat and water to support the brownie’s structure. An all-butter brownie won’t stay as soft as long as one made with oil.
How To Make Small Batch Brownies
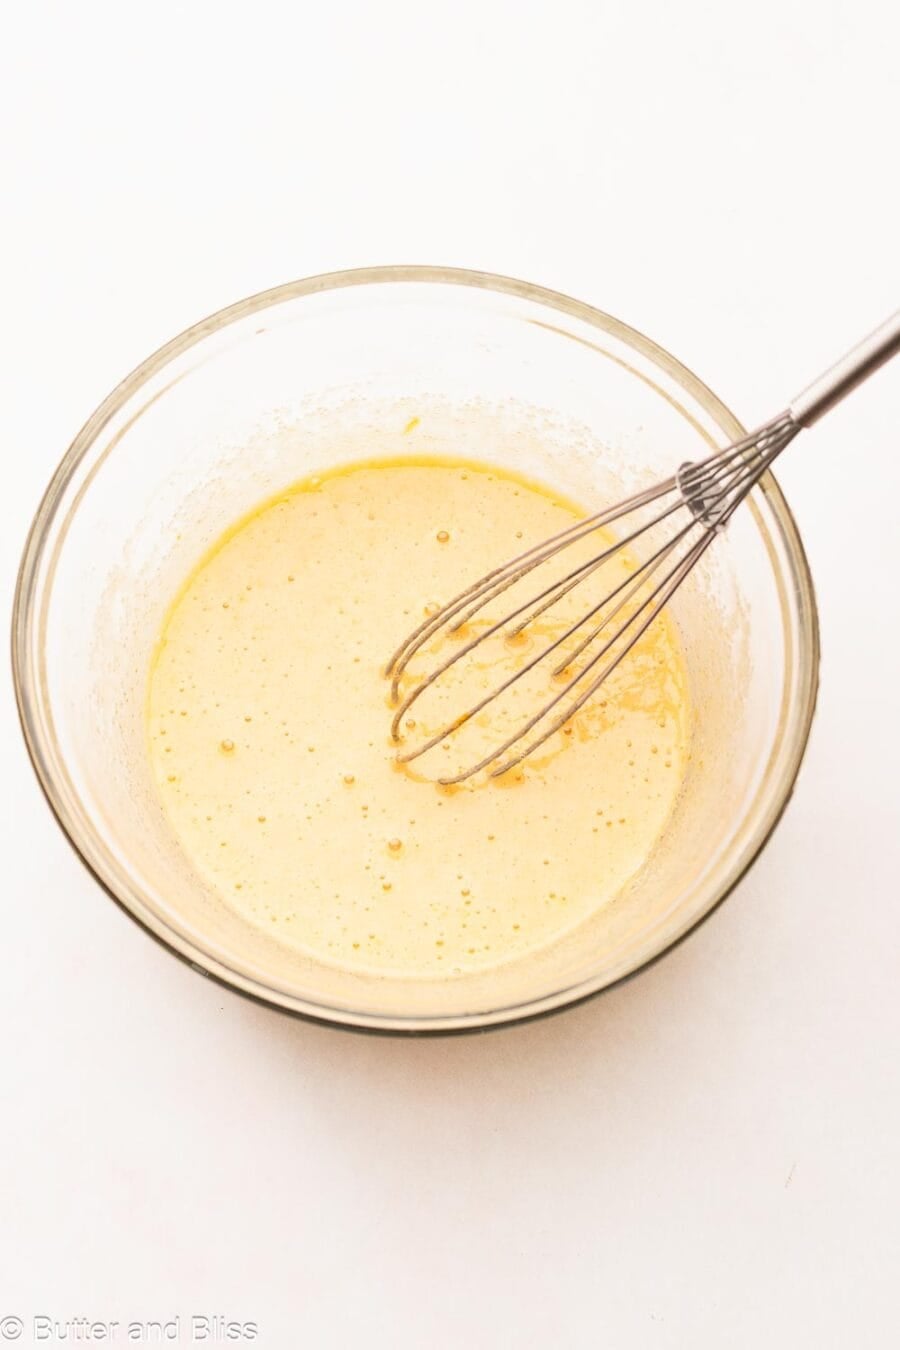
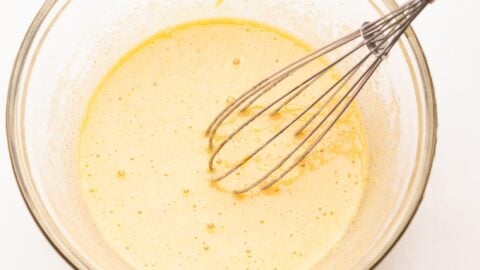
First, and most important, add the egg, sugar, and vanilla to a medium mixing bowl. Whisk by hand until the mix is light and foamy (this is the foamy stage I talked about). Let it sit while you prep the remaining ingredients to give the sugar a little time to dissolve.
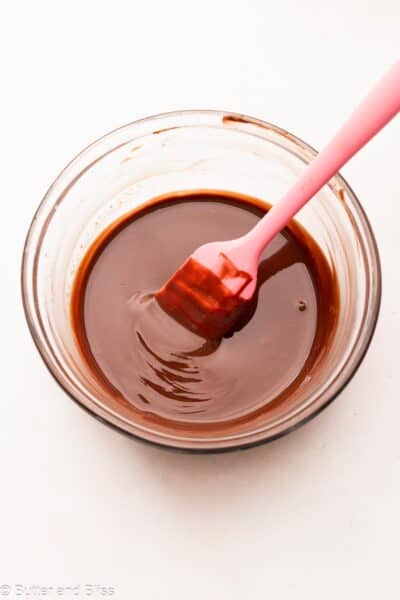
In another small bowl, add the butter, oil, and chocolate chips. Use a microwave or double boiler to melt the chocolate. Just be careful not to heat it too long, or it will seize up. And if there are little bits of chocolate left, that’s ok. They’ll melt with the residual heat.
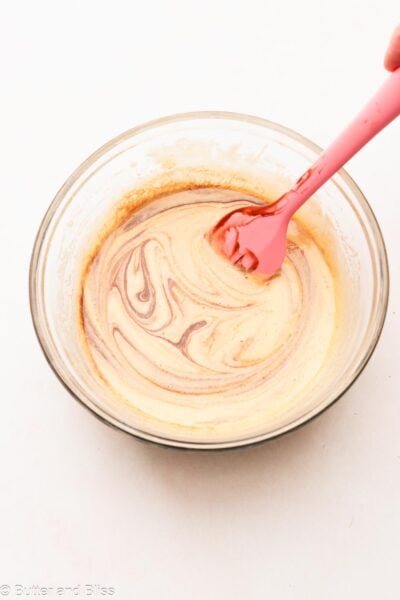
Let the chocolate cool slightly before adding it to the egg-sugar mixture and stir until all the light streaks are gone.
To add the dry ingredients, you can whisk them together in another bowl. Or, save that bowl and set a mesh strainer directly over the bowl of wet ingredients. This will remove lumps that tend to form in the cocoa powder.
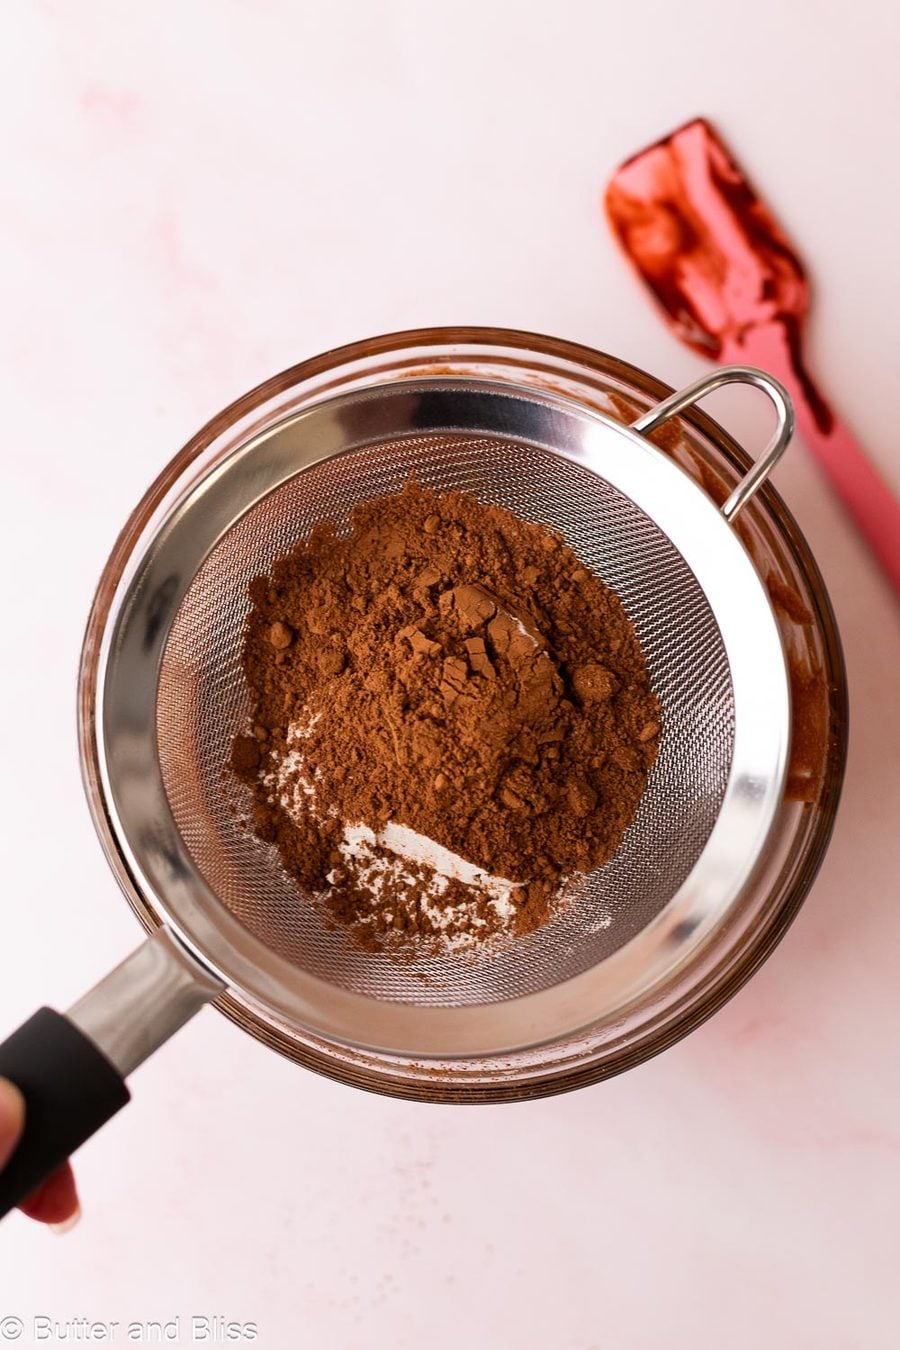
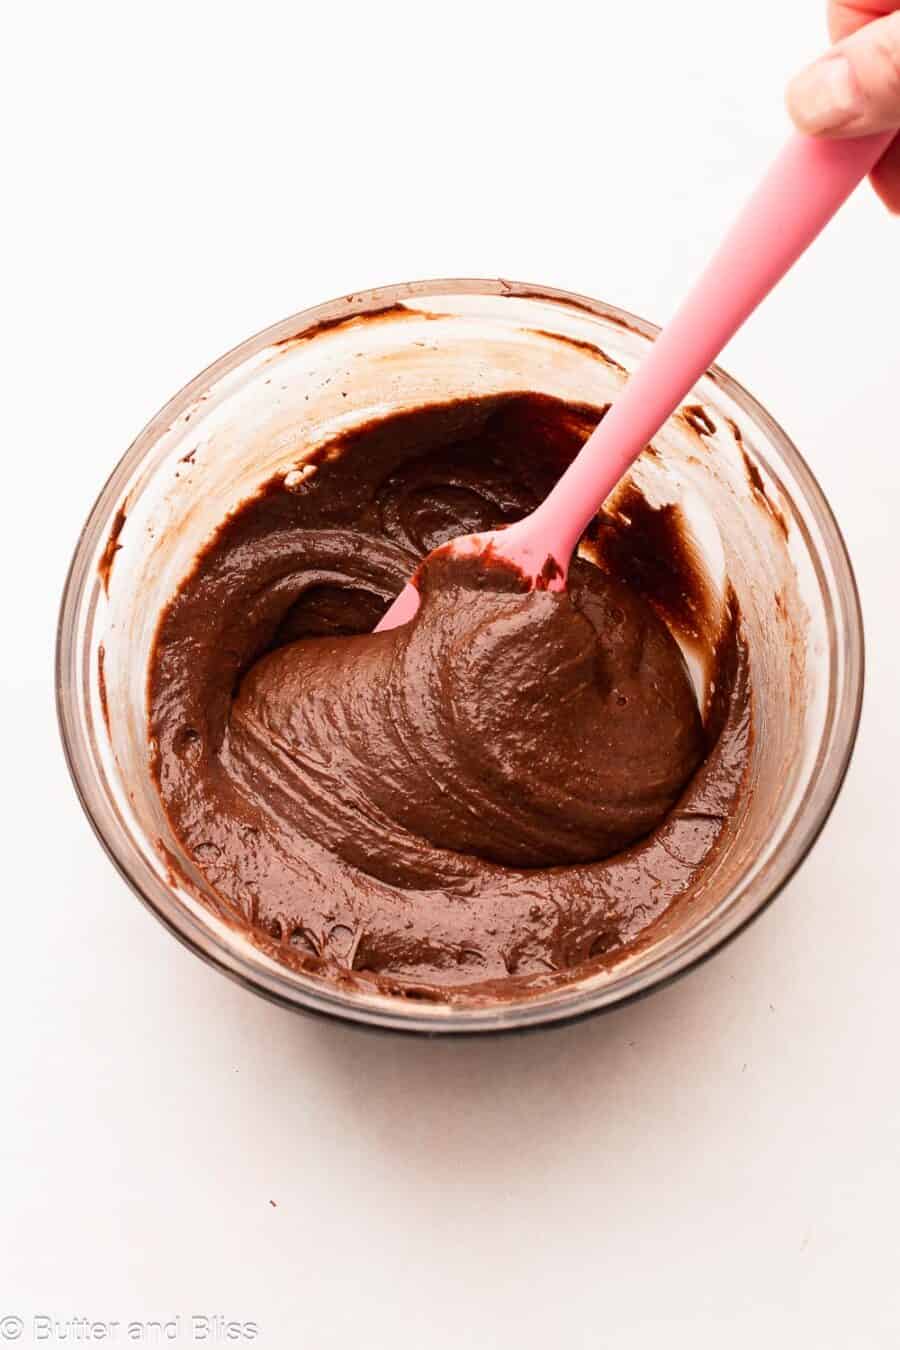
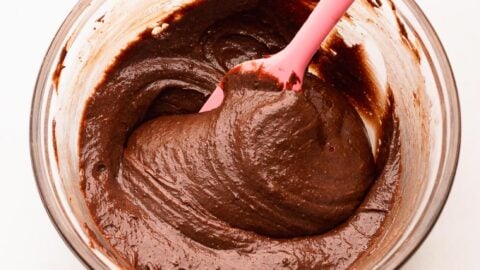
Mix the batter until it is thick and sticky, and you don’t see flour streaks. From here, you can add chocolate chips to the batter for a little bite. Or do like I do, and save them to sprinkle on top. A few will sneak their way into the center as the brownies bake.
Use A 6-Inch Pan To Bake The Brownies
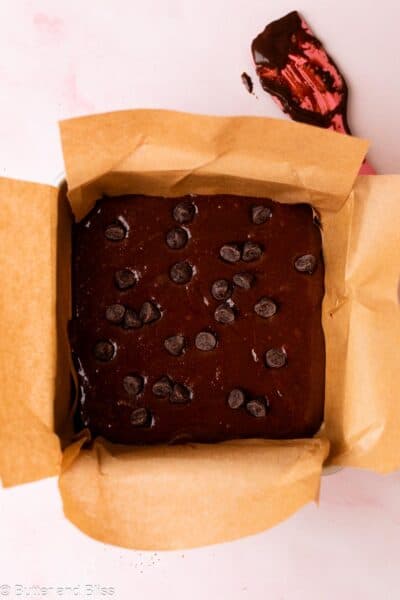
You’ll see some small batch brownie recipes that use a loaf pan. But I prefer a 6-inch square cake pan to bake thicker brownies. A 9×5 loaf pan is actually bigger in volume, thus yielding a thinner brownie with this amount of batter.
Also, the square pan will give you even brownie squares when cut. I usually cut mine into 2-inch squares, which will get you 9 brownies. But the size and shape are totally up to you. Cut them into 4 larger squares so everyone gets a brownie corner!
Erin’s Brownie Tips
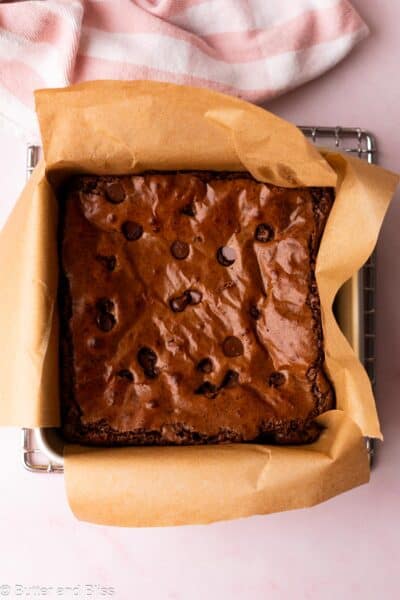
- Brownies like to stick to the pan when baked, so line the pan fully with parchment and grease any exposed edges.
- Lighter-colored metal pans conduct heat better for even baking and texture.
- Test if the brownies are done with a toothpick inserted in the middle. If it comes out fully coated in batter, keep baking and check again until the toothpick comes out with a few moist crumbs. Don’t overbake. A dry toothpick means a dry brownie.
- Warm brownies will be crumbly. Let them cool completely so they set into their fudgy texture, and they will be easier to cut into clean squares.
I LOVE hearing from you!
⭐⭐⭐⭐⭐
If you made these brownies, let me know in the comments below! Your comment and star rating are greatly appreciated and help other bakers discover the recipe.
Small Batch Brownies
by Erin Cernich
Ingredients
- 1 large egg, room temperature
- ½ cup granulated sugar
- 1 teaspoon vanilla extract
- ⅓ cup semi-sweet chocolate chips (plus more for topping)
- 2 tablespoons unsalted butter
- 2 tablespoons coconut oil (or any neutral oil)
- ⅓ cup all-purpose flour
- 2 tablespoons unsweetened cocoa powder
- ¼ teaspoon salt
Instructions
- Adjust the oven rack to the middle position and preheat the oven to 350F degrees. Fully line a 6-inch cake pan with parchment paper. Grease any exposed corners.
- In a medium mixing bowl, add the egg, sugar, and vanilla. Whisk the mixture for 1 to 2 minutes until it is pale and foamy. This helps create the crinkly and shiny brownie tops.1 large egg, room temperature, 1/2 cup granulated sugar, 1 teaspoon vanilla extract

- Melt the chocolate – In another small mixing bowl, add the chocolate chips, butter, and coconut oil. You can either melt the chocolate over a double boiler (see Notes), or in the microwave in 30-second increments – stirring after each – until the chocolate chips are mostly melted. A few small lumps are ok and will melt with the residual heat. Let it cool for a couple of minutes.1/3 cup semi-sweet chocolate chips, 2 tablespoons unsalted butter, 2 tablespoons coconut oil
- In a small mixing bowl, whisk together the flour, cocoa powder, and salt. If your cocoa powder is lumpy, sift it through a fine mesh strainer set over the mixing bowl.1/3 cup all-purpose flour, 2 tablespoons unsweetened cocoa powder, 1/4 teaspoon salt
- Pour the melted chocolate into the egg mixture and stir until incorporated. Sprinkle the dry ingredients over the top and stir until no dry streaks remain.
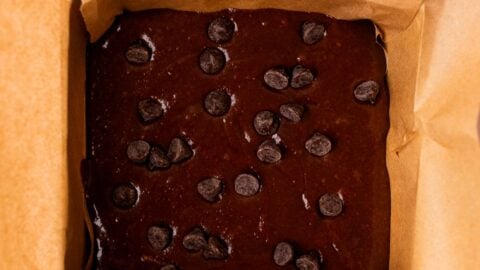
- Pour the batter into the prepared baking pan and smooth it out with a spatula. Dot the top of the batter with a few extra chocolate chips.
- Bake for 26 to 28 minutes, or until a toothpick inserted in the center comes out with just a few moist crumbs.
- Cool the brownies completely in the pan set on a wire rack. Once cool, carefully lift out of the pan and cut into desired shapes and sizes.
Notes
- Serving Size – This is a small batch recipe that can be doubled and made in an 8×8-inch pan. The bake time may need to be increased by 2 to 3 minutes.
- Yield – I usually cut the brownies into 9 smaller squares, but the 6-inch pan will easily yield 4 to 9 brownies depending on how large you cut them.
- Double Boiler – Use a mixing bowl that is large enough to sit on top of a small saucepan without touching the bottom. Bring about 2 inches of water to a simmer and set the bowl on top of the saucepan. Heat until the chocolate is mostly melted, stirring occasionally to incorporate the ingredients. A few lumps are ok because they will melt in the residual heat. This is my preferred method for melting the chocolate, butter, and oil because I can monitor the melting. Heat too long and the chocolate may seize up.
- Cocoa Powder – Dutch process or natural cocoa will work. I prefer Dutch for the rich flavor, and it isn’t as acidic.
- Storing – Store the brownies covered at room temperature for up to 1 week. To freeze, wrap tightly in plastic wrap and place in a freezer bag. Freeze for up to 3 months and thaw at room temperature.
Nutrition Estimates
TRY THESE SMALL BATCH RECIPES NEXT!

About the Author …
Hi, I’m Erin! With years of experience baking for two in my own small household, I know about the love for desserts without the leftovers. I’ve tested, written, and photographed every one of the 300+ recipes on my website. And even had some of my desserts featured on Taste of Home, The Spruce Eats, ELLE, Parade, and more! From traditional to gluten free desserts for two, I have the recipe for you.
Click here to learn more about me →
My husband and I thoroughly enjoyed the small batch brownies. Thank you for sharing the recipe!
Thanks so much Becca! I appreciate you trying the recipe!