
Small Batch Royal Icing
This post may contain affiliate links. See my disclosure policy.
This small batch royal icing is made with meringue powder, whips up in minutes, and makes enough to decorate a dozen cookies. A reliable, no-fuss icing with a hint of vanilla that is smooth, pipeable, and great for outlining and flooding your cookies. It is easily tinted and dries hard, making holiday cookie decorating and stacking easy.
Simple Icing Snapshot
- Yield: Plenty for 12 cookies (about 1/2 cup)
- Whip Time: 2 minutes (just be sure not to over-whip)
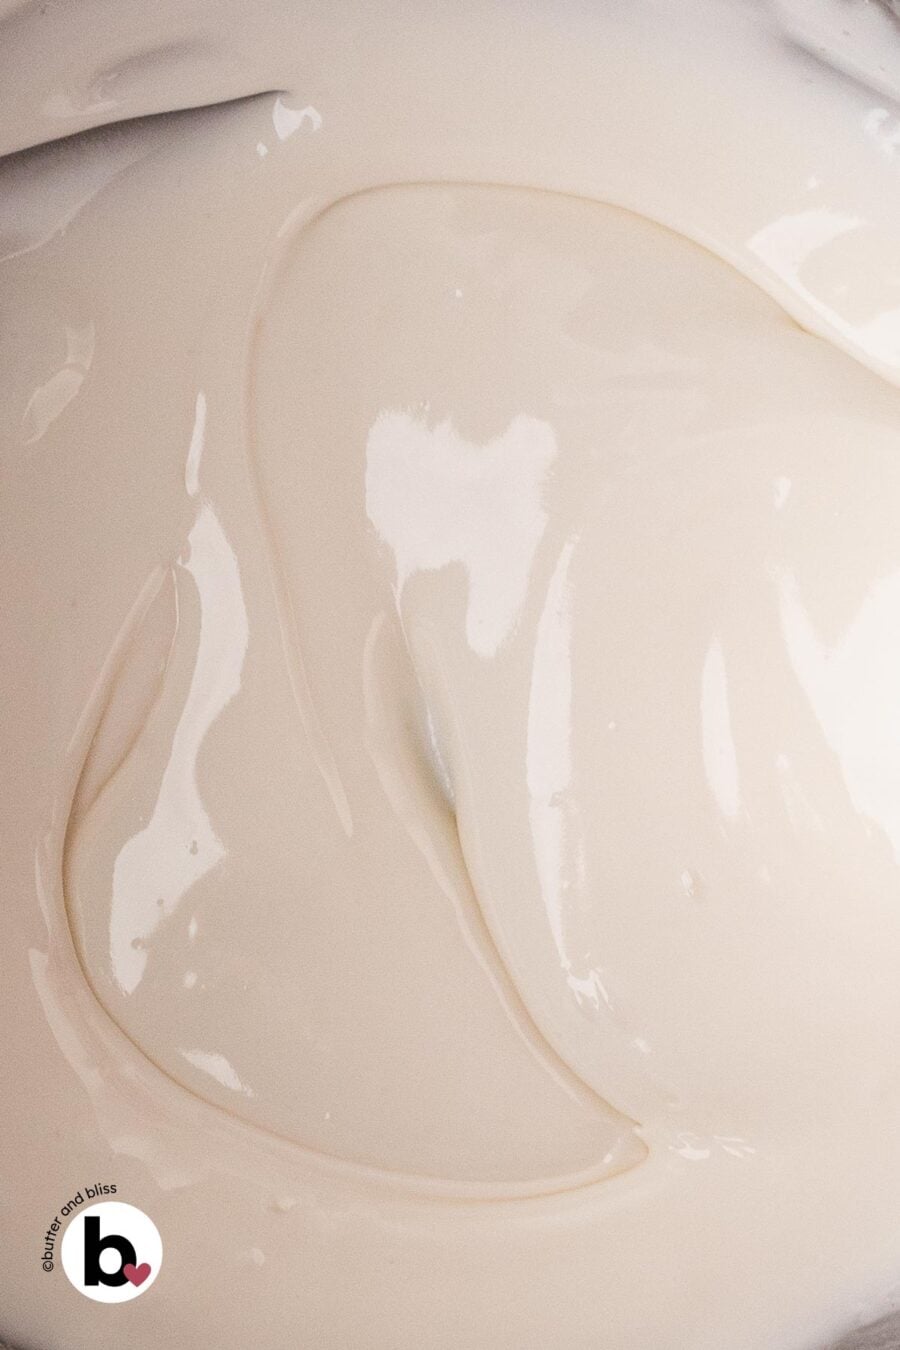
- Consistency: Flood-ready, color-ready, and pourable, like warm honey.
- Why Meringue Powder: Safe, shelf-stable substitute for raw egg whites so the icing mixes smooth and dries hard.
- ✨Best For: Cookie decorating for any holiday!
I used to think royal icing was just liquid and powdered sugar mixed together. But after watching countless baking shows, I realized this wasn’t entirely correct. The bakers would mix the icing for what seemed like forever, and I always thought they were making thick frosting for cookies. Not the case.
Traditional royal icing is whipped to stiff peaks with pasteurized egg whites, which helps the icing hold its shape and dry hard. The thing is, I am not about to whip egg whites with powdered sugar. I fear illness too much. But I want the icing on my sugar cookies to look passable and pretty on a cookie platter.
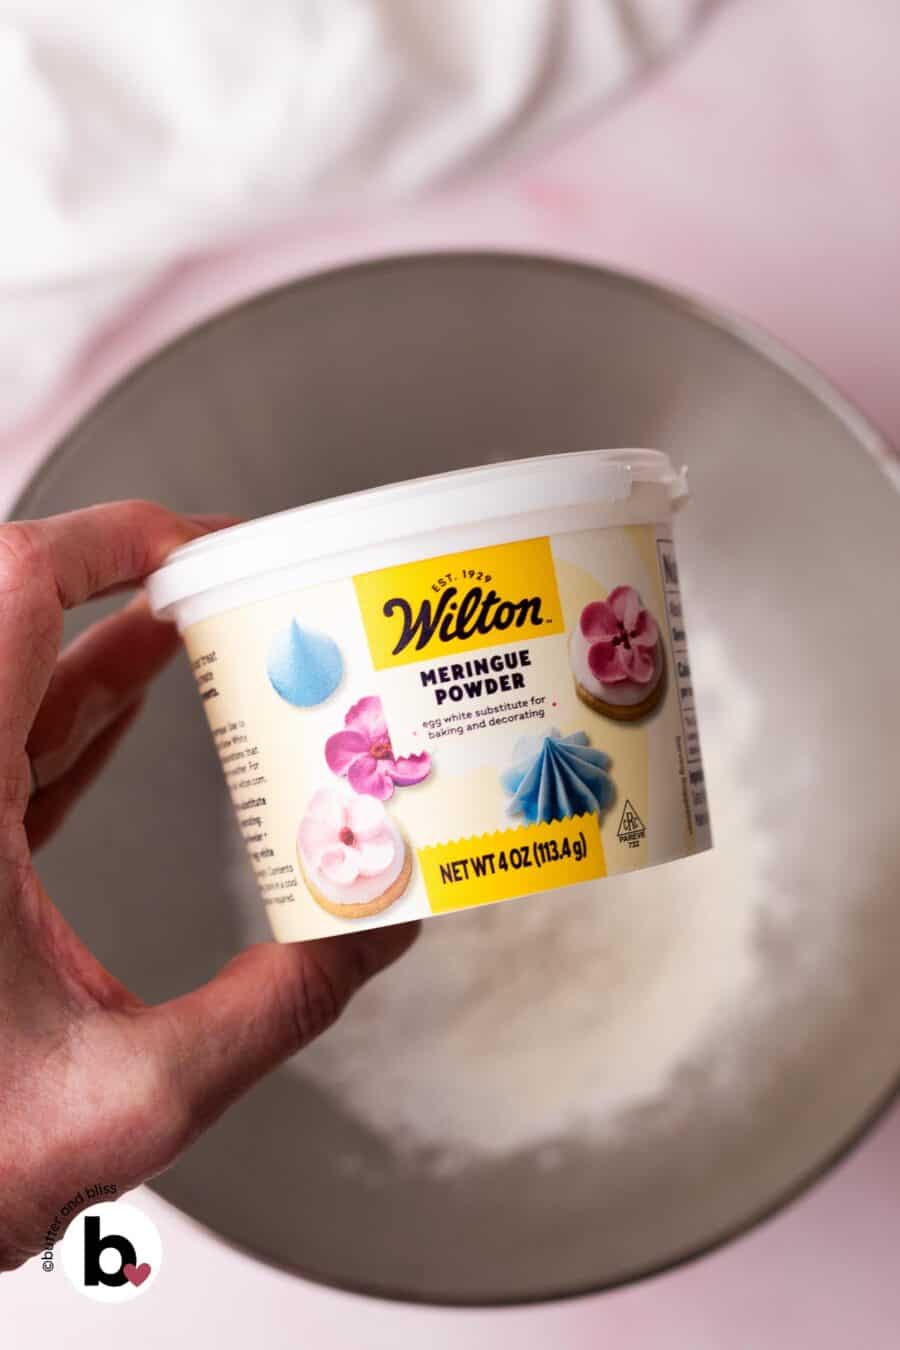
So I use meringue powder (not to be confused with egg-white powder). It stands in for the egg whites and gets you the same results. It’s safe, will last you a couple of seasons if stored properly, and it doesn’t take much, especially for this small batch of icing.
The Whip Behind Royal Icing
When I first tested this recipe for my gingerbread cookies, I actually followed Wilton’s technique on the meringue powder package. The icing is mixed for up to 10 minutes to reach thick, stiff peaks. This is probably what I was seeing on the baking shows. Then you add extra water to reach your desired texture.
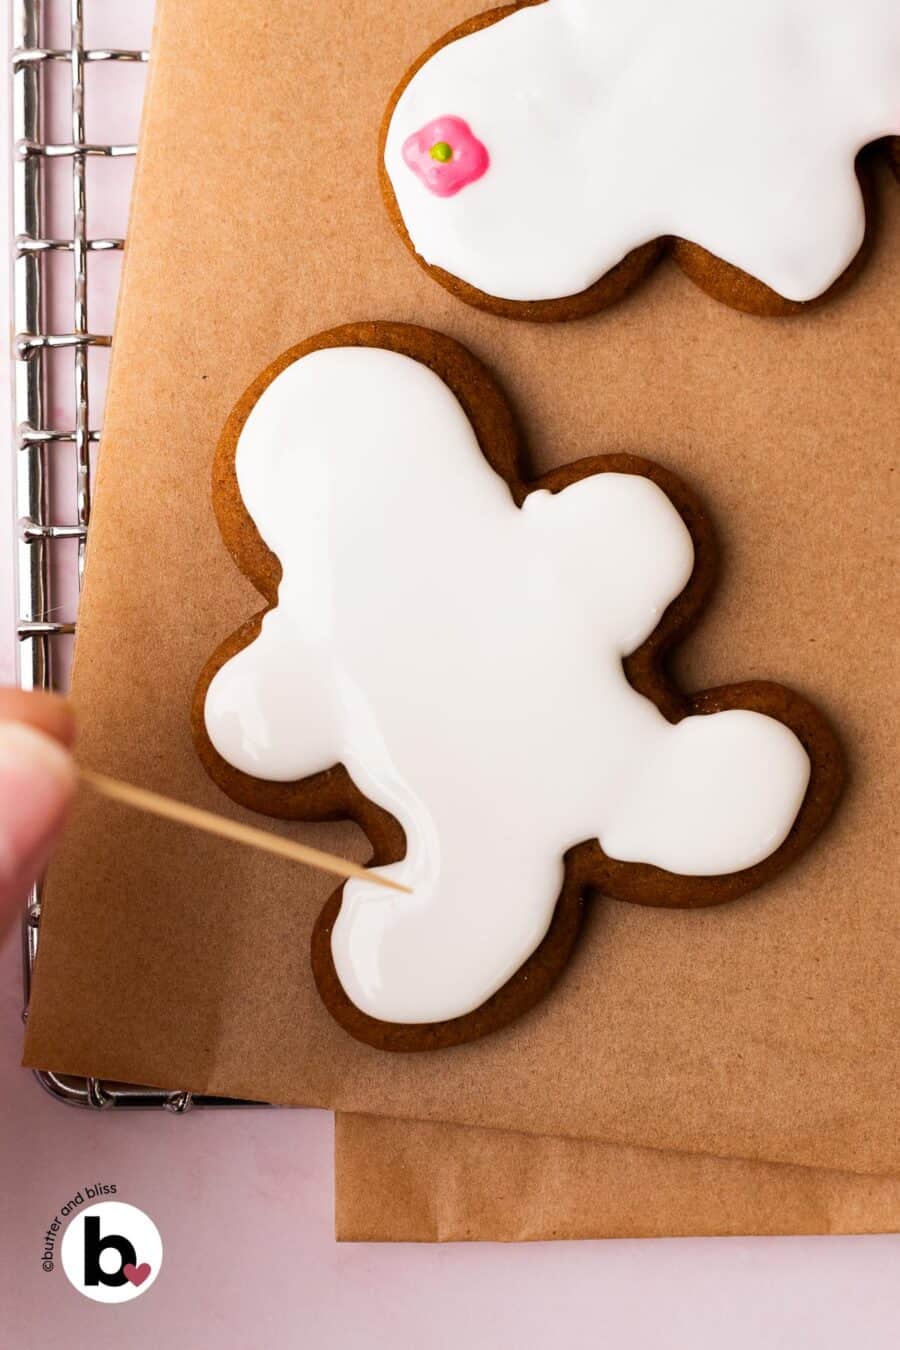
The problem was that once I thinned it to flooding consistency, the icing was full of air bubbles that got trapped with the extended mixing time. And I spent more time chasing those bubbles with a toothpick, rather than decorating.
Sure, the thick icing is great for making things like flowers or dimensional designs. But if you know me, we don’t get that elaborate here on Butter and Bliss. And it dries extremely hard; it reminded me of the sugar dot candies that come on paper that are easily flicked off with a fingernail.
My recipe is much easier and avoids all that, and it’s not so hard that it will crack your teeth. Straight from the bowl, it’s already at flood consistency after a couple of minutes of mixing. Which is plenty of time for this small batch to hydrate the sugar and activate the meringue powder so the icing binds and dries hard.
How To Make Small Batch Icing
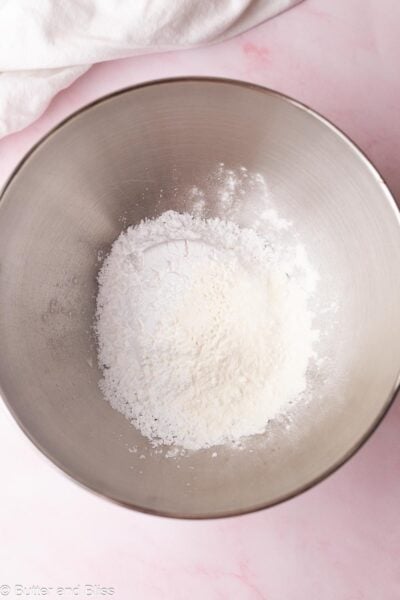
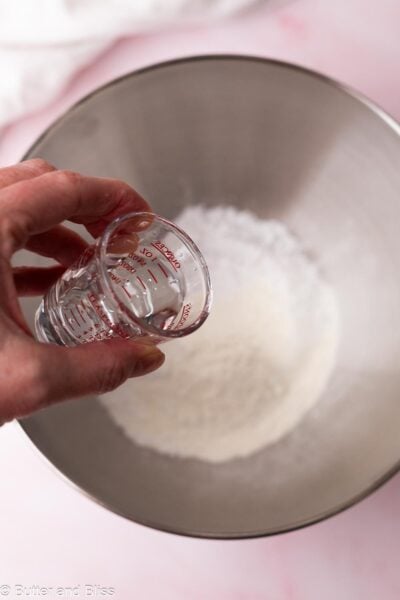
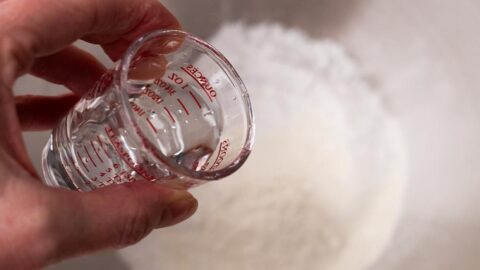
Even though it’s a smaller batch, I still use my stand mixer, but a hand mixer works just fine. Add the powdered sugar, meringue powder, salt, and vanilla to the mixing bowl. Start on low and drizzle in about a tablespoon of warm water.
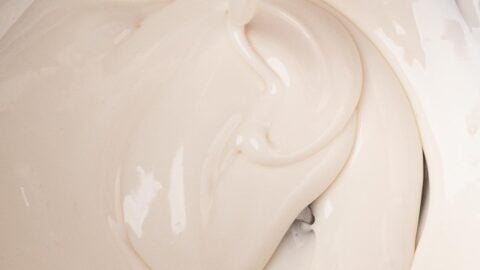
Then turn the mixer up and mix the icing for a couple of minutes. Once you start to see a thicker, almost glue-like consistency, stop the mixer and check it. If the icing drips off the whisk (or spatula) into a ribbon that disappears into the icing in 10 seconds, you’re done.
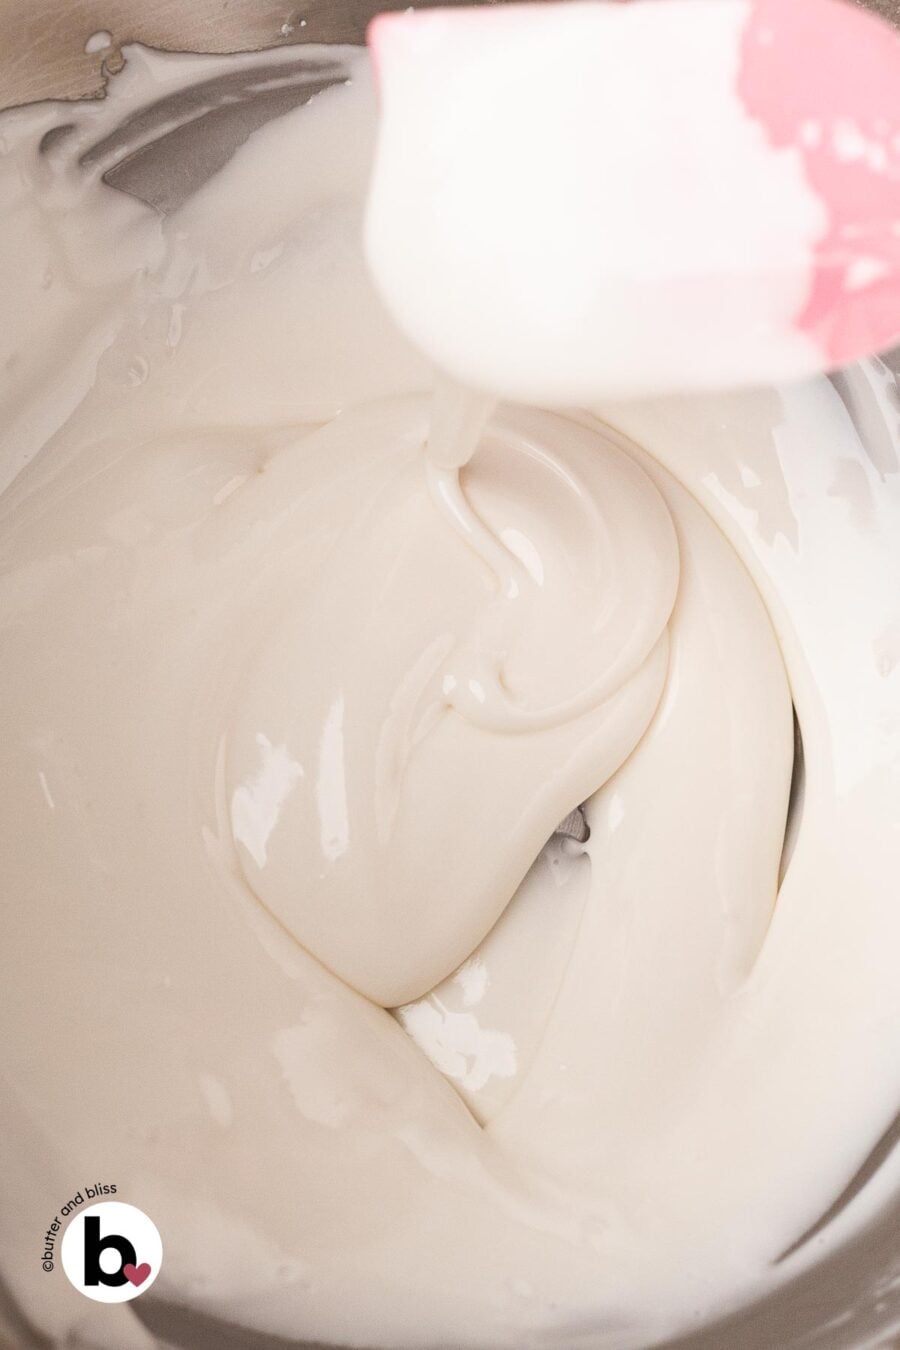
If the icing is too thin and drippy, mix a little longer first, before adding more powdered sugar. Meringue powder icing will thicken the longer it is whipped.
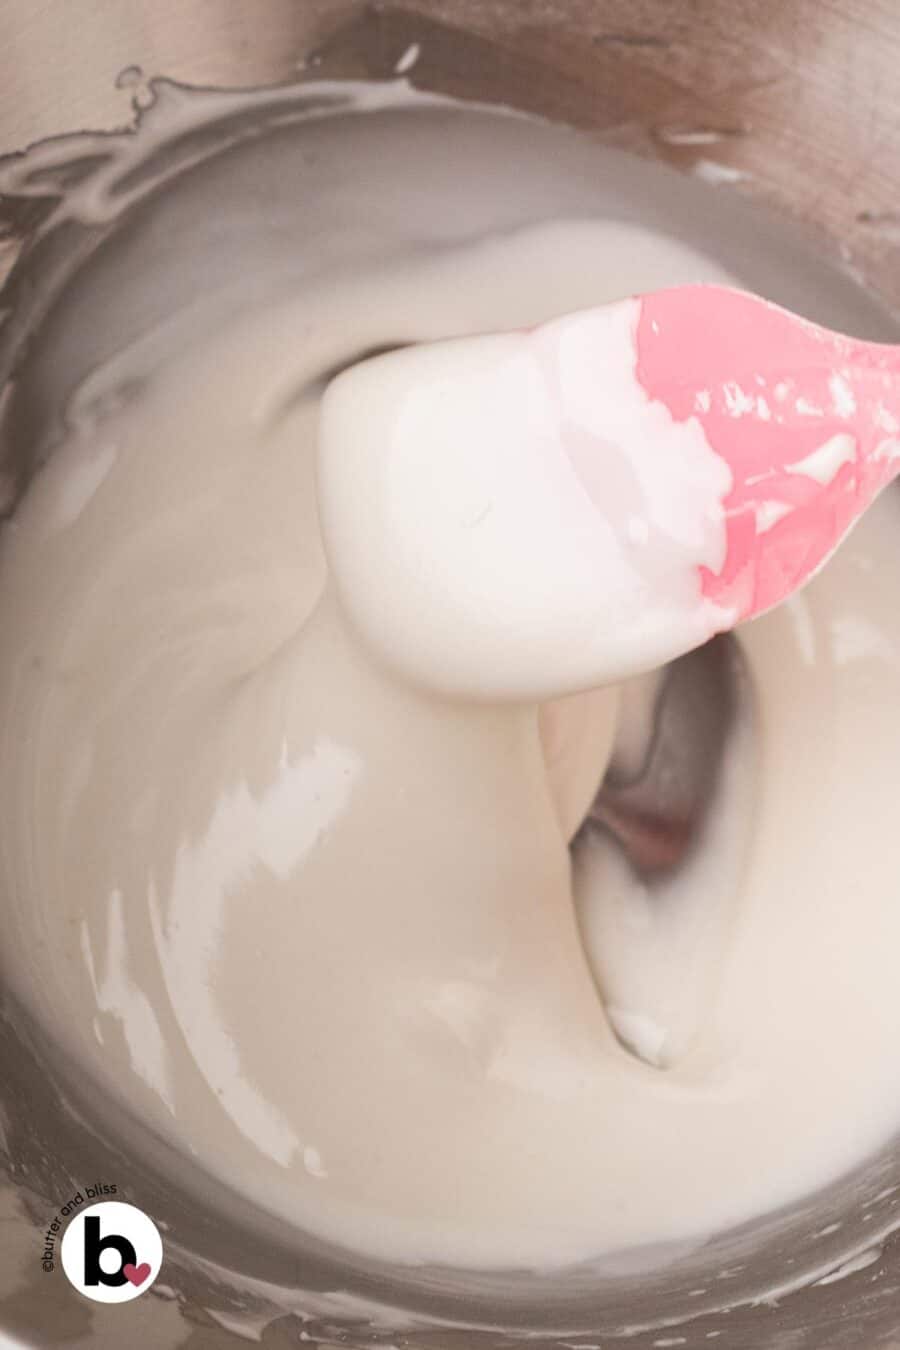
If the icing is too thick, add more water a little at a time. I will say that if your kitchen, or where you live, is especially dry (like me here in Colorado), you will probably err on the higher side of water the recipe calls for.
Time to Color, Pipe, and Sprinkle
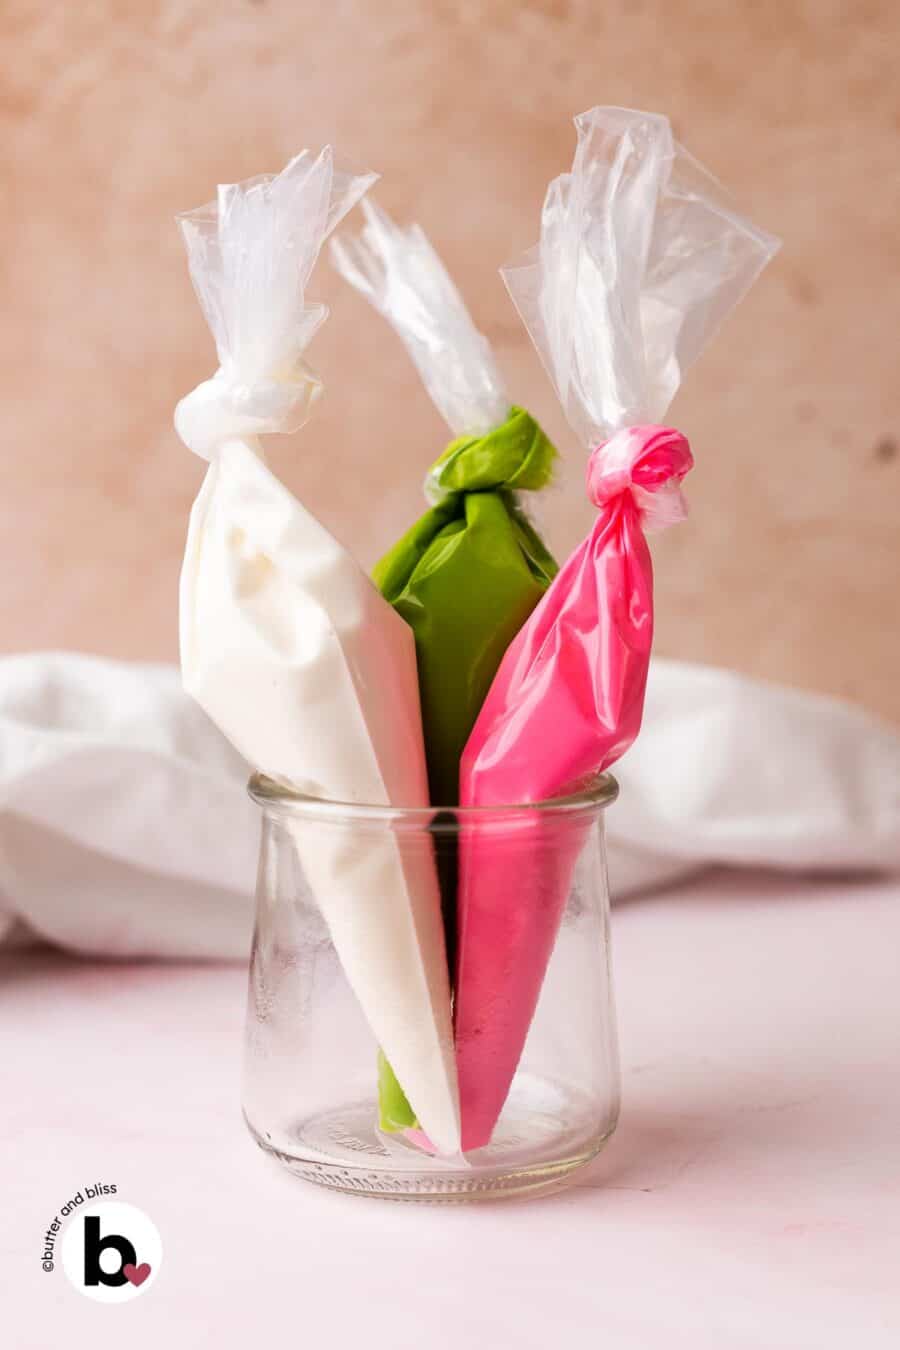
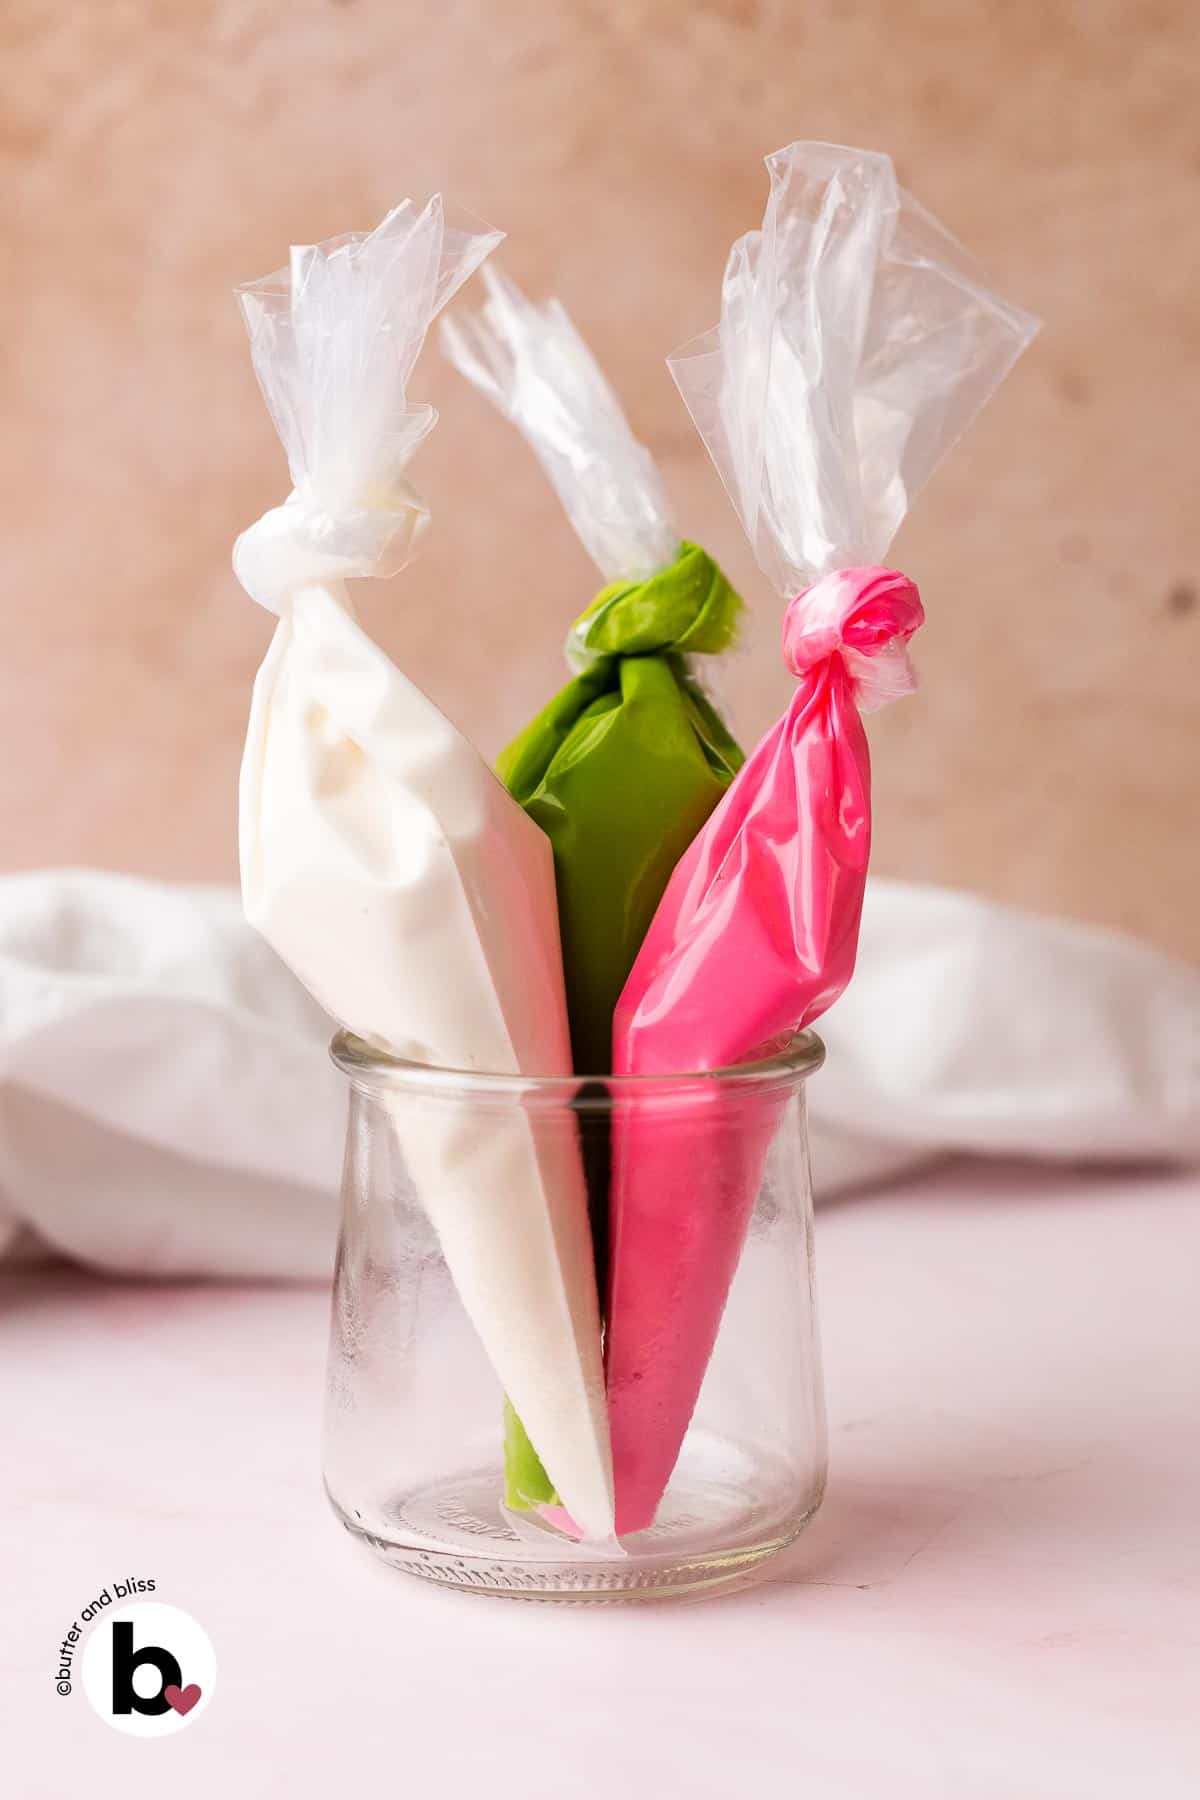
The icing is ready to use immediately. If you choose to tint it, I prefer gel food coloring because the colors are really sharp and you don’t have to add so much that it changes the icing’s consistency.
Transfer the icing to piping bags fitted with your favorite tips. Or, if you’re like me, just snip the end tip off the bag and get to decorating. It pipes on smoothly, and you can use a toothpick to push it to the edges. This is usually when I break out the many, many jars of festive sprinkles I buy because they’re cute. The icing holds onto those sprinkles well.


Did You Make It? Let’s Hear About It!
⭐⭐⭐⭐⭐
If this icing helped you look like a professional cookie decorator, I’d love to know! Your comment and star rating go a long way in helping other bakers find it too.
Small Batch Royal Icing
by Erin Cernich
Equipment
- Stand Mixer (optional)
- 3-Quart Mixing Bowl (optional)
Ingredients
- 1 cup powdered sugar
- 2 ¼ teaspoons meringue powder
- ¼ teaspoon vanilla extract
- ⅛ teaspoon salt
- 1 to 3 tablespoons warm water
- gel food coloring (optional for decorating)
Instructions
- In the work bowl of a stand mixer fitted with the whisk attachment, add the powdered sugar, meringue powder, vanilla, and salt. Turn the mixer on low and slowly drizzle in 1.5 tablespoons of water. Turn the mixer up to medium-high and mix for 2 minutes.1 cup powdered sugar, 2 ¼ teaspoons meringue powder, 1/4 teaspoon vanilla extract, 1/8 teaspoon salt, 1 to 3 tablespoons warm water

- The consistency should be similar to warm honey, and when you lift the whisk, the icing should drip down into a ribbon and disappear into the surface within about 10 seconds. If it disappears immediately, it's too thin and needs a few more seconds of mixing. You can also add more powdered sugar, a tablespoon at a time. If it's too thick, add more water, a teaspoon at a time, and mix to combine. Note that the longer you mix the icing, the thicker it gets, and the thicker it is, the harder it is to pipe.
- To tint the icing, divide it into separate bowls and use gel food coloring. I use a toothpick to dip into the coloring, then swirl it into the icing. A little goes a long way. Immediately transfer the icing to a piping bag(s) to keep a crust from forming. You will have enough icing for a small batch of 6 to 12 cookies. The icing will dry hard in about 2 hours when applied in a thin layer.gel food coloring
- Store leftovers in the refrigerator: In the piping bag, only if you're going to use it within a day. Just be sure to seal up the end if it was cut. Or in a small, covered bowl. Place a damp paper towel on top of the bowl, then seal it with the lid.
Notes
- Serving Size – This small batch recipe is easily doubled.
- How Many Cookies – There is enough icing to outline and flood a thin layer onto a small batch of cookies (up to 12).
- Make Ahead – The icing can be made 2 days ahead of time. Transfer it to a small bowl and place a damp paper towel on top before sealing with the lid. The icing can separate. When ready to use, let it come to room temperature and whisk again until smooth. If it’s thickened too much, add a drop or two of water to thin it out.
- Freezing – Place the icing in a tightly sealed freezer bag and squeeze out the air. Freeze it flat for up to 1 month, thaw in the refrigerator, then bring to room temperature to use.
Nutrition Estimates

About the Author …
Hi, I’m Erin! With years of experience baking for two in my own small household, I know about the love for desserts without the leftovers. I’ve tested, written, and photographed every one of the 300+ recipes on my website. And even had some of my desserts featured on Taste of Home, The Spruce Eats, ELLE, Parade, and more! From traditional to gluten free desserts for two, I have the recipe for you.
Click here to learn more about me →