Small 6-Inch Chocolate Cake
This post may contain affiliate links. See my disclosure policy.
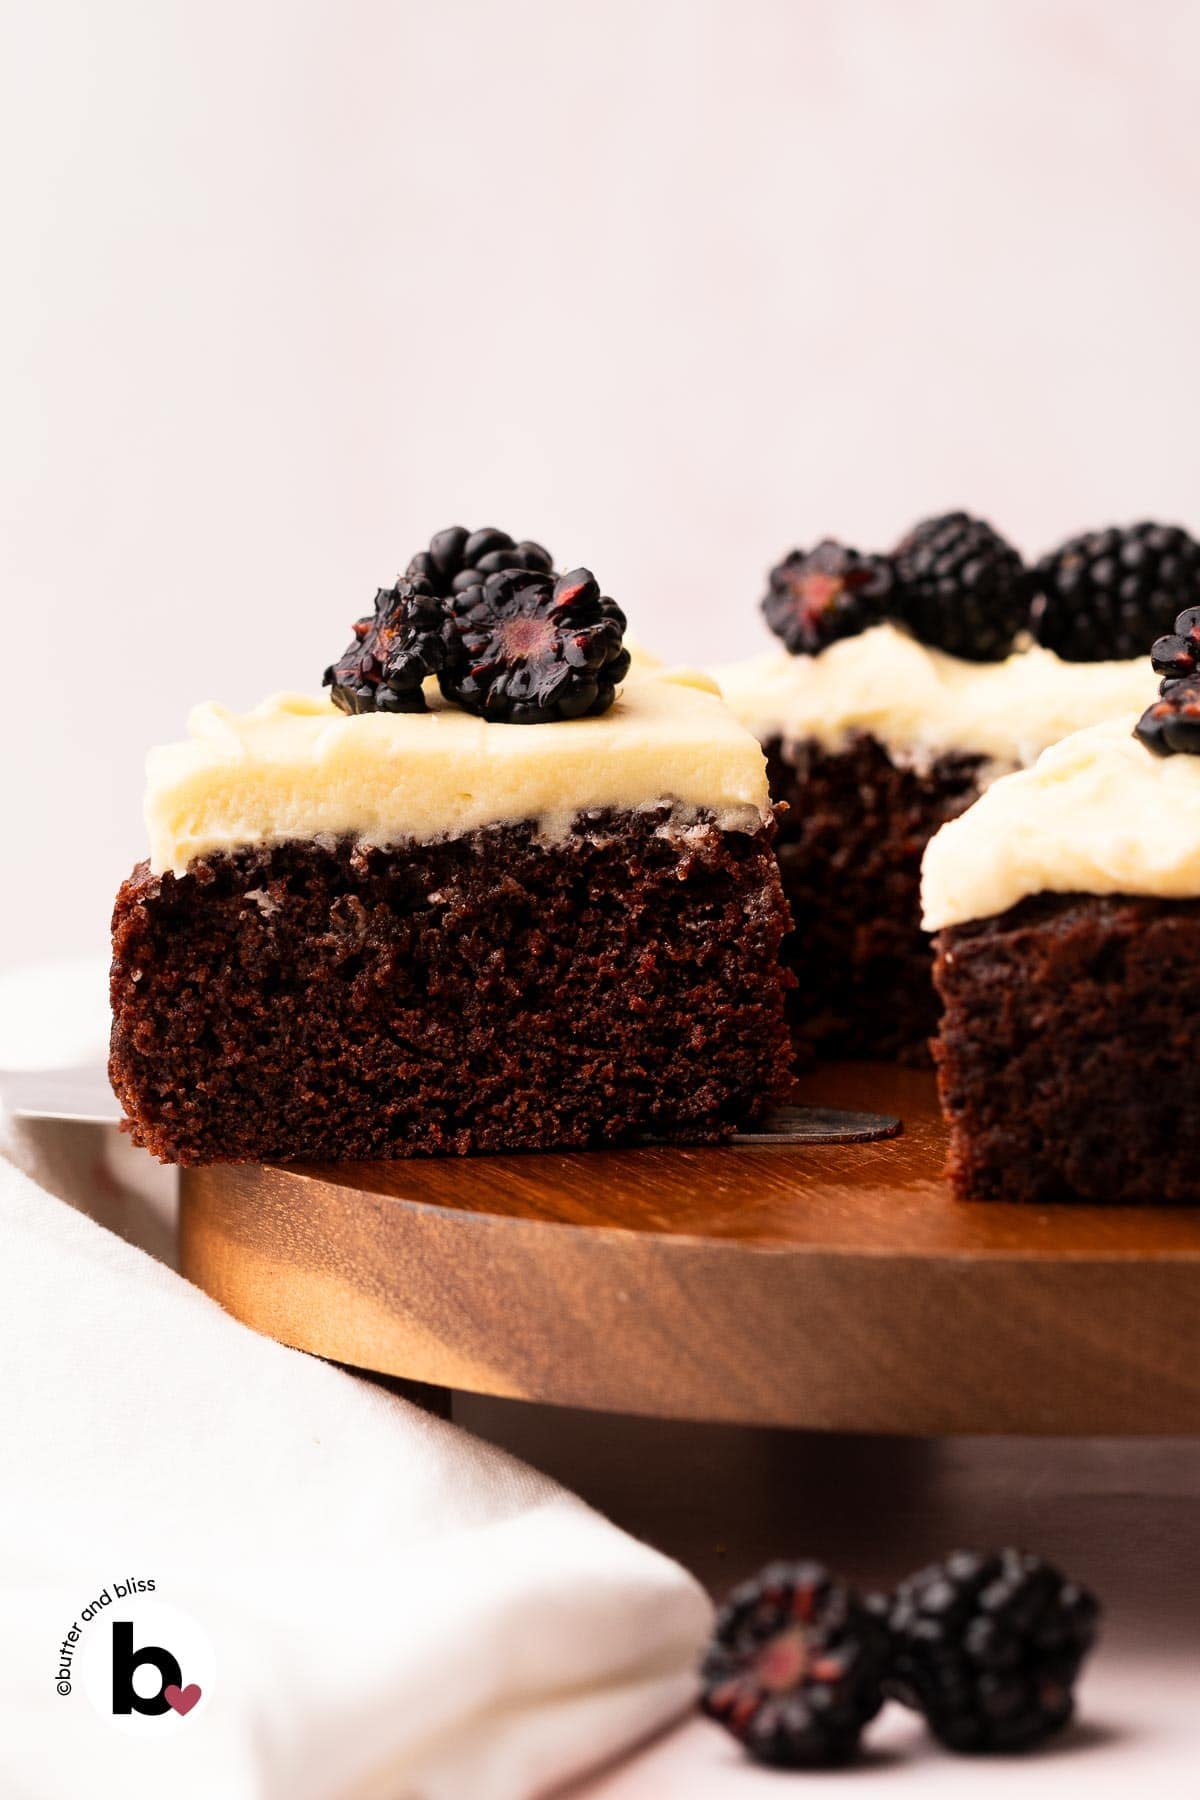
This small 6-inch chocolate cake is an easy, single-layer dessert perfect for two or a small celebration. Rich Dutch-process cocoa gives it deep chocolate flavor, while sour cream and oil create a soft, tender crumb. The batter comes together quickly and bakes in under 30 minutes, giving you a classic small chocolate cake without the leftovers of a full-size layer cake.
Small Chocolate Cake At A Glance
- Yield: One single-layer 6-inch cake (4 to 6 slices)
- Total Time: About 40 minutes, start to finish
- Flavor: Rich, cocoa-forward chocolate
- Texture: Moist, soft, and tender — not dense
- Key Ingredients: Dutch-process cocoa, sour cream, and oil
- ✨Perfect For: Birthdays for two, anniversaries, date-night, or when you want chocolate cake without leftovers
I’ll admit it — store-bought chocolate cake has its place. The texture is soft and familiar. But the flavor is usually meh, and the large size is too much for my household of two. Exactly why I wanted to create a better small batch version.
I tested this cake several times to fine-tune the ratio of oil, sour cream, and cocoa to lock in moisture and deliver on big cocoa flavor — the same method I use in my small batch chocolate cupcakes and 2-layer chocolate cake.
- Oil keeps the cake moist for days and makes the batter simple to prepare — no creaming butter and sugar required.
- Sour cream adds richness while keeping the cake soft without weighing it down.
- A splash of hot coffee intensifies the cocoa, deepening the chocolate flavor without tasting like coffee.
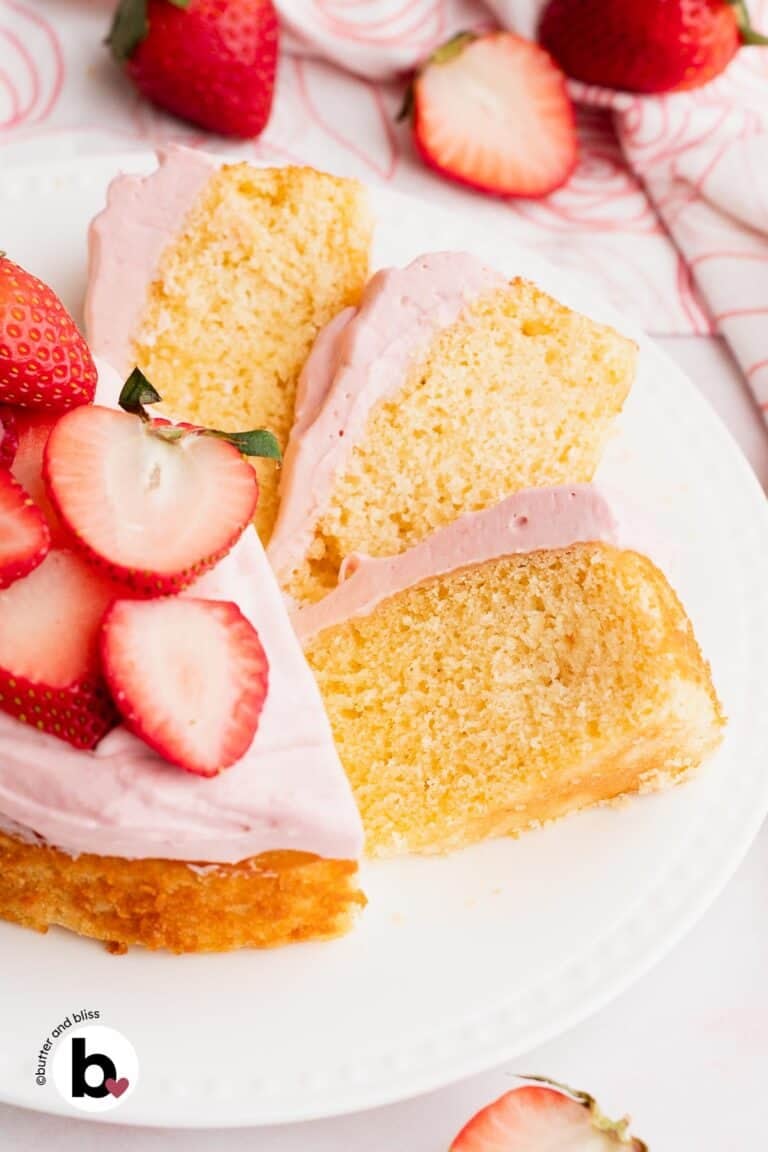
The result is a humble, classic chocolate cake with pronounced flavor and a light, fluffy crumb. This is the cake I turn to for my own small celebrations (well, this and my small vanilla cake). It’s that reliable. It doesn’t need elaborate decoration to feel special, and because the batter comes together quickly, I can have it baked and frosted in about an hour.
How To Make This 6-Inch Chocolate Cake
I use two mixing bowls for this cake so the wet ingredients are fully combined before anything else is added. I also sift the dry ingredients — especially the cocoa powder — to remove lumps. Sifting not only smooths out the cocoa, it also evenly distributes the leavening so the cake bakes up tender and consistent.

The wet mixture will be smooth and glossy. Sift the cocoa powder to remove lumps.


When you add the dry ingredients to the wet, pour in the hot coffee at the same time. The heat blooms the cocoa and deepens the chocolate flavor. With this small amount, you won’t taste coffee — but if you prefer, hot water works just as well.
Why I Use Dutch Process Cocoa
I prefer Dutch-process cocoa for its deeper, smoother chocolate flavor. Because it’s treated to reduce acidity, it produces a darker color and a more mellow taste than natural cocoa.
💡 I don’t recommend swapping it for natural cocoa in this recipe. Dutch-process cocoa is neutral in acidity and is typically paired with baking powder for proper lift. Natural cocoa is acidic and is usually paired with baking soda.
If you substitute one for the other without adjusting the leavening — and often other ingredients in the recipe — the cake’s texture and rise can be affected. For best results, stick with Dutch-process cocoa as written.
Add the hot coffee with dry ingredients. The batter should be thin and a little lumpy.


Once the batter is mixed, it will be thin and may look a little lumpy — that’s perfectly fine. Stop mixing as soon as the flour streaks disappear. Small batch batters can turn dense if overworked.
This cake is forgiving when it comes to pan prep. I simply line the bottom of the 6-inch pan with parchment and lightly grease it. No need to line the sides or dust with flour — it releases easily.
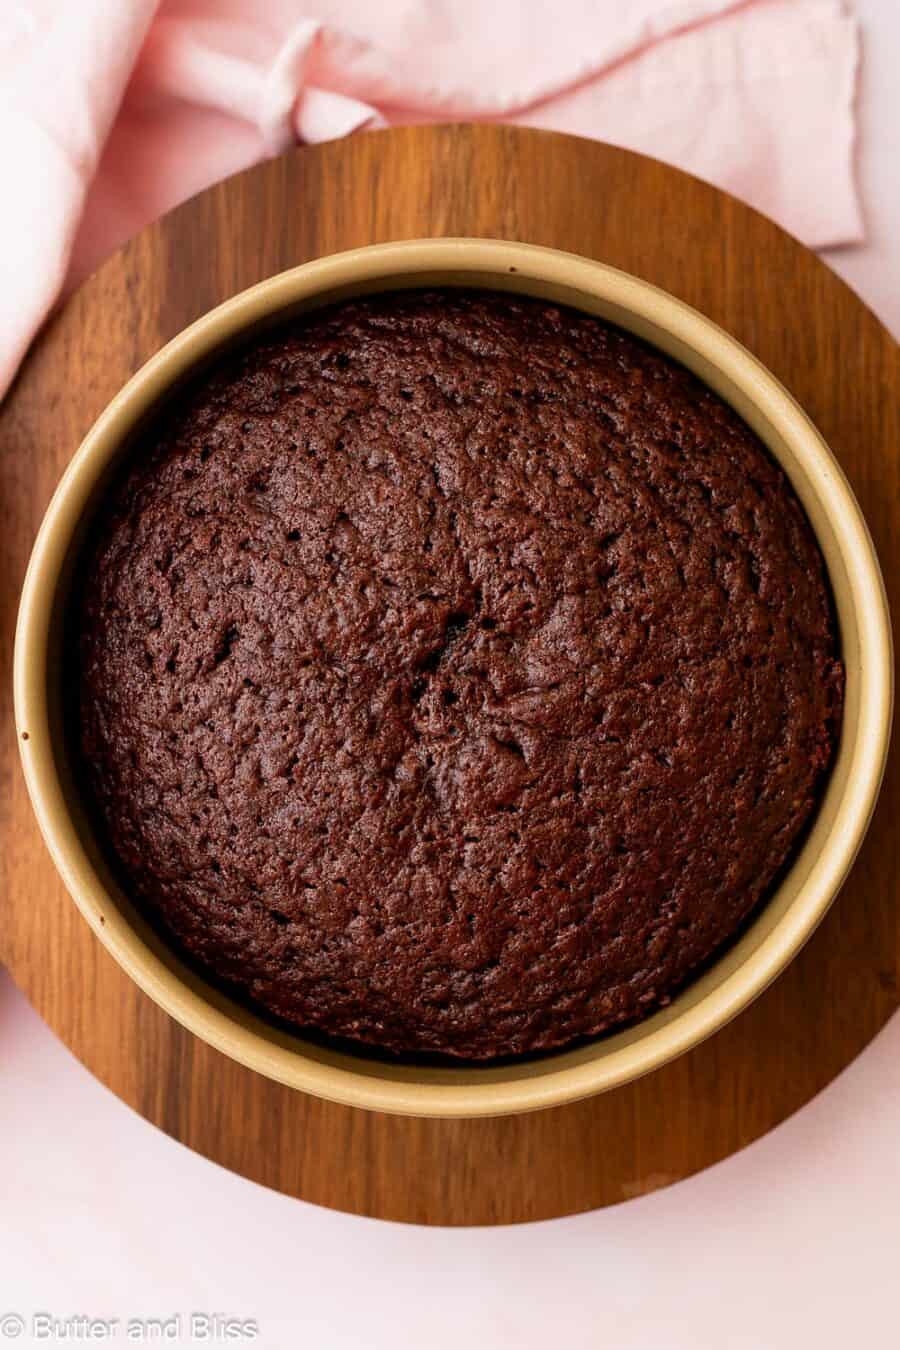
The cake is done when the top springs back lightly when touched, and a toothpick inserted in the center comes out with a few moist crumbs. If you’re pressed for time, pop the cake in the refrigerator to cool so you can frost it sooner.

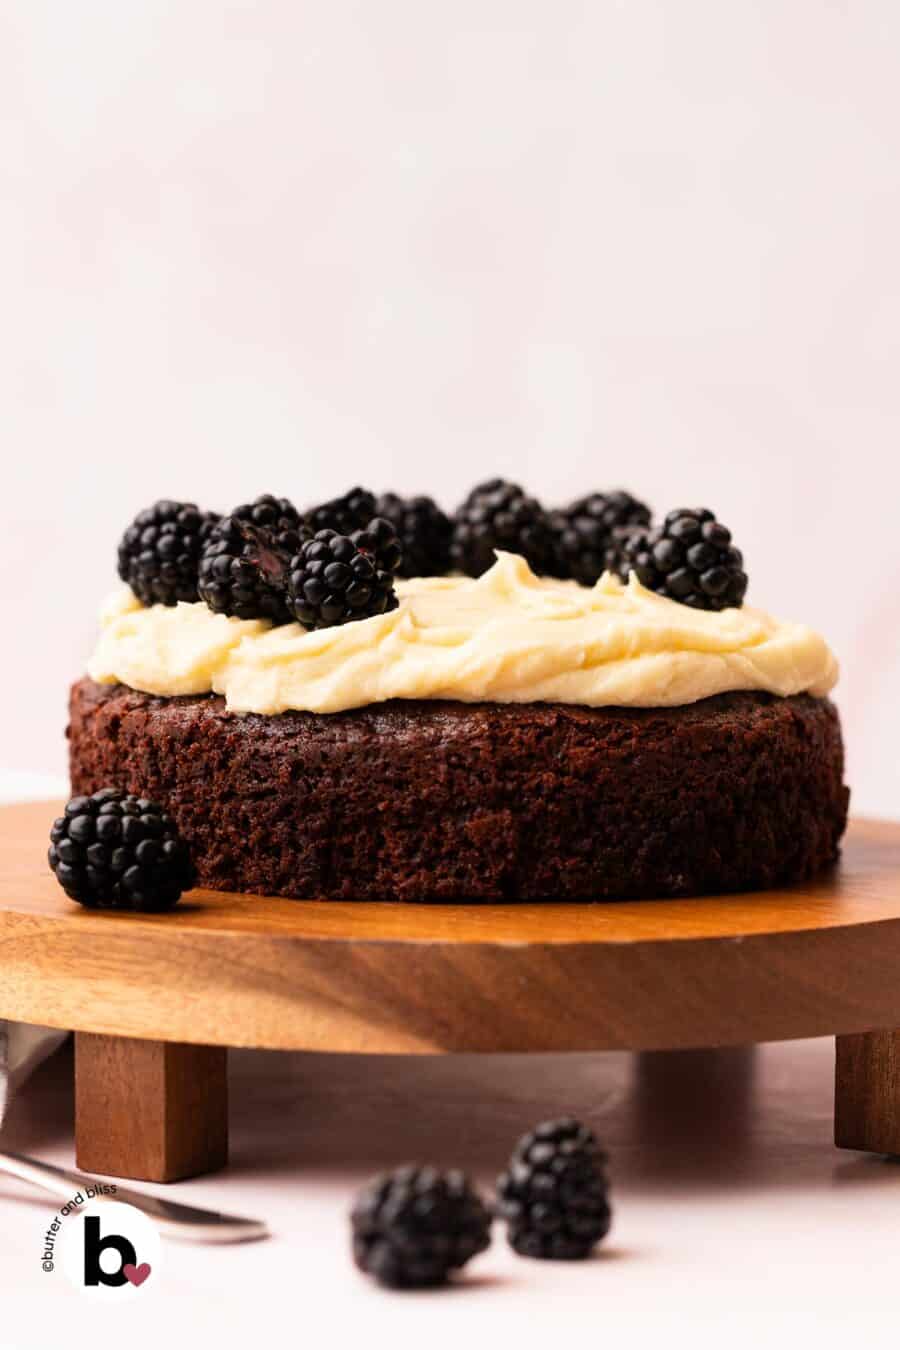
A Look At The Finished Cake
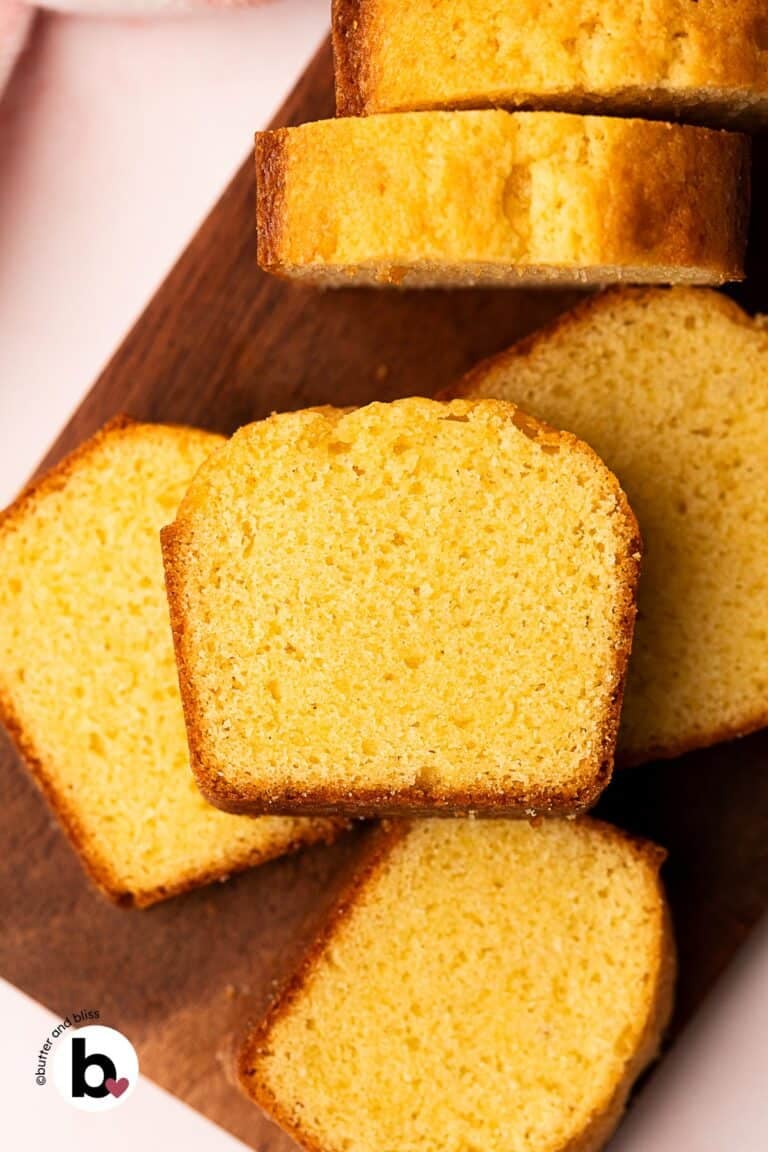
This small 6-inch chocolate cake rises evenly with a soft, natural dome and a smooth surface — no cracking or sinking in the center. The crumb is moist and tender, yet sturdy enough to frost without feeling dense.
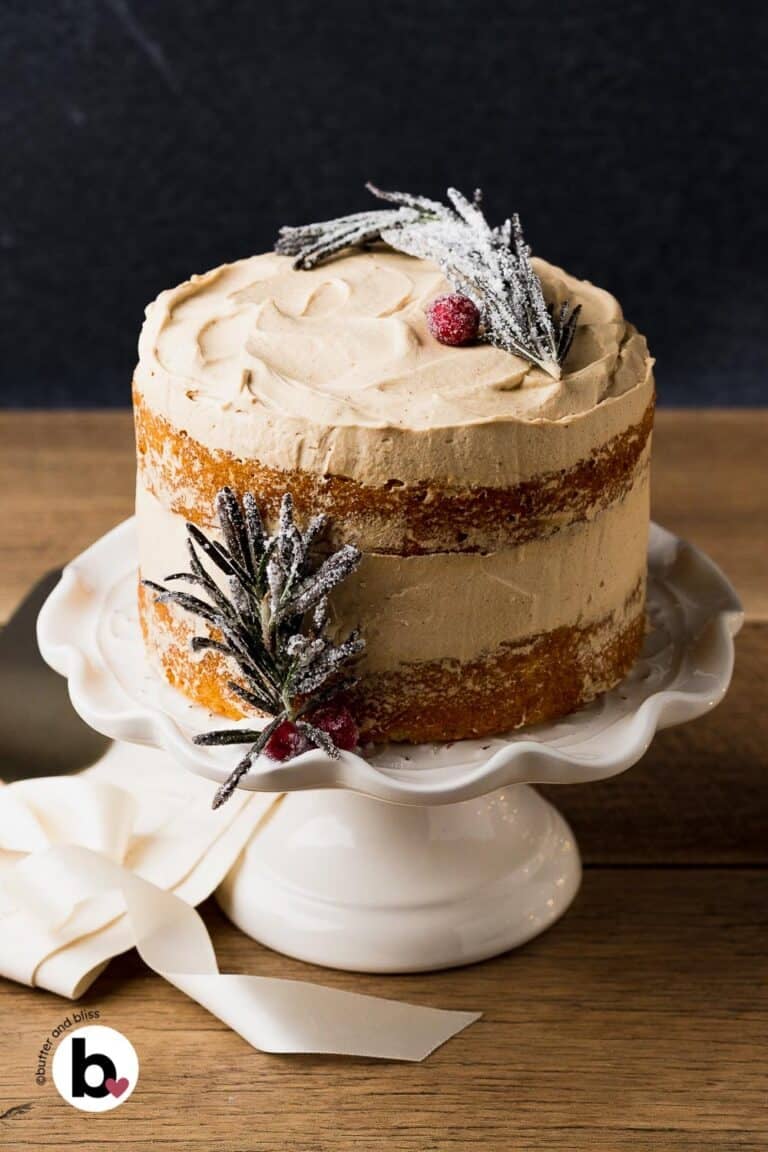
Because it’s a single-layer baked in a smaller pan, it isn’t tall like a stacked celebration cake — just intentionally scaled and simple. If you prefer a perfectly level top for decorating, you can trim the dome once cooled. Otherwise, a generous swirl of vanilla buttercream or chocolate buttercream complements the flavor naturally.
Did You Make It? Let’s Hear About It!
⭐⭐⭐⭐⭐
If this small chocolate cake made your celebration a little sweeter, let me know in the comments below. I always appreciate hearing how you made it your own, and it helps other small-batch bakers, too.

Small 6-Inch Chocolate Cake
by Erin Cernich
Equipment
- Hand Mixer (for frosting)
Ingredients
- ½ cup granulated sugar
- ¼ cup canola oil (or any neutral oil)
- 1 large egg, room temperature
- 2 tablespoons full fat sour cream, room temperature
- 1 teaspoon vanilla extract
- ½ cup all-purpose flour
- ¼ cup unsweetened cocoa powder, Dutch process
- ½ teaspoon baking powder
- ¼ teaspoon salt
- ¼ cup medium brew coffee, very hot (or hot water)
Instructions
- Preheat the oven to 350F degrees and adjust the oven rack to the middle position. Grease a 6-inch round cake pan and line the bottom with a piece of parchment cut to fit.
- In a medium mixing bowl, whisk the sugar, oil, egg, sour cream, and vanilla until smooth and combined.1/2 cup granulated sugar, 1/4 cup canola oil, 1 large egg, room temperature, 2 tablespoons full fat sour cream, room temperature, 1 teaspoon vanilla extract
- In a small mixing bowl, whisk together the flour, cocoa powder, baking powder, and salt.1/2 cup all-purpose flour, 1/4 cup unsweetened cocoa powder, Dutch process, 1/2 teaspoon baking powder, 1/4 teaspoon salt
- Sprinkle the dry ingredients, along with the hot coffee, over the wet and mix until no dry streaks remain. Expect a thinner, drippy cake batter, and it is ok if there are a few lumps. Don't overmix or the cake can turn out gummy and dense.1/4 cup medium brew coffee, very hot
- Pour the batter into the prepared cake pan and bake for 26 to 30 minutes, or until the cake is springy to the touch and a toothpick inserted in the middle comes out mostly clean.
- Cool the cake in the pan set on a wire cooling rack for 10 minutes, then invert onto the rack to cool completely. Make the vanilla buttercream frosting while the cake cools.
- Frost the cake with a spatula or pipe swirls. Add sprinkles or fruit for special occasions.
Notes
- Serving Size – This is a small batch recipe that can be doubled and made in 2, 6-inch cake pans, or an 8-inch cake pan. The larger cake may need 1 to 2 more minutes to bake.
- Flat Cake for Decorating – The cake will bake with a slight dome. If you want a flat top, trim off the dome with a serrated knife.
- Storage and Freezing – The frosted and/or unfrosted cake be covered and stored at room temperature for up to 3 days. To freeze the unfrosted cake, wrap in plastic wrap and place in a freezer bag. Freeze for up to 3 months and thaw in the refrigerator.
- Reader Tip – One of our great readers noted that swapping the granulated sugar with brown sugar worked just as well.
Nutrition Estimates
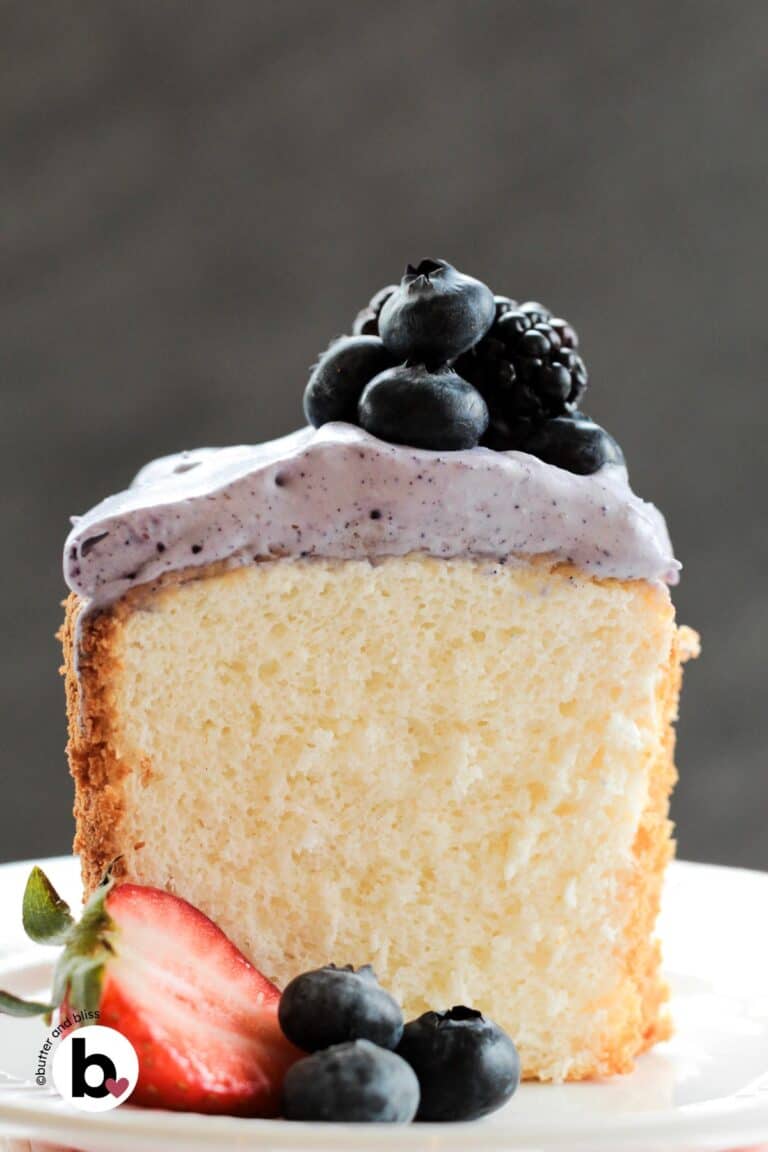
TRY THESE SMALL BATCH RECIPES NEXT!

About the Author …
Hi, I’m Erin! With years of experience baking for two in my own small household, I know about the love for desserts without the leftovers. I’ve tested, written, and photographed every one of the 300+ recipes on my website. And even had some of my desserts featured on Taste of Home, The Spruce Eats, ELLE, Parade, and more! From traditional to gluten free desserts for two, I have the recipe for you.
Click here to learn more about me →
This is very yummy! It’s so moist and flavorful. I used a 9 inch pan and shortened the bake time to 14 minutes. I also did light brown sugar instead of white cane sugar! I added chocolate chips and dusted with powdered sugar. 10/10
Thank you Gabriela! The chocolate chips sounds awesome – I’ll have to try that next time. Appreciate you trying the recipe and letting us know how it turned out!