Chocolate Orange Mini Tarts
This post may contain affiliate links. See my disclosure policy.
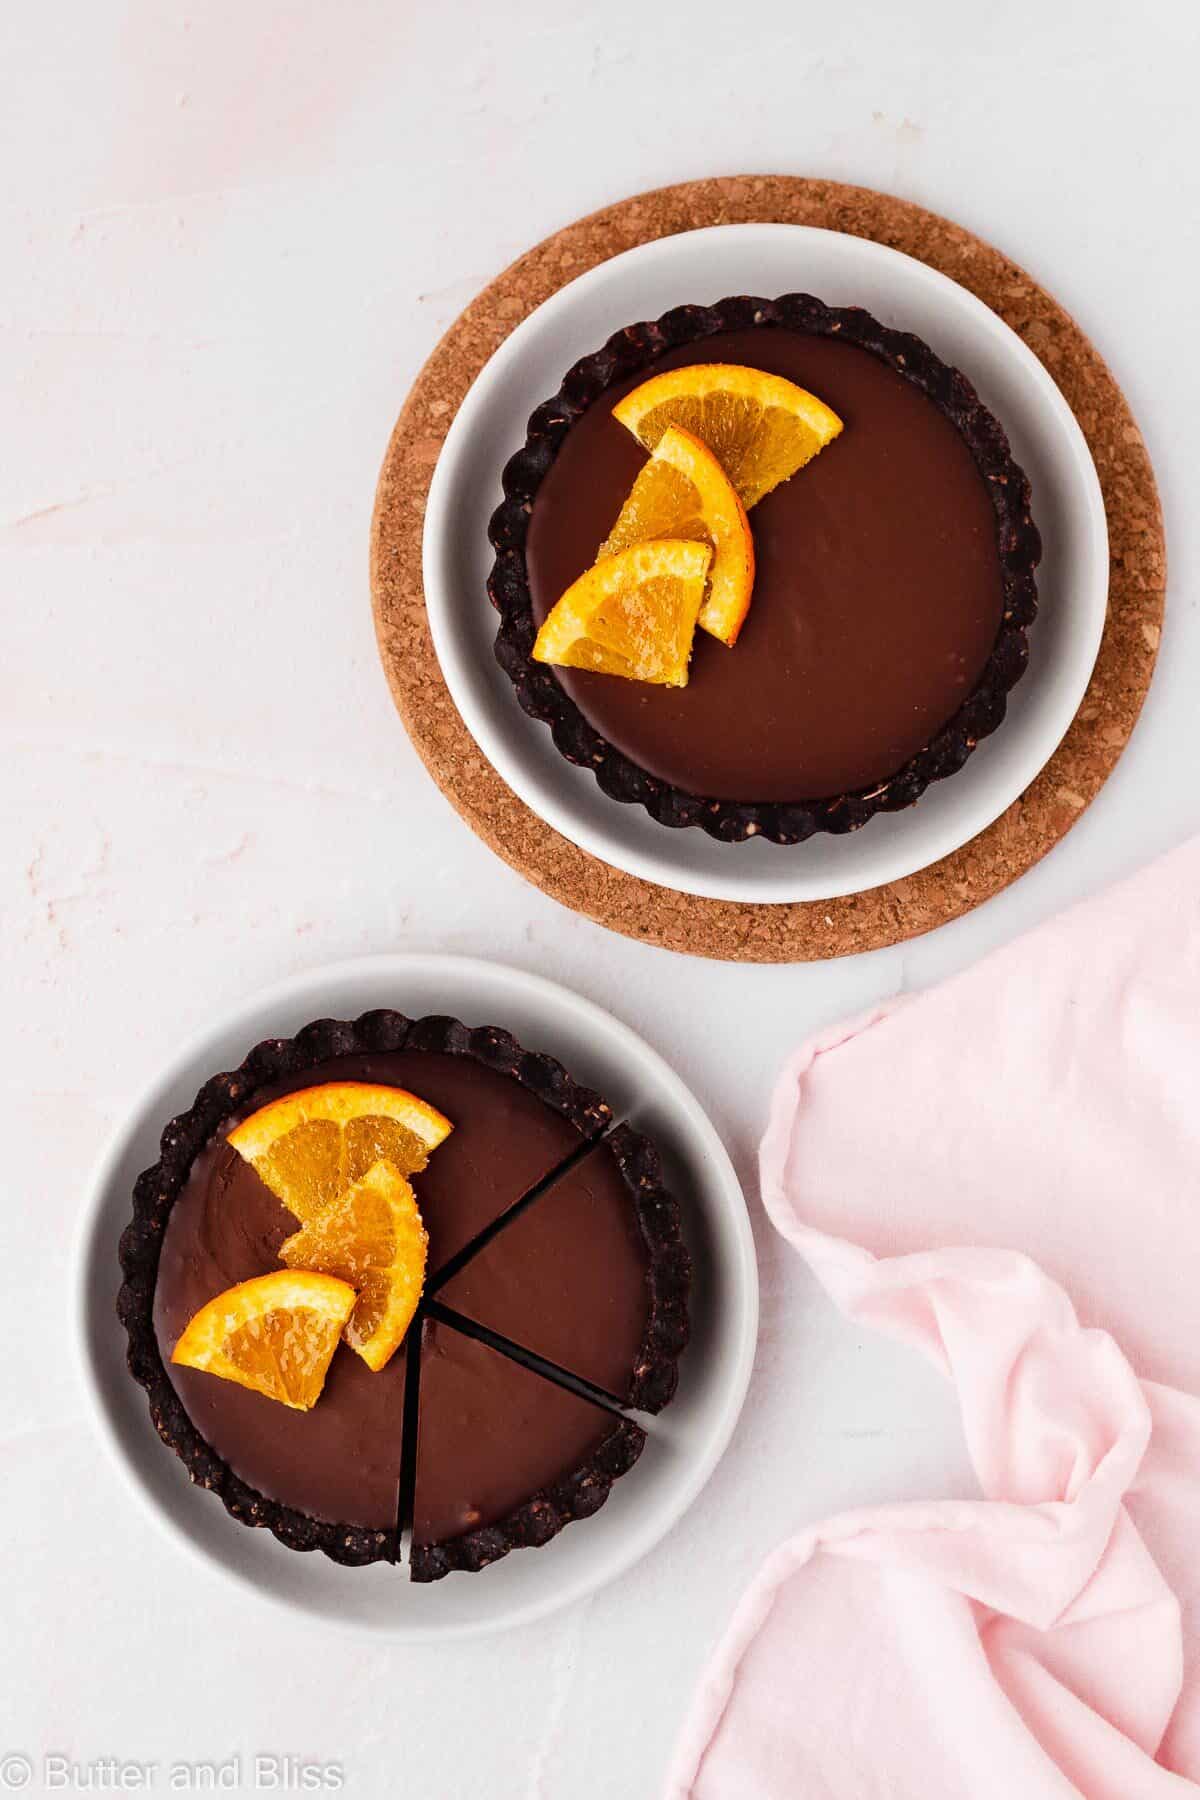
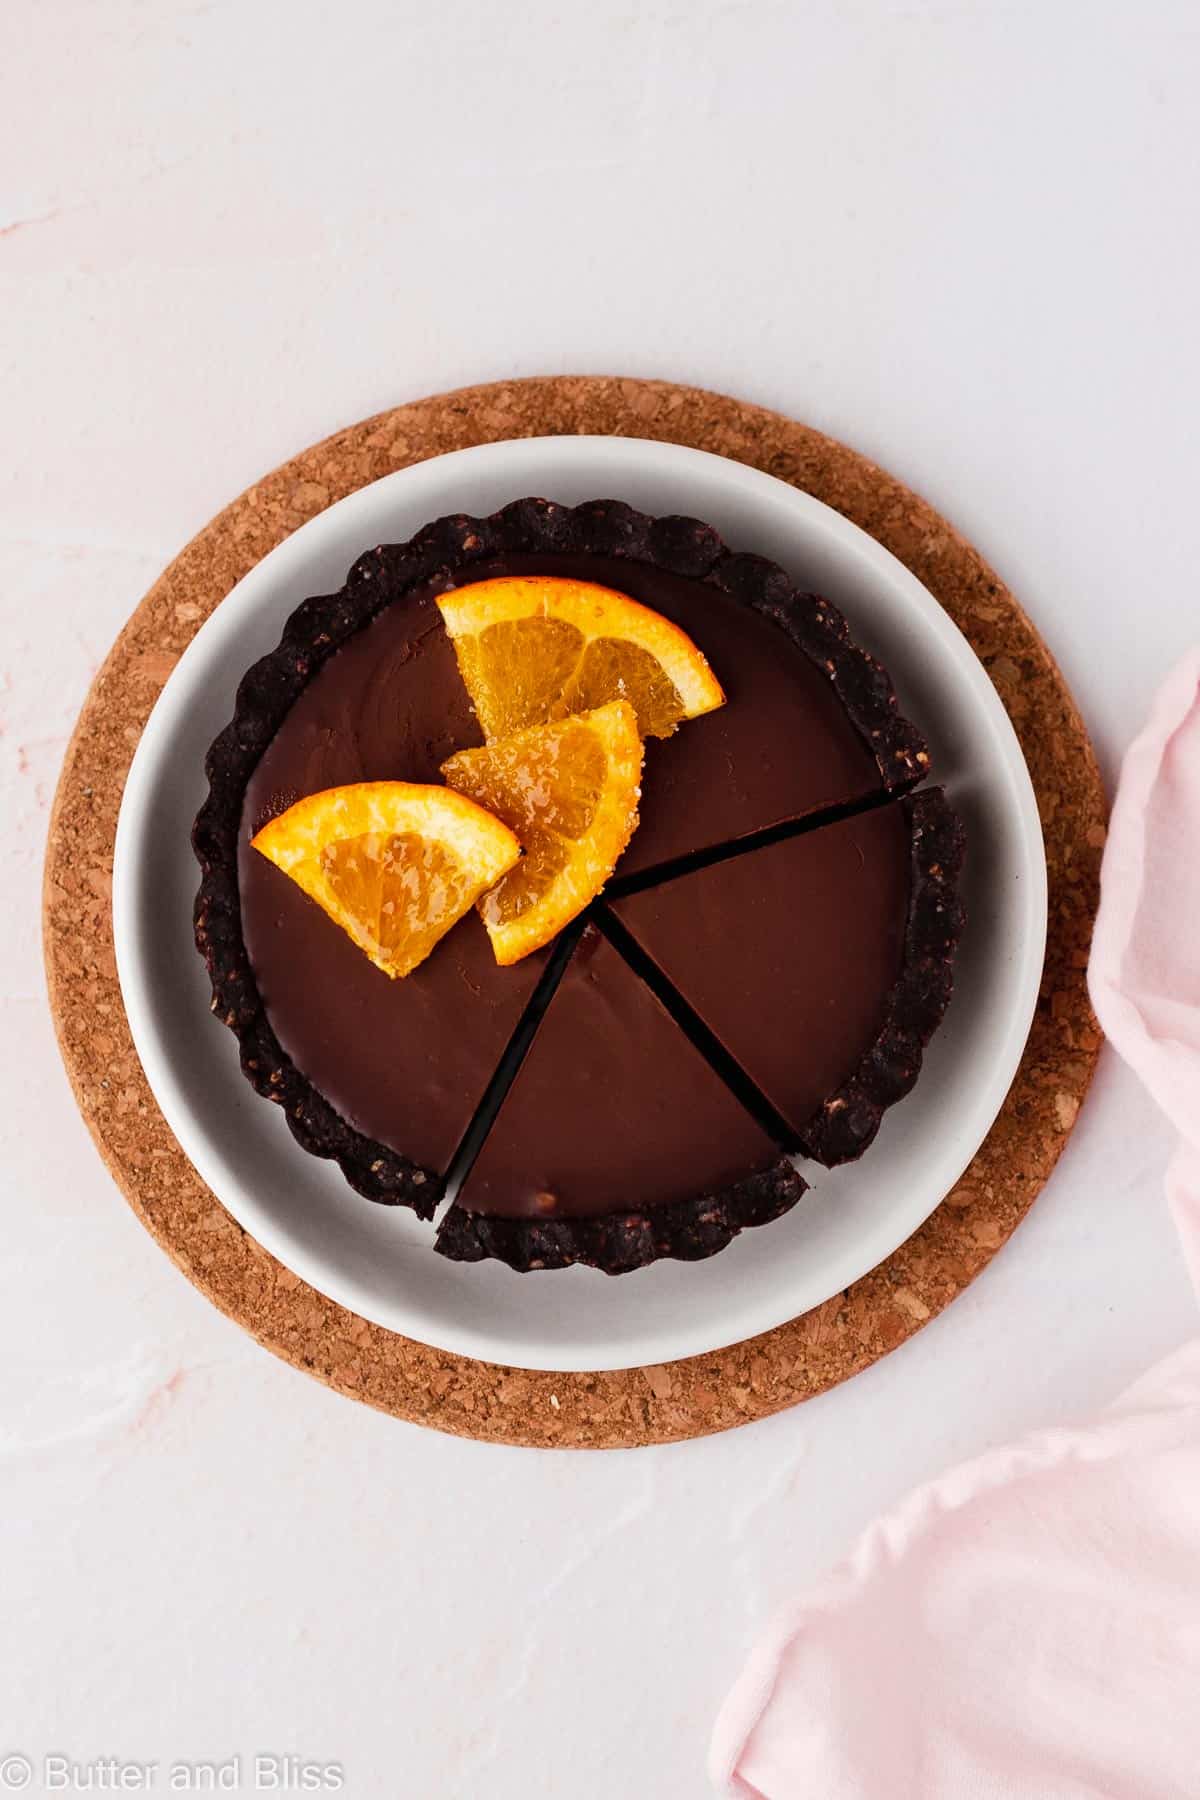
A small batch recipe for chocolate and orange mini tarts that is naturally gluten free made with an almond and oat cocoa crust, and a creamy chocolate ganache filling brightened with fresh orange zest and juice.

Chocolate Orange Mini Tarts
- Refined Sugar-Free – Coconut sugar and pure maple syrup provide sweetness in the crust. The natural sweeteners provide a buttery and rich flavor.
- Gluten Free – A combination of almond flour and rolled oats makes up the spoon-worthy tart crust.
- No-Bake Dessert – With this chocolate dessert recipe, there is no need to turn on the oven.
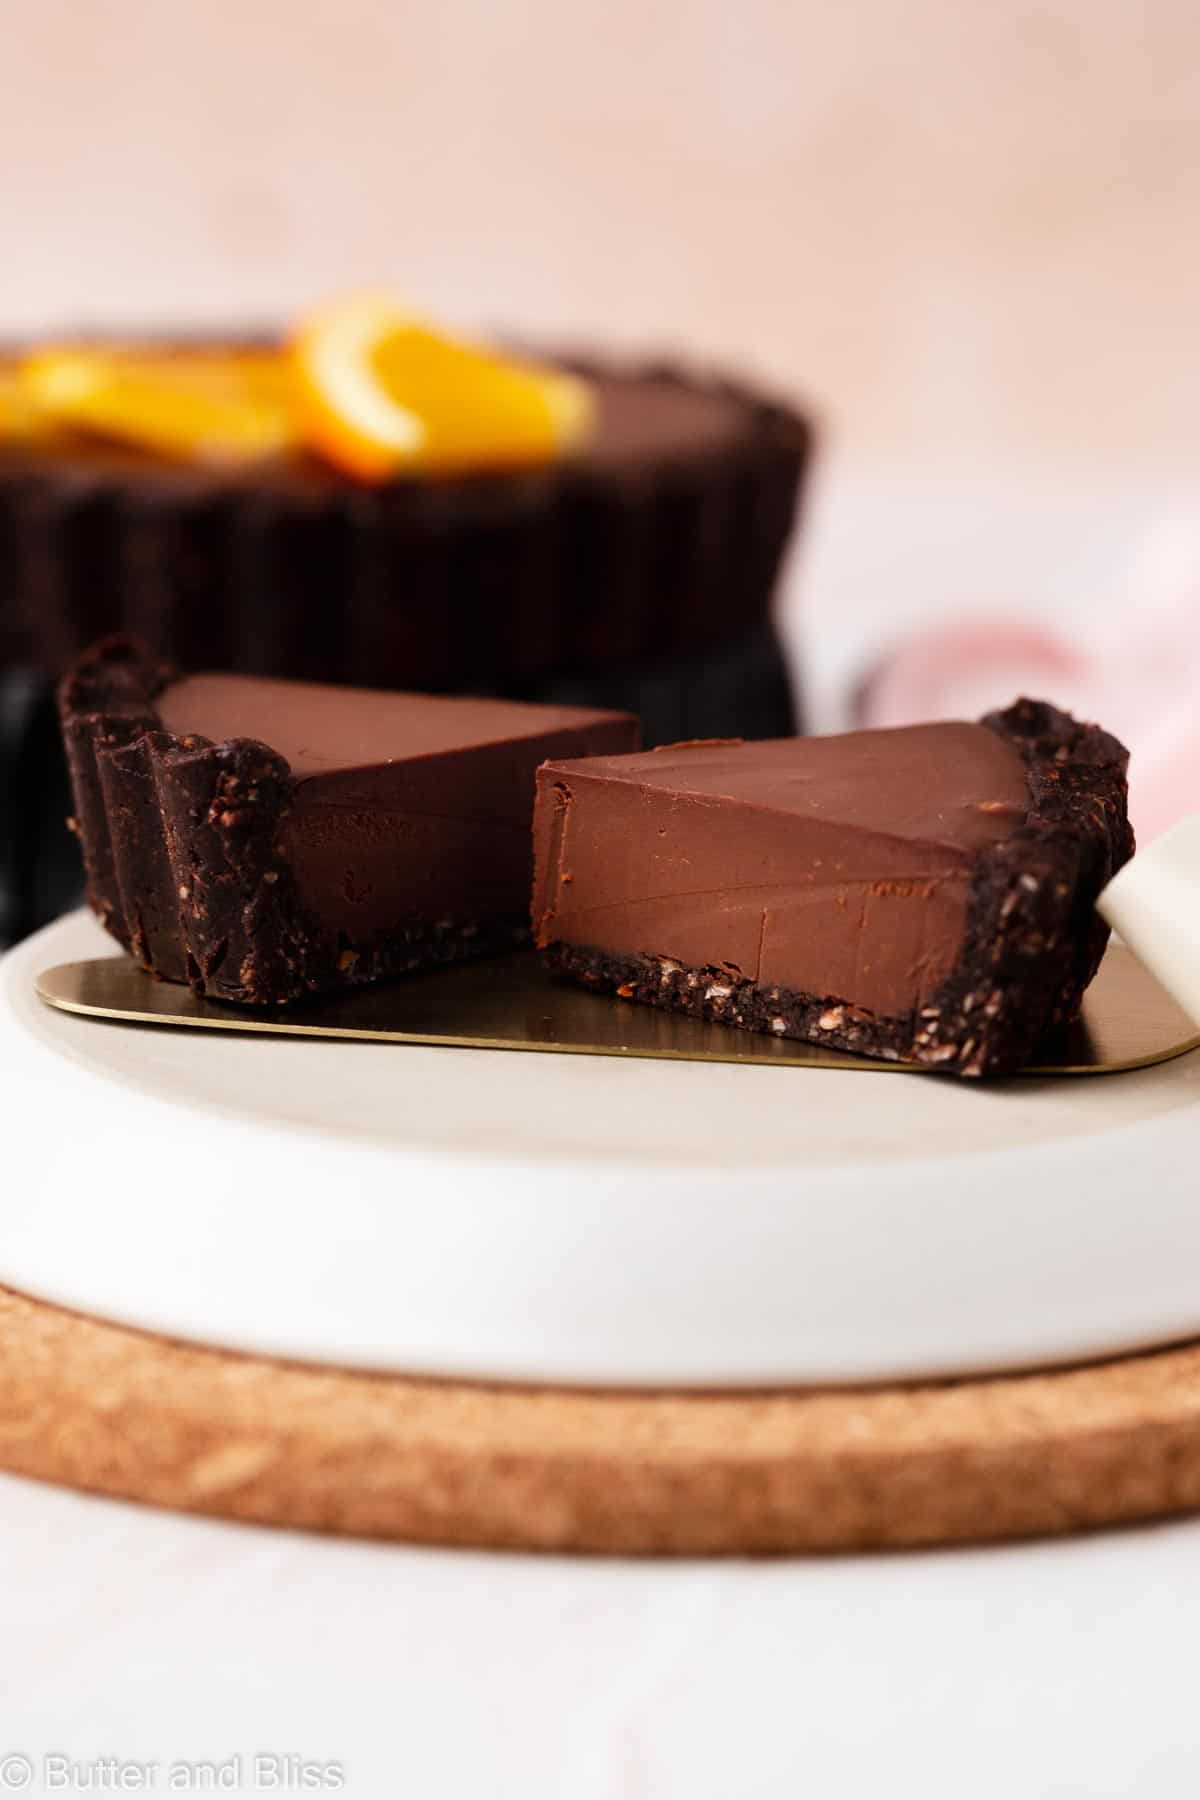
- Brightened with Orange – Fresh orange juice and zest provide the perfect pairing with the rich, truffle-like chocolate filling.
- Perfect For Two – This is one dessert that would be a decadent finale to a romantic Valentine’s Day dinner.
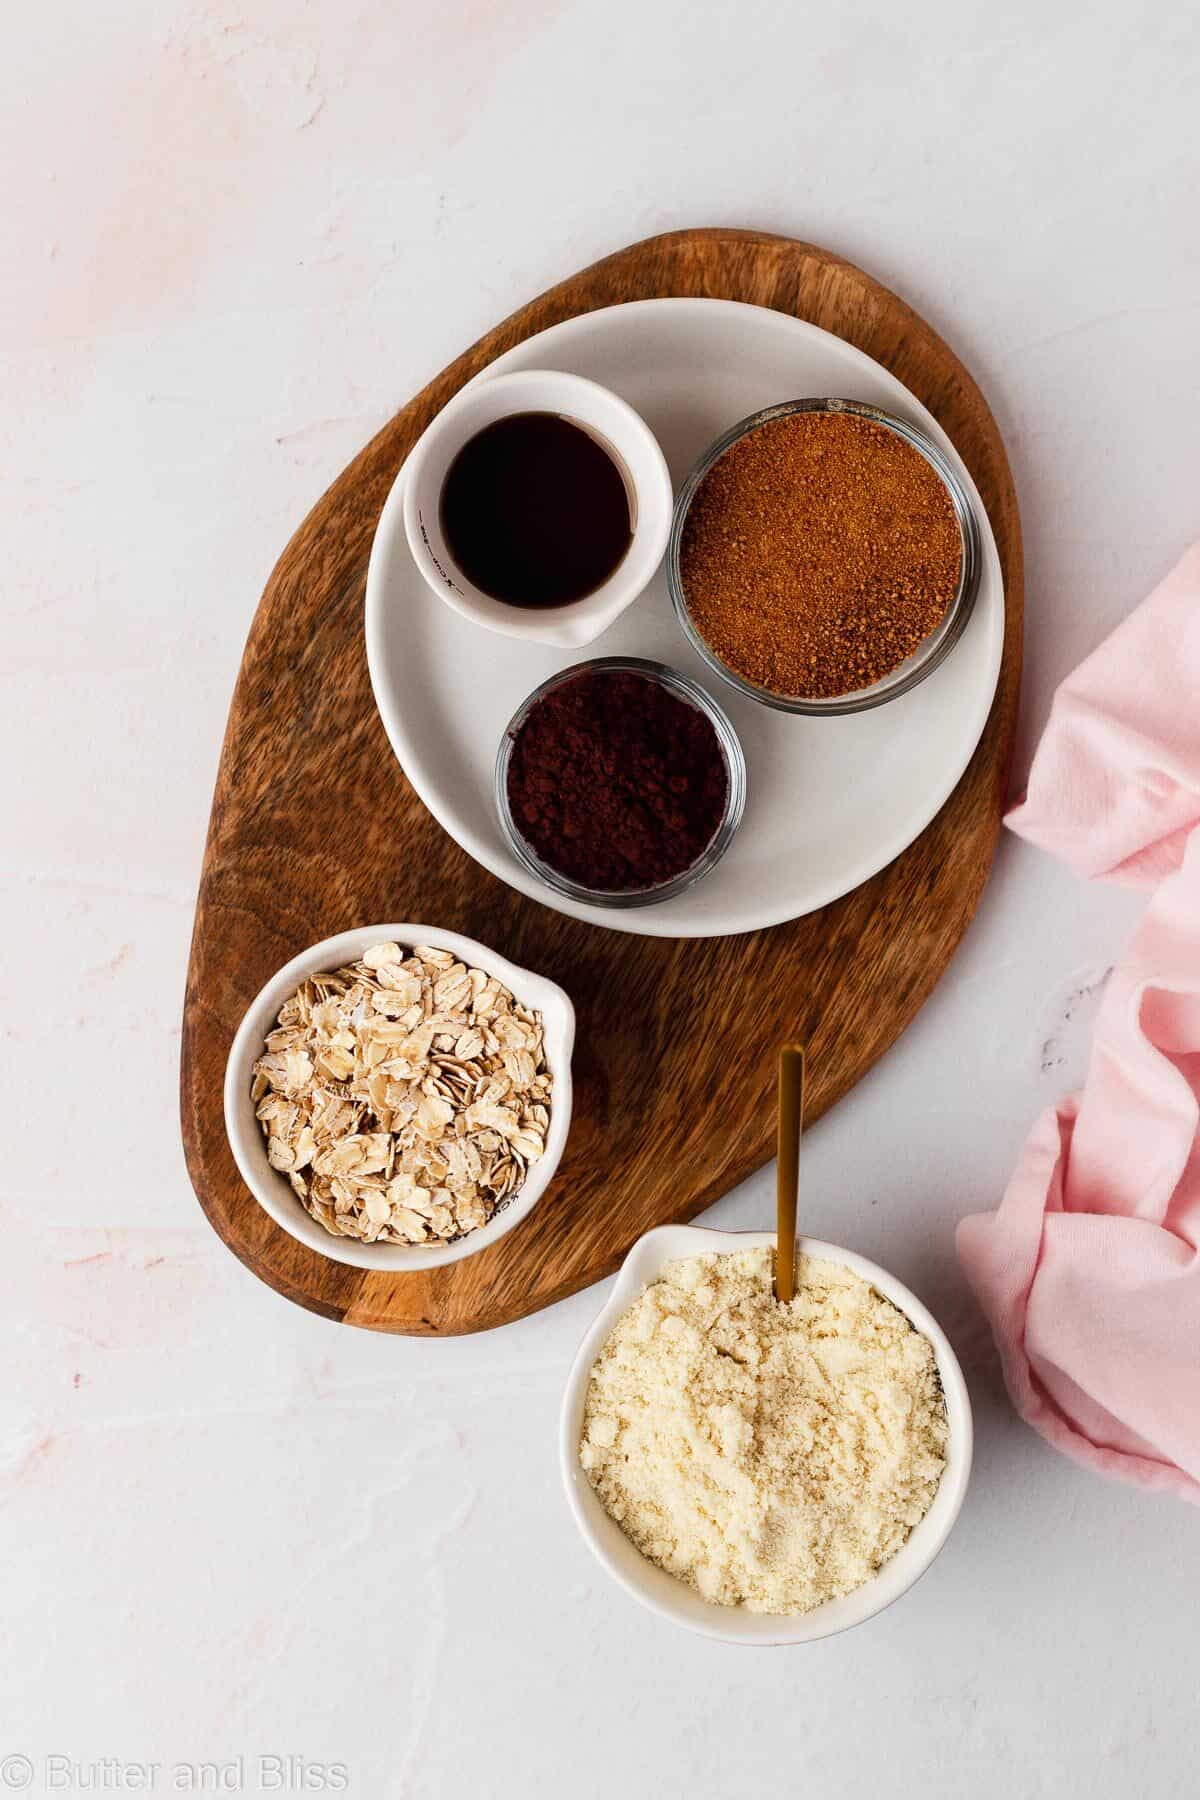
Key Ingredients For the Chocolate Mini Tarts
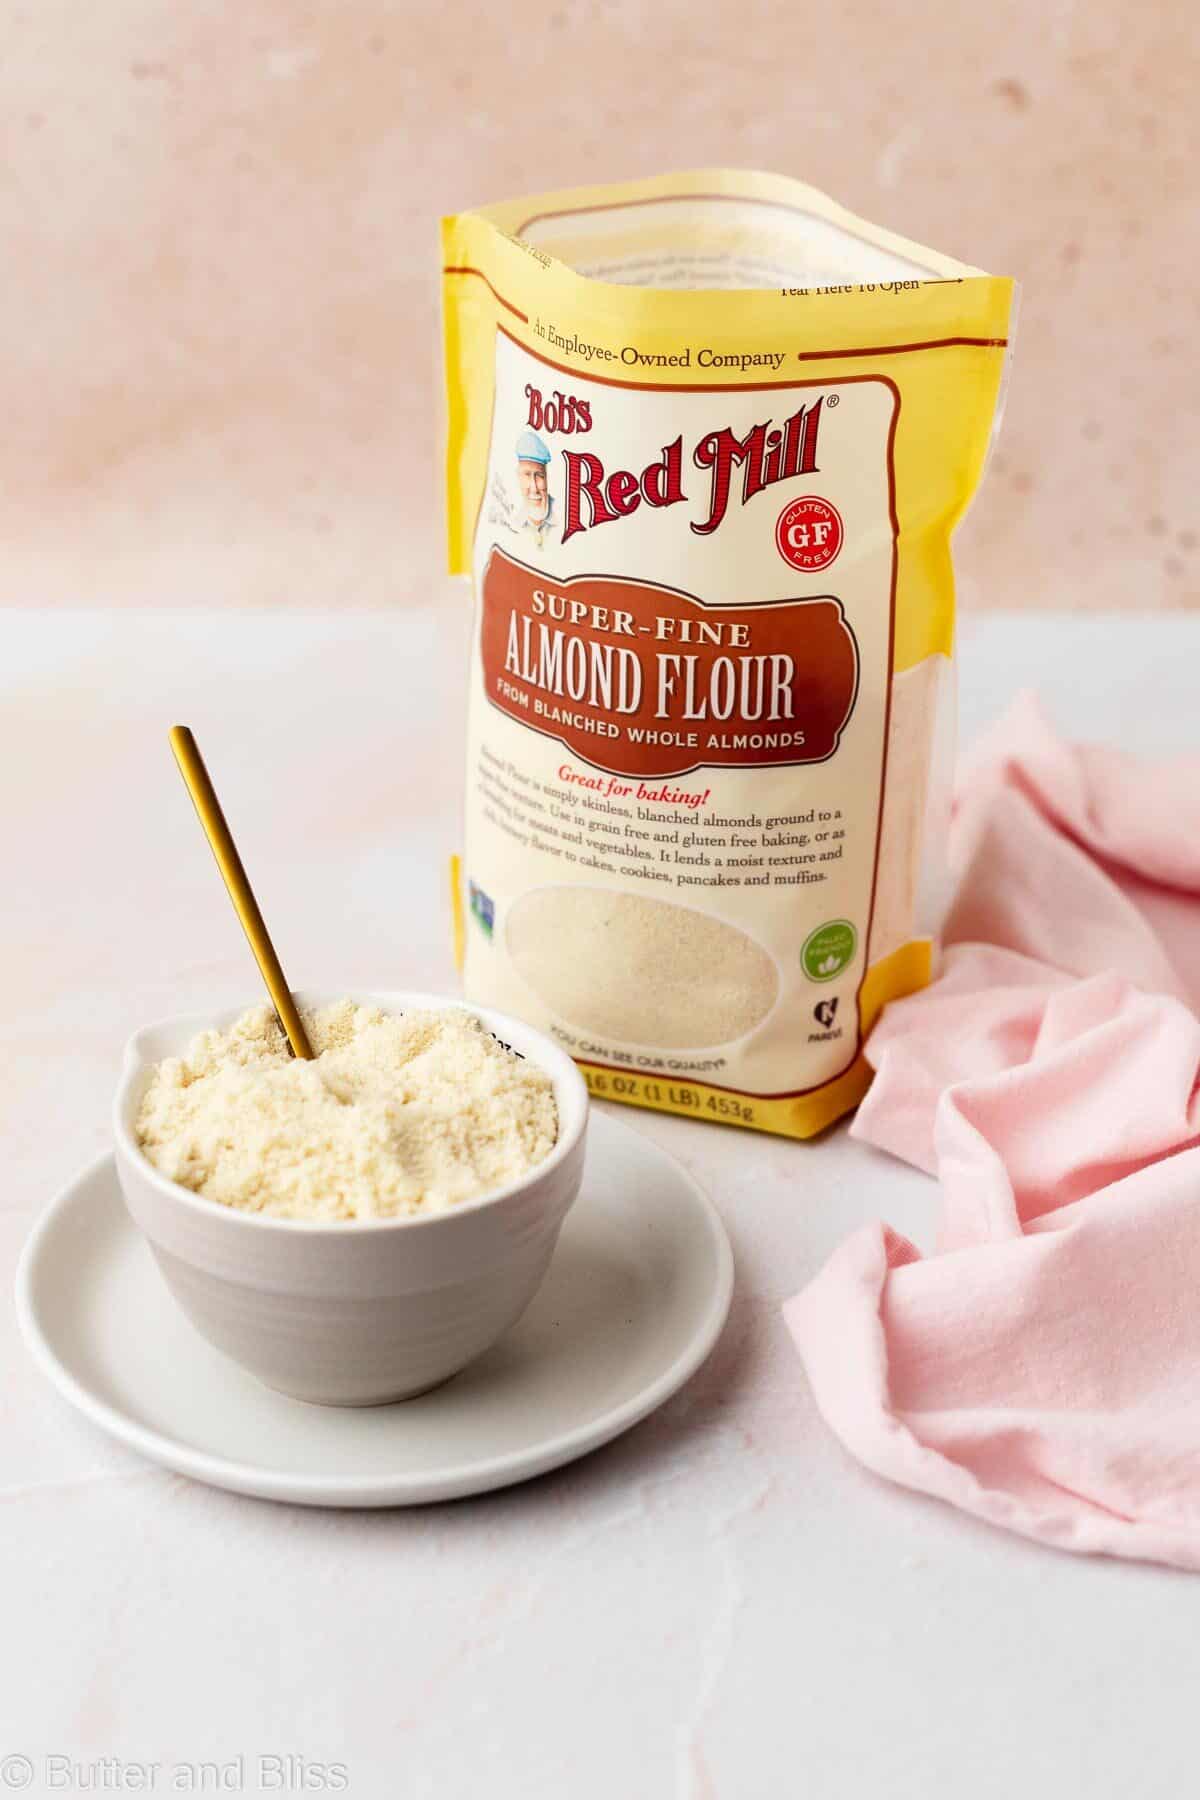
- Almond Flour – Blanched, super fine almond flour is what I use. I have provided a (affiliate) link in the recipe.
- Rolled Oats – To ensure the recipe is gluten free, look for rolled oats labeled gluten free – like Bob’s Red Mill. Some oats are processed and packaged in facilities that also process gluten ingredients.
- Cocoa Powder – I recommend Dutch process cocoa because it has a bolder chocolate flavor, and is not as acidic as natural cocoa. However, natural cocoa will work.
- Pure Maple Syrup – A little maple syrup will add buttery sweet notes, and help keep the tart crust together.
- Unsalted Butter – The butter acts as the main binder to keep the tart crust together. You could also swap in melted coconut oil if you prefer.
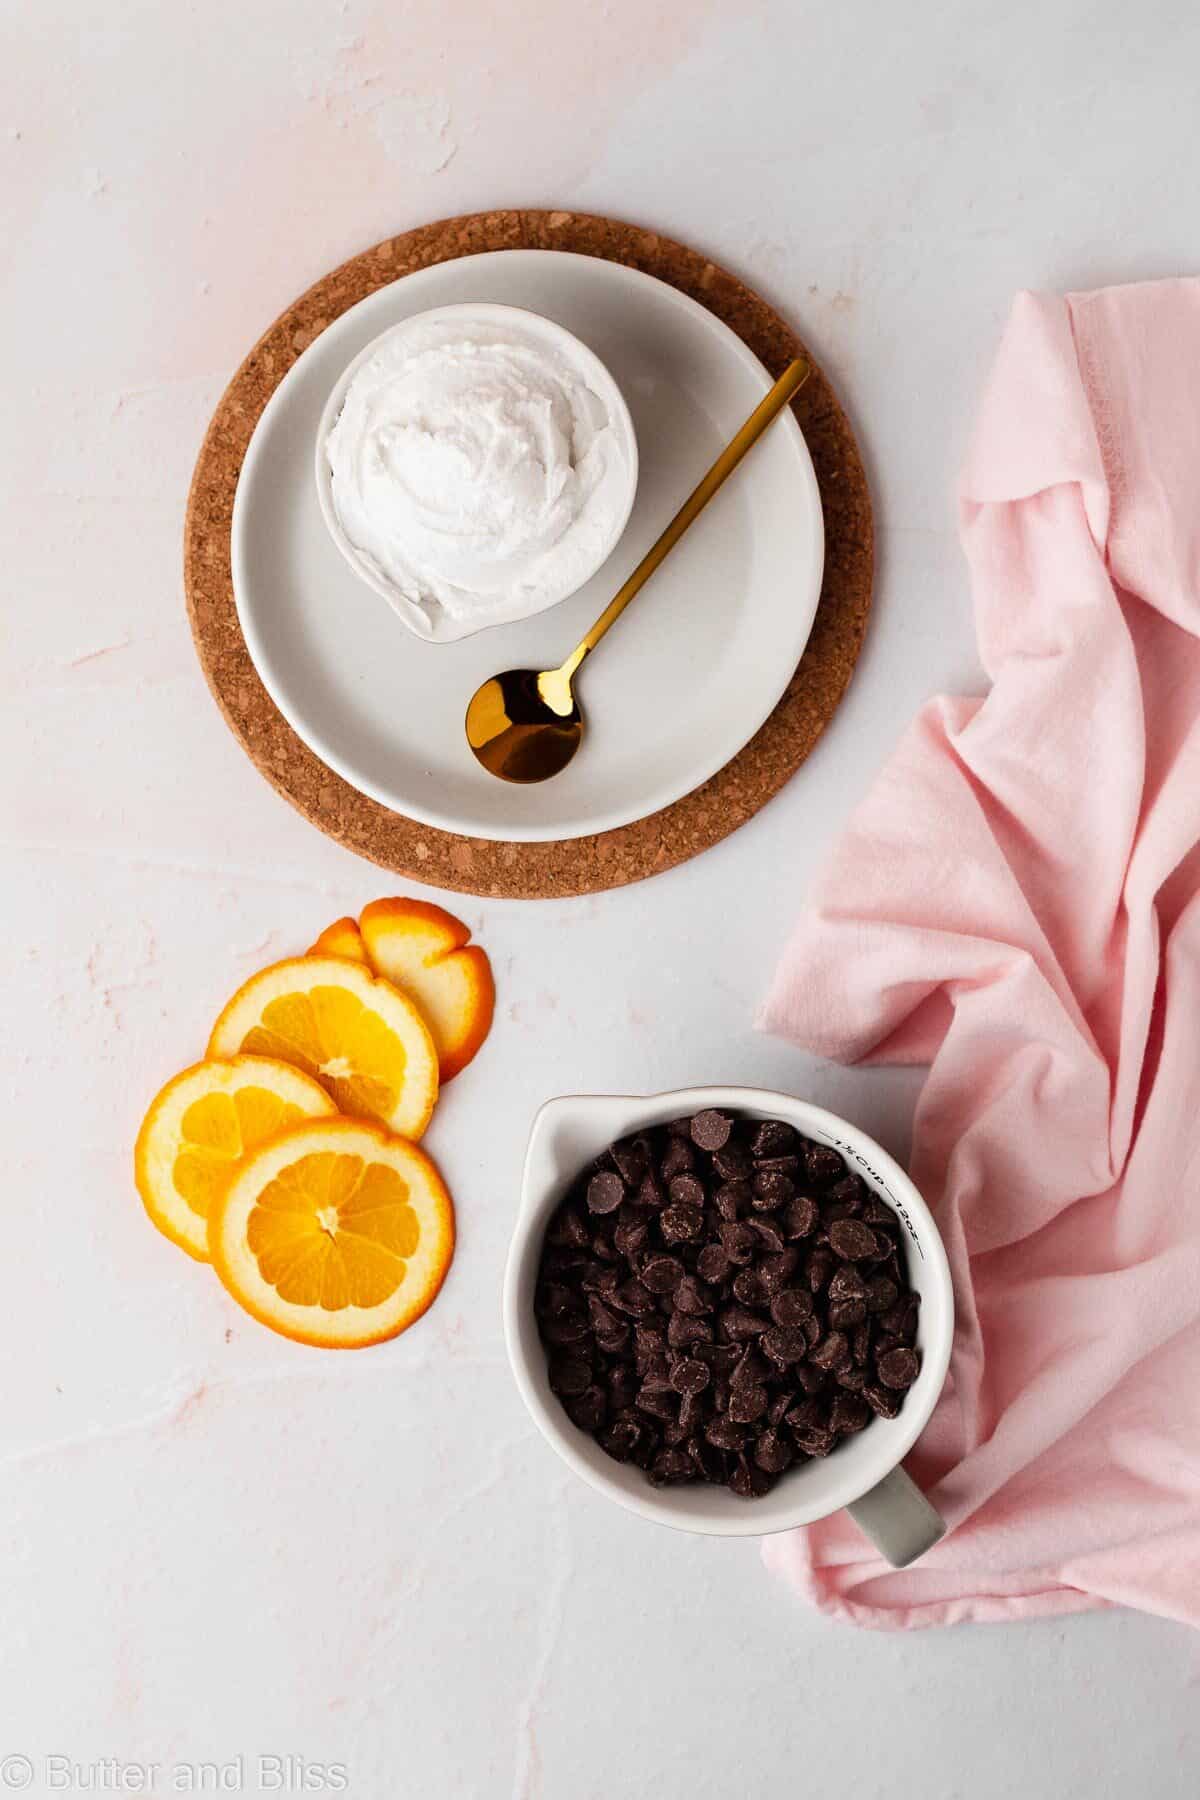
- Fresh Orange – We are using half of the medium orange for the zest and juice. Along with a few slices to garnish.
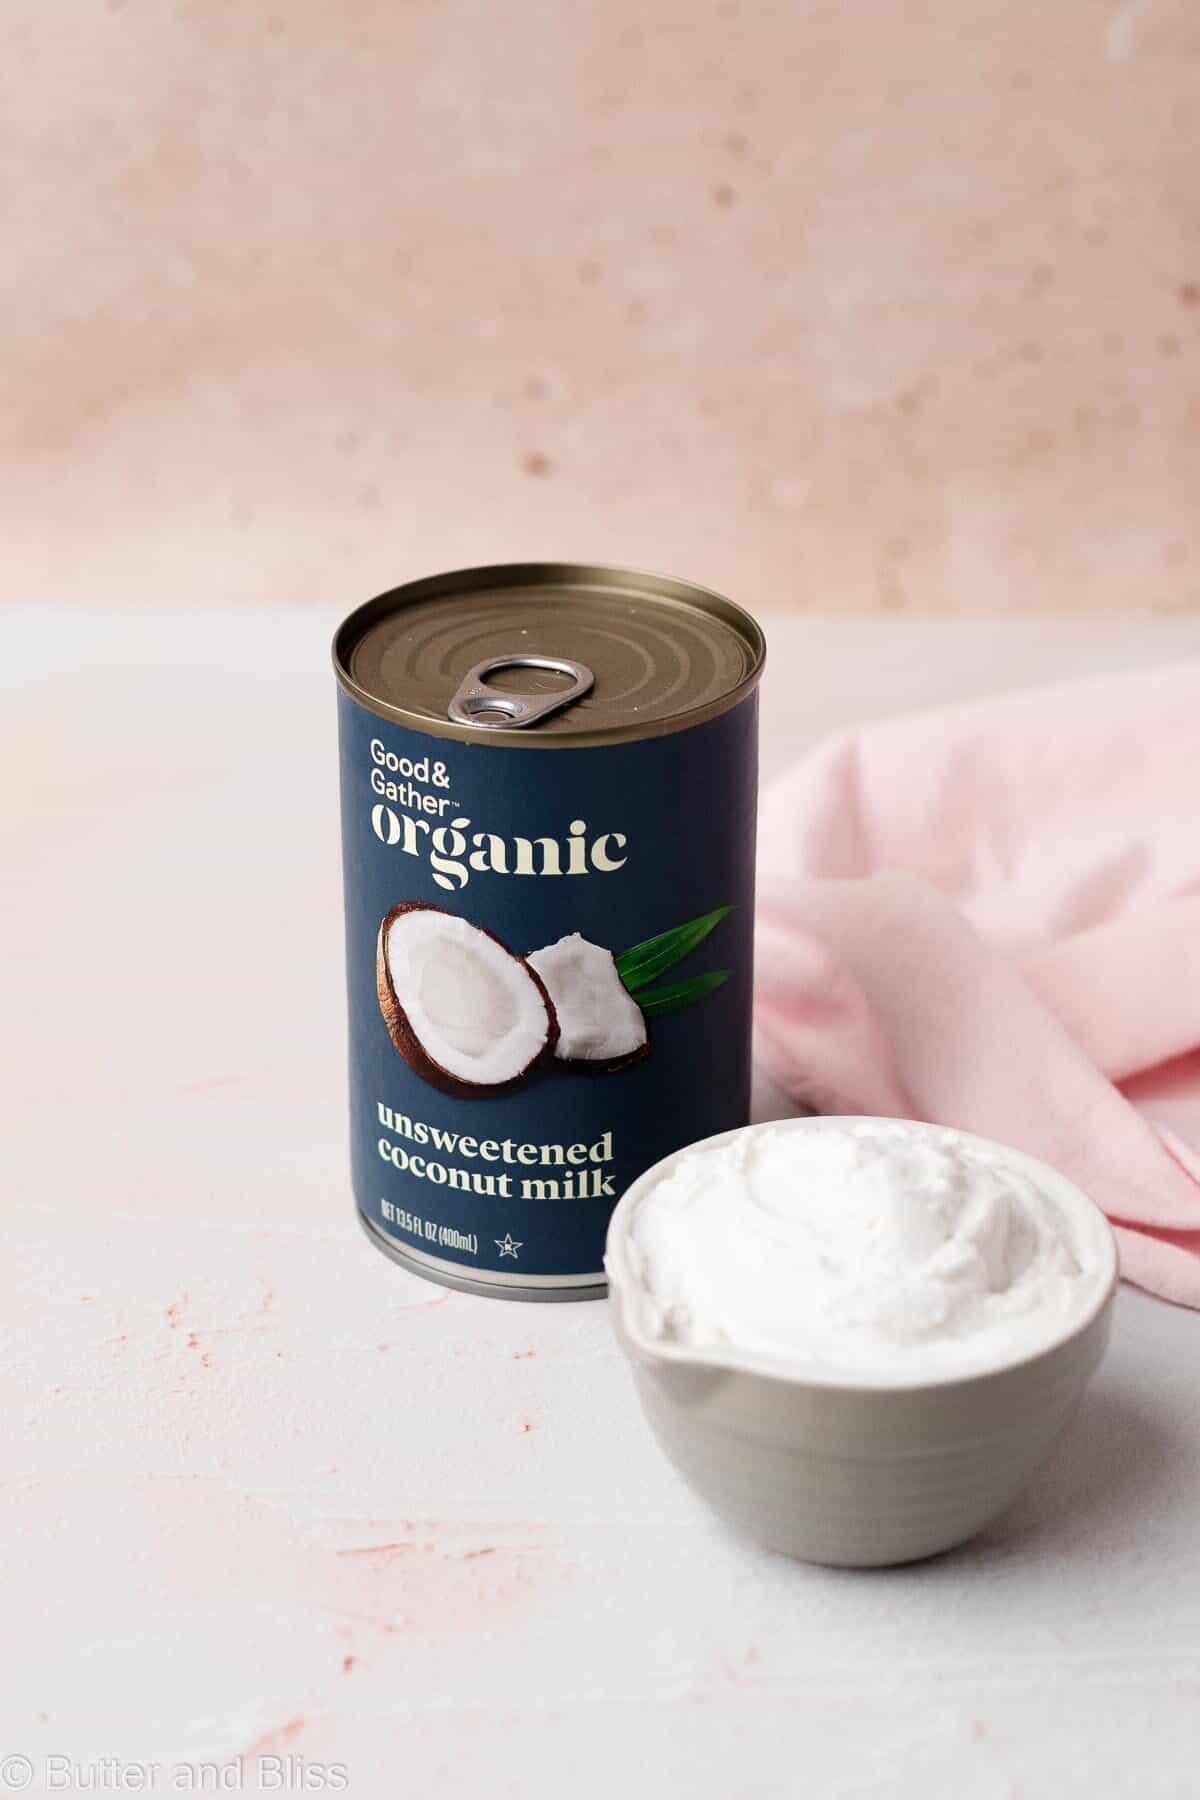
- Unsweetened Canned Coconut Milk – Coconut cream from the can will make the chocolate filling extra smooth and creamy.
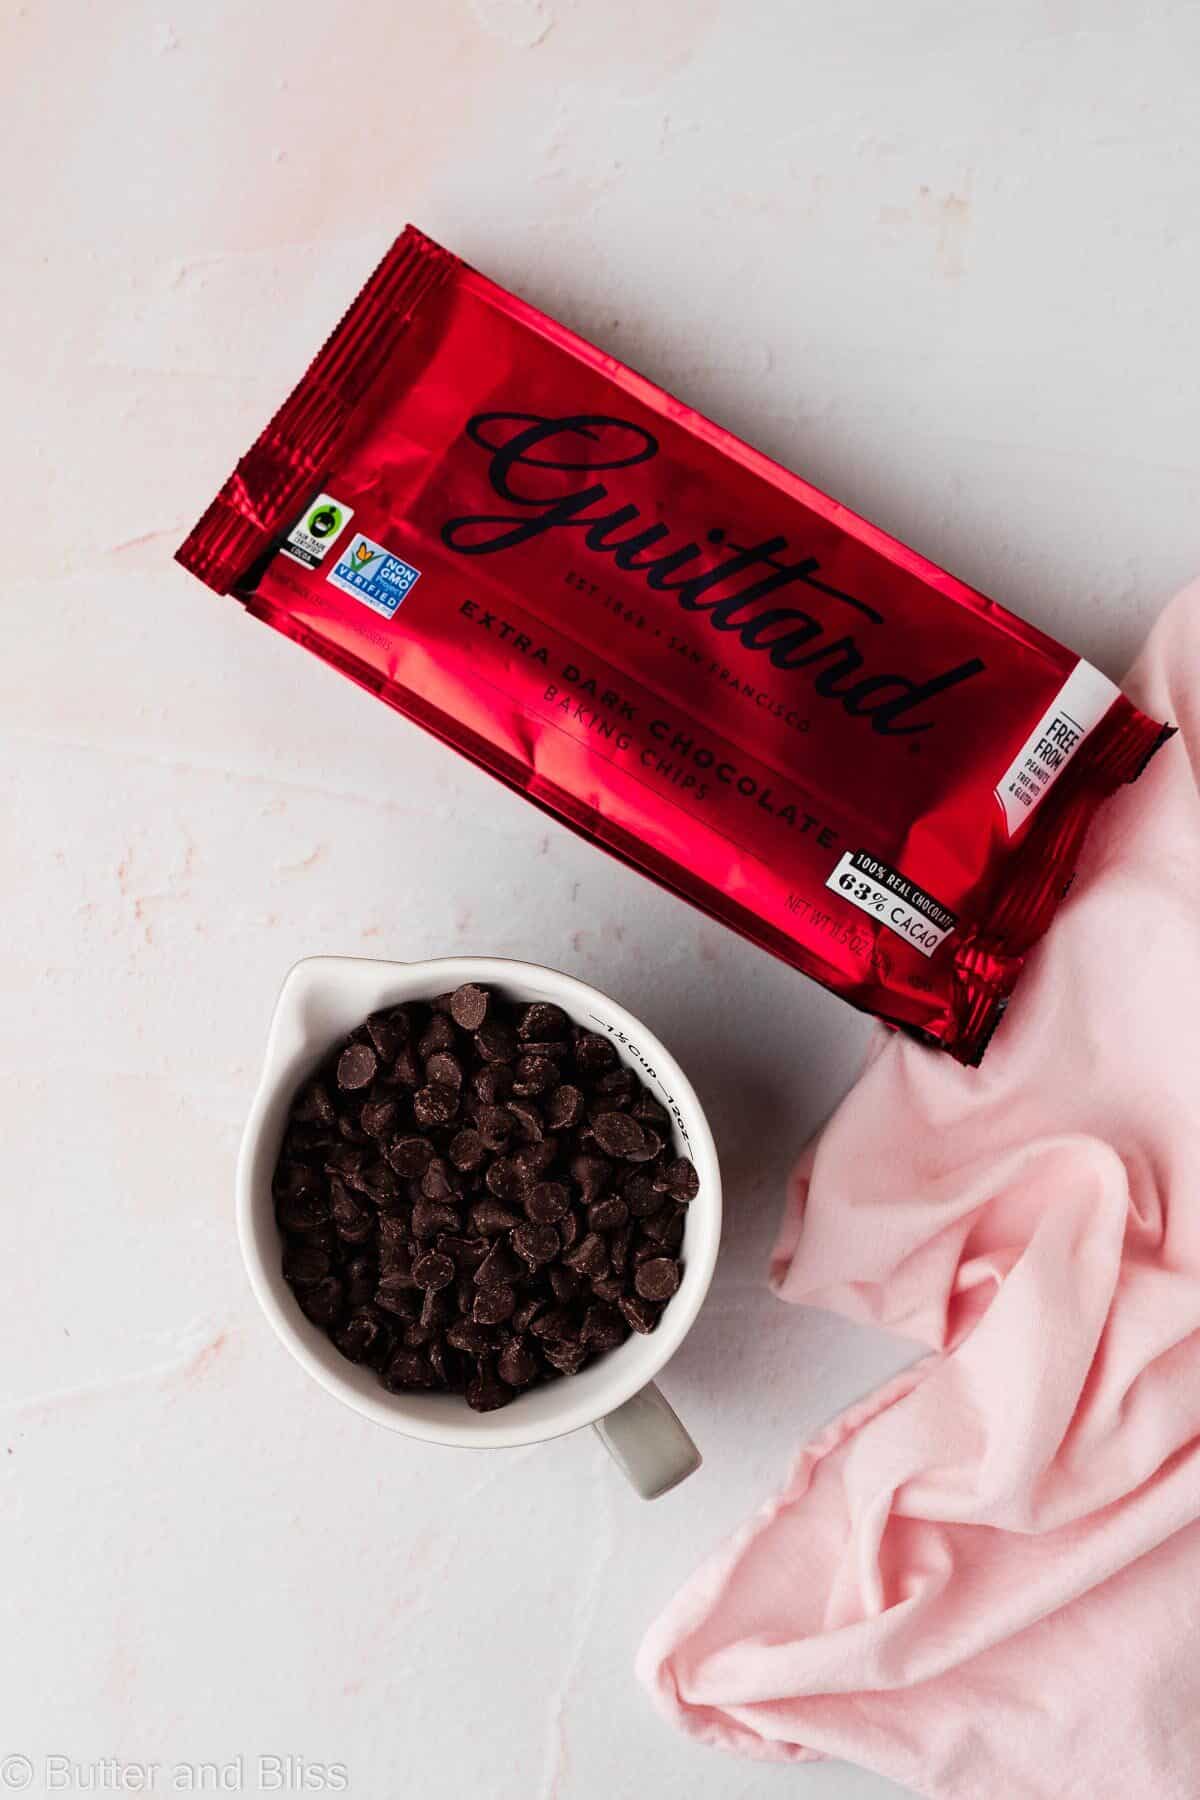
- Chocolate Chips – I recommend good quality chocolate chips for a deep flavor.
helpful Tips
- Use a fresh orange – While it may be tempting to just use some orange juice from the fridge, you’ll miss out on the zest! The zest from the orange carries an immense amount of flavor that goes so well with chocolate.
- Refrigerate the can of coconut milk overnight – This will separate the coconut solids and liquid in the can.
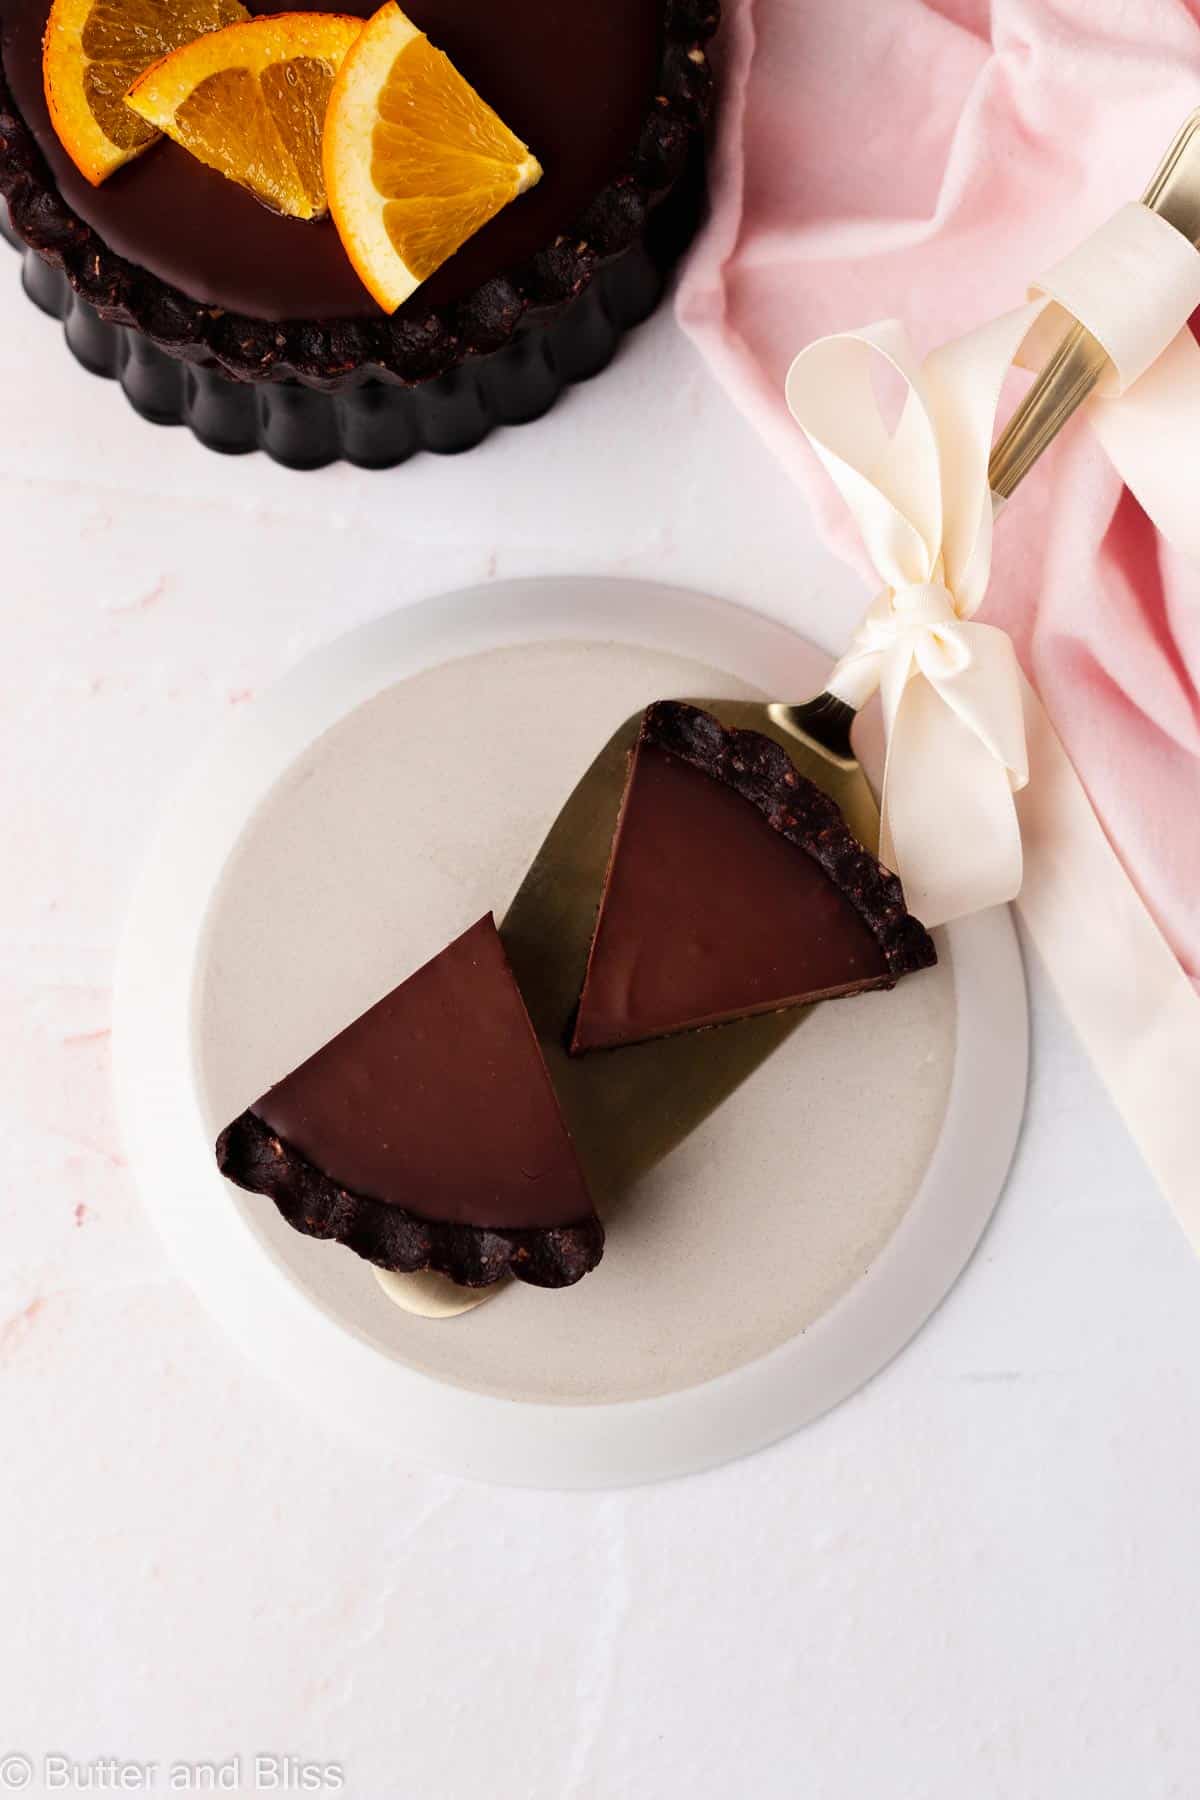
- Brûlée orange slices to garnish – To make these chocolate tarts even more impressive, brûlée a few orange slices to garnish the tarts. To do this: Sprinkle the orange slices with sugar and melt the sugar with a small kitchen torch. This leaves you with a hard candy coating on top of the oranges!
Recipe FAQ
A couple of things could have happened: too much liquid/milk was added to the chocolate, or the filling needed more time in the refrigerator to set up.
Chocolate Orange Gluten Free Tart
by Erin Cernich
Ingredients
Chocolate Tart Crust
- ¾ cup blanched almond flour
- ½ cup rolled oats
- 2 tablespoons unsweetened cocoa powder, Dutch process
- 2 tablespoons coconut sugar
- ¼ teaspoon salt
- 1 tablespoon pure maple syrup
- 3 tablespoons unsalted butter, melted
Chocolate Orange Filling
- 1 cup chocolate chips (dark or semi-sweet)
- ¼ teaspoon salt
- ¾ cup unsweetened canned coconut cream, full fat (refrigerated overnight for best results)
- fresh orange zest (from 1/2 an orange)
- fresh orange juice (from 1/2 an orange)
Instructions
Chocolate Tart Crust
- Very lightly grease the tart pans with butter or cooking spray. This will make getting the tarts out of the pans easier.
- In the work bowl of a food processor, add all the ingredients for the tart crust. Pulse until the mixture is moistened starts to clump into a dough.3/4 cup blanched almond flour, 1/2 cup rolled oats, 2 tablespoons unsweetened cocoa powder, Dutch process, 2 tablespoons coconut sugar, 1/4 teaspoon salt, 1 tablespoon pure maple syrup, 3 tablespoons unsalted butter, melted
- Divide the dough into equal portions and press firmly and evenly into the tart pans. Making sure to get into the corners and into the nooks on the sides of the pans. Refrigerate the tart crusts until ready to add the filling.
Chocolate Orange Filling
- Zest half of an orange into a small bowl. Then juice that half of the orange.
- In a small mixing bowl, add the chocolate chips and salt.1 cup chocolate chips, 1/4 teaspoon salt
- In a small saucepan add the coconut milk solids and heat over medium heat until the milk starts form bubble along the sides of the pan. Do not boil. Note – Refrigerating the can of coconut milk overnight will separate the coconut liquid and solids. For a super creamy filling, I recommend using only the solids from the can of coconut milk.3/4 cup unsweetened canned coconut cream, full fat
- Pour the heated coconut milk over the chocolate chips. Let the mix sit for 2 to 3 minutes before stirring – to allow the heated milk to melt the chocolate. Stir the filling until smooth and creamy. Add the orange juice and zest and stir to combine.fresh orange zest, fresh orange juice
- Pour the filling equally into the prepared tart crusts. Cover the tarts with plastic wrap and refrigerate for at least 2 hours to allow the filling to set.
- To Serve – Gently remove the tarts from the tart pans. Garnish with orange slices to serve and Enjoy! Tip – For a fancy presentation, you can brûlée the orange slices. Place the orange slices on a metal baking sheet, sprinkle with sugar, and use a small kitchen torch to melt the sugar.
Nutrition Estimates


About the Author …
Hi, I’m Erin! With years of experience baking for two in my own small household, I know about the love for desserts without the leftovers. I’ve tested, written, and photographed every one of the 300+ recipes on my website. And even had some of my desserts featured on Taste of Home, The Spruce Eats, ELLE, Parade, and more! From traditional to gluten free desserts for two, I have the recipe for you.
Click here to learn more about me →