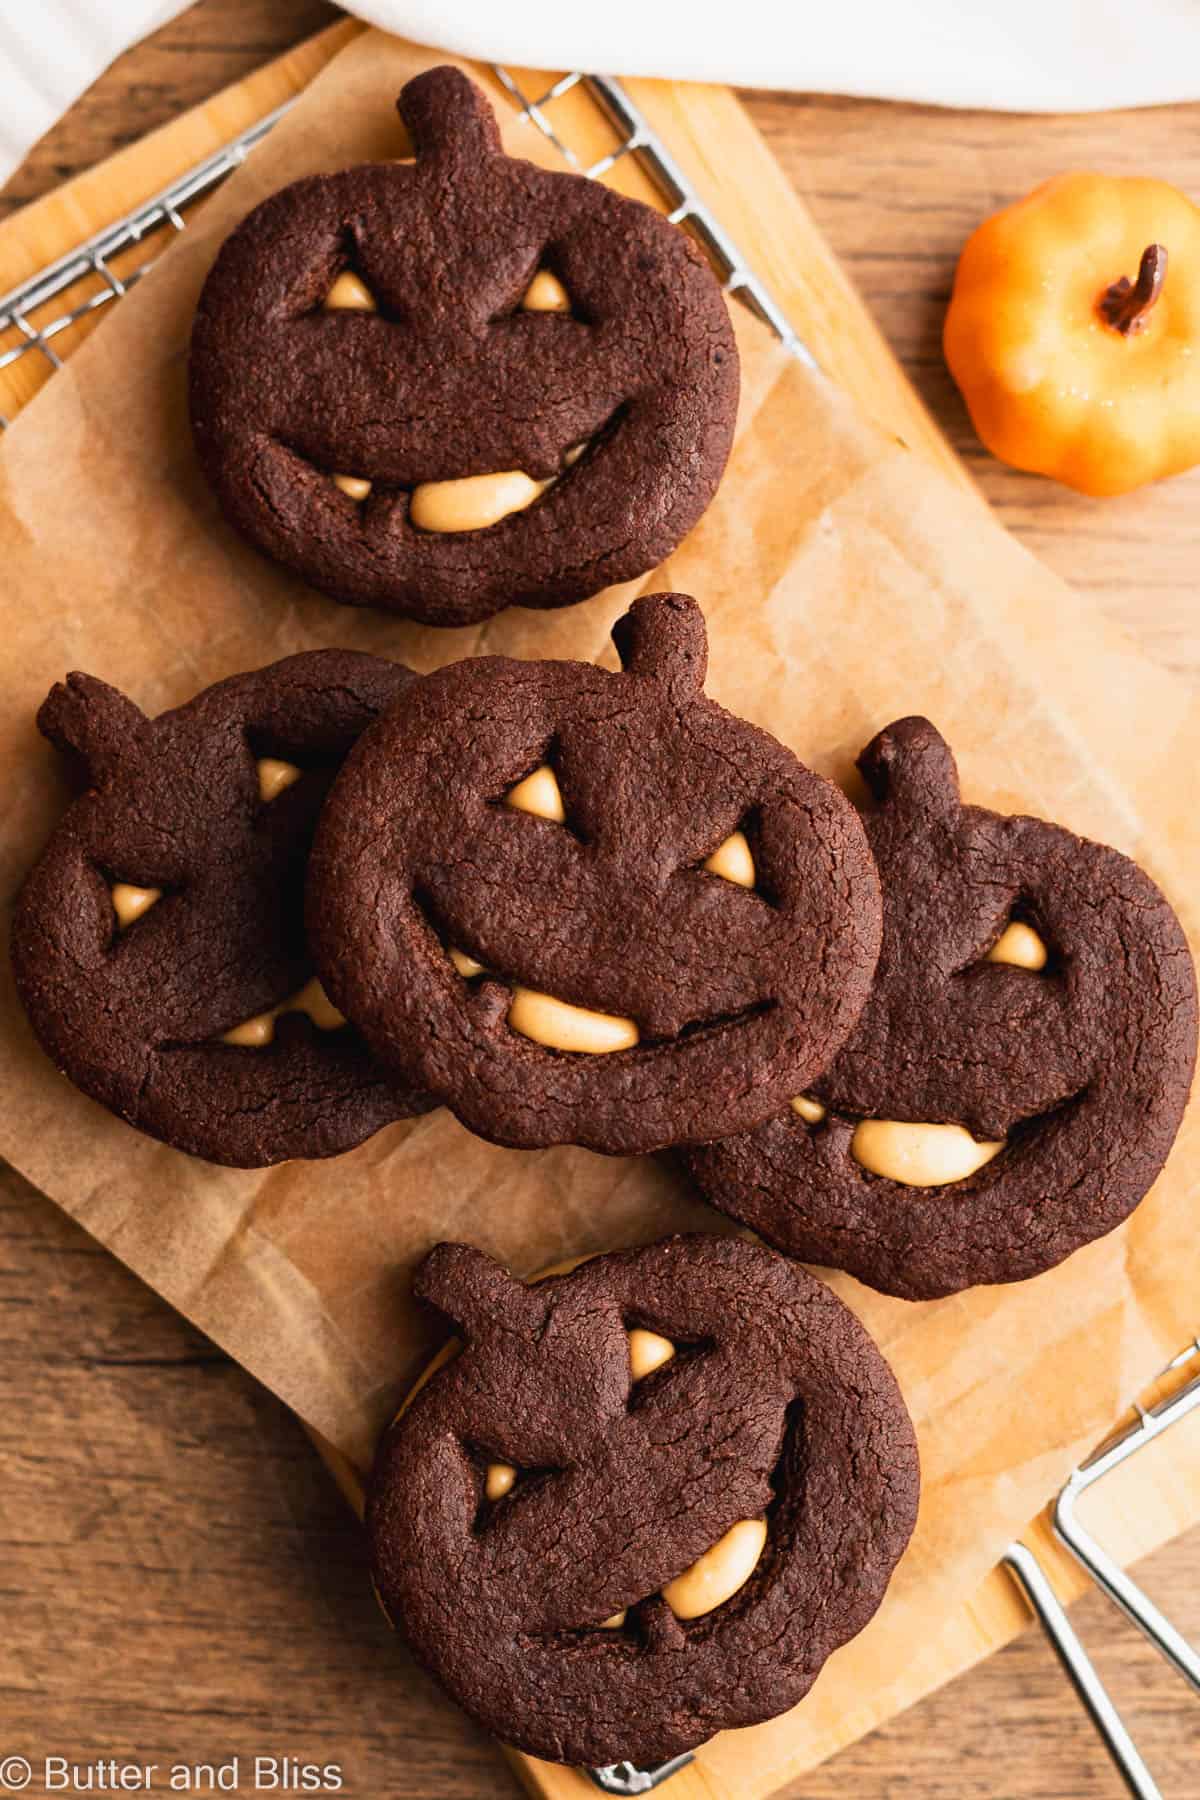
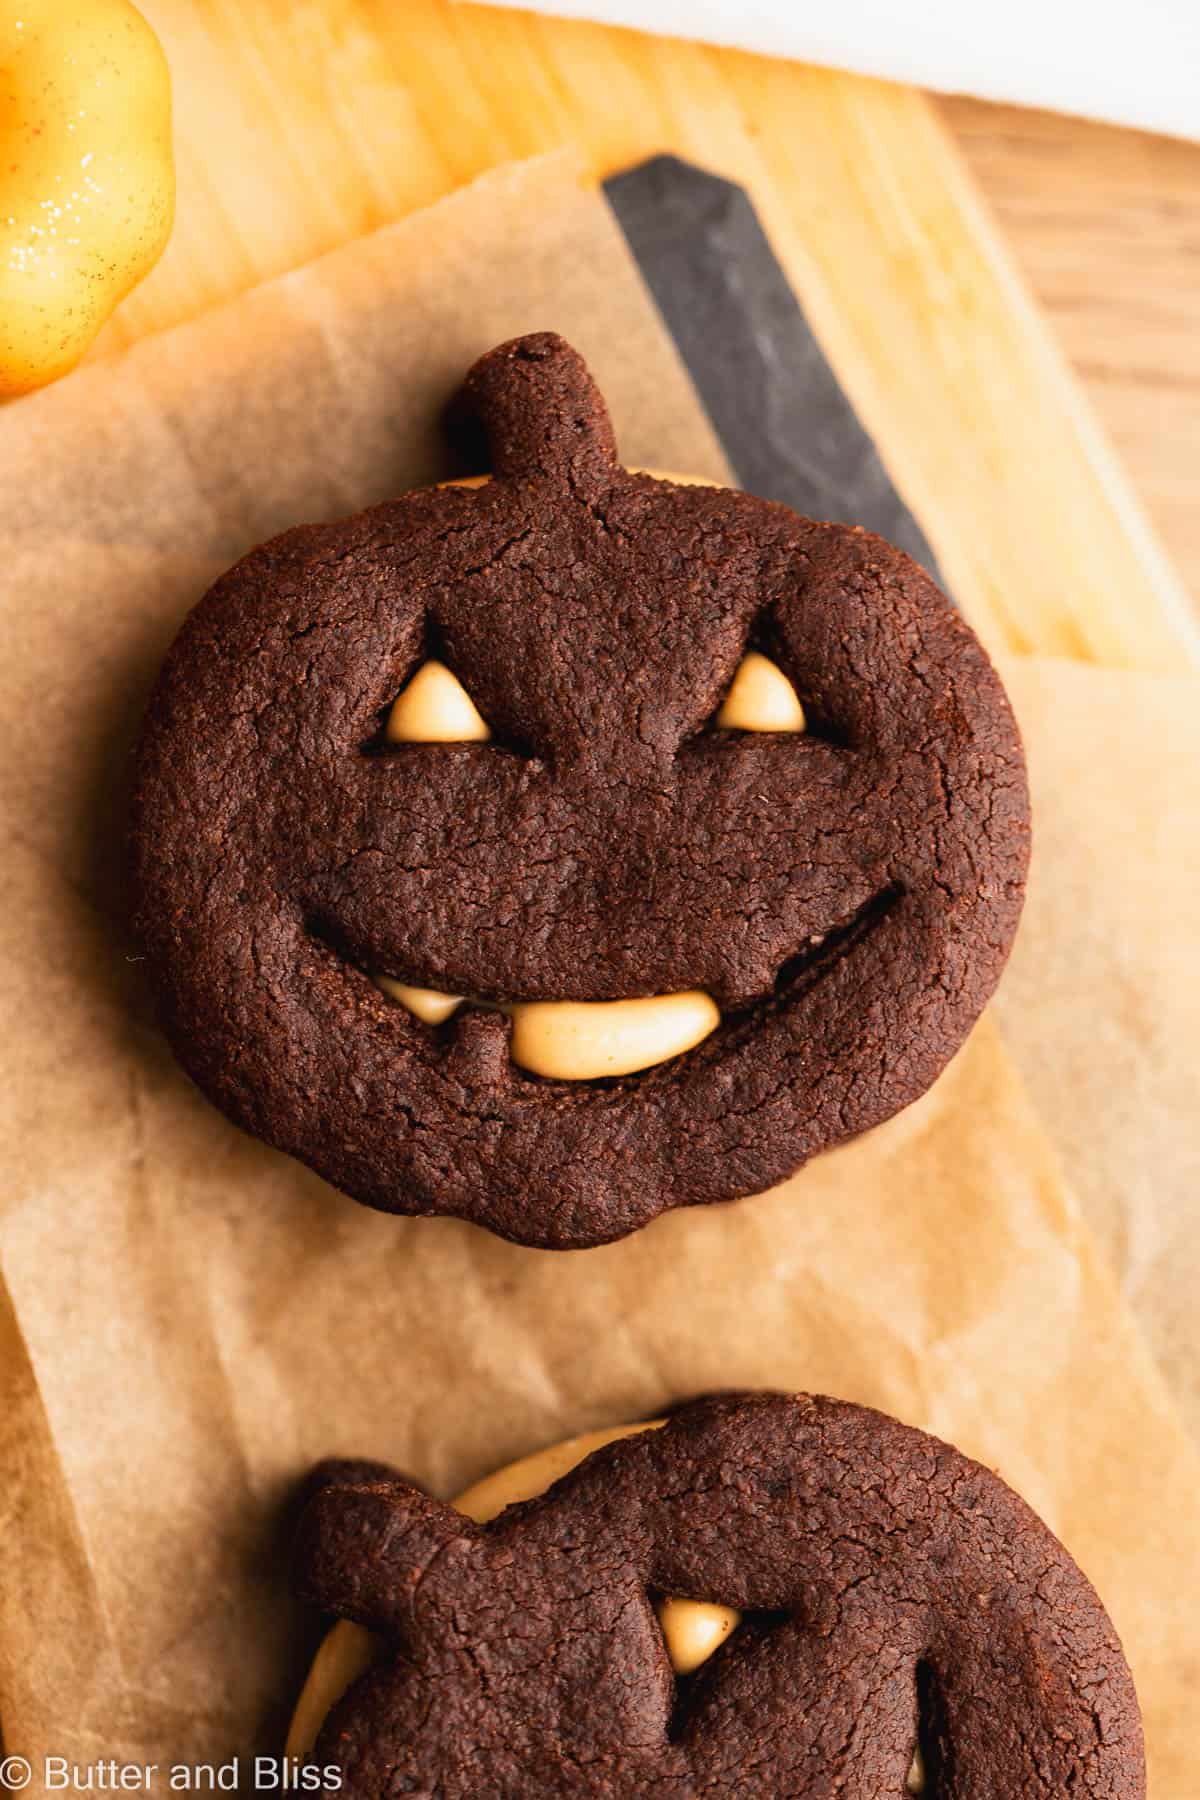
This recipe for peanut butter filled gluten free chocolate sugar cookies makes the cutest sandwich cookies for Halloween! The tender cut-out chocolate cookies made with almond flour are shaped into jack-o’ lanterns and then filled with fluffy marshmallow-peanut butter to make a delightful sandwich cookie!

gluten Free Chocolate Halloween Sugar Cookies
Next to peanut butter and jelly (pb&j overnight oats anyone!) Chocolate and peanut butter may be the perfect pair. Especially at Halloween (hello, peanut butter cup!). So, I’ve taken the iconic duo and put them together in these adorable chocolate sugar cookie sandwiches.
The chocolate sugar cookie itself is a delicious base cut-out cookie recipe to use for any occasion. And the peanut butter filling with marshmallow cream – well, this may reappear on your dessert menu throughout the year!
And to keep the spooky-sweet streak going, these cookies join the chocolate small batch Halloween cupcakes, double chocolate cookies, and gingerbread skeleton cookies for the sweetest Halloween desserts!
Why You’ll Love This Recipe
- Incredibly tender cookies – The chocolate cookies are the perfect mix of soft and crispy.
- Pronounced chocolate flavor – Dutch process cocoa provides a robust cocoa flavor.
- No-spread cut-out cookies – Much like my vanilla cut-out sugar cookies, these chocolate cookies hold their shape when baked!
- Delicious peanut butter filling – With only 3 simple ingredients, the filling in these cookies will fulfill your peanut butter cravings!
- They are a flavorful gluten free cookie – As with all my gluten free and small batch recipes, my goal is to make a dessert that doesn’t taste gluten free. I focus on gluten free flours that are tasty and provide great texture. No dry cookies here!


Ingredients
- Almond Flour – Blanched almond flour is the base of this cookie recipe and provides structure and flavor.
- Tapioca Flour – Tapioca blends beautifully with almond flour to craft a soft cookie with a delicate chew.
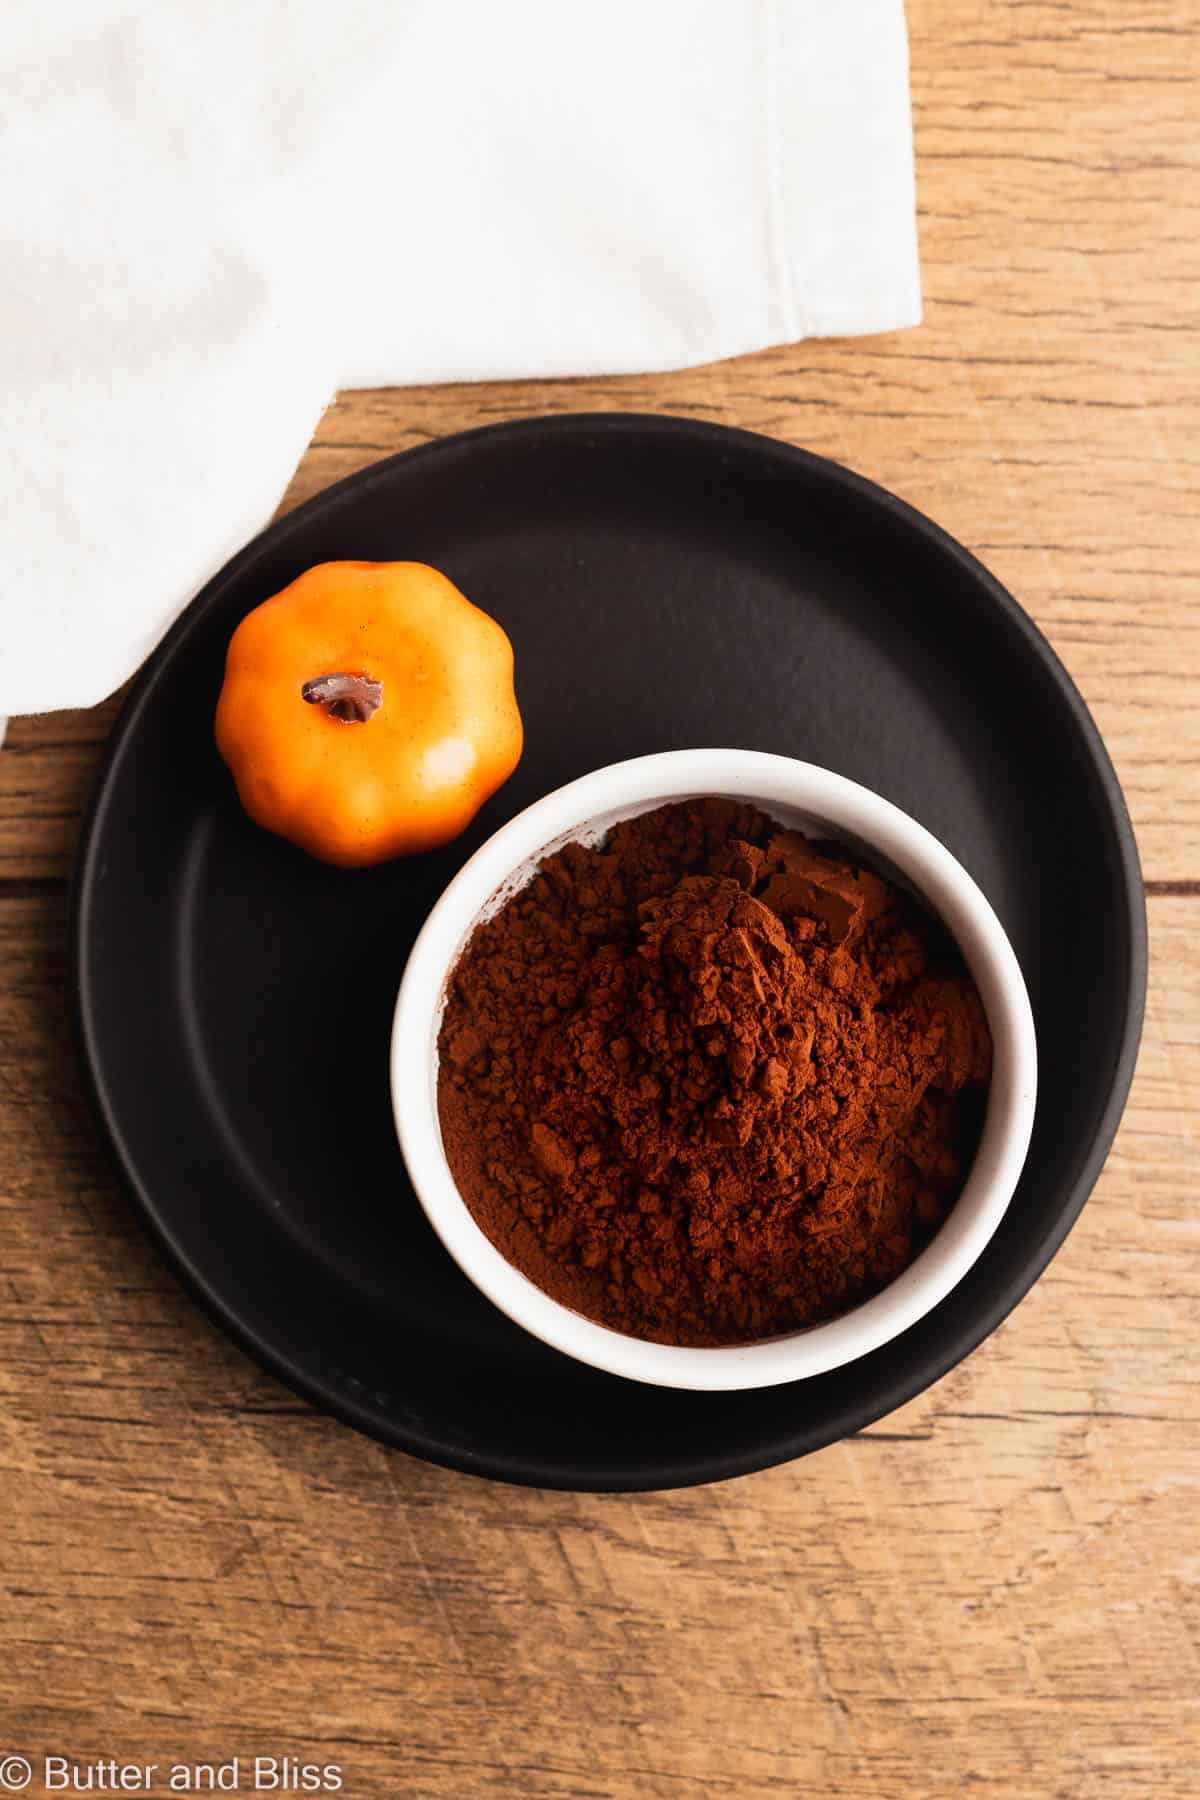
- Cocoa Powder – Dutch process cocoa is what I recommend for these cookies. And almost all my chocolate recipes. It has a deep cocoa flavor and is less acidic than natural cocoa.
- Baking Powder – Baking powder gives the cookies a slight poof and helps with texture.
- Salt – Salt is a must to balance and enhance flavors!
- Butter – Unsalted butter because we add salt. And at room temperature to successfully cream with the sugar.
- Sugar – I prefer organic cane sugar because it has a deep flavor and is less processed. Granulate white sugar will also work.
- Egg Yolk – The single egg yolk gives the cookies their tender texture. Make a batch of flourless chocolate small batch cookies with the leftover egg white!
- Vanilla Extract – For flavor!


Peanut Butter Fluff Filling
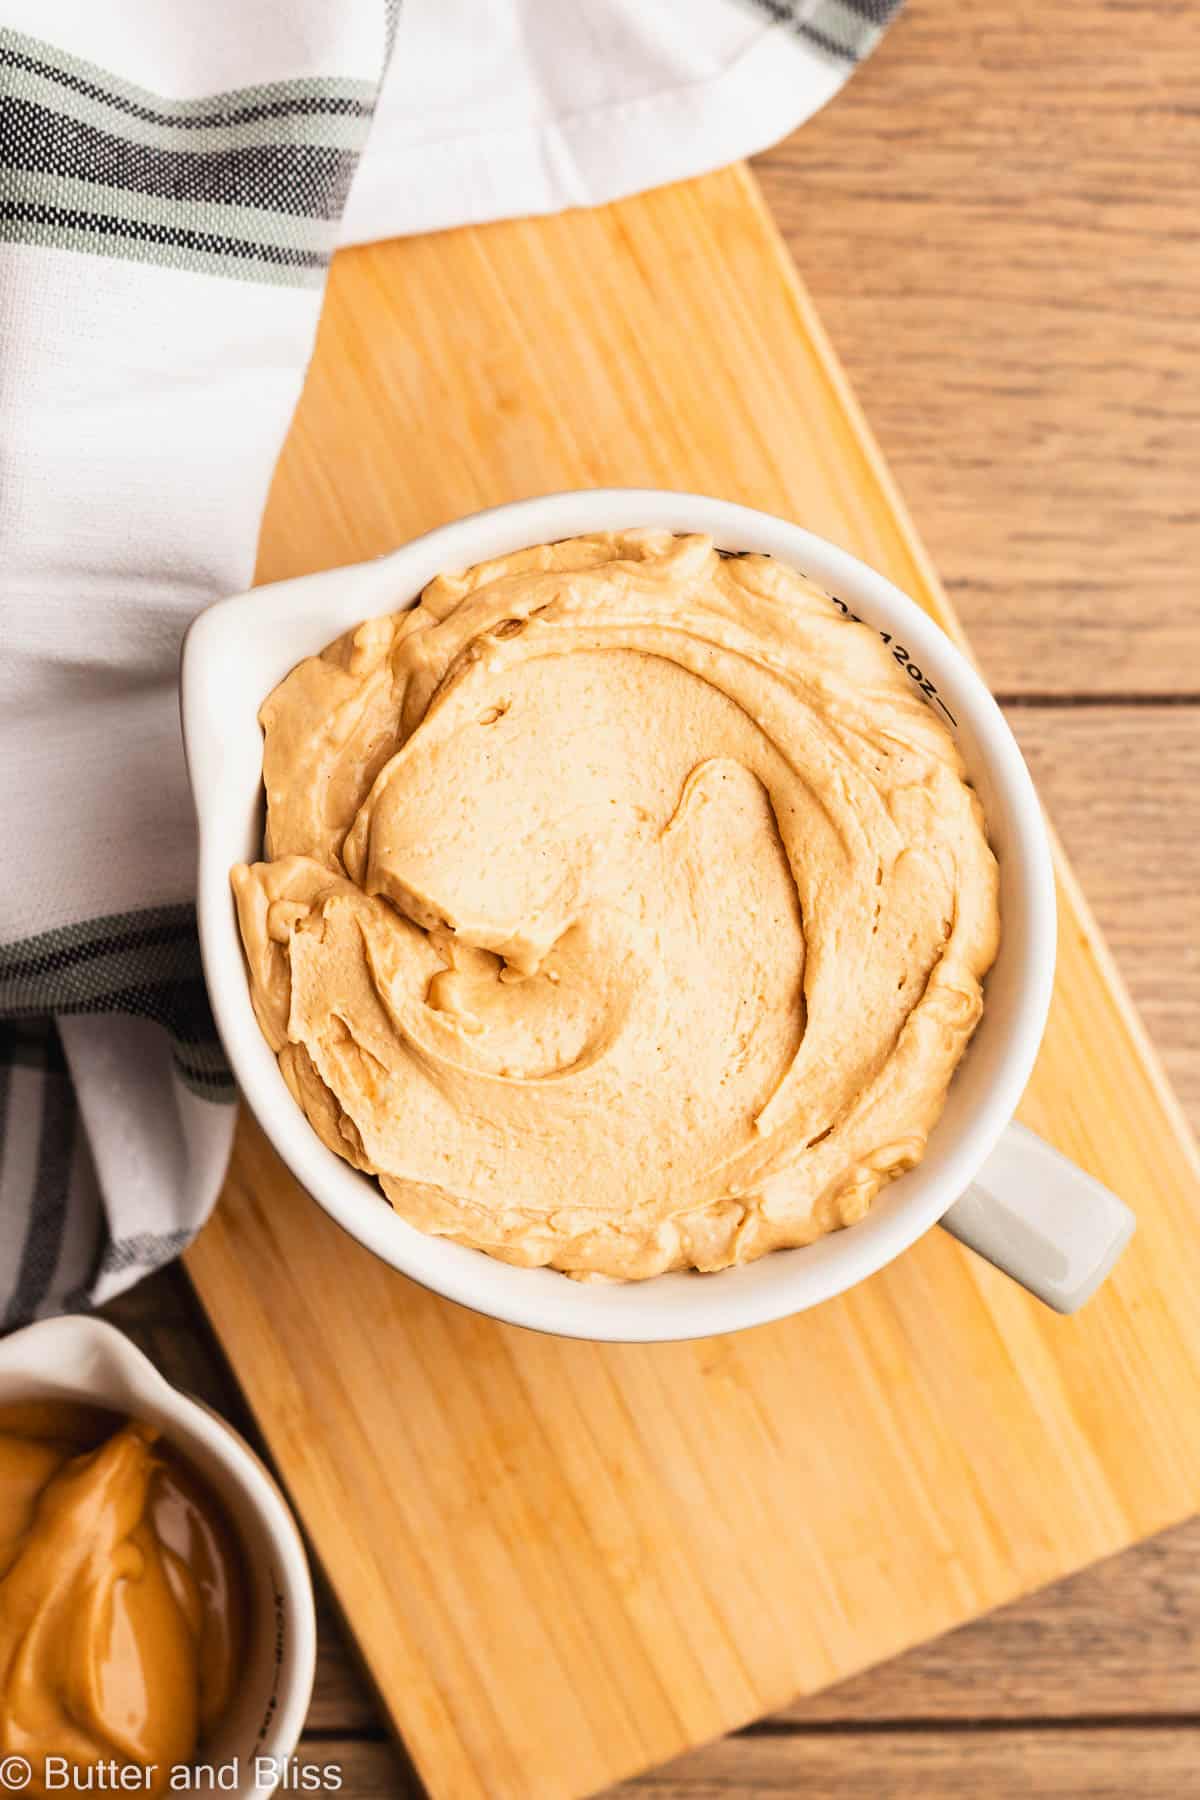
The filling is light, fluffy, and the perfect complement to the chocolate cookie. With only 3 ingredients, it is very easy to make.
- Peanut Butter – For a smooth filling, I recommend creamy peanut butter.
- Marshmallow Cream – Peanut butter and marshmallow – another perfect pair! The marshmallow cream imparts a sweetness and fluffy texture to the cookie filling.
- Maple Syrup – A little pure maple syrup adds natural sweetness and a buttery caramel flavor to the filling.


Helpful Tips
- Use a stand mixer, if you can – Sugar cookie dough is a heavier dough, and I suggest you let your stand mixer do the hard work!
- Chill the dough – Gluten free dough benefits with time to chill. The dough will hydrate, flavors will develop, and rolling out chilled dough is infinitely easier.
- Roll the dough with cocoa powder – We don’t want our pretty chocolate cookies to have white flour streaks! Use a light dusting of cocoa powder to roll the dough.
- Use a mini rolling pin – Because this is a small batch of dough, a mini rolling pin is easier to handle.
- Watch the bake time – Chocolate cookies make it harder to tell if the cookies have golden brown edges! We want the edges set, but don’t overbake the cookies. Remember, the cookies will continue to bake with residual heat as they are resting on the cooling rack.

Recipe FAQ
Because these are cookies, the natural cocoa powder should work. However, I do recommend Dutch cocoa for the flavor in the cookies.
I don’t recommend it. I find the gluten free 1:1 blends to be much drier than the flours I use. Other ingredients and ratios would likely need to be adjusted.
Yes! Wrap the dough tightly in plastic wrap, slip into a ziploc bag, and freeze for up to 3 months. Thaw in the refrigerator.
You can freeze baked unfilled cookies. Wrap the cookie tightly in plastic wrap, slip it into a freezer bag, and freeze for up to 3 months. Thaw at room temperature. I don’t recommend freezing because of the marshmallow cream. The texture may be altered when frozen.

Halloween Chocolate Sugar Cookies Gluten Free
EQUIPMENT
INGREDIENTS
Gluten Free Chocolate Sugar Cookies
- 3/4 cup, plus 2 tablespoons (98 g) blanched almond flour
- 1/4 cup (28.4 g) tapioca flour
- 2 tablespoons (16 g) unsweetened cocoa powder, Dutch process (plus more for rolling the dough)
- 1/4 teaspoon baking powder
- 1/8 teaspoon salt
- 2 ½ tablespoons (28.4 g) unsalted butter, room temperature
- 6 tablespoons (81 g) organic cane sugar (or granulated sugar)
- 1 large egg yolk, room temperature
- 1/2 teaspoon vanilla extract
Peanut Butter Fluff Filling
- 1/4 cup marshmallow cream
- 3 tablespoons creamy peanut butter
- 1 tablespoon pure maple syrup
- 1 pinch salt
INSTRUCTIONS
Gluten Free Chocolate Sugar Cookies
- In a small mixing bowl, whisk together the almond flour, tapioca flour, cocoa powder, baking powder, and salt.3/4 cup, plus 2 tablespoons blanched almond flour, 1/4 cup tapioca flour, 2 tablespoons unsweetened cocoa powder, Dutch process, 1/4 teaspoon baking powder, 1/8 teaspoon salt
- In the work bowl of the stand mixer fitted with the beater attachment, add the butter and sugar. On medium-high speed, cream the butter and sugar together until light and fluffy – scraping the sides of the bowl as needed. Note – To use your stand mixer, you need the smaller 3-quart mixing bowl. Otherwise the ingredients will just stick to the sides of the bowl. You can also use a hand held mixer to make the dough.2 ½ tablespoons unsalted butter, room temperature, 6 tablespoons organic cane sugar
- Add the egg yolk and vanilla extract and continue to beat at medium speed until smooth and creamy. Scrape the sides of the bowl as needed.1 large egg yolk, room temperature, 1/2 teaspoon vanilla extract
- Sprinkle the dry ingredients over the wet and start on low speed to incorporate the flour. Turn up to medium speed and mix the dough until no dry streaks remain and it starts to pull away from the sides of the bowl. Scrape the sides of the bowl as needed.
- Pour the dough onto a sheet of plastic wrap. Shape into a disc, cover tightly, and refrigerate for at least 1 hour.
- Preheat the oven to 350F degrees and line 2 baking sheets with a piece of parchment paper.
- Lightly dust a work surface with a little cocoa powder. Tip – Use cocoa powder v. flour so the cookies don't get white streaks on them. Place the chilled dough in the center and roll out to 1/4 inch thick – or thinner if you are making cookie sandwiches. Cut out the cookies into desired shapes and set on the prepared baking sheets 2 inches apart.
- Bake the cookies for 8 to 9 minutes or until the edges are set. Cool the cookies on the baking sheet set on a wire cooling rack for at least 5 minutes. Then transfer the cookies to the wire rack to cool completely.
Peanut Butter Fluff Filling
- While the cookies are cooling, make the filling.
- In a small mixing bowl, add the marshmallow, peanut butter, maple syrup, and salt. Microwave for 15 seconds – to loosen the peanut butter and marshmallow. With a spatula, mix the filling until smooth and creamy. Tip – Do not overheat the mixture, we just want the peanut butter to loosen so it is easier to stir with the marshmallow.1/4 cup marshmallow cream, 3 tablespoons creamy peanut butter, 1 tablespoon pure maple syrup, 1 pinch salt
- Assemble the cookie sandwiches – Spoon a tablespoon or so of the filling onto the bottom half of the cookie sandwich. Press the top half on top – the filling will spread to the edges when you press the top cookie down.
RECIPE NOTES
- Serving Size – This is a small batch recipe that can be doubled.
- Yield – The number of cut-out cookies you get from the dough will depend on how thick you roll the dough and the size of cookie cutters. With the cookie cutters linked in the recipe, you will get 12 cookies rolled a 1/4 inch thick.
- Cocoa Powder – I recommend Dutch process because it has a rich cocoa flavor and is less acidic than natural cocoa.
- Ingredient Substitutions – I don’t recommend ingredient substitutions for this recipe – except for granulated white sugar for the cane sugar.
- Rolling the Dough – Use cocoa powder instead of flour to roll the dough, so your cookies don’t end up with white streaks!
- Peanut Butter – I recommend creamy peanut butter for the filling because it is smooth. I also recommend traditional peanut butter – like Jif – vs. natural because natural will impart too much oil and make the filling greasy.
- Stand Mixer – You can use your stand mixer as long as you have the 3 quart mixing bowl. The smaller bowl works on the standard mixer with standard attachments. With the large bowl, the ingredients will just stick to the sides.
- Cookie Cutters – I have linked the cookie cutters I use at the top of the recipe card.
NUTRITION ESTIMATES

about the author ...
I'm Erin and I'm all about desserts - and a little bit of butter!
I've tested, written, and photographed hundreds of recipes on my website. Here you'll find the tastiest small batch desserts - all homemade, all simple, and all for you! Click here to learn more about me!

