Small Batch Flourless Chocolate Cookies
This post may contain affiliate links. See the Disclosure Policy.
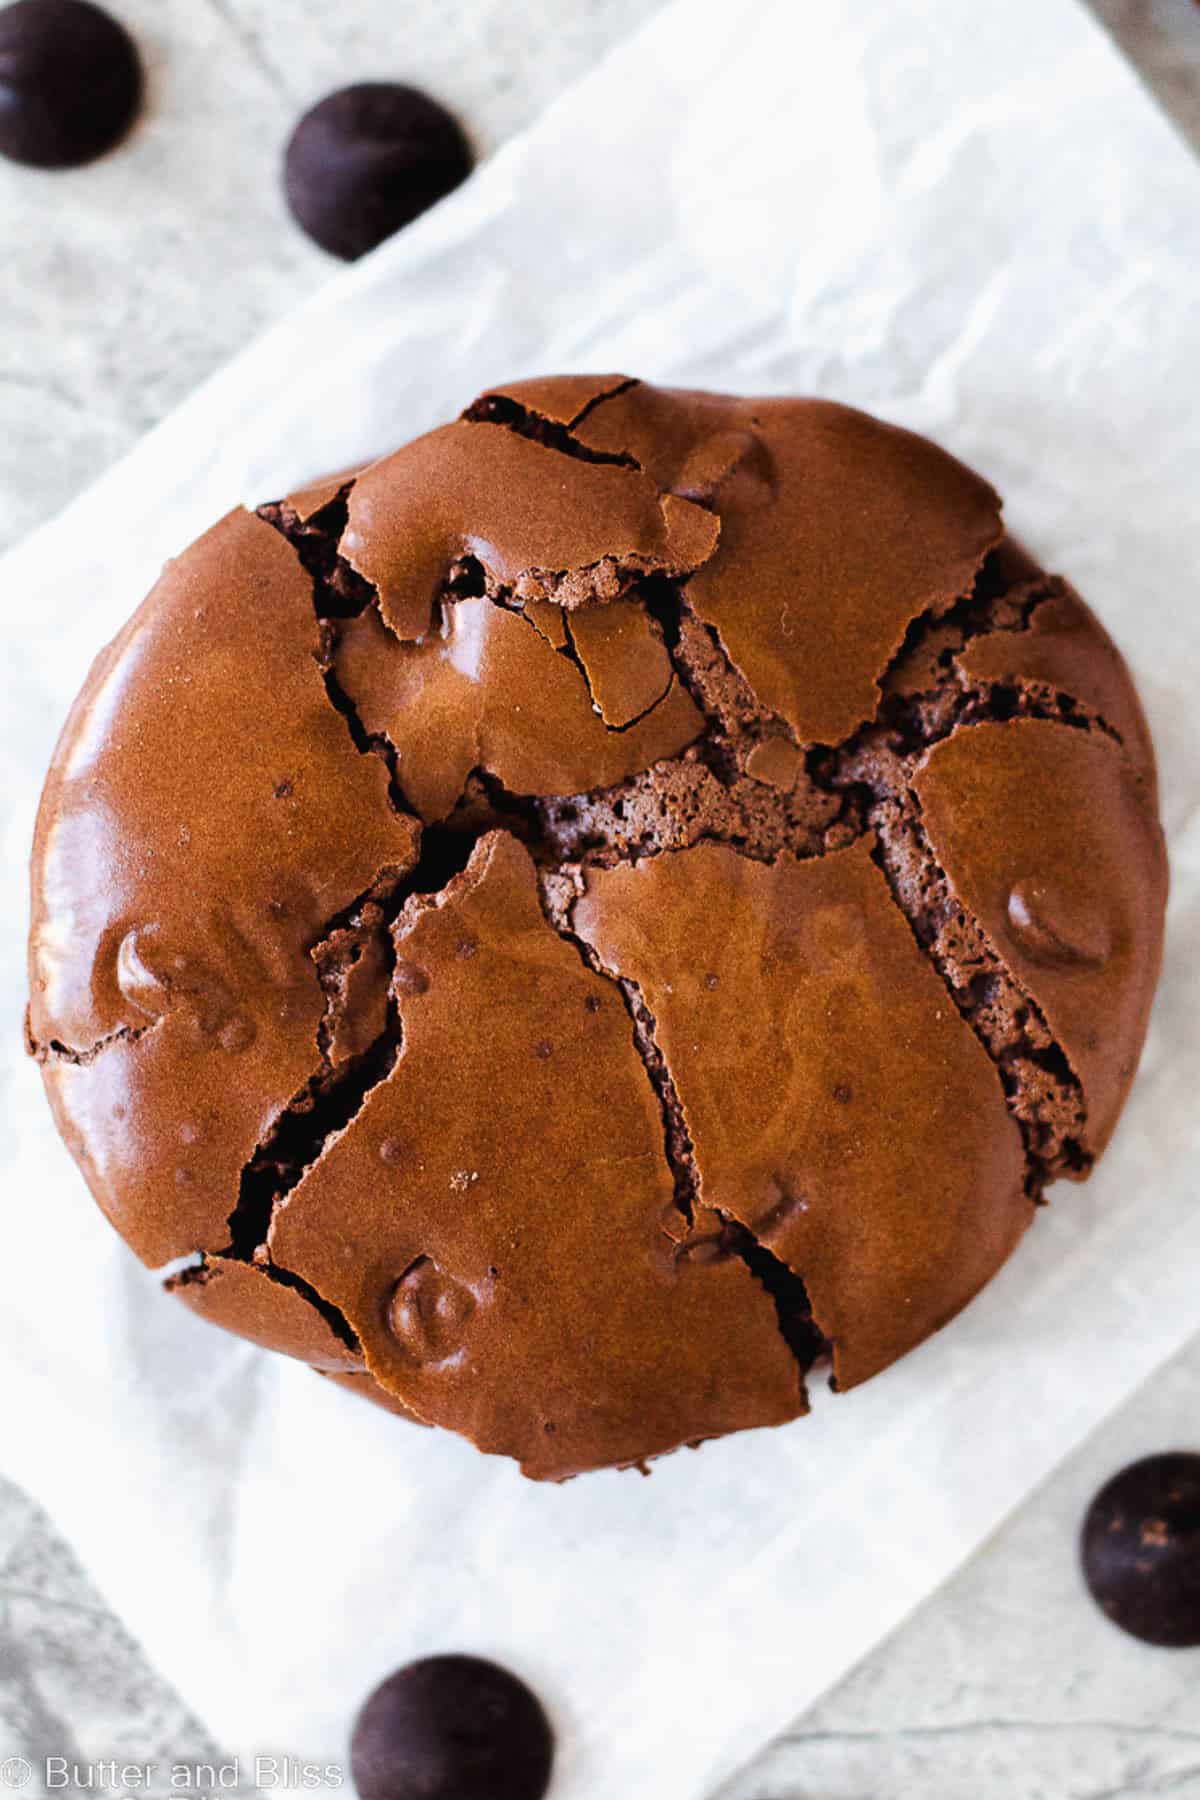
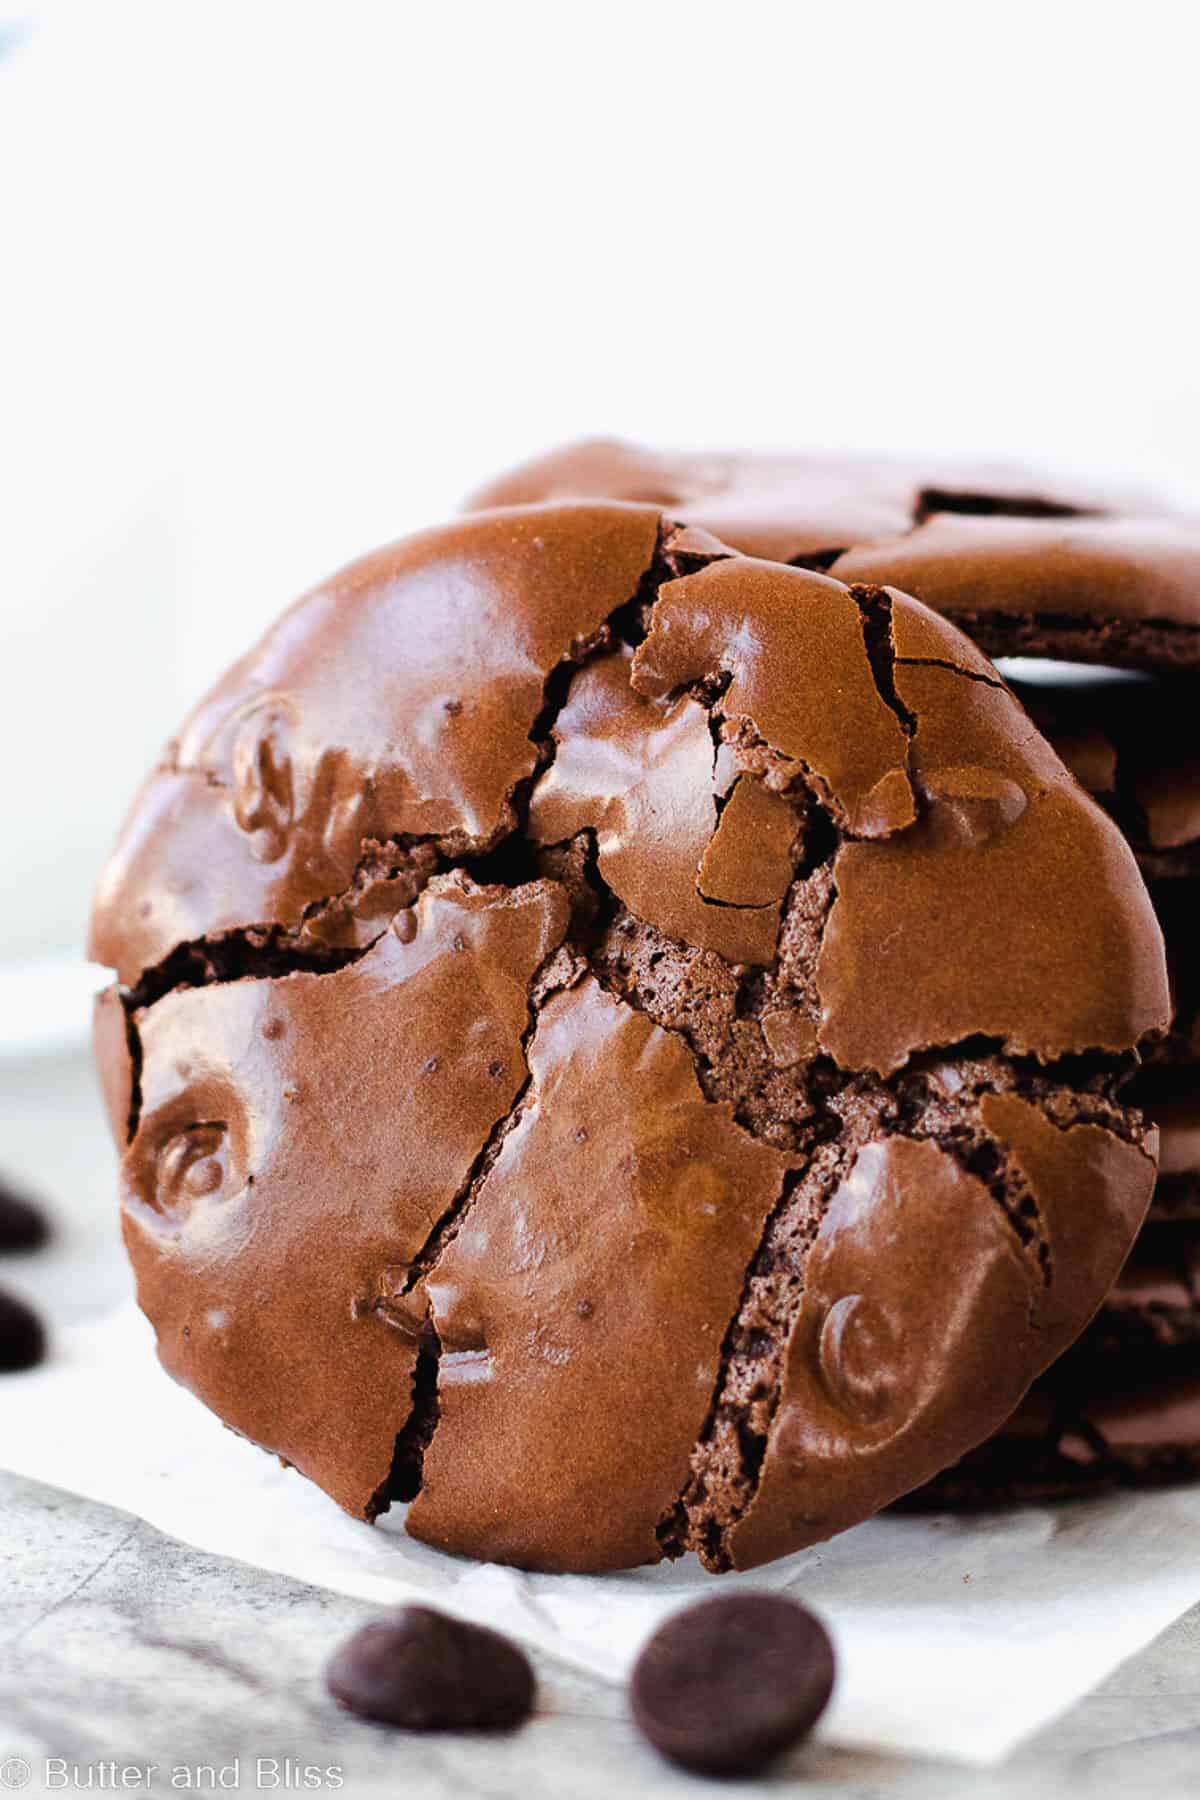
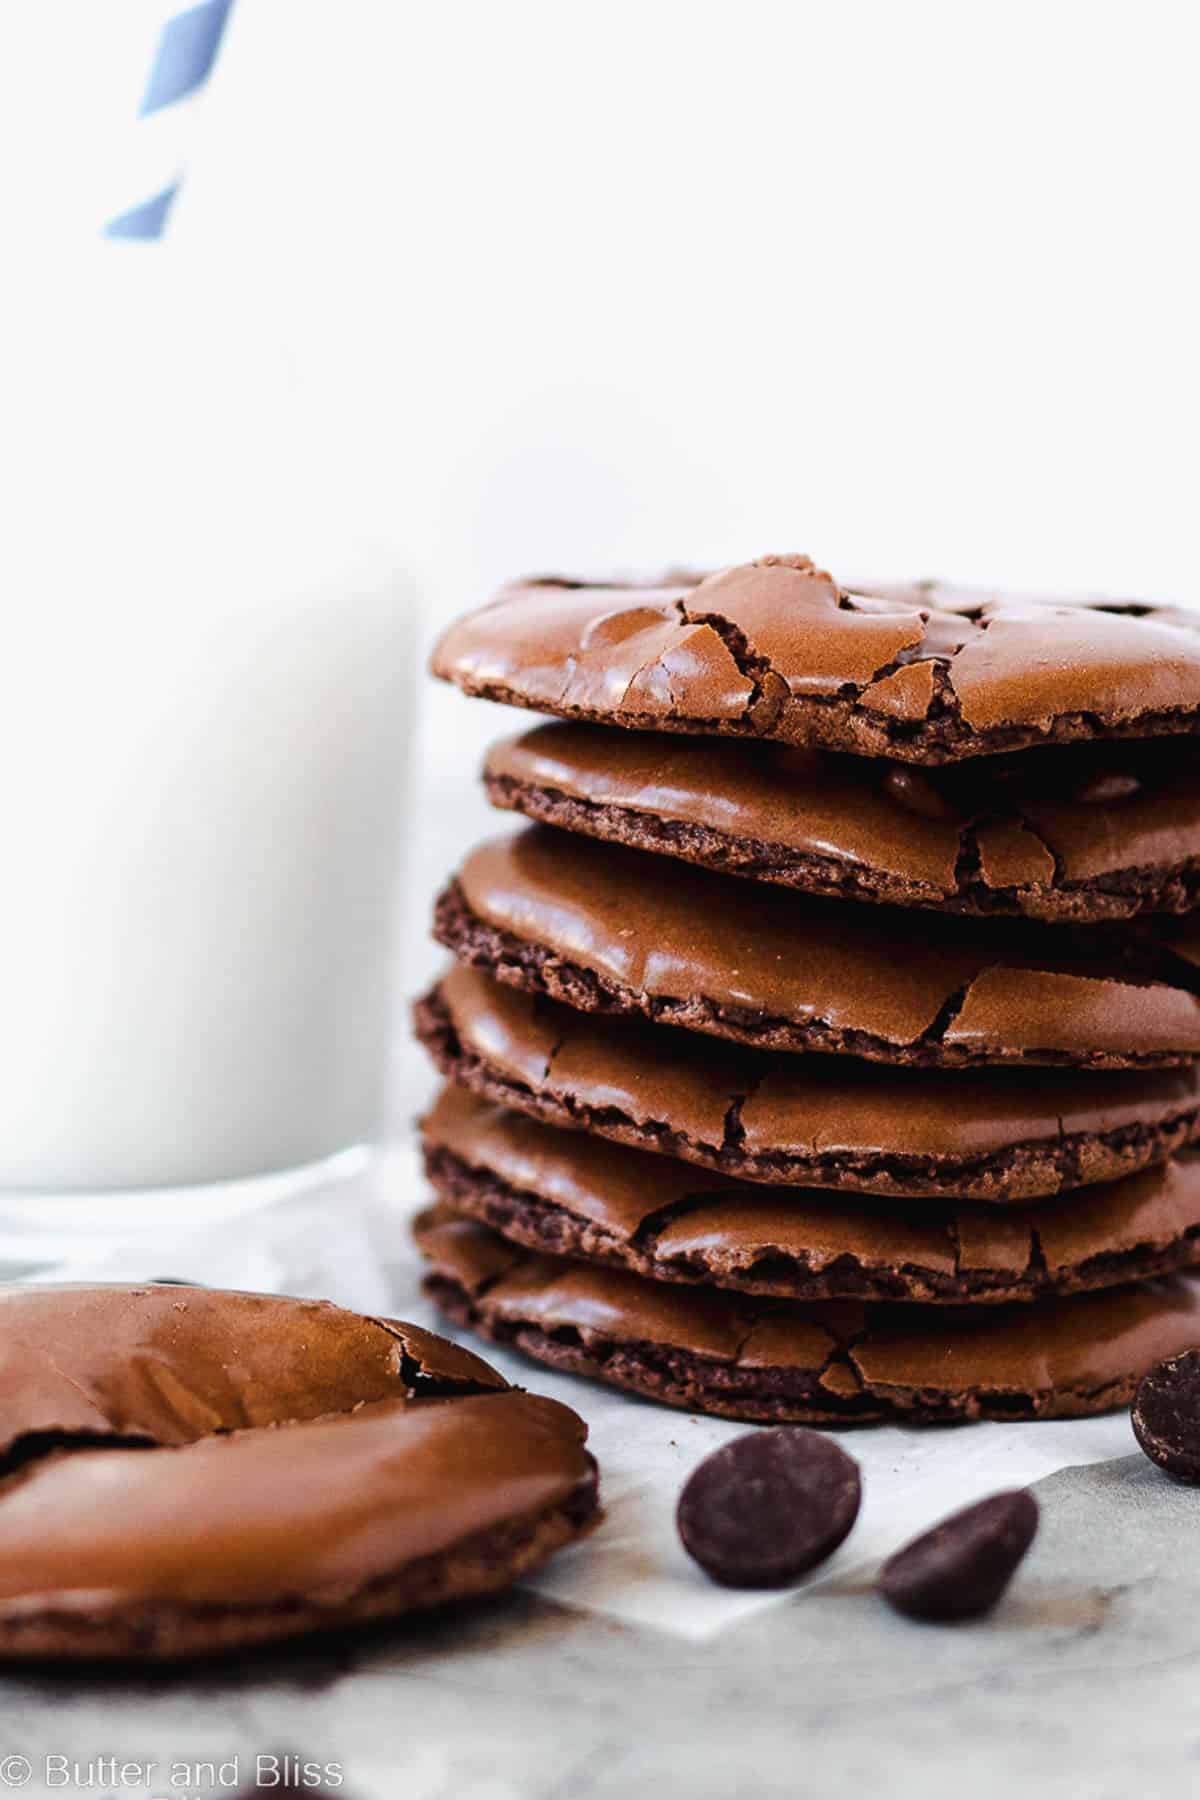
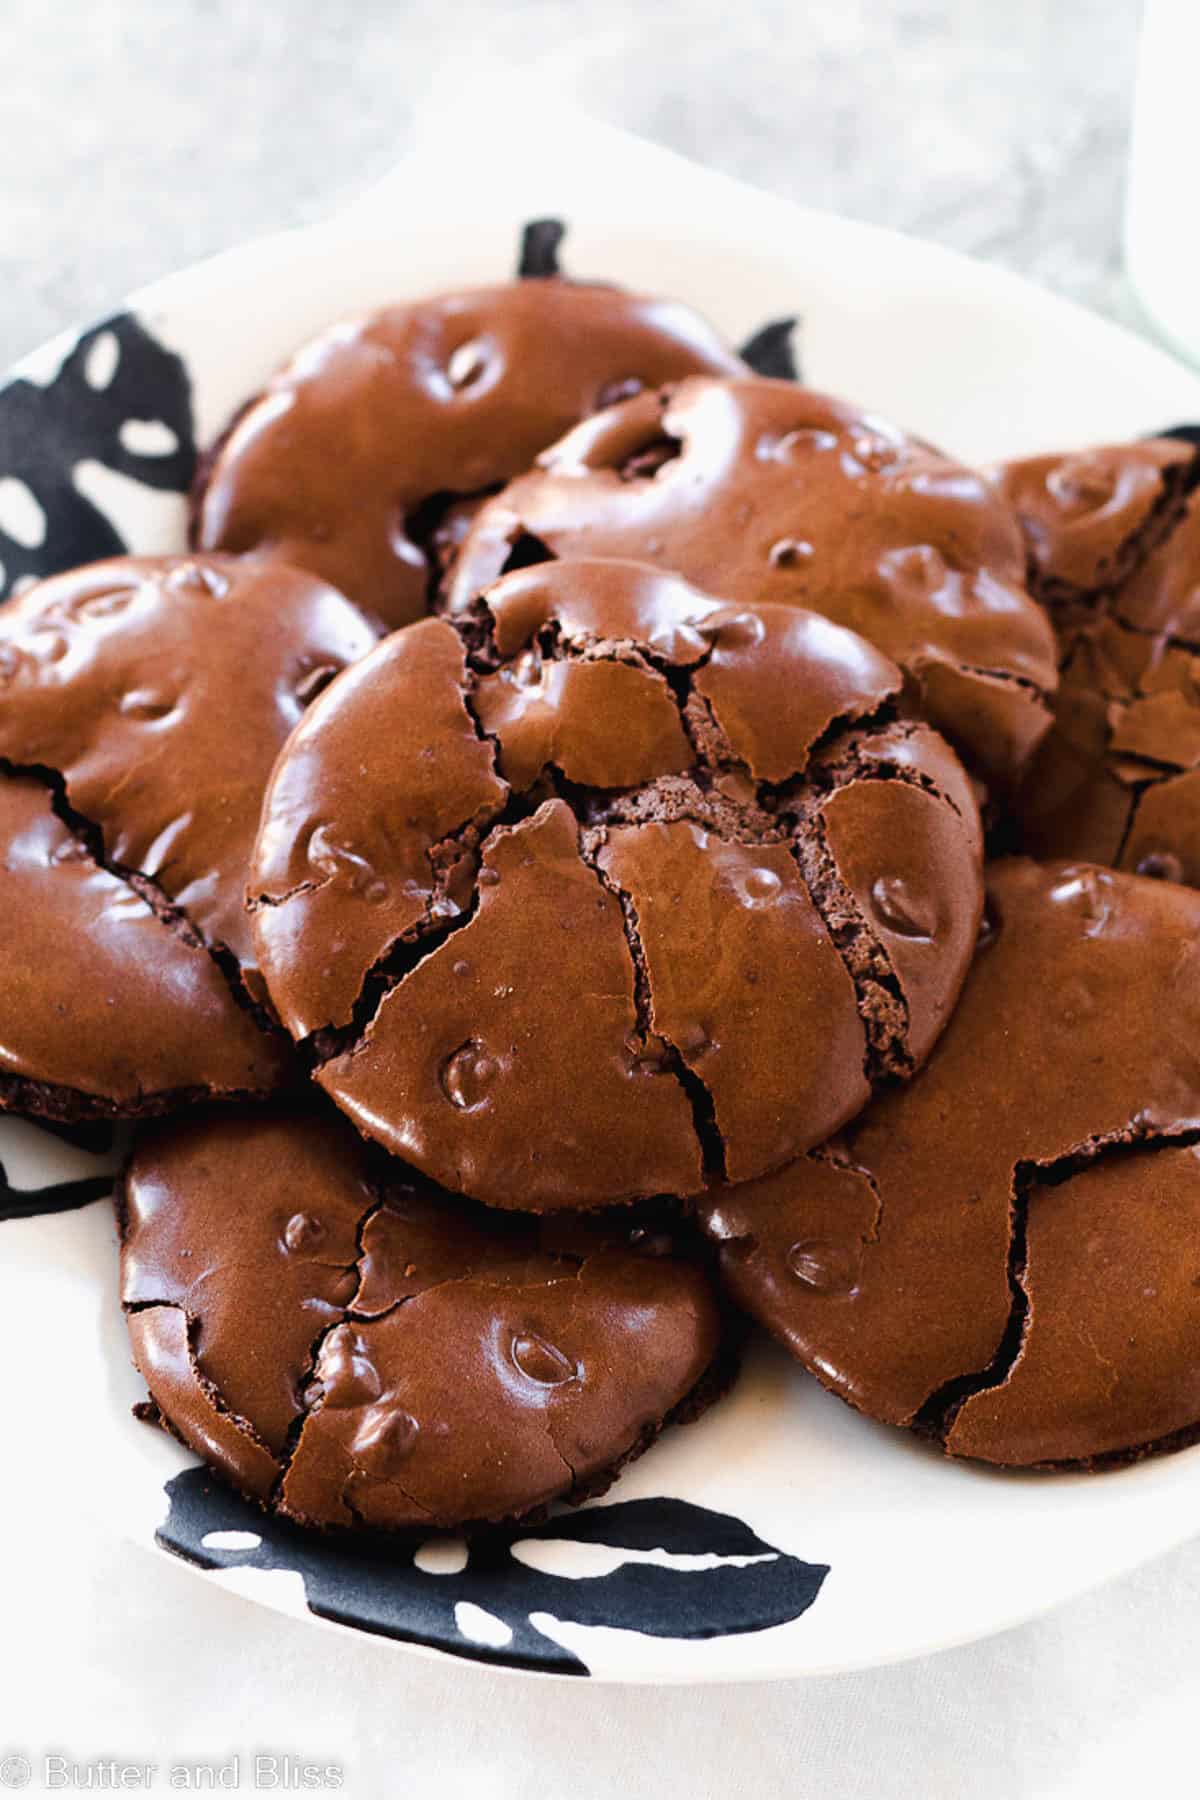
These Small Batch Flourless Chocolate Cookies are decadently fudgy, naturally gluten free, and only require a few ingredients to make. Made with powdered sugar, cocoa powder, and an egg white, the cookies are all the best parts of a brownie – chewy and fudgy with a crispy crinkle top!
As the name implies, these cookies are made without flour. In fact, there are only a few ingredients you need to make them – an egg white, powdered sugar, and cocoa powder are the key ingredients.
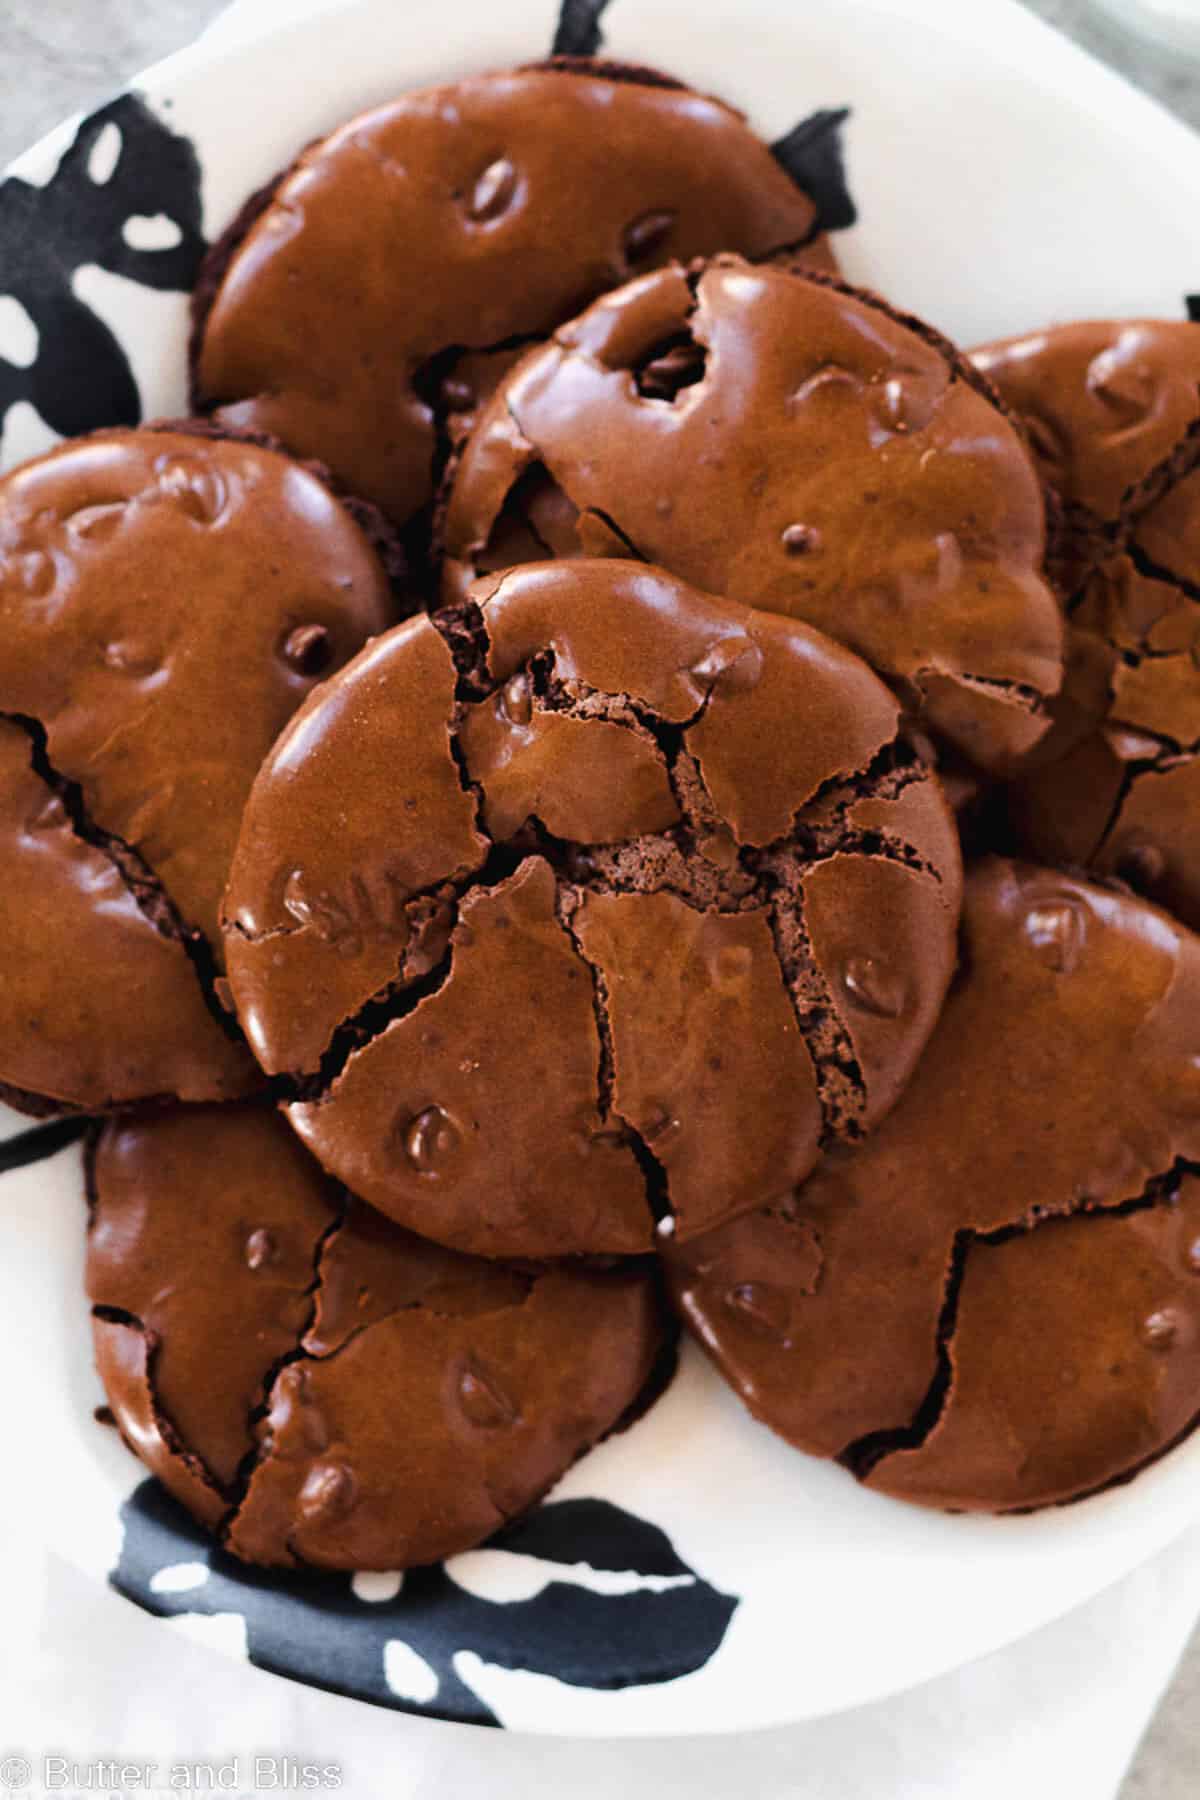
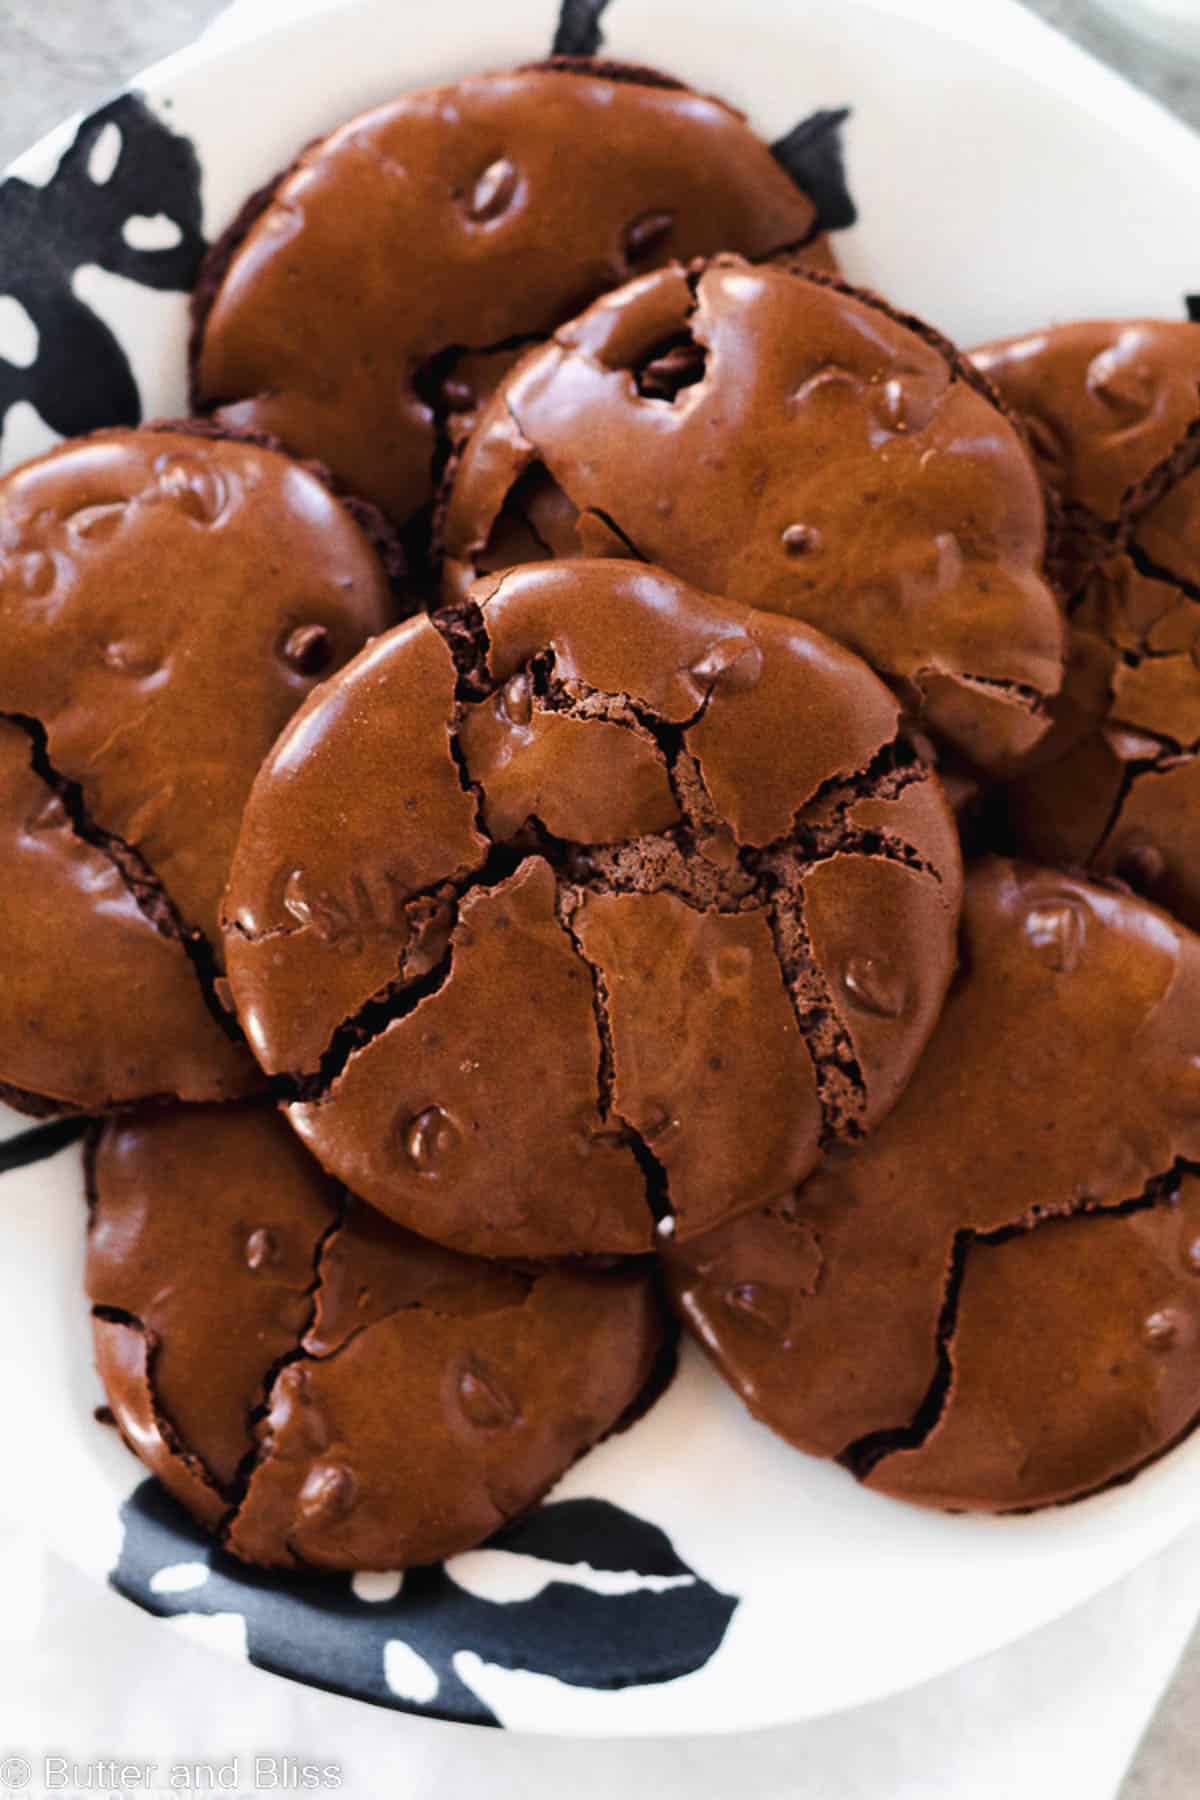
However, the limited ingredient cookies are not what is unique about these cookies. It is the abundance of chocolate flavor packed into a delicate, chewy, crinkly top cookie. Think crinkly top almond flour brownies with all the chewy brownie edges.
This is why you may have seen this type of cookie referred to as a brownie cookie, brownie crinkle cookie, etc. And whatever name you want to give the cookie, the bottom line is these cookies are all the best parts of a brownie.
For more fudgy chocolate cookies, try my double chocolate gluten free cookies, chewy red velvet cookies, and the decadent chocolate peppermint thumbprint cookies.
Easy ingredients
- Egg White – 1 large egg white is all you need, and it should be at room temperature.
- Cream Of Tartar – The cream of tartar stabilizes the egg white so it holds its shape when whipped and keeps the cookies from over-spreading.
- Vanilla Extract – For flavor!
- Powdered Sugar – I recommend organic powdered sugar because of the quality, and it is labeled gluten free. Look for a brand that is labeled gluten free if you want to make sure you have a gluten free cookie.
- Cocoa Powder – I use Dutch process cocoa powder because I find it has a bolder chocolate flavor, and it isn’t as acidic as natural cocoa powder.
- Salt – Balances all the flavor.
How To Make chocolate flourless cookies
- Bring the egg white to room temperature – Room temperature egg whites whip up to peaks easier and faster.
- Beat the egg white to soft peaks – There are cookie recipes like this that don’t beat the egg whites. However, I prefer to beat the egg whites because I find it gives the cookies a little lift, since there are no leaveners in this recipe. Soft peaks will be fluffy, white, and glossy. Additionally, when you take the beater out of the egg white, it will stand straight then flop over.
- Sift the powdered sugar and cocoa together – Sifting ensures you get any unnecessary lumps out of the dry ingredients.
- Add the dry ingredients in increments – This makes mixing the batter easier. And, you will avoid any chocolate ‘cloud’ mess as you mix. Cocoa and powdered sugar like to fly everywhere!
- Check batter consistency – The batter should be gluey thick and sticky like brownie batter. It may even seem too thin to be a cookie. Although, this is the consistency we are looking for.
- Add more cocoa powder if needed – Your batter consistency will depend on how large your egg white is. Add cocoa powder in tablespoon increments until you reach the right consistency. Just be cautious – if you add too much, you could lose the crinkly top, and the cookies could lose their sweetness.
Helpful Tips
- Lightly grease the parchment paper – This may seem like an unnecessary step, but I have found that this is the best way to get the cookies to release from the baking sheet without sticking and breaking.
- Use a small cookie scoop – The cookie batter is sticky and gluey. Therefore, it is going to spread as soon as you scoop it onto the baking sheet. Using a small cookie scoop will avoid making super large and thin cookies.
- Careful not to overbake – The cookies are delicate and thin and susceptible to burning. The cookies will have crinkly tops and the edges will feel set to the touch when done.
- Don’t let the cookies sit on the baking sheet too long after baking – They will stick – guaranteed. To avoid this, I recommend only 1 to 2 minutes before you transfer them to a cooling rack.
- Use a good spatula to remove the cookies from the baking sheet – This will keep the cookies from breaking and sticking to the paper. And they will want to stick – even though we greased the paper!
Recipe FAQ
Yes. Just be sure to use a powdered sugar that is labeled gluten free. This ensures there is no cross-contamination and it was not processed on the same equipment as gluten products.
Yes, the batter will spread. Space the cookies at least 2 inches apart. However, if it spreads like puddles of water, you could have added a little more cocoa powder to avoid that.
1. Make sure to lightly spray the parchment with cooking spray before baking. 2. Don’t let the cookies sit on the baking sheet too long after baking (only 1 to 2 minutes!). 3. Use a good cookie spatula to help gently release the cookies.
More Small Batch Cookie Recipes
- Gluten Free Small Batch Sugar Cookies
- Small Batch Chewy Chocolate Chip Cookies
- Almond Flour and Maple Cookies
- Flourless Peanut Butter Cookies
- Gluten Free Chocolate Chip Cookies
Small Batch Flourless Chocolate Cookies
Ingredients
- ¾ cup powdered sugar
- ¼ cup unsweetened cocoa powder, Dutch process
- ⅛ teaspoon salt
- 1 large egg white, room temperature
- 1 pinch cream of tartar
- ½ teaspoon vanilla extract
- 4 tablespoons semi-sweet chocolate chips
Instructions
- Preheat the oven to 350F degrees and adjust oven rack to the middle position. Line your baking sheet with piece of parchment paper lightly sprayed with cooking spray. Note – You can also use a silicone mat, but I have the best luck getting the cookies to release from greased parchment paper.
- In a small mixing bowl, whisk together the powdered sugar, cocoa powder and salt. Tip – If your powdered sugar has a lot of lumps in it, use a fine mesh strainer to sift the powdered sugar and cocoa powder together into the mixing bowl, then whisk in the salt.3/4 cup powdered sugar, 1/4 cup unsweetened cocoa powder, Dutch process, 1/8 teaspoon salt
- In another small mixing bowl, add the egg white, cream of tartar, and vanilla extract. Using a hand held mixer, beat the egg white on medium speed until soft peaks form. Tip – Soft peaks will look fluffy, white, and glossy, and when the beater is taken out of the egg white it will stand up straight, then slightly flop over.1 large egg white, room temperature, 1 pinch cream of tartar, 1/2 teaspoon vanilla extract
- Sprinkle about 1/3 of the dry ingredients over the egg whites. Fold until mostly incorporated. Repeat 2 more times, and with the last addition of the dry ingredients, fold the batter until no dry streaks remain. Note – I add the dry ingredients in increments to make mixing the batter easier, and avoid a chocolate cloud mess.
- The batter should be thick (like glue) and (incredibly) sticky, like a brownie batter. Depending on how large your egg white was, you may have a looser (more liquid) batter. If so, add another tablespoon of cocoa powder and fold into the batter.
- Stir the chocolate chips into the batter. Note – You can add more chocolate chips if you prefer, but I recommend not exceeding 1/3 cup of chocolate chips.4 tablespoons semi-sweet chocolate chips
- Using a small cookie scoop, scoop 6 to 7 equal cookies onto the prepared baking sheet, at least 2 inches apart. The batter will look loose and spread once it is scooped onto the baking sheet. This is ok, and why I recommend a small cookie scoop. Note – The number of cookies you get from the batter will depend on how large your egg white is. I don't recommend making the cookies too large (like double scooping the batter for 1 cookie) – they will spread too thin and large.
- Bake for 10 to 12 minutes. You will know the cookies are done when the tops are crinkly, the edges feel set to the touch, and you can smell the chocolate. Let the cookies cool on the baking sheet briefly (about 1 to 2 minutes). Use a sturdy spatula and gently (and carefully) lift the cookies off the parchment paper and transfer to a wire cooling rack to cool completely. Tip – The parchment paper will want to slide around as you remove the cookies. Wear an oven mitt to hold the parchment in place while you remove the cookies. Do not let the cookies sit too long on the baking sheet, or they will stick to the parchment.
Notes
- Serving Size – Depending on how large your egg white is, the batter may yield 6 to 7 cookies.
- Batter Consistency – The batter should be gluey thick and sticky like a brownie batter. If the batter is too loose, add cocoa powder in tablespoon increments until the recommended consistency is reached.
- Cookie Spread – The consistency of this batter will cause the cookies to spread as soon as you spoon them onto the baking sheet. This is ok. And why I recommend scooping smaller cookies.
- Spray The Parchment Paper – These cookies naturally want to stick to anything they are baked on. I recommend lightly spraying a piece of parchment paper to achieve the best results in getting the cookies to release after they are baked.
- Releasing The Cookies From The Parchment – The cookies are going to be soft and want to stick to the parchment paper. Use a sturdy spatula to gently remove the cookies from the baking sheet. The parchment paper will want to slide around – wear an oven mitt to keep the paper in place while you release the cookies.
- Storage – Cover and store the cookies for up to 3 days. Beyond that, and they may start to dry out.
Nutrition Estimates
TRY THESE RECIPES NEXT!

About the Author …
Hi, I’m Erin! With years of experience baking for two in my own small household, I know about the love for desserts without the leftovers. I’ve tested, written, and photographed every one of the 300+ recipes on my website. And even had some of my desserts featured on Taste of Home, The Spruce Eats, ELLE, Parade, and more! From traditional to gluten free desserts for two, I have the recipe for you.
Click here to learn more about me →
