Homemade Buttermilk Biscuits For Two
This post may contain affiliate links. See my disclosure policy.
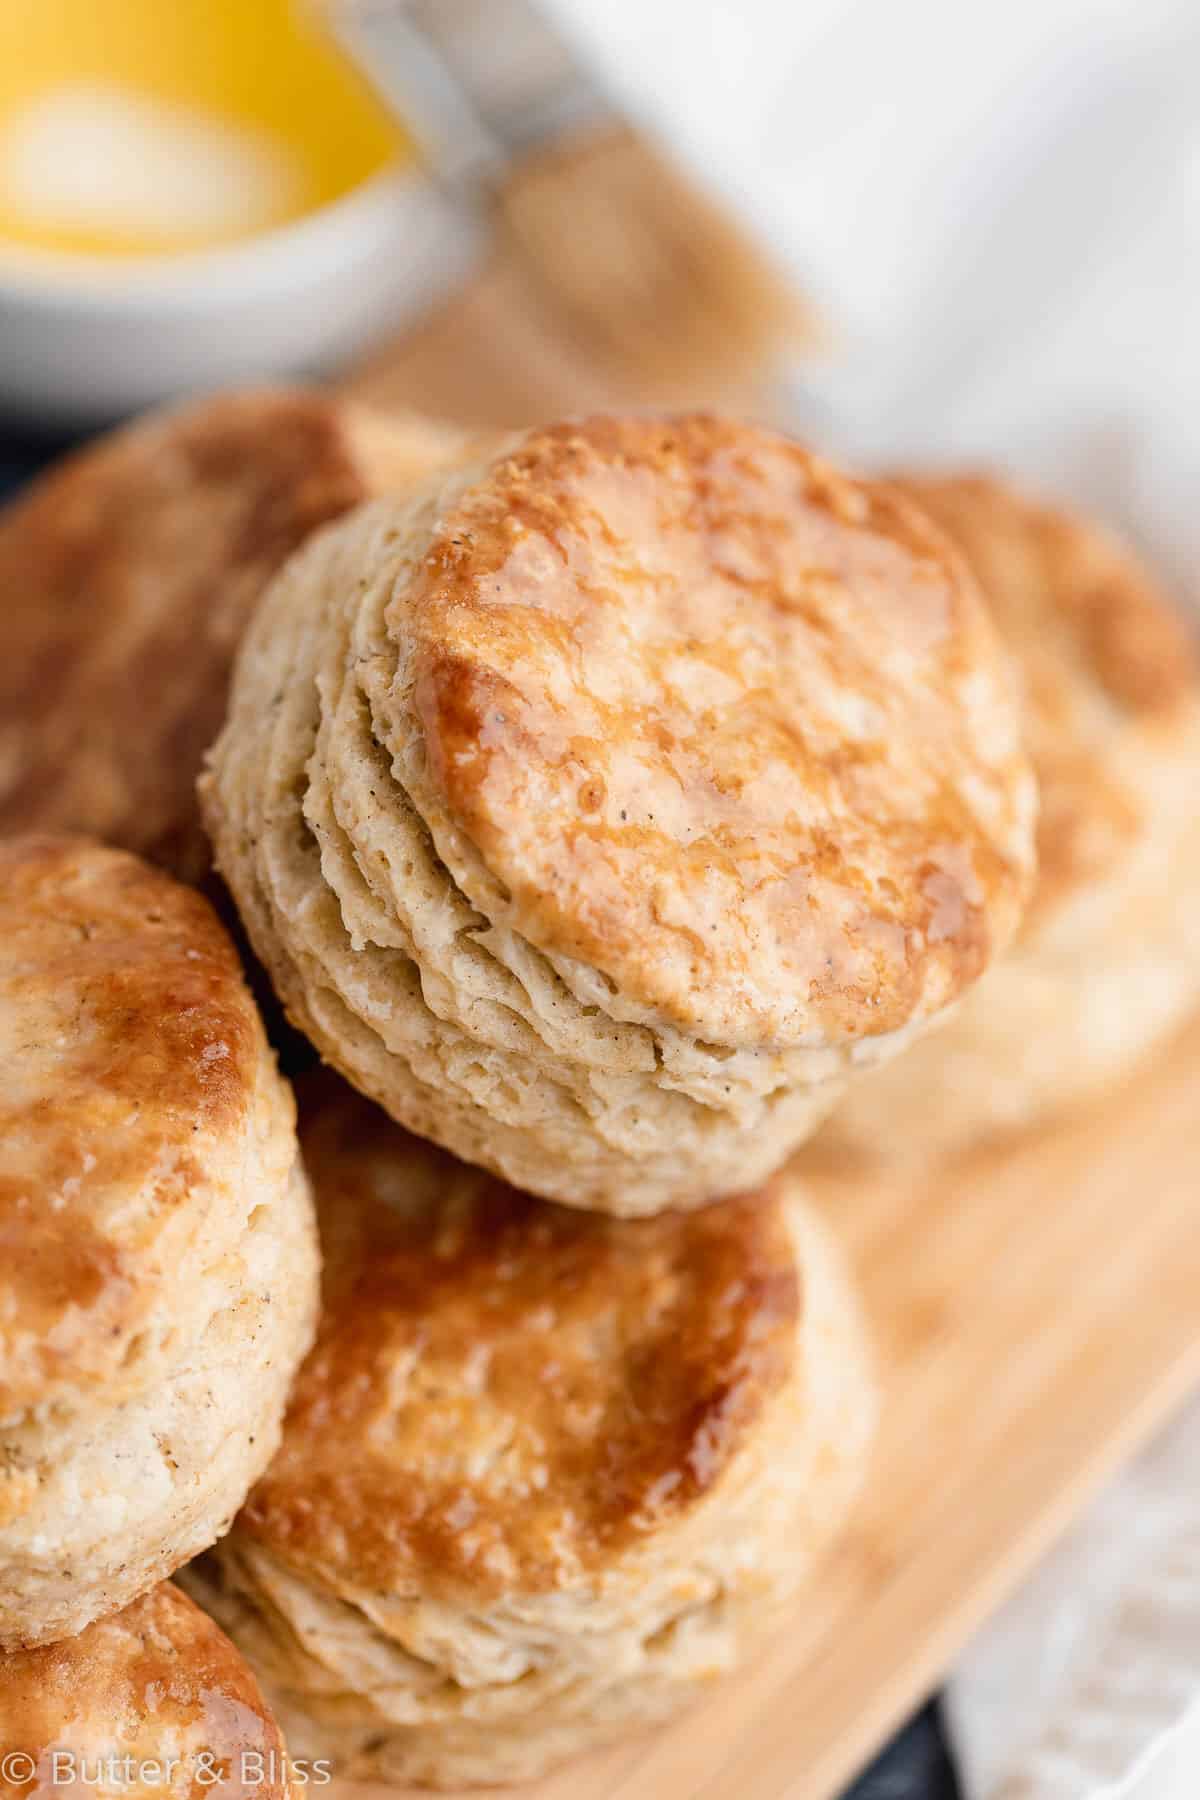
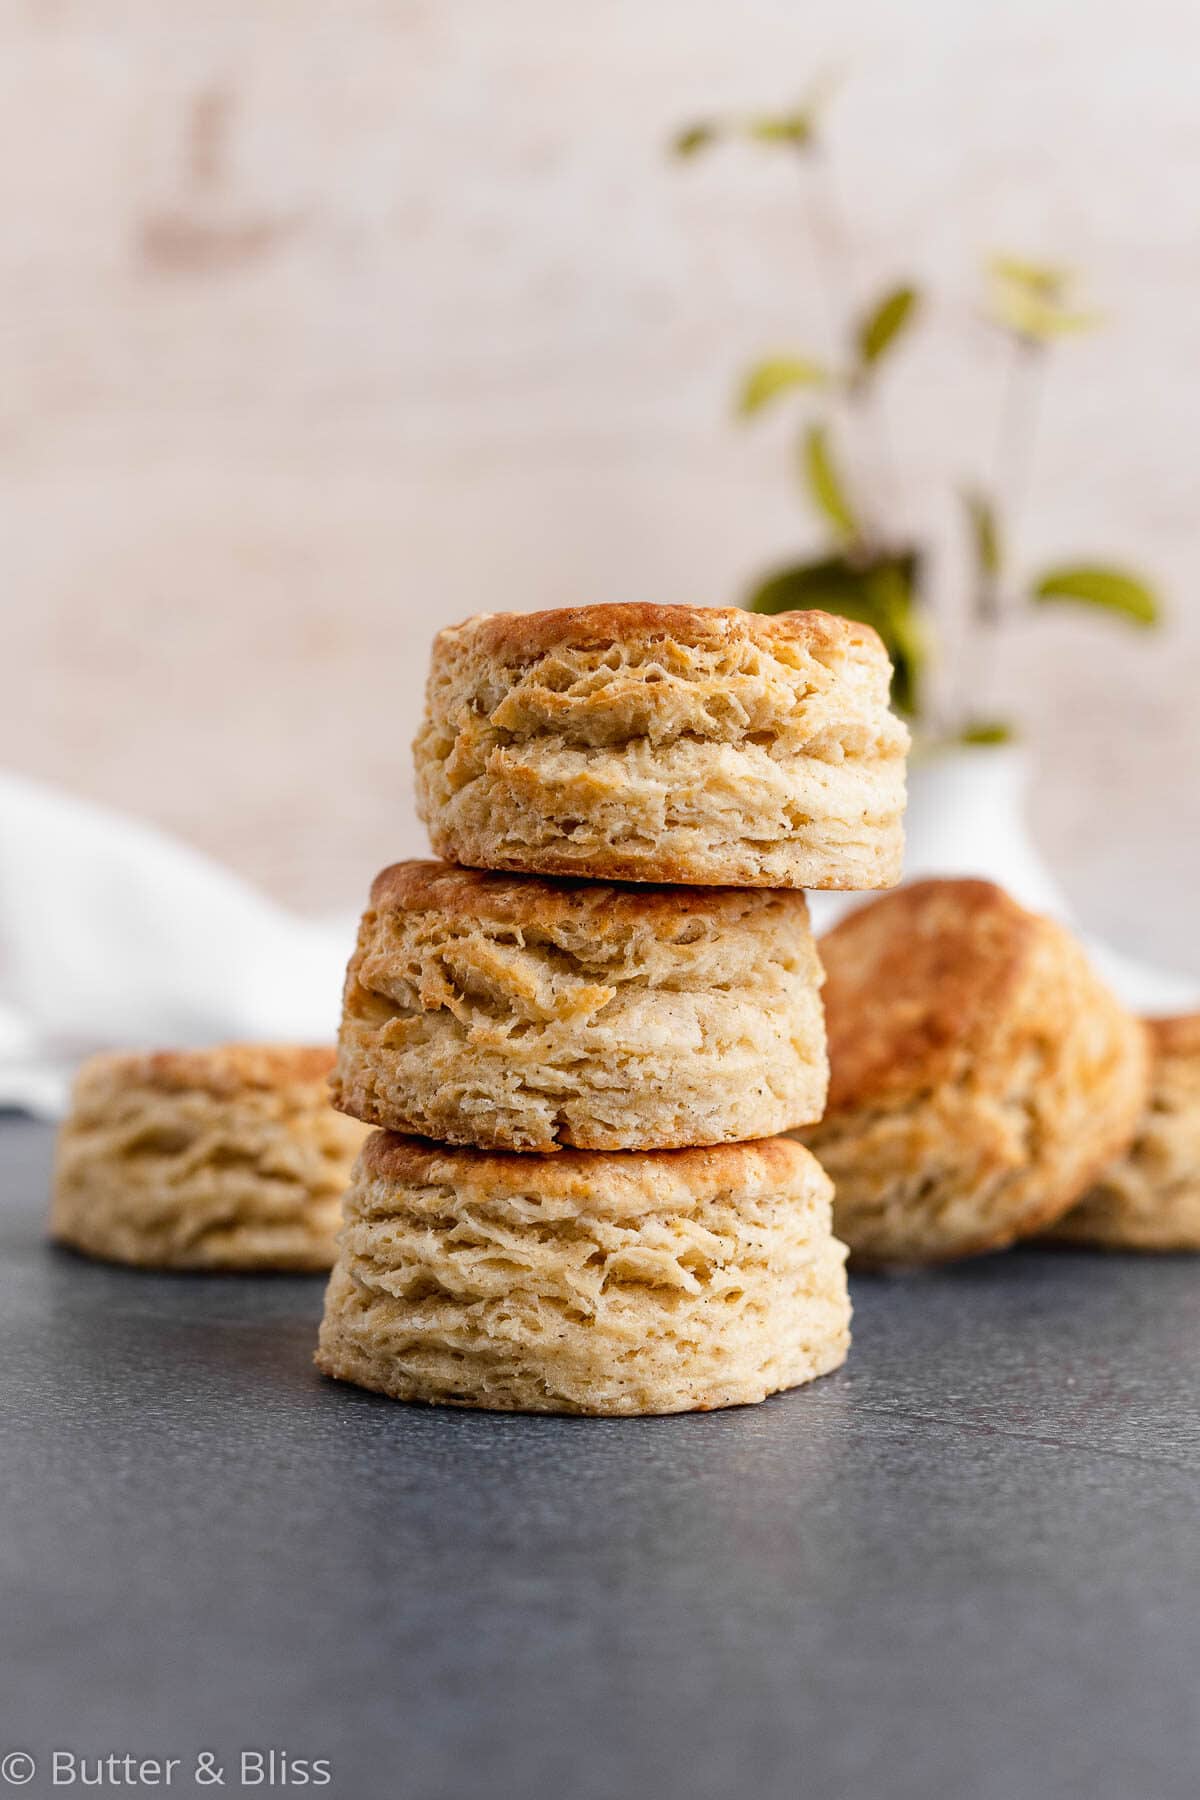
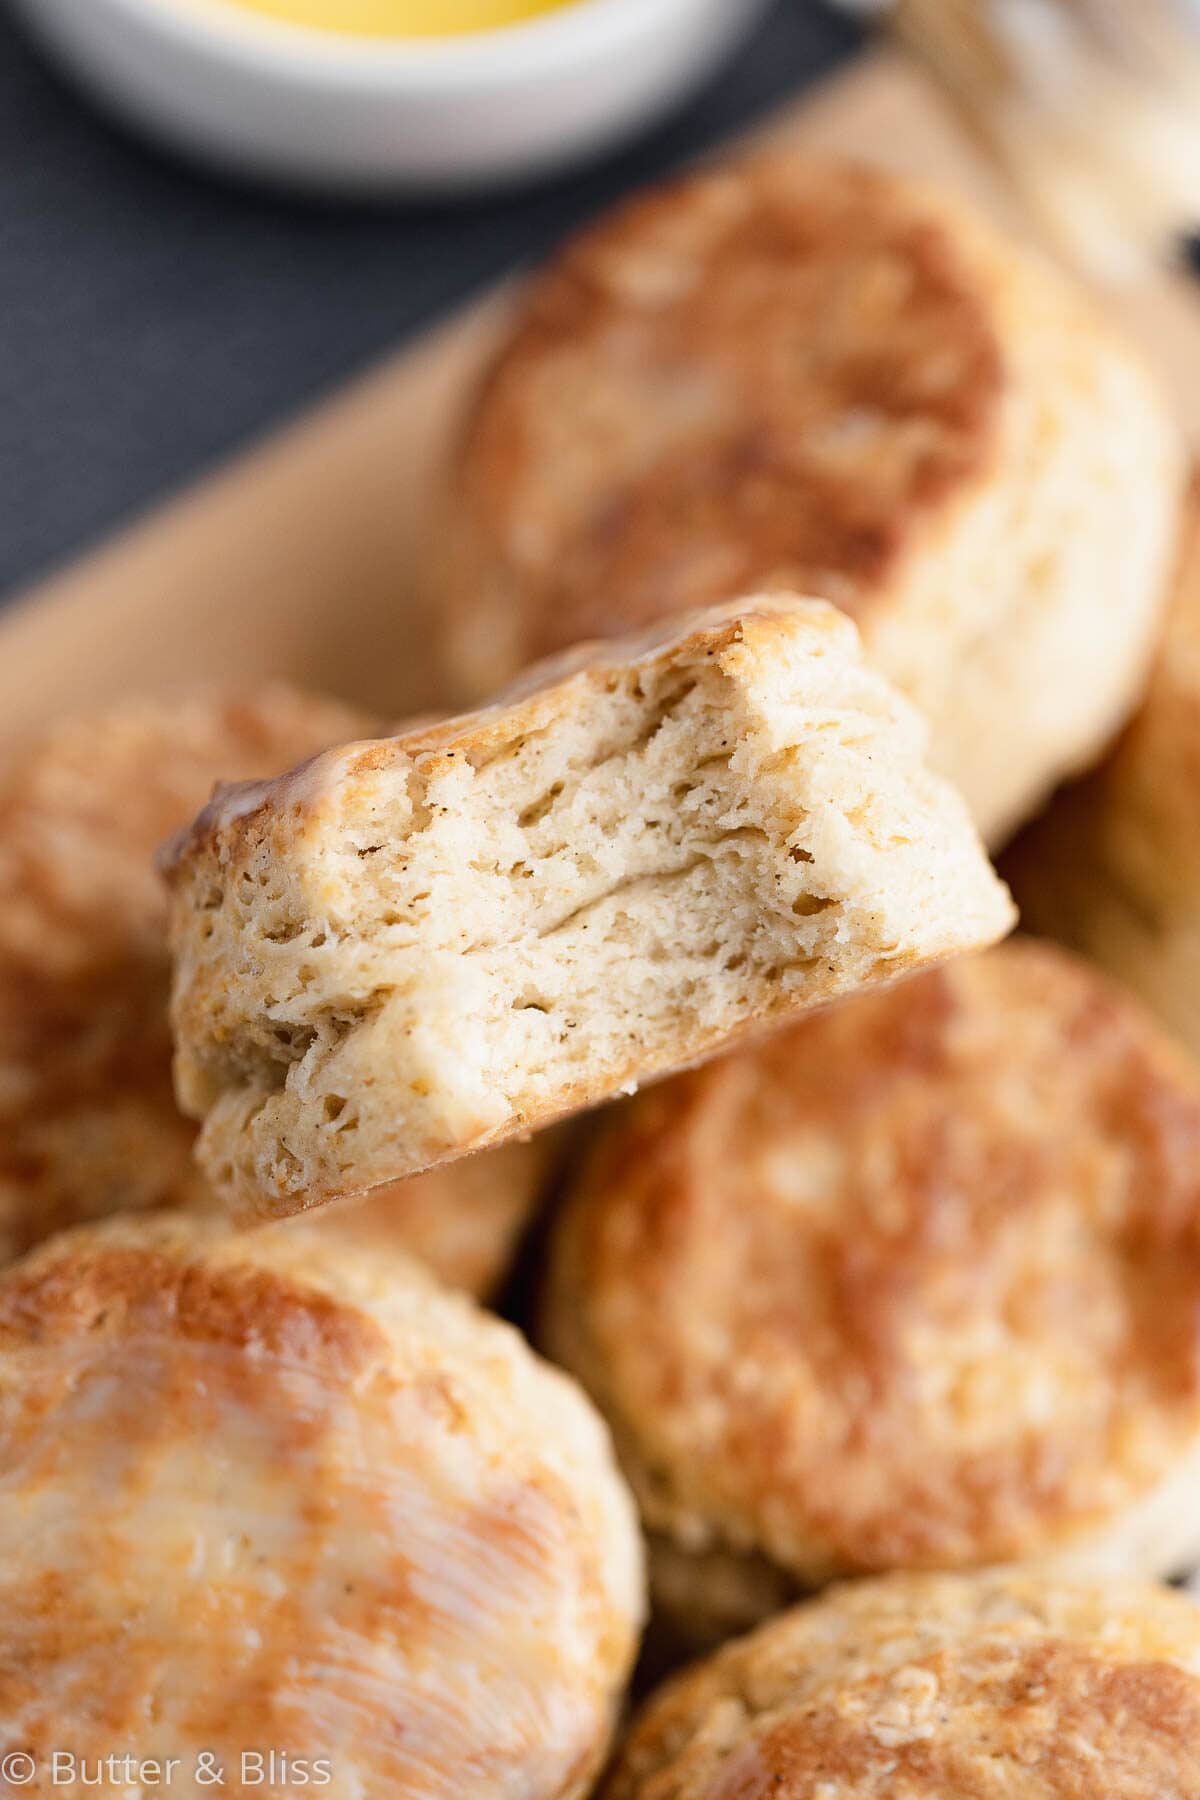
These buttermilk biscuits for two are buttery, tall, and full of pillowy soft layers. You only need a few ingredients to make the all-butter homemade biscuits, and with the help of a dough-folding technique, you will have flaky biscuits in no time.
FEATURED REVIEW
“Probably, I’ve probably tried 9 or 10 different biscuit recipes and I’ve never been happy with the results. Today, I made these and they came out absolutely delicious, so glad I came across your recipe.” ★★★★★ Sue
I’ve lost count of how many times I’ve made these biscuits. They’re a frequent request in my house, and the small batch of six never lasts long between the two of us. But don’t worry – the recipe doubles easily. I’ve started doing that just so I’m not baking a fresh batch on both Saturday and Sunday. 😉
What I love about homemade biscuits is that they’re a great entry point if you’re new to bread baking. You get the feel of working with dough, but without the pressure of yeast or long rise times — kind of like my small Irish soda bread loaf, which is almost too easy to mess up.
You can also flavor them however you like – add herbs, spices, cheese, or take them to the sweet side with my cinnamon sugar biscuits recipe.
And if you are a seasoned bread-maker (homemade bagels and all), these biscuits are a welcome break from the more complicated projects – no mixer, no proofing, just buttery, flaky goodness in about 40 minutes.
My Secrets To Fluffy Biscuits
The first one is cold, cold butter. It plays a key role in the tall, flaky layers. The water in the butter turns to steam when heated, which in turn makes the biscuits poof up.
Second – I don’t use a rolling pin. Instead, I flatten and fold the dough with my fingers. This way, the dough doesn’t get overworked and the butter doesn’t melt. Plus, this technique – also called laminating – creates multiple, flaky layers.
How To Make Biscuits
I promise this is a pretty easy bread recipe. For one, we don’t need yeast. And two, you probably already have all of the ingredients on hand.
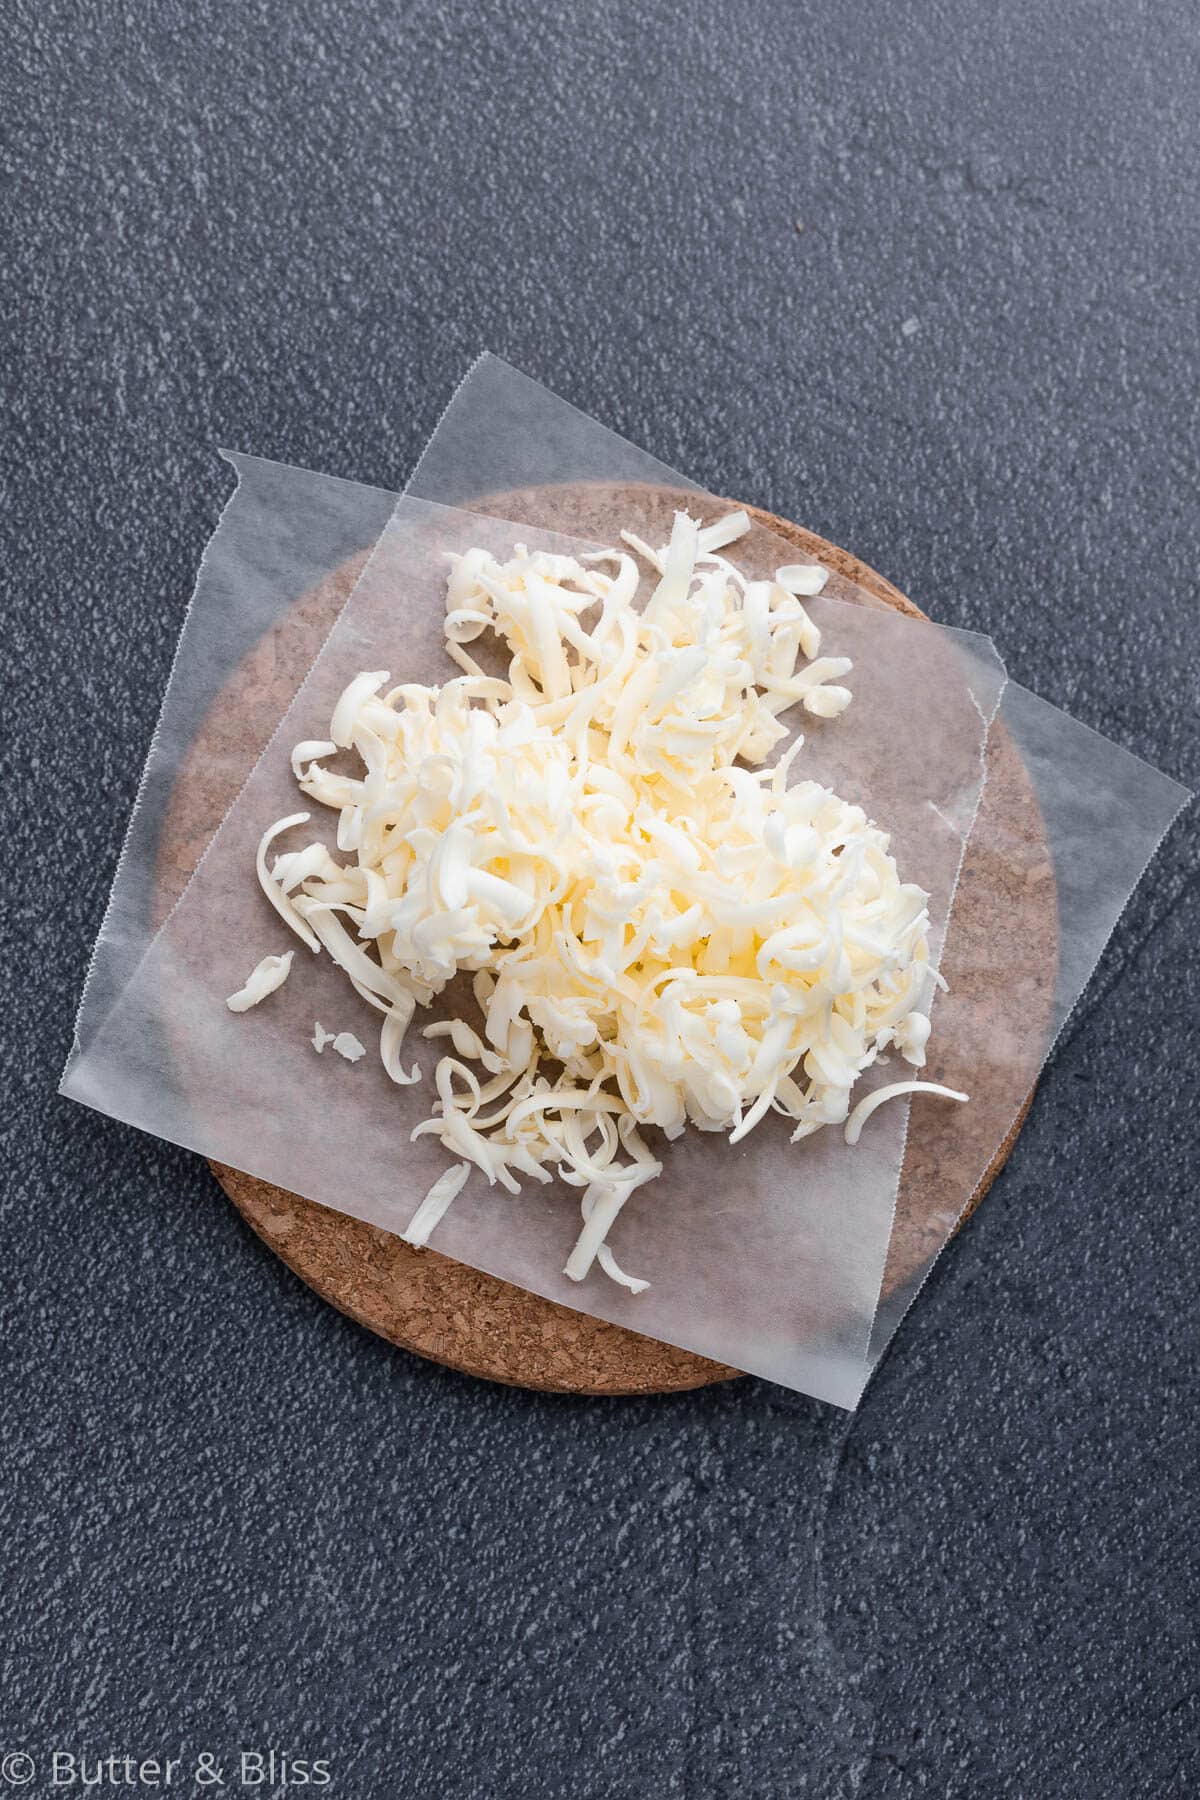
Start by grating your butter and keeping it cold until ready to use. When you combine it with the dry ingredients, the flakes will mix more easily. Plus, all those little flakes contribute to the perfect biscuit texture.
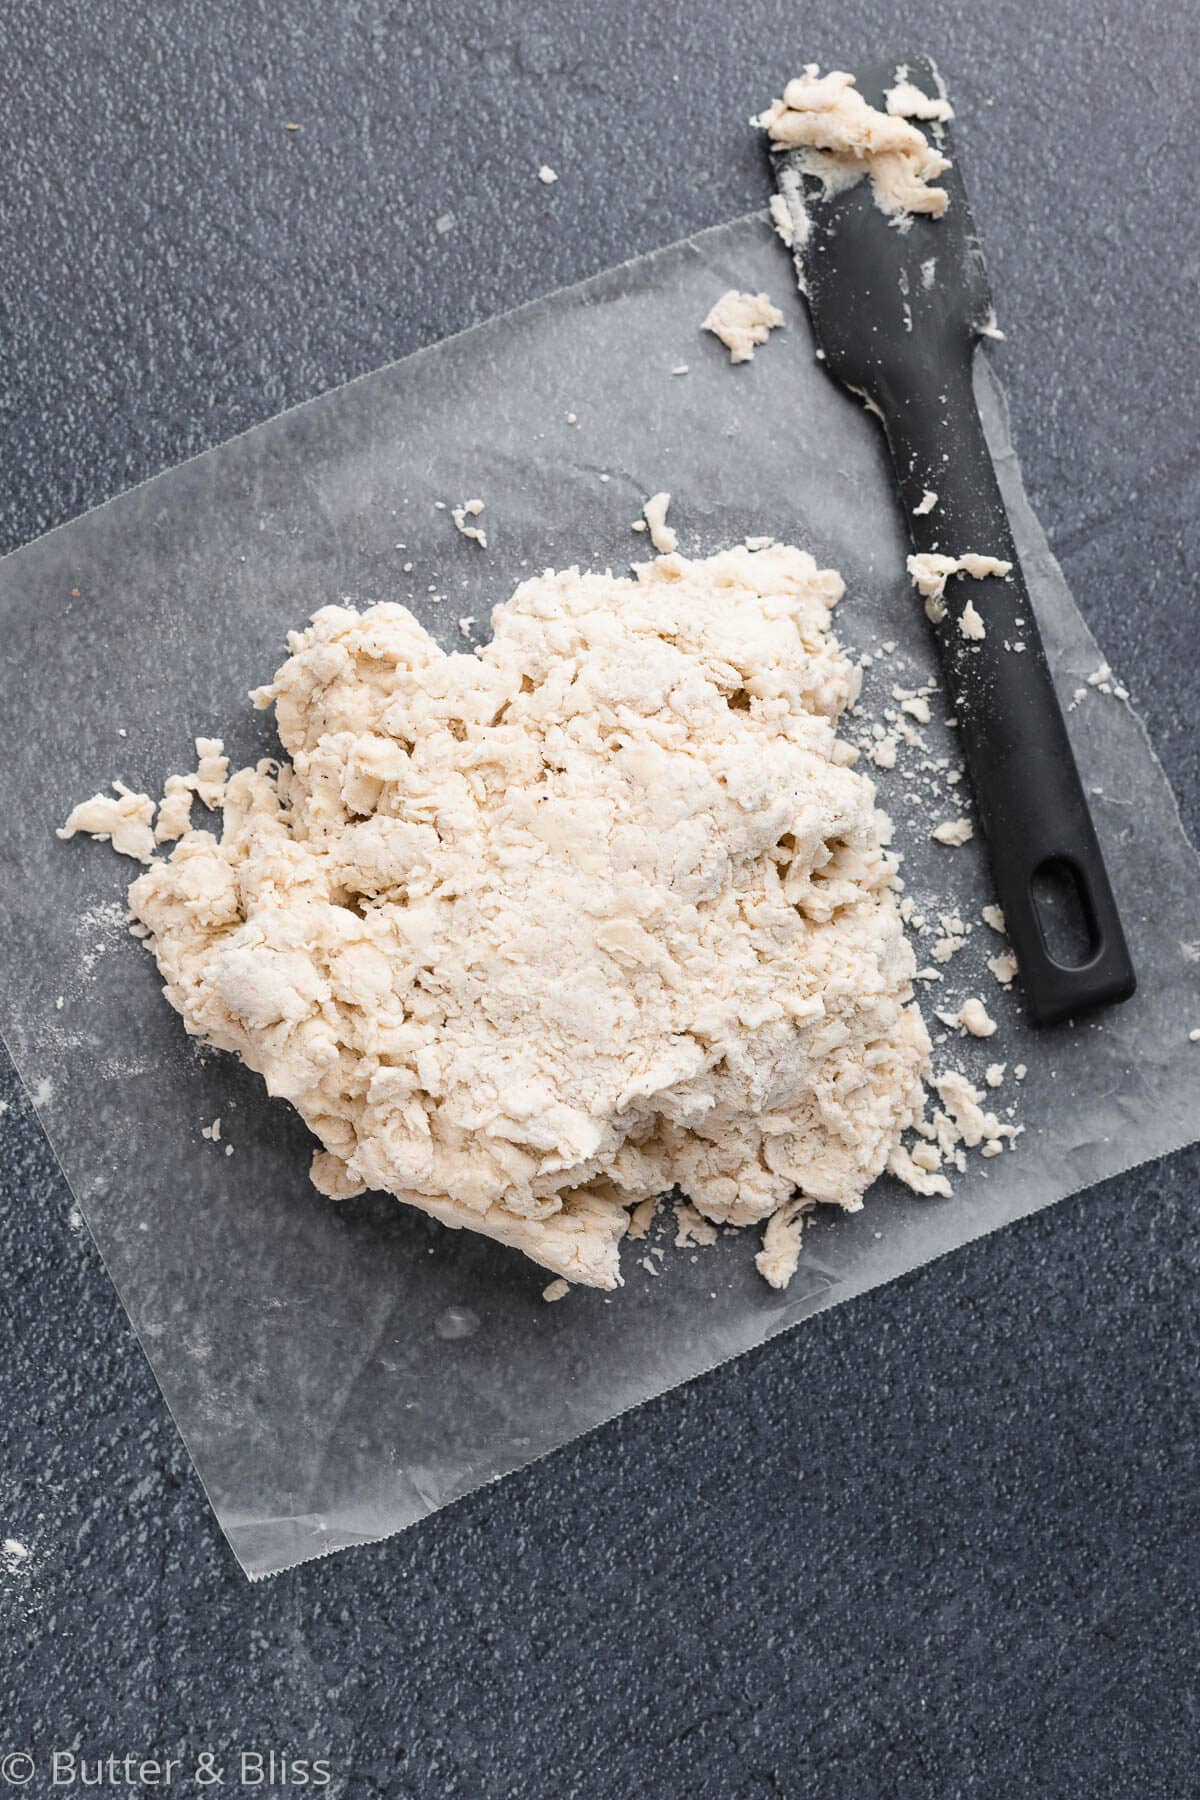
From there, you add your buttermilk and mix until you have a shaggy dough. Start with a little at a time, because you may not need all of it. Flour is funny that way, and if you have a lot of humidity in the air, you probably won’t need all of it.
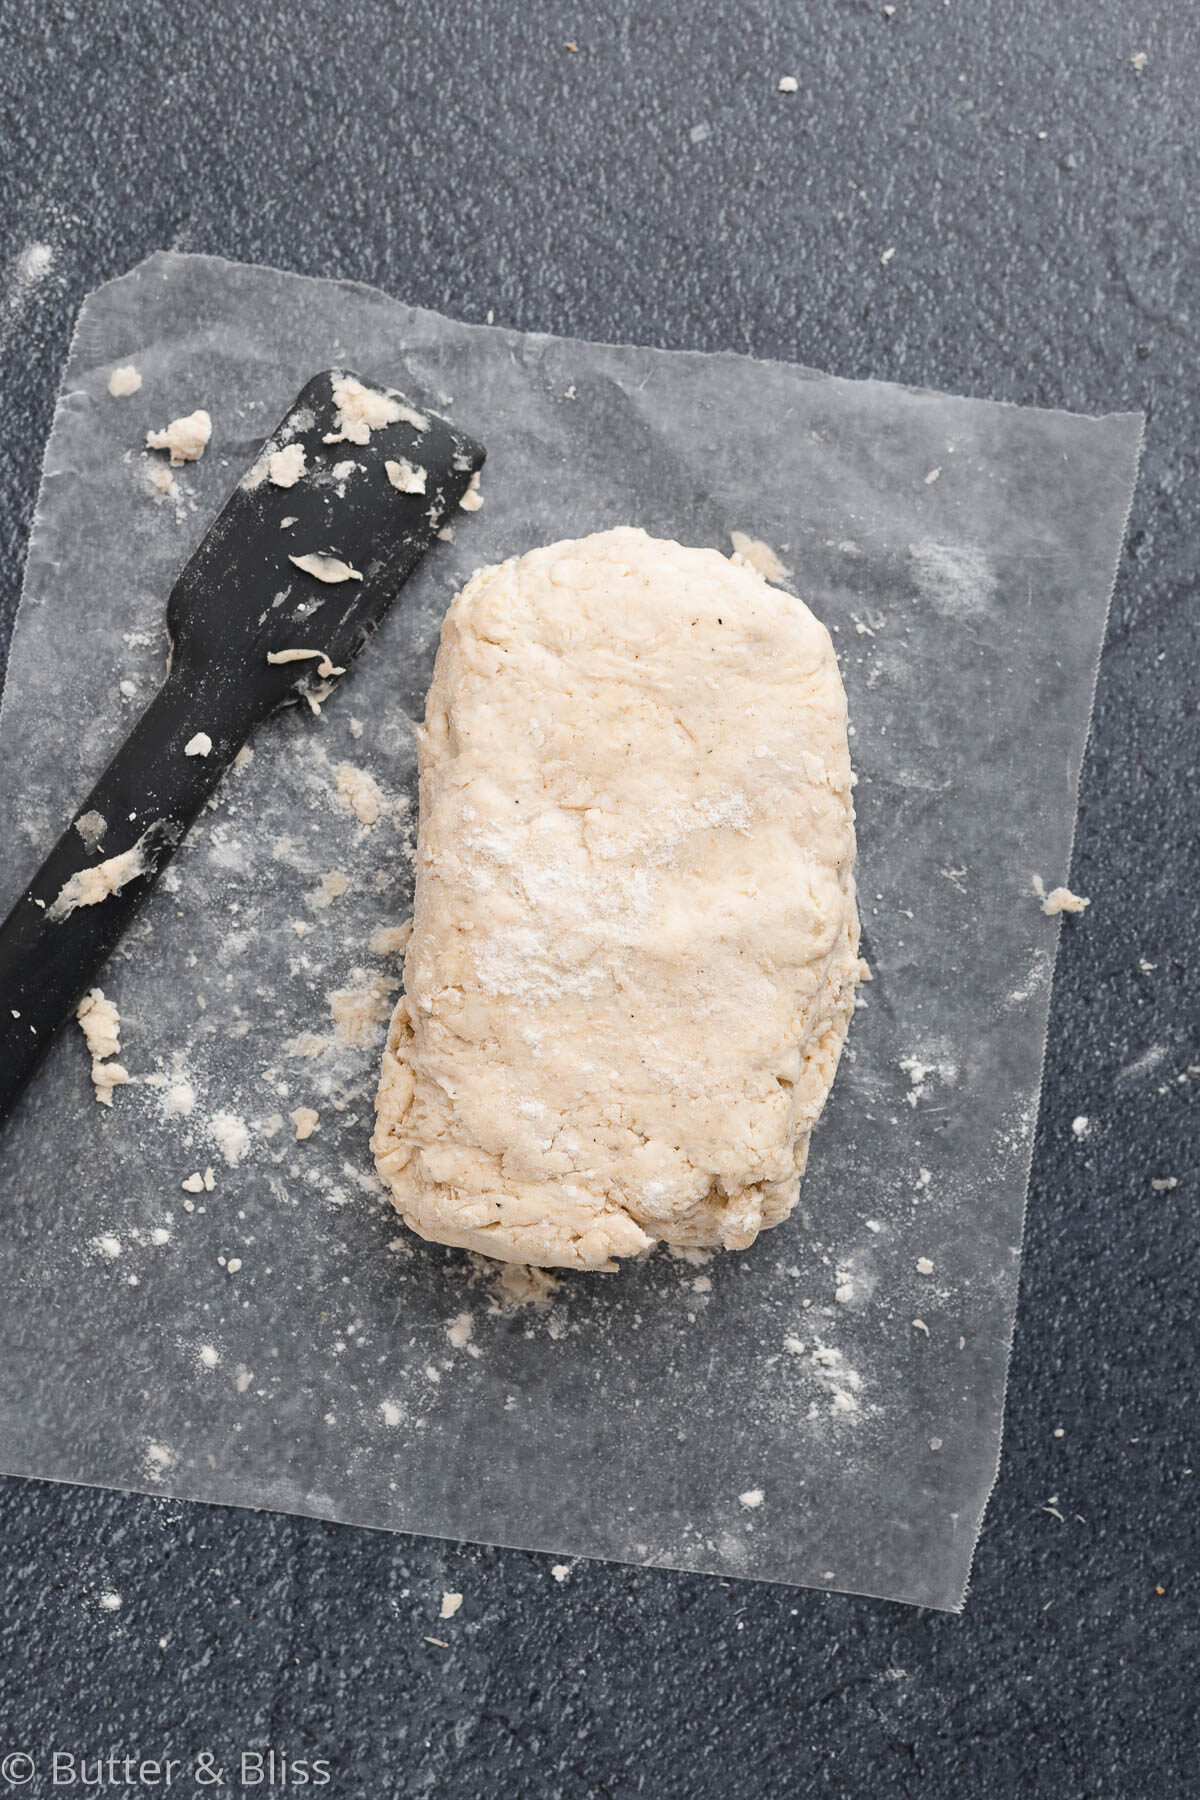
Form the dough into a rough rectangle and start your flattening and folding. I usually do this about 4 to 6 times (depends on how well I’m paying attention! 🙂 ), and then I end with dough that’s about 3/4-inch thick. Remember – tall biscuits!
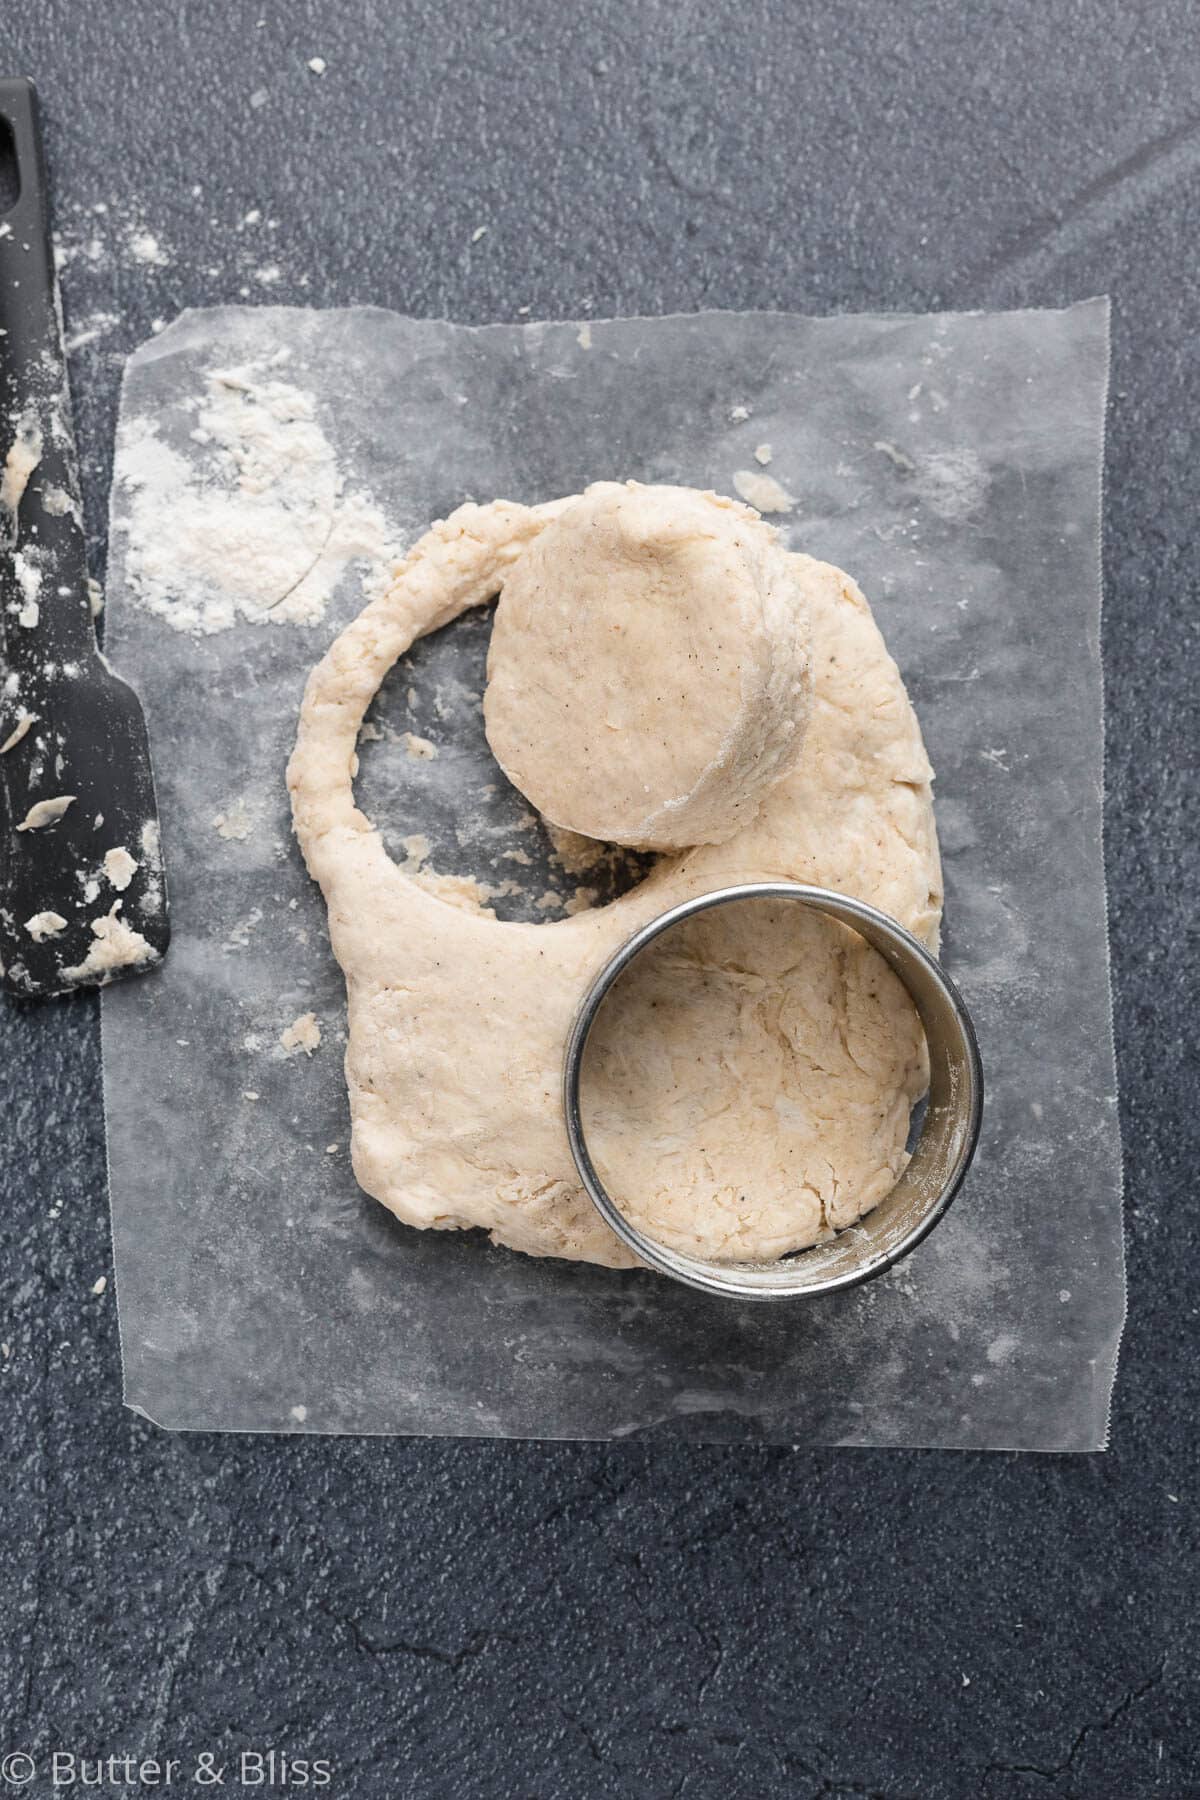
Press the biscuit cutter down into the dough and place the rounds on your baking sheet. Brush with extra buttermilk for the golden exterior and bake for about 20 minutes. My favorite part – serve them warm with a little extra butter and a side of homemade berry compote.
Quick Tips
These are a few of my own nuances, but after making several dozen of these biscuits, I find they yield the best biscuits. Of course, I’m biased. 😉
Don’t twist the biscuit cutter when you cut out the biscuits. This will seal the outsides and prevent air from circulating through the biscuits.
Similarly, for these savory gems, I give them space on the baking sheet. This way, the exterior gets nice and crisp.
Did You Make It? Let’s Hear About It!
⭐⭐⭐⭐⭐
I love to hear when you make one of my recipes! Let me know in the comments below (plus a star-rating for extra appreciation) how the biscuits turned out for you. And, have you made them as many times as I have?! 🙂

Homemade Buttermilk Biscuits For Two
by Erin Cernich
Equipment
- Rolling Mat (optional)
Ingredients
- 2 cups all purpose flour (plus more for dusting)
- 1 teaspoon baking powder
- ½ teaspoon baking soda
- 1 teaspoon salt
- ½ teaspoon ground black pepper (optional)
- 7 tablespoons unsalted butter, cold
- 1 cup buttermilk, cold (reserve and set aside 1 tablespoon)
- 1 tablespoon honey (or any sweetener)
Instructions
- Using a box cheese grater, grate the cold butter onto a piece of parchment paper. Put the grated butter in the freezer until ready to use.
- In a liquid measuring cup, measure out the buttermilk. Place it in the refrigerator until ready to use. See Notes for Homemade Buttermilk.
- Preheat oven to 425F degrees and adjust the oven rack to the middle position.
- In a large mixing bowl, whisk together the flour, baking powder, baking soda, salt, and pepper.2 cups all purpose flour, 1 teaspoon baking powder, 1/2 teaspoon baking soda, 1 teaspoon salt, 1/2 teaspoon ground black pepper
- Add the chilled butter shavings to the flour and stir until all the pieces are coated with flour.7 tablespoons unsalted butter, cold
- Reserve 1 tablespoon of buttermilk to brush over the top of the biscuits.
- Make a well in the center of the flour mixture. Add the honey and 2/3 of the buttermilk to the dry ingredients. Mix gently and add more buttermilk as needed until the dough is coarse and crumbly and starts to pull away from the sides of the bowl. You don't want the dough to be too wet, and you may not need all of the buttermilk.1 cup buttermilk, cold, 1 tablespoon honey
- Pour the dough out onto a lightly floured work surface. Using your hands, gently work the dough together and form into a rough rectangle. If the dough is sticky, lightly flour the top of the dough. Tip – I provide a link above for the rolling mat I like to use to form and cut the biscuits. It sticks to the countertop and makes clean-up easy!
- Once the dough has come together, fold the dough in half. With your fingertips, gently flatten the dough. Rotate the dough 90 degrees and fold in half again, gently flattening the layers again. Repeat this step 2 to 3 more times. Keep the surface lightly floured to avoid the dough sticking to your work surface. The folding and rotating is what creates the flaky layers in the biscuits,
- Flatten the dough to approximately 3/4 to 1 inch thick. Dip the biscuit cutter into flour. Starting in one of the corners of the dough, gently press the biscuit cutter straight down – making close cuts to get as many biscuits as you can before having to re-work the dough. Note – The number of biscuits you get will depend on how thick your dough is and what size biscuit cutter you use. Re-flatten and cut any remaining dough.
- Place the biscuits close to each other, but not touching, on the baking sheet. With a pastry brush, brush the reserved buttermilk on top of each biscuit.
- Bake the biscuits until the tops are golden brown, about 18 to 22 minutes.
- Remove from the oven and serve warm! You can also brush on some melted butter or honey before serving.
Notes
- Serving Size – You can easily double this recipe.
- Homemade Buttermilk – Pour a tablespoon of vinegar or lemon juice into a liquid measuring cup, then pour milk to the 1 cup mark. Stir and let it sit in the refrigerator for at least 10 minutes before using. I prefer whole milk, but 2% will also work.
- Cold Butter – Butter is a key ingredient in this recipe, and it needs to be VERY cold before using.
- Grate the Butter – Grating the butter is a great way to get small pieces of butter evenly distributed into your dough. A pastry cutter will work as well, just cut the butter into tablespoons before using.
- Work by Hand – I do not use a rolling pin because I don’t want to overwork the dough or melt the butter. The folding and flattening technique is an easy alternative and it gives you more control of the dough and its thickness.
- Storage – Store leftover biscuits at room temperature. You can put them in a paper bag, large zipper bag, or covered container.
Nutrition Estimates
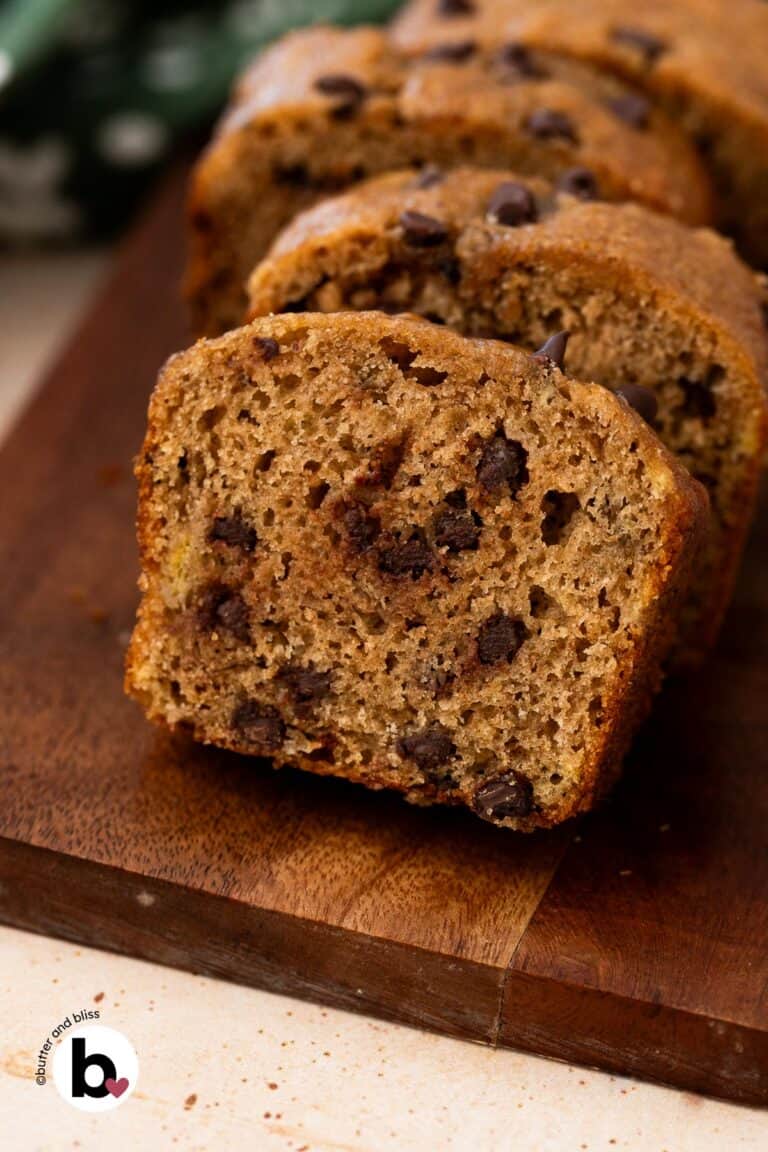
TRY THESE SMALL BATCH RECIPES NEXT!


About the Author …
Hi, I’m Erin! With years of experience baking for two in my own small household, I know about the love for desserts without the leftovers. I’ve tested, written, and photographed every one of the 300+ recipes on my website. And even had some of my desserts featured on Taste of Home, The Spruce Eats, ELLE, Parade, and more! From traditional to gluten free desserts for two, I have the recipe for you.
Click here to learn more about me →
Probably, I’ve probably tried 9 or 10 different biscuit recipes and I’ve never been happy with the results. Today, I made these and they came out absolutely delicious, so glad I came across your recipe.
Love to hear this – thank you so much Sue! I actually made a fresh batch this morning too!