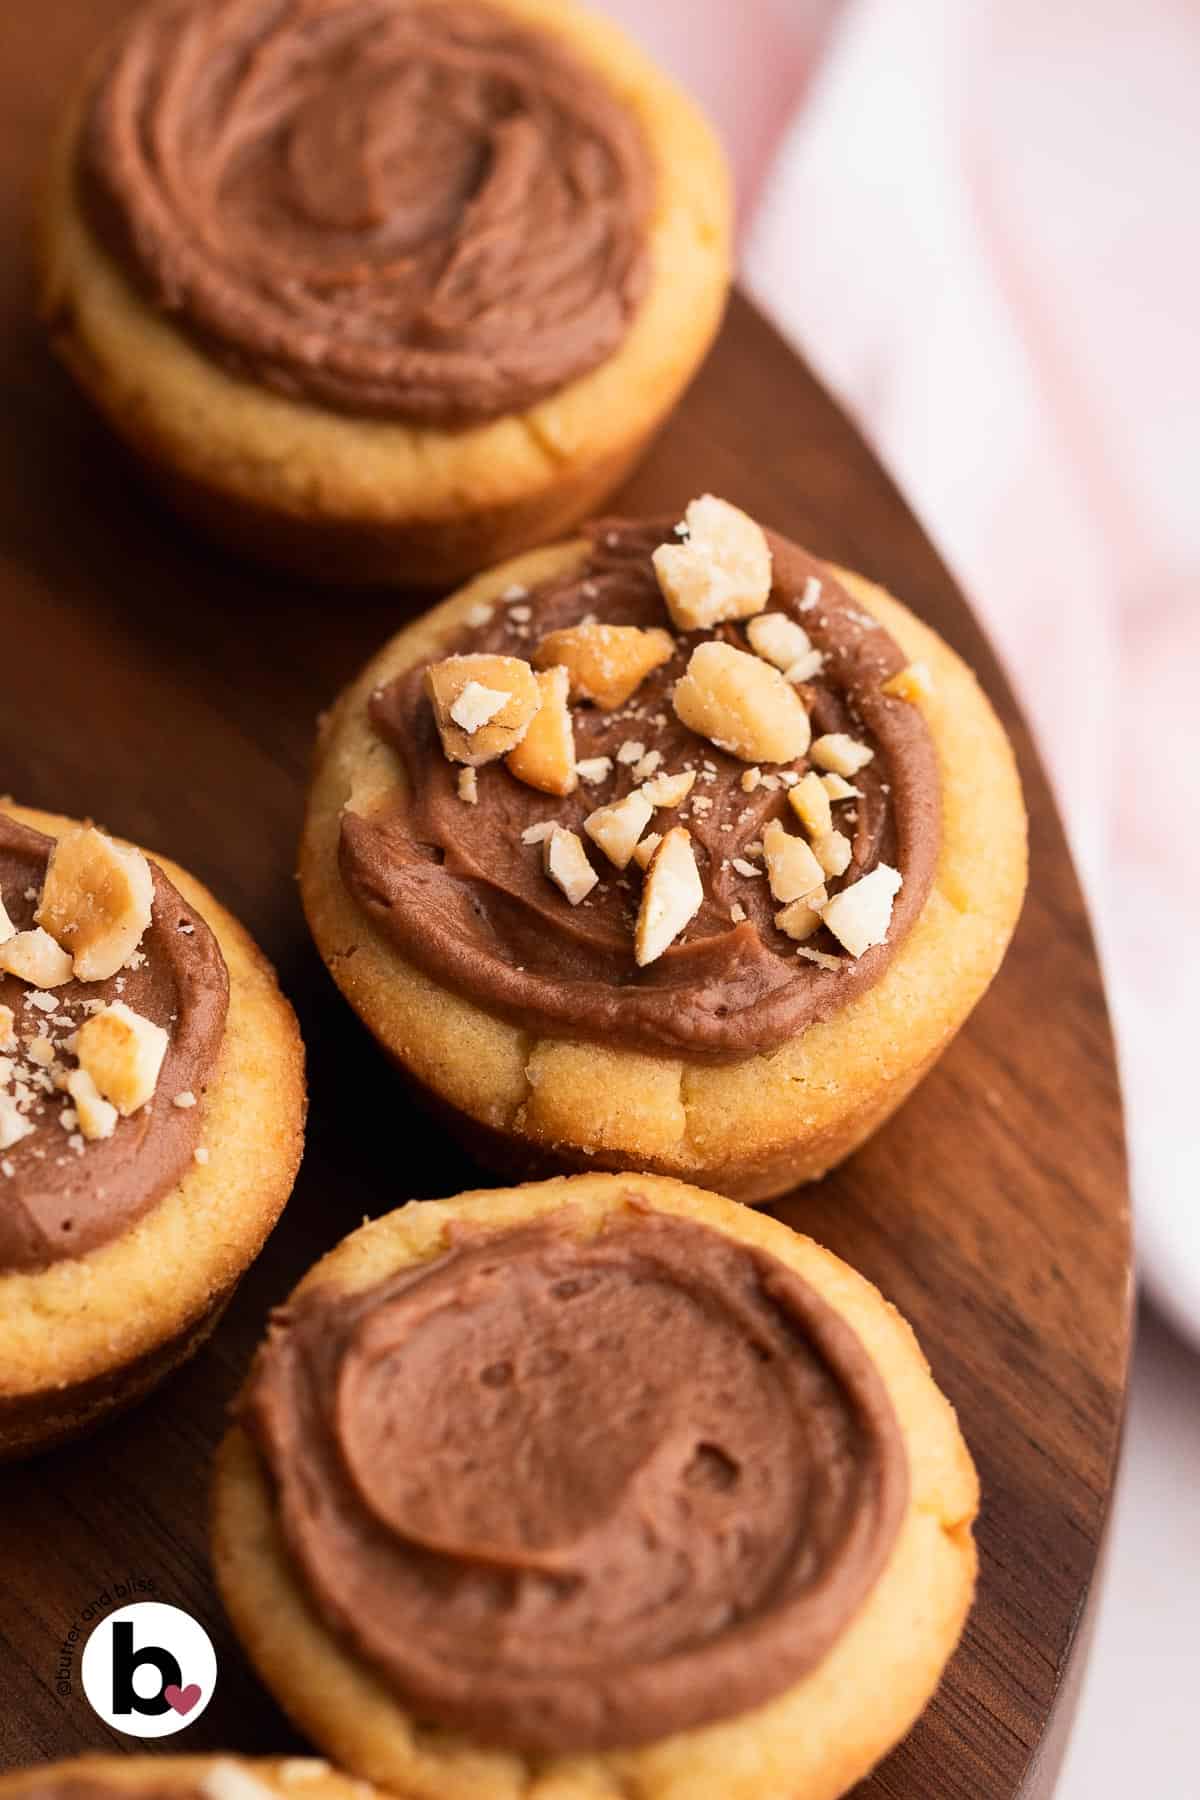
Small Batch Cookie Cups with Chocolate Filling
This post may contain affiliate links. See my disclosure policy.
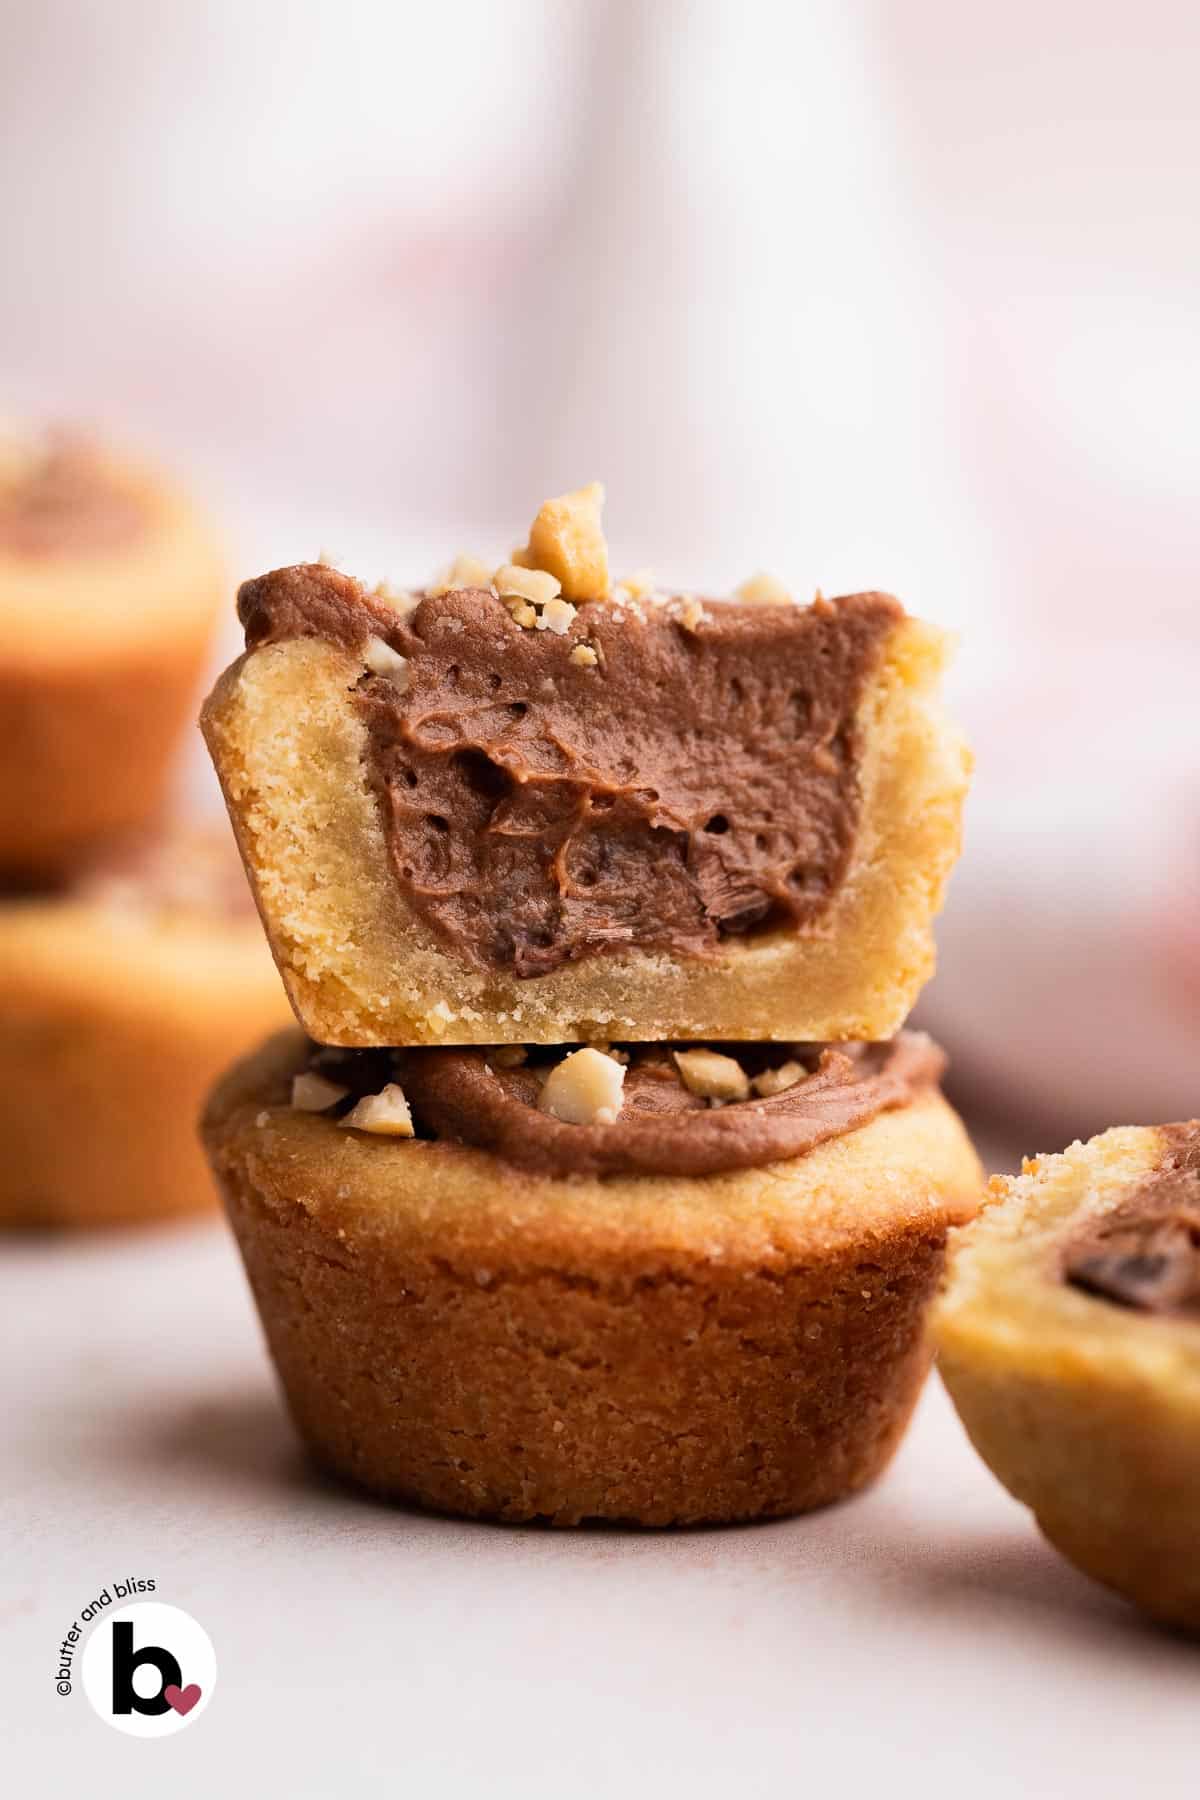
One dozen small batch cookie cups that are chewy, buttery, and baked in a mini muffin tin in less than 30 minutes. And the best part is what goes inside. Fill the eight-ingredient brown sugar cookies with a thick and creamy chocolate frosting or ganache. Peanut butter whipped ganache is my favorite pairing, but any thick and creamy frosting works.
My Small Batch Take On Fudge Puddles

I have had the Taste of Home fudge puddles on my baking to-do list since I started Butter and Bliss. Yes, that long. It was one of those recipes that I kept circling back to around the holidays, but never quite got around to.
I honestly vacillated on the filling quite a bit. I love fudge, but wasn’t sure I wanted something that rich in the already rich and buttery little cookie. Then, I finally had my own choice of fillings to put inside the cookie cups. Let me tell you — I’m glad I waited.
My version starts with an easy one-bowl sugar cookie made with brown sugar. Then I stuffed them with my light and airy whipped peanut butter ganache. That was test one. Test two and I divided the cookies and filled six with traditional whipped chocolate ganache and the other six with chocolate peanut butter buttercream. You can’t go wrong here.
There’s so much dimension with these cookies. From brown sugar and almond extract in the classic sugar cookie, to the fluffy filling. The cookies don’t need a holiday as an excuse to bake them.
And trust me, you’ll be glad there’s only a small batch of 12. Not only can you bake them on a whim without a big production, but it’s built in self-control. Because you may just find yourself popping these bite-size cookies, one right after the other. 🙂

How To Make Cookie Cups
The cookies are effortless. I use my smaller mixing bowl on my standard KitchenAid, but a hand mixer works just as easily.
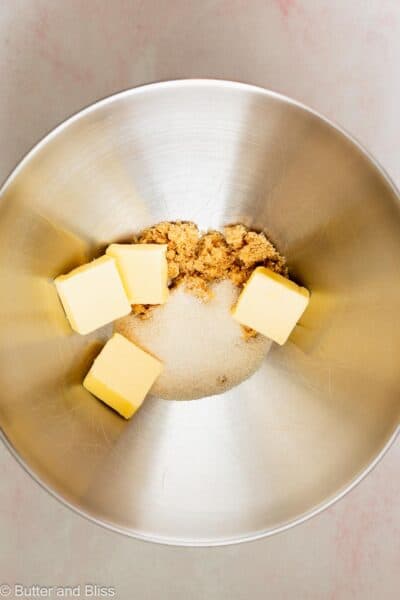
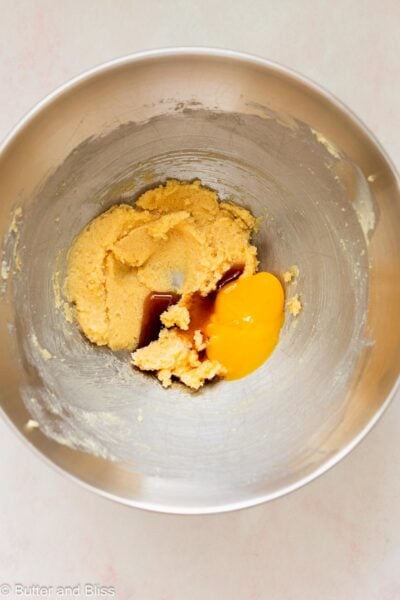
The butter and sugars are mixed in the bowl until combined, then the egg yolk and extracts are added.
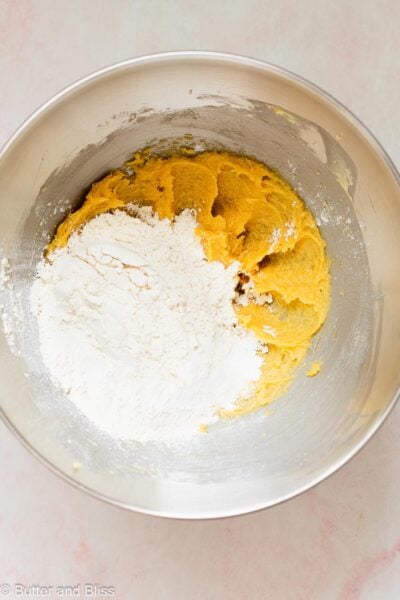
Sprinkle the dry ingredients on top and mix until a thick dough forms.
Fair warning — it is a thick dough, so if you’re using a hand mixer, you may want to finish mixing with a sturdy spoon once the dry ingredients go in. I find my hand mixer struggles a bit with dough this thick. I do this with my small batch peanut butter cookies.

Portion the dough into 1 tablespoon scoops, roll into balls, and press each one into the muffin wells. Use the back of a teaspoon to shape the wells — it keeps them uniform and the right size for filling.
While the cookies bake and cool, this is a good time to make the filling.


The wells will fill back in slightly as they bake — that’s completely normal. Just reshape them with the teaspoon as soon as they come out of the oven, then transfer to a cooling rack to cool completely.
For the cleanest fill, put your filling in a piping bag to pipe it in. And, if you want to go the classic fudge route, I’ve got you covered with my small batch fudge frosting.


Erin’s Small Batch Tips
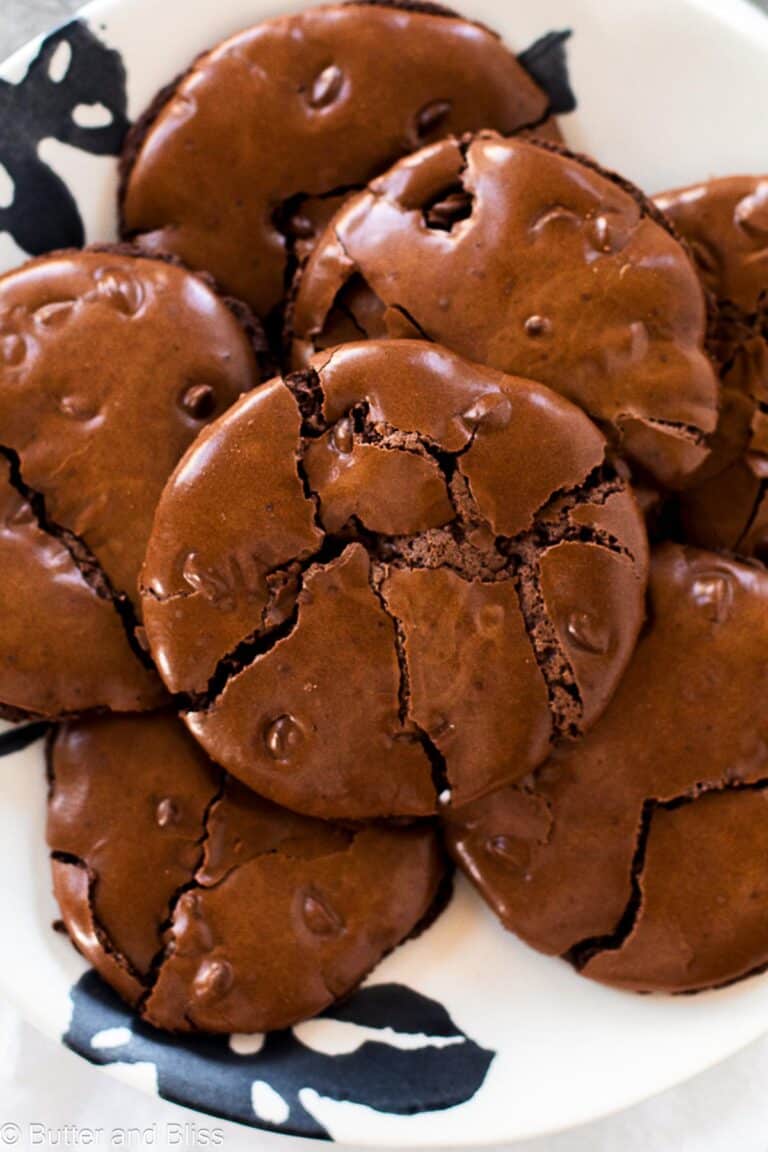
- The reason for the egg yolk only: This small batch dough can’t handle the full moisture of a whole egg. It will make the cookies cakey. If the dough feels crumbly after mixing, add a splash of milk, one teaspoon at a time, until it comes together. If you want a recipe to use up the extra egg-white, try my popular flourless chocolate cookies.
- Watch the bake time: The cookies are supposed to be chewy, and the center should be soft to form the filling wells. Pull the cookies as soon as the tops are slightly golden. Overbaking will dry them out fast, and you’ll have a heck of a time trying to reform the wells.
- Special note on ganache filling: If you’re making the peanut butter whipped ganache or chocolate whipped ganache, plan ahead. The ganache needs time to firm up before it can be whipped to that light texture. It can be made a day ahead and refrigerated — just bring it to room temperature and whip again before filling.

Did You Make It? Let’s Hear About It!
⭐⭐⭐⭐⭐
These cookie cups are made for customizing — and I want to hear what filling you went with. Your flavor combos and tips in the comments help other readers find their perfect pairing too!
Small Batch Cookie Cups with Chocolate Filling
by Erin Cernich
Equipment
- Mini Muffin Baking Pan
Ingredients
Cookie Cups
- ¼ cup unsalted butter, room temperature
- 2 tablespoons organic cane sugar (or granulated sugar)
- 2 tablespoons light brown sugar
- 1 large egg yolk, room temperature
- ¼ teaspoon vanilla extract
- ¼ teaspoon almond extract (optional; see Notes)
- ¾ cup all-purpose flour
- ¼ teaspoon baking powder
- ¼ teaspoon salt
- 1 to 2 tablespoons chopped peanuts or sprinkles (optional toppings)
Instructions
- To coordinate the timing of the filling and the cookies, make the filling ahead of time, or while the cookies bake and cool. The peanut butter chocolate ganache is perfect for these cookie cups, but chocolate whipped ganache or chocolate peanut butter buttercream frosting are also delicious.
Cookie Cups
- Preheat the oven to 350F degrees and adjust the oven rack to the middle position. Lightly grease 12 wells in a mini muffin pan.
- Add the butter and both sugars to a mixing bowl. Either a stand mixer or hand mixer with a medium mixing bowl works. Beat on medium-high speed until light and creamy.1/4 cup unsalted butter, room temperature, 2 tablespoons organic cane sugar, 2 tablespoons light brown sugar
- Add the egg yolk, vanilla, and almond extract. Continue to beat on medium speed until the egg is well incorporated.1 large egg yolk, room temperature, 1/4 teaspoon vanilla extract, 1/4 teaspoon almond extract
- Sprinkle the flour, baking powder, and salt over the wet ingredients. Mix on low until no dry streaks remain and a dough forms. The dough will be thick. If it is too crumbly, add a splash or two of milk.3/4 cup all-purpose flour, 1/4 teaspoon baking powder, 1/4 teaspoon salt
- Use a tablespoon measuring spoon to scoop the dough. Roll each into a ball and drop into the prepared muffin pan. Use the back of a teaspoon measuring spoon to push each dough ball into the muffin wells and create a cup.
- Bake the cookies for 12 minutes, or until the tops are light golden brown. The cups you made with the teaspoon will fill back in slightly when baked. Place the pan on a wire cooling rack and immediately press the teaspoon back into the centers to re-make the cup. Cool the cookies in the pan for 5 minutes. Then carefully remove to cool on the wire rack completely. If the cookies aren't releasing from the pan, run a sharp knife or offset spatula along the sides of the cookie to release.
- Add the filling to a piping bag, and fill the cookie cups. Sprinkle the tops with chopped nuts or sprinkles. The cookie cups will be fine at room temperature for up to 8 hours. Beyond that, I recommend refrigerating to keep the ganache fresh.1 to 2 tablespoons chopped peanuts or sprinkles
Notes
- Total Time – Note that the total time only includes the time to make the cookie cups. I recommend making the filling either ahead of time or while the cookies bake and cool.
- Serving Size – This is a small batch recipe that can be doubled.
- Mixer – If you want to use your standard KitchenAid stand mixer, I recommend the smaller 3-quart mixing bowl to mix the dough properly. Otherwise, use your hand mixer with a medium mixing bowl.
- Almond Extract – Almond adds a lovely flavor to the cookies. You can omit it and use 1/2 teaspoon of vanilla extract.
- Ganache Filling – The ganache can be made ahead of time and refrigerated. It will firm as it chills. When ready to use, bring it to room temperature and mix again to make it fluffy.
- Other Cookie Cup Filling Options – Browse my frosting small batch recipes for other options. I recommend a thicker frosting vs. a glaze.
- Freezing – Cookie dough: Wrap well in plastic wrap and place in a freezer bag, and freeze for up to 3 months. Thaw in the refrigerator. Baked and unfilled cookies: Place the cookies gently in a freezer bag or container. Freeze for up to 3 months, and thaw at room temperature. I don’t recommend freezing filled cookie cups because the texture of the filling will change.
Nutrition Estimates


About the Author …
Hi, I’m Erin! With years of experience baking for two in my own small household, I know about the love for desserts without the leftovers. I’ve tested, written, and photographed every one of the 300+ recipes on my website. And even had some of my desserts featured on Taste of Home, The Spruce Eats, ELLE, Parade, and more! From traditional to gluten free desserts for two, I have the recipe for you.
Click here to learn more about me →