
Small Batch Homemade Banana Pudding
This post may contain affiliate links. See my disclosure policy.
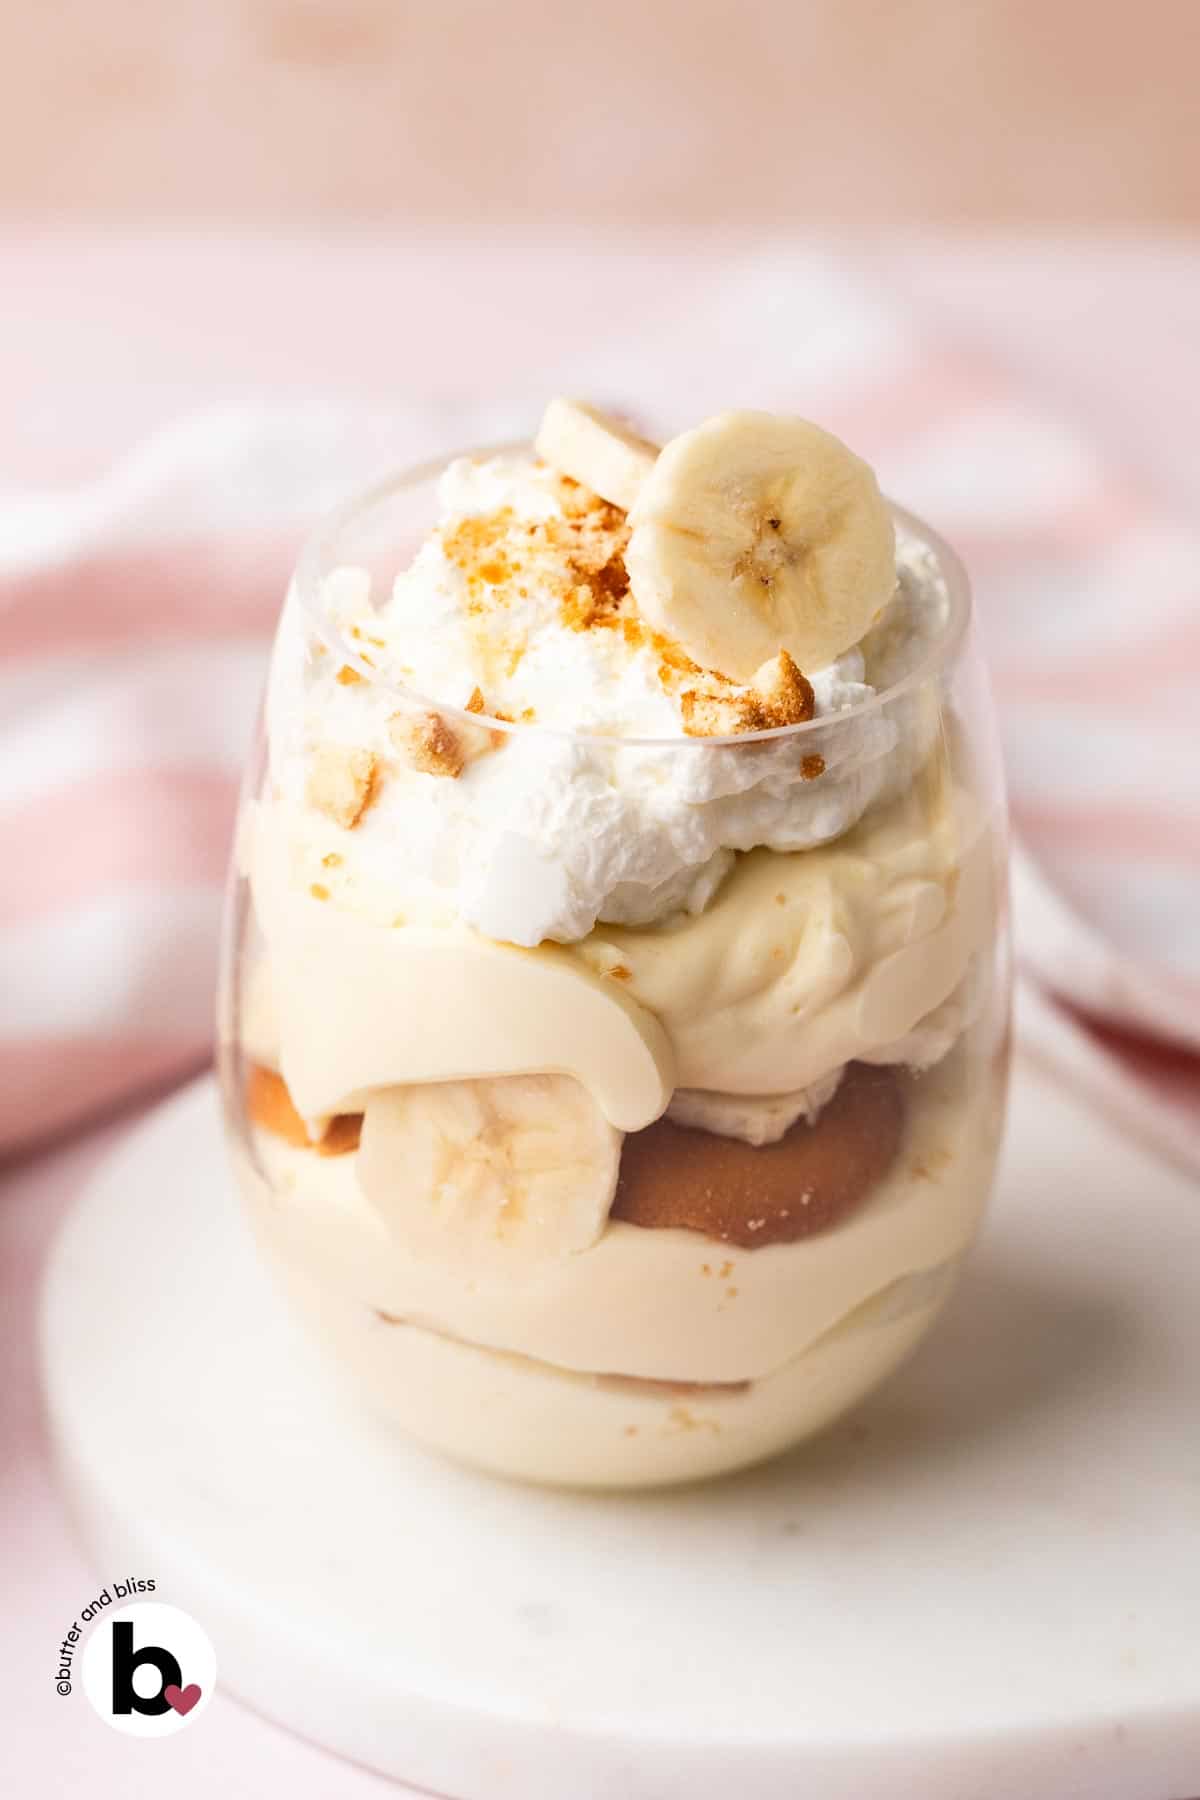
This homemade banana pudding is a no-bake dessert that starts with rich vanilla pudding made from scratch, then lightened with whipped cream for a thick and creamy texture. Layered with vanilla wafers and fresh banana slices, the small batch is portioned into individual cups for two to four, then chilled until the wafers soften and the flavors meld.
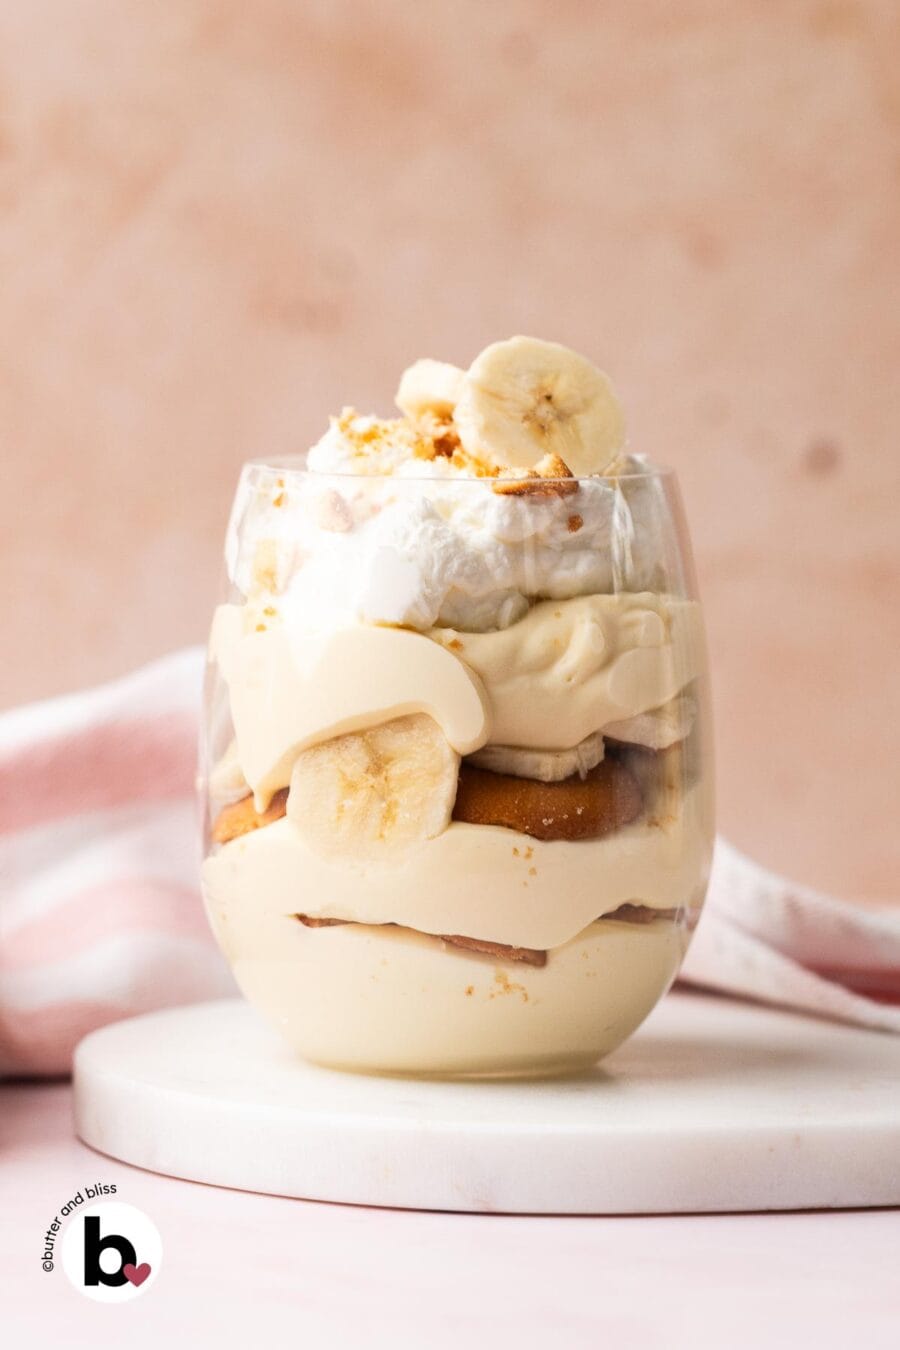
Banana Pudding Cups, Quick and Simple
- Yield: 4 servings in two to four cups
- Chill Time: A necessary 5 hours
- Flavors: Creamy vanilla paired with mellow banana and caramelized cookies
- Texture: Tender cookies and banana suspended in a thick, lightened pudding
- ✨Why Make It: An easy no-bake dessert scaled down to be enjoyed before the bananas turn brown!
It’s no secret that pudding desserts are my favorite, and I’m excited to share a nostalgia-sparking banana pudding in my own small batch style.
If you Google banana pudding, you’ll find hundreds of recipes, each with their own spin on the classic dessert. And most use a box-mix pudding. My recipe differs in that I make the pudding from scratch. For me, no box can compete with the velvety texture or pure, milky vanilla flavor of homemade.
At the base of this no-bake dessert is my small batch vanilla pudding. As I tested and assembled it into individual cups, the straight custard didn’t feel as light as I wanted it to be when layered with the banana and wafer cookies. That’s when I took a cue from Magnolia Bakery’s famous version, which lightens the pudding with whipped cream. Perfect.
Being careful not to take the pudding into mousse territory, the ratio I developed keeps the vanilla pudding thick and creamy, with a touch more lift to suspend the wafers and banana slices into one creamy bite.
What takes the most effort here is patience. Chill time is a must to get that soft texture. But I promise, it’s worth it.
Making the Base: Homemade Vanilla Pudding
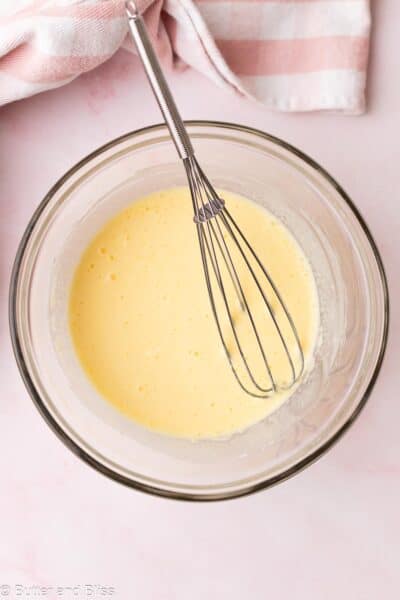
We start by making the vanilla pudding. Whisk the cream, egg yolk, and cornstarch in a mixing bowl until the starch is dissolved.
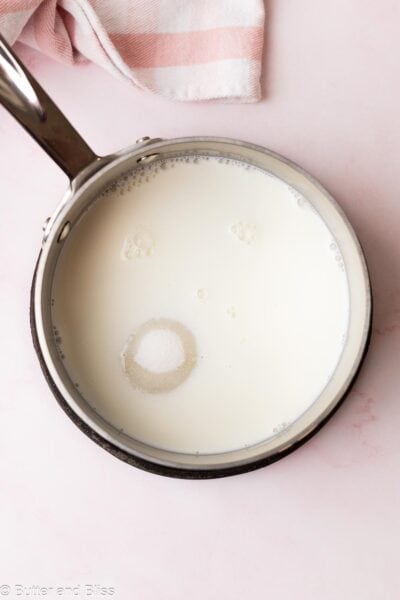
Then, in a small saucepan, heat the milk and sugar until bubbles start to form along the side of the pan. It doesn’t need to boil, just warm enough that it will temper (bring to temperature) the egg yolk without scrambling it.
Whisking constantly, pour about half of the heated milk into the cornstarch mix, then return it to the pan. Cook the pudding until it starts to thicken, with big bubbles. It may be tempting to keep cooking the pudding until it gets extra thick, but avoid this. The pudding will thicken even more as it chills in the refrigerator. And overcooking it can lead to a separated, watery custard.
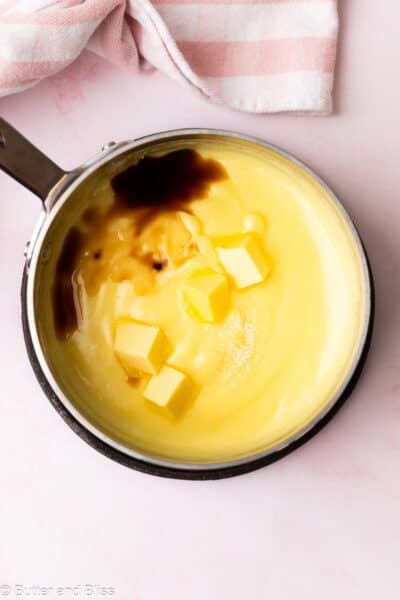
Off the heat, and add the vanilla, salt, and cold butter — which gives the pudding its silky finish. Transfer the pudding to a mixing bowl and place a piece of plastic wrap directly on top to keep a skin from forming, then refrigerate for at least 3 hours.
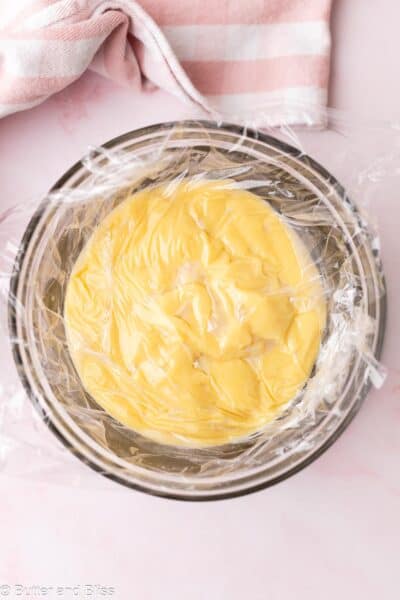
Once the pudding has chilled, make the whipped cream. You’ll be making enough to mix with the pudding, plus a little extra to use as a topping.
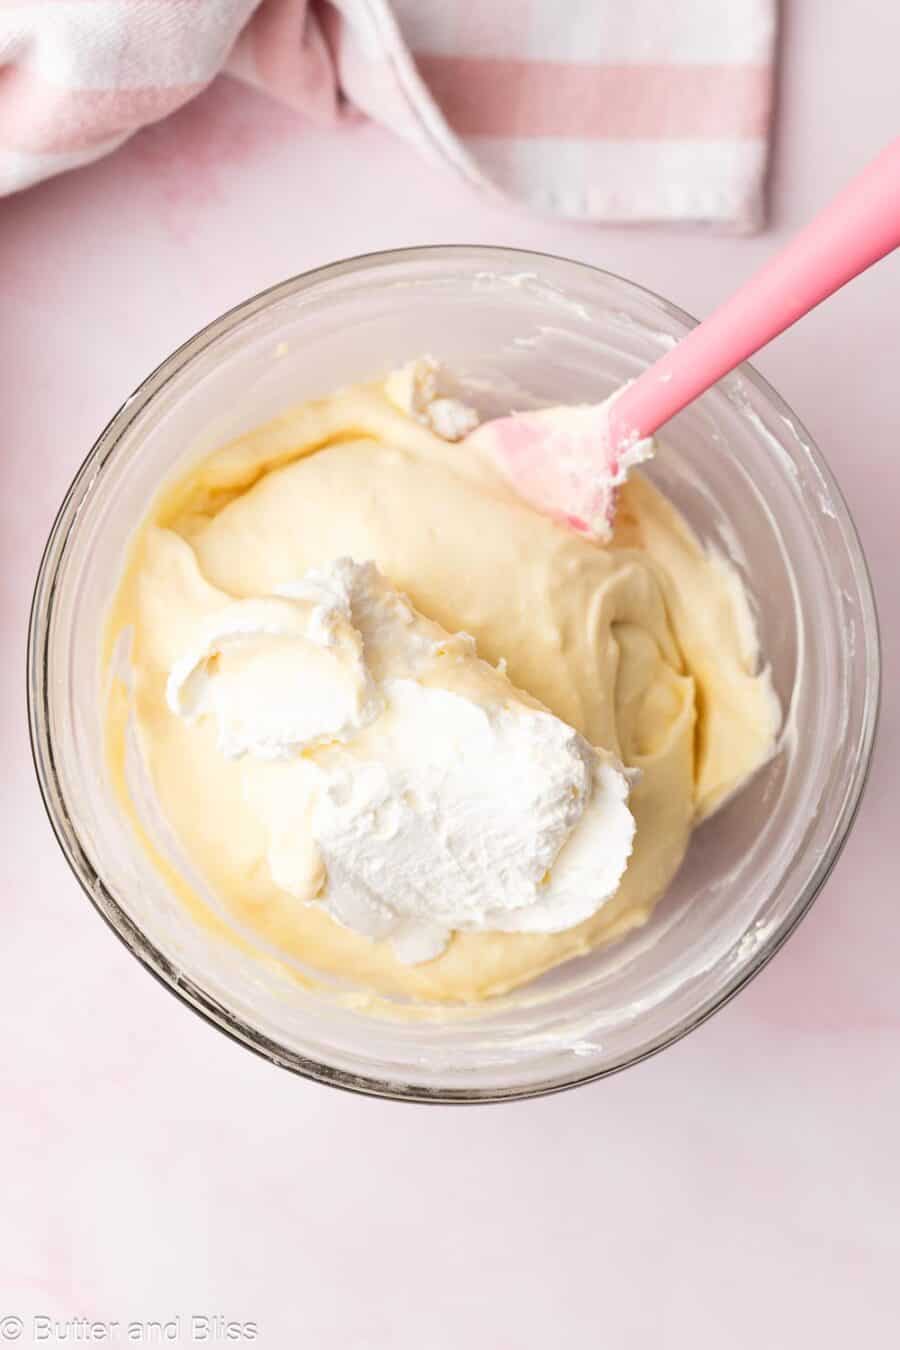
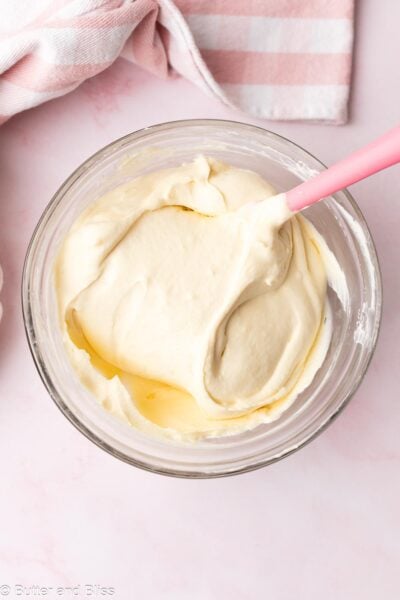
Carefully fold the whipped cream into the pudding until you no longer see streaks of cream. The result will be a thick custard that will feel almost like a stirred sour cream. From here, you can either chill the lightened pudding overnight or move straight into assembling.
The Bananas: An Overview
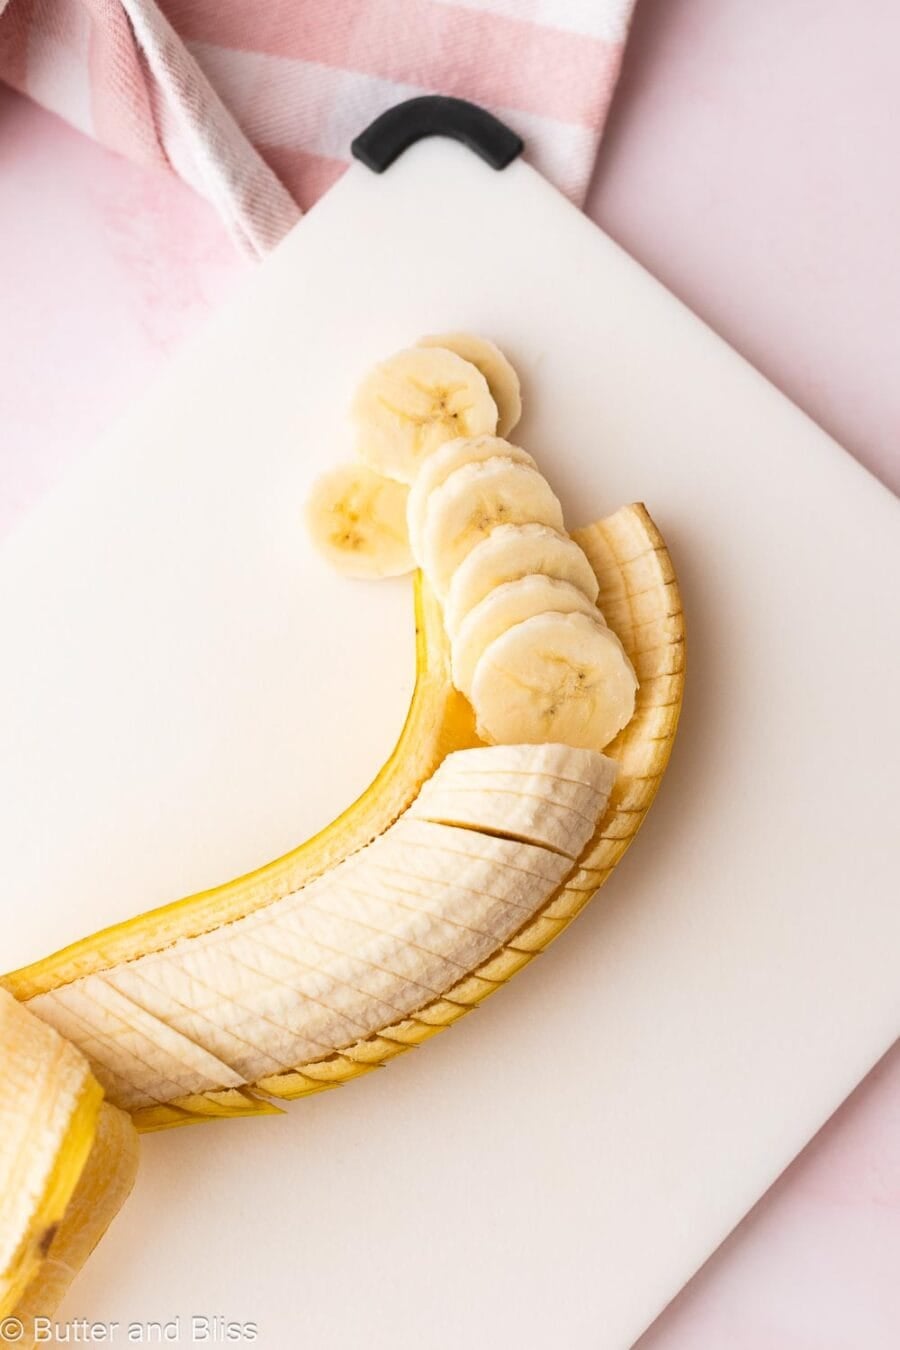
I have a couple of *musts* when it comes to the bananas in this banana pudding. First, they should be barely ripe — free of spots, with a little green still at the stem. They will hold a firmer texture and resist browning longer. Which matters here since the pudding needs time to chill before serving. Save the spotty, overripe ones for banana bread instead.
Second, slice them only when you’re ready to assemble the dessert, to keep them from browning too fast.
💡 As a general rule, bananas will naturally start to brown the minute air hits them. As much as I’d love to tell you there’s a way to avoid this, there really isn’t. You could try brushing the slices with lemon juice, but eventually, they’ll brown.
Assemble the Pudding Cups
When it comes to assembling the banana pudding cups, you can be creative with your layers. I like to start mine with a couple of spoonfuls of pudding in the serving cups. This base gives the vanilla wafers something to rest on and absorb even more moisture so they soften all the way through.
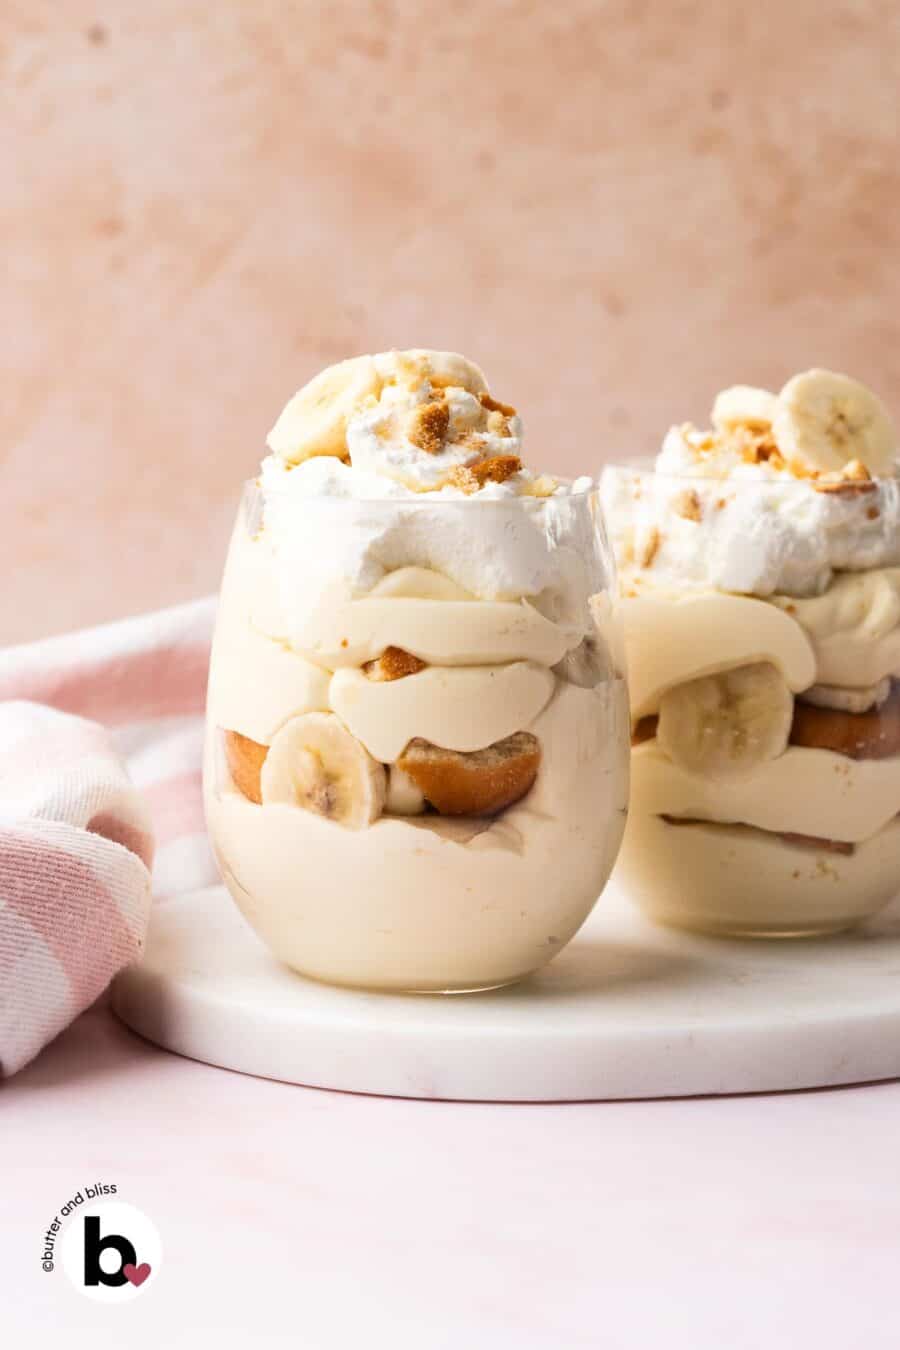
Top the cookies directly with banana slices, and repeat at least one more time, ending with pudding. Cover the individual cups tightly with plastic wrap and refrigerate for at least two more hours so all the layers can mingle and permeate flavor.
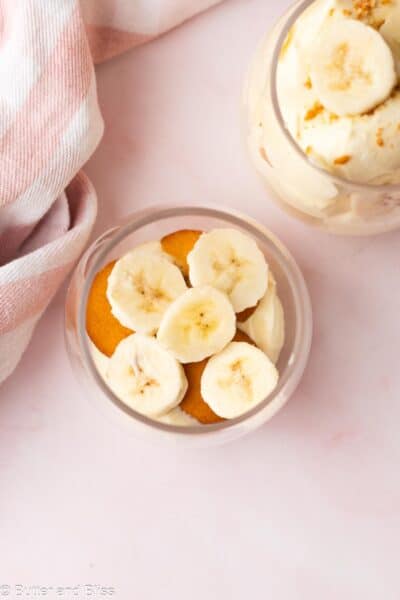
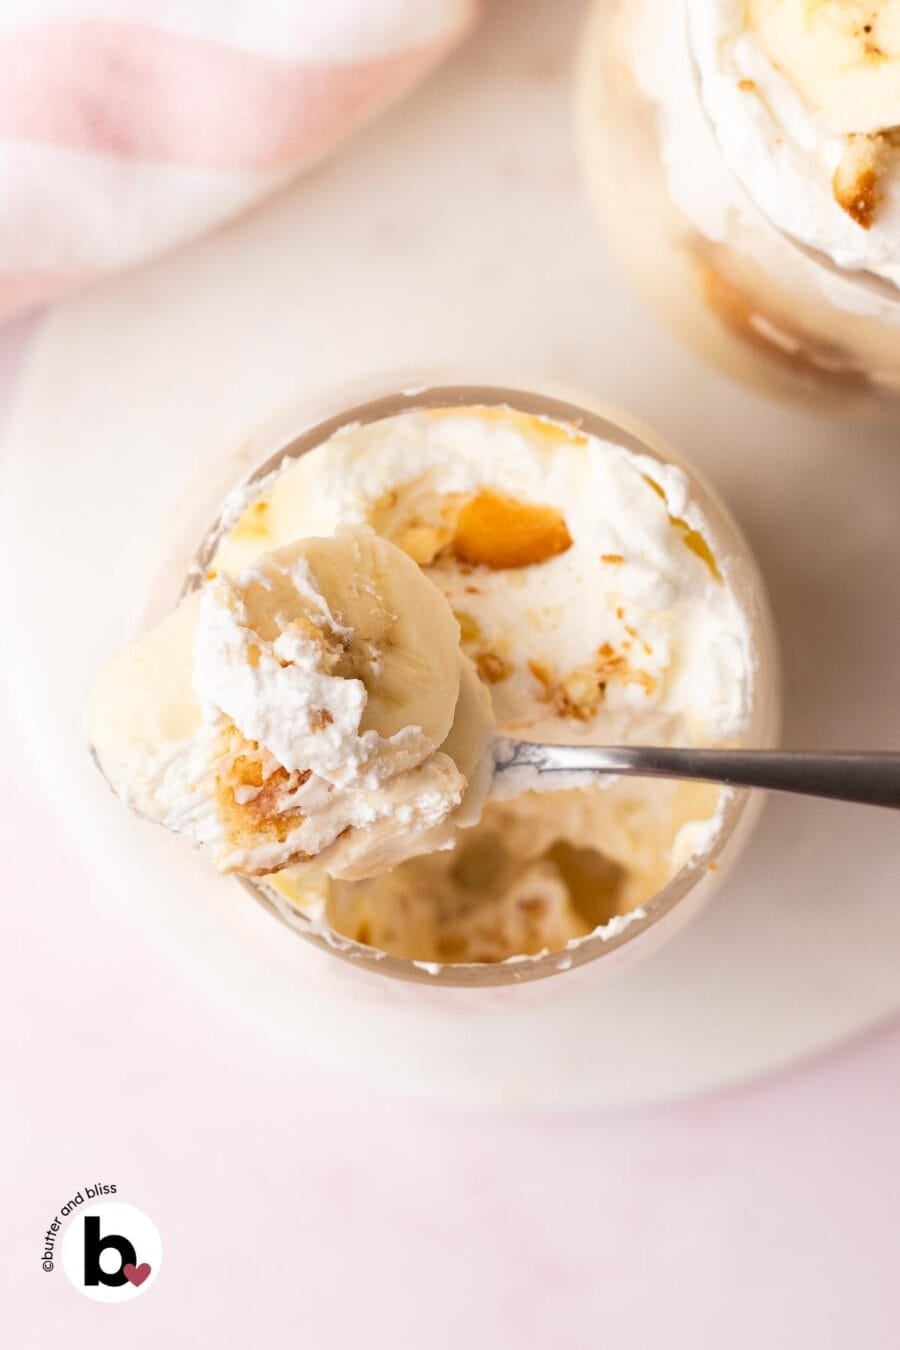
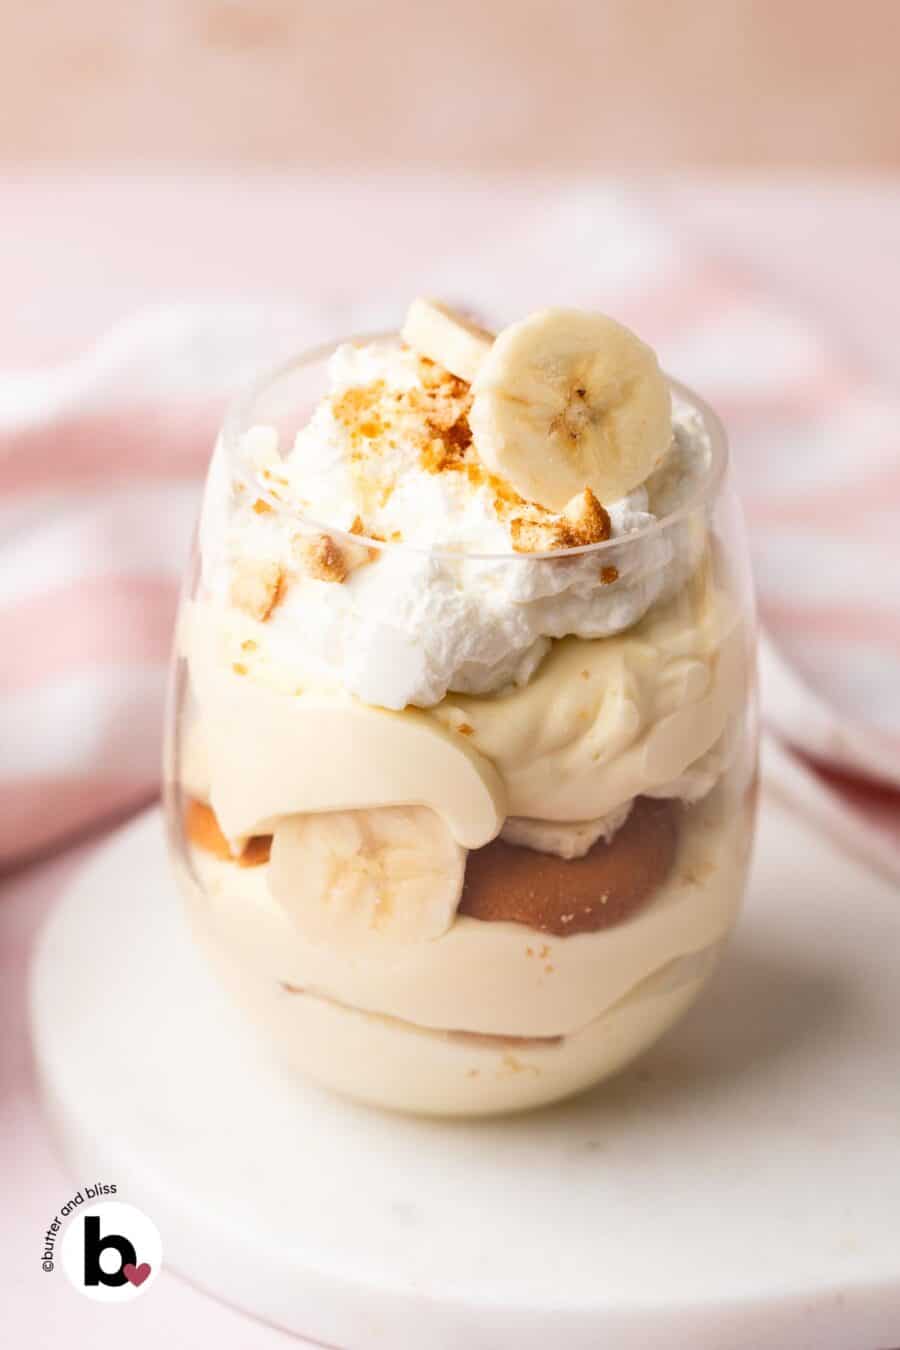
When you’re ready to serve, top with the reserved whipped cream, a few crumbles of wafer cookies, and banana slices.
Erin’s Banana Pudding Tips
- Choose your serving dish. This recipe isn’t fussy about presentation — skip the individual cups if you’d rather layer everything into a small 6-inch baking dish, a few ramekins, or a mini trifle dish. Use what you’ve got.
- Mostly hands-off. Don’t let the multiple components fool you — the bulk of this recipe is fridge time, not stovetop time. Once the pudding’s made and the whipped cream is folded in, you’re mostly just waiting on the refrigerator to do its job.
- Best within a day. Banana pudding cups are at their best eaten within 24 hours of assembling. Past that window, the bananas start to release liquid into the pudding, and the wafers can go from tender to genuinely mushy.
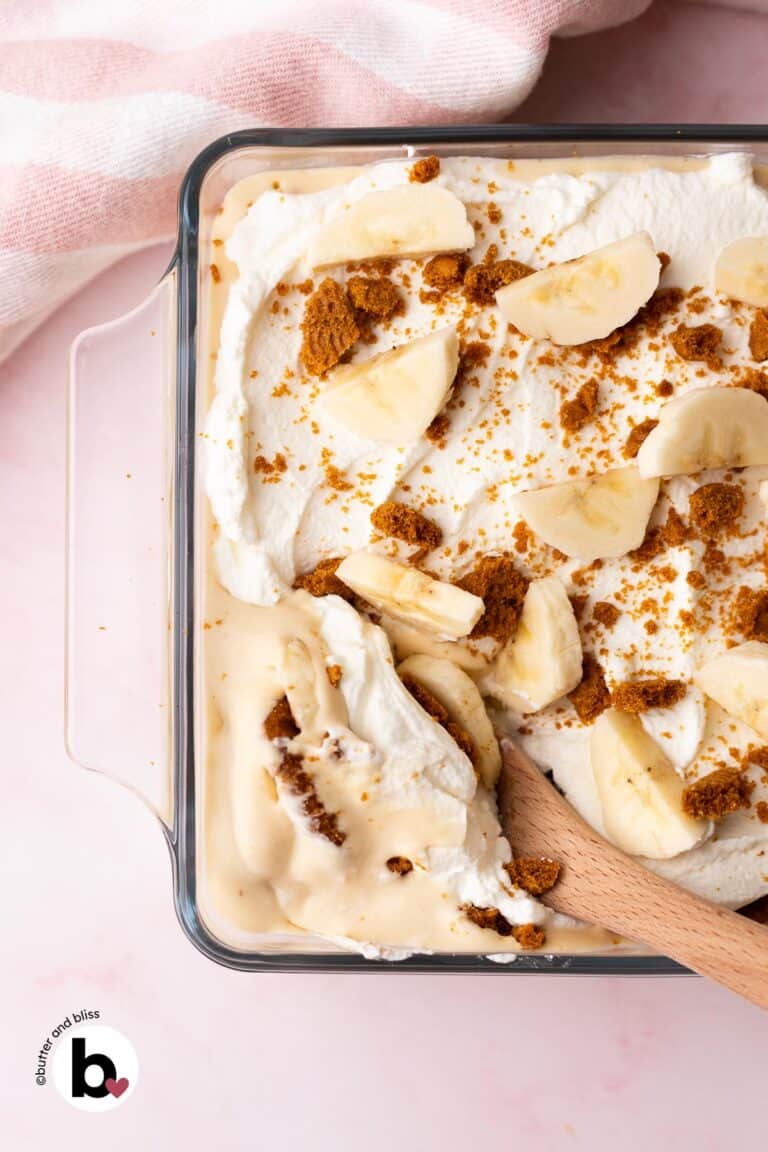
- Try it spiced. My Biscoff banana pudding is built off this recipe, but with caramel-spice Biscoff cookies instead of the vanilla wafers and cookie butter right in the pudding.
I LOVE hearing from you!
⭐⭐⭐⭐⭐
If you made this banana pudding, let me know in the comments below! Your comment and star rating are greatly appreciated, and it helps other bakers discover the recipe.
Small Batch Homemade Banana Pudding
by Erin Cernich
Equipment
Ingredients
- 1 large egg yolk, room temperature
- 1 ½ tablespoons cornstarch
- 1 cup heavy whipping cream (divided)
- ¾ cup whole milk
- 3 tablespoons granulated sugar
- 1 tablespoon unsalted butter, cold and cut into cubes
- 1 teaspoon vanilla bean paste, or vanilla extract
- ⅛ teaspoon salt
- 2 medium bananas, barely ripe (reserve a few slices for topping)
- 14 to 18 vanilla wafers (plus a couple for topping)
Instructions
- In a small mixing bowl, whisk the egg yolk, 1/4 cup cream, and cornstarch until fully combined and the starch is dissolved.1 large egg yolk, room temperature, 1 ½ tablespoons cornstarch, cup heavy whipping cream
- In a small saucepan, add the milk and sugar and heat over medium heat until small bubbles start to form along the sides of the pan. This can take about 2 to 3 minutes. Do not boil.3/4 cup whole milk, 3 tablespoons granulated sugar
- While whisking constantly, slowly drizzle about half of the heated milk into the egg mixture to temper the mix. Whisking keeps the egg from scrambling. Return the tempered mix to the saucepan, keep whisking, and heat over medium until the pudding starts to bubble. This can take 2 to 3 minutes.
- Remove the pudding from the heat and add the butter, vanilla, and salt. Mix until the butter has melted.1 tablespoon unsalted butter, cold and cut into cubes, 1 teaspoon vanilla bean paste, or vanilla extract, 1/8 teaspoon salt
- Cover the pudding with plastic wrap, directly touching the top. This will keep a skin from forming on the pudding. Let the pudding sit at room temperature for 10 to 15 minutes to cool down before refrigerating. Chill for at least 3 hours, or overnight, to give it time to set.
- In a medium mixing bowl, whip the remaining 3/4 cup of cream to stiff peaks. Spoon out about 1/2 cup of the whipped cream into a bowl to use as the final topping. Cover and refrigerate until ready to serve.1 cup heavy whipping cream
- Gently fold the remaining whipped cream into the pudding until no streaks of cream remain. The mixture will be thick, creamy, and light.
- To assemble: Slice the bananas only when you're ready to start assembling to keep them from browning. Start with a couple of dollops of whipped pudding in your serving glass/dish. Top with 3 to 4 wafers, overlapping or crushing as needed, then slices of banana, and a couple more dollops of whipped pudding. Repeat at least one more time, ending with pudding. Make sure the whipped pudding is fully covering the bananas — this will help them from browning too fast.2 medium bananas, barely ripe, 14 to 18 vanilla wafers
- Immediately cover tightly with plastic wrap and refrigerate for at least 2 hours, or up to 8 hours. The chill time is needed to soften the wafers and allow all the flavors to meld together.
- When ready to serve, dollop with the reserved whipped cream, crushed wafers, and a couple of slices of banana.
Notes
- Serving Size – This small batch recipe can be doubled.
- Serving Dishes – I used 14-ounce glasses (in the photos). You can also assemble in a 6×6-inch casserole dish, four serving glasses, or 2 to 4 ramekins.
- Bananas – Choose firm bananas with green on the stem and no brown spots. Bananas will naturally start to oxidize (brown) the minute they are exposed to air, and they will soften as they sit in the pudding. This doesn’t happen as fast with barely ripe bananas. Can you stop the bananas from browning? No. You can lightly brush the slices with lemon juice or water to slow the browning, but the best thing is to use a firm banana and assemble, cover, and refrigerate quickly.
- Milk and Heavy Cream – For super creamy and rich pudding, I recommend whole milk and heavy cream. 2% milk is an option.
- Make Ahead Option – The lightened pudding can chill overnight instead of being assembled right away, which makes it easy to split the process across two days. Either way, once assembled, the pudding cups still need at least 2 hours in the fridge for the wafers to soften.
- Storage – Keep the pudding refrigerated for up to 24 hours. I do not recommend freezing it. The moisture content in the homemade pudding can make the texture icy, grainy, and even separate when thawed.
Nutrition Estimates
TRY THESE SMALL BATCH RECIPES NEXT!


About the Author …
Hi, I’m Erin! With years of experience baking for two in my own small household, I know about the love for desserts without the leftovers. I’ve tested, written, and photographed every one of the 300+ recipes on my website. And even had some of my desserts featured on Taste of Home, The Spruce Eats, ELLE, Parade, and more! From traditional to gluten free desserts for two, I have the recipe for you.
Click here to learn more about me →
Banana pudding is one of my favorite desserts! This looks delicious, so I’m eager to try it!
Thanks Penny – hope you enjoy it!