Small Batch Red Velvet Crinkle Cookies
This post may contain affiliate links. See my disclosure policy.
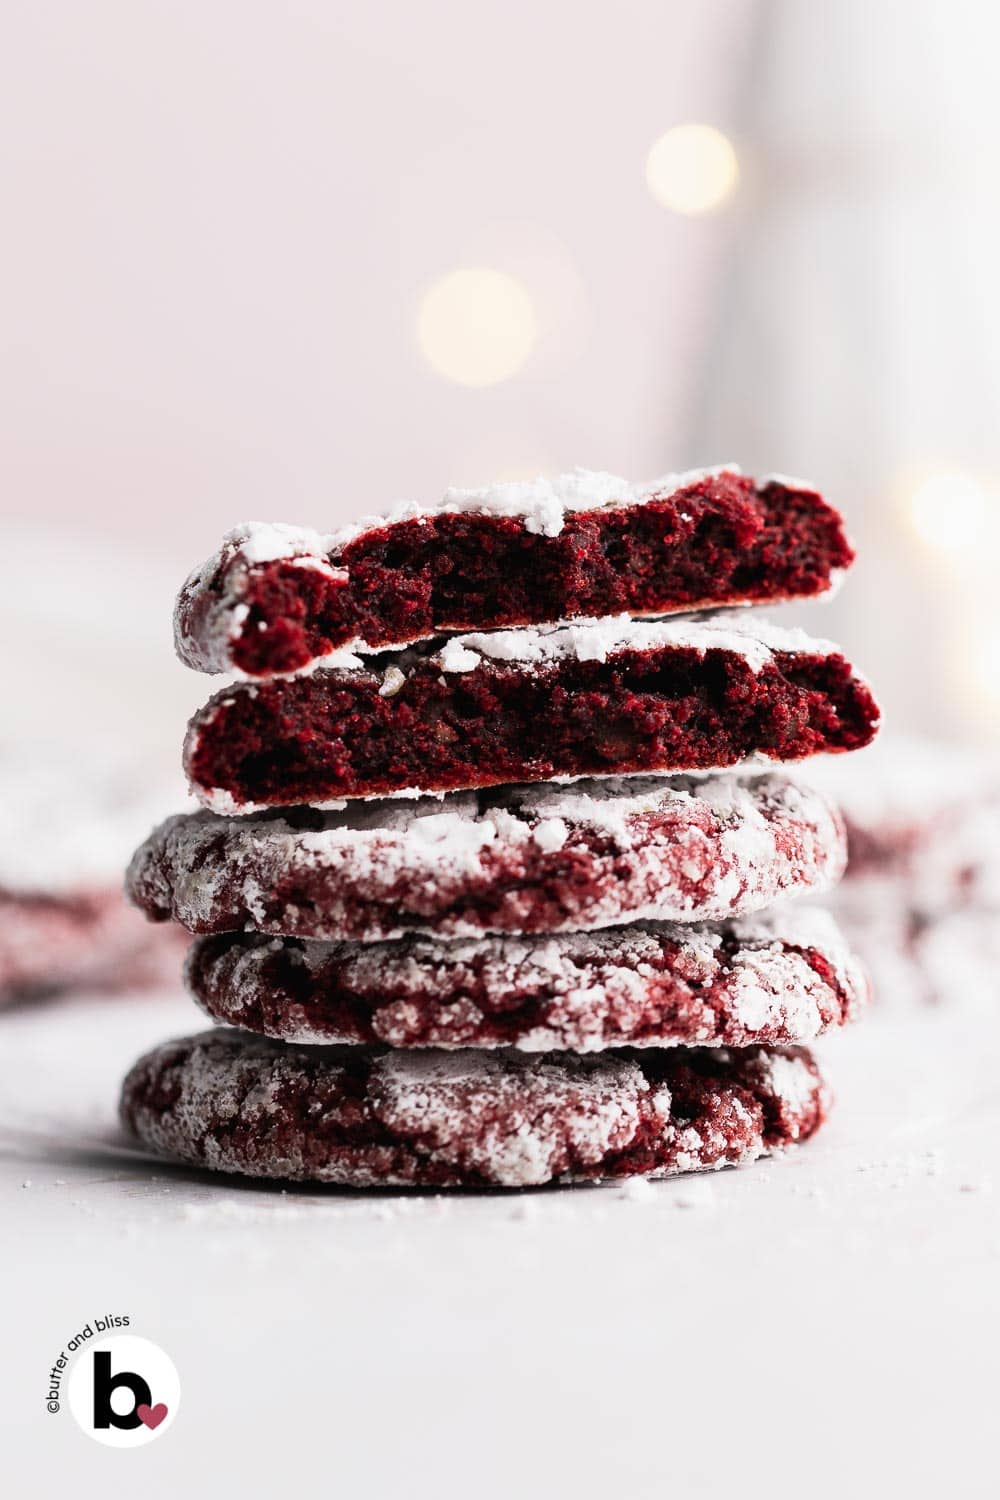
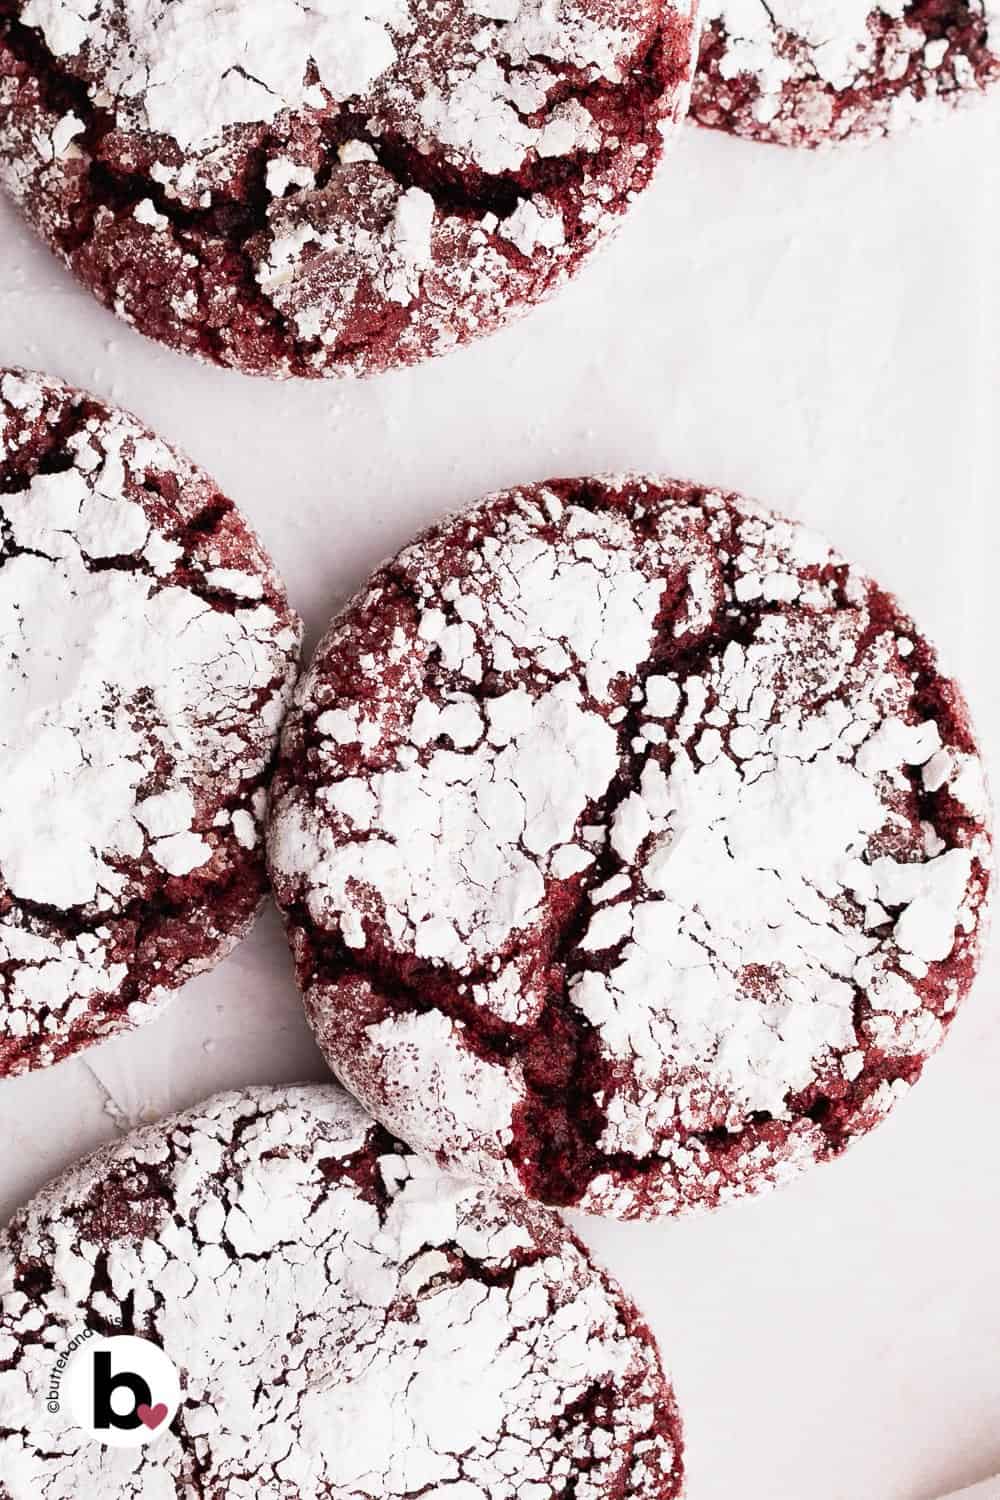
These small batch red velvet crinkle cookies are a festive treat with a soft, fudgy bite and classic crackled top. The dough mixes fast with Dutch cocoa, brown sugar, and a touch of red coloring, then chills just long enough to hold its shape. A roll through two sugars and a short bake leaves you with just over a dozen cookies perfect for gifting, holiday trays, or anytime you want red velvet flavor without a full batch.
The Red Velvet rundown
- Yield: 14 Cookies
- Total Time: 1 hour 30 minutes (includes 1-hour chill)
- Flavors: The cookie are all about chocolate, and the powdered sugar adds a soft touch of sweetness.
- Texture: Super fudgy centers with lightly crisp edges.
- ✨Why Bake These: Besides being pretty, the fudge-like cookies work for holidays, Valentines, 4th of July … a simple cookie for any occasion.
I loved the frosted small batch red velvet cookies so much that turning them into a crinkle cookie felt inevitable. Yes, Santa will love these every December, but honestly, any season that calls for a pop of red is fair game.
These turned into one of those happy-dance cookies during testing because they’re so easy and deliver the biggest reward. The prep is pretty straightforward and only requires a little patience to let the dough chill. And you’ll want to honor that because the time to hydrate deepens the flavor and contributes to the extra-fudgy centers.
But what delighted me the most was how bright the powdered sugar stayed after baking — a testament to the extra roll in sugar. And the first bite sealed it. Chewy may be an understatement, especially on day three.
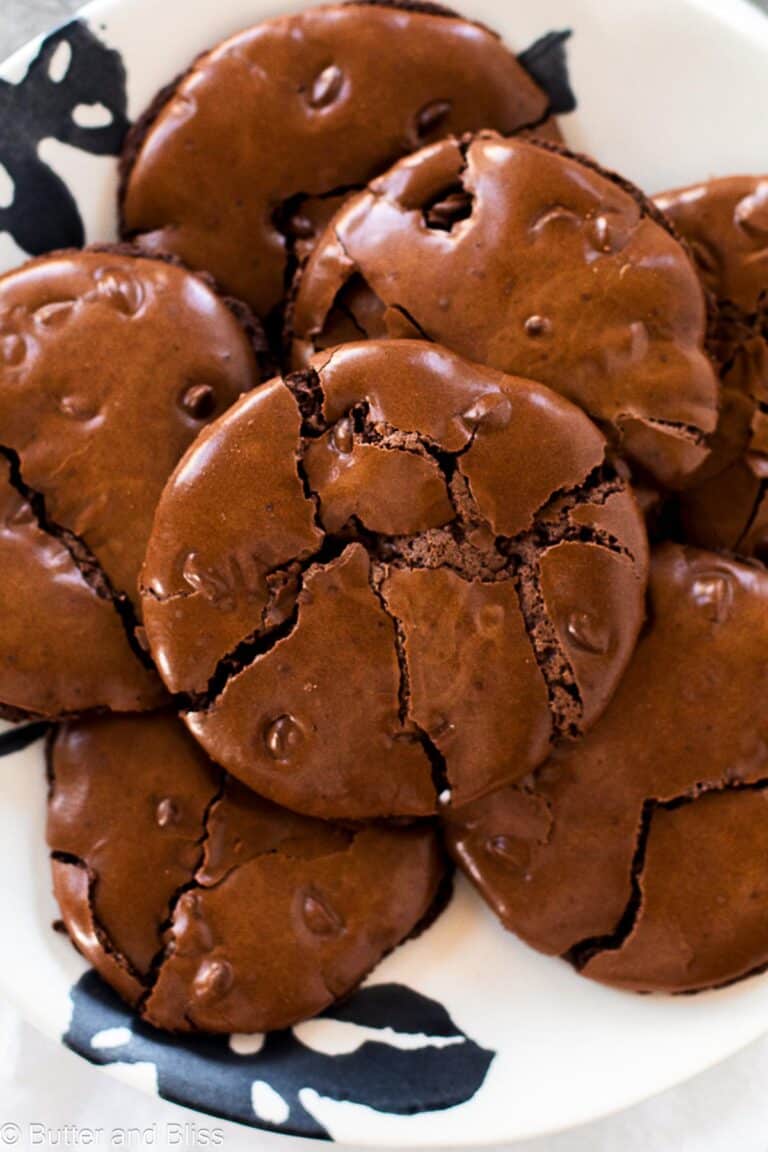
These bold crimson and white cookies join the growing lineup of fudgy small batch crinkle cookies on the blog: small batch chocolate crinkles and molasses small batch crinkles.
How To make Red Velvet Crinkle Cookies
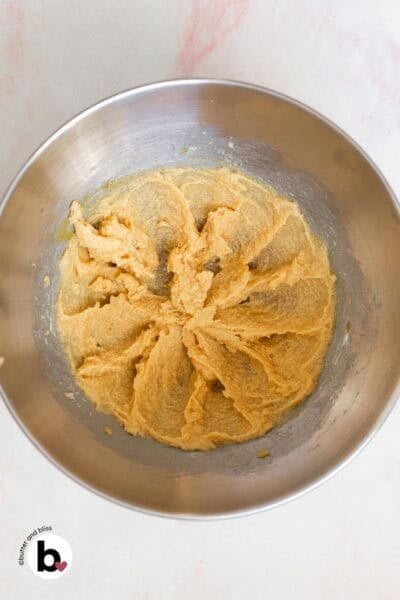
Start by creaming the butter and sugar, then add the egg and vanilla. 
Whisk the dry ingredients separately to fully combine.
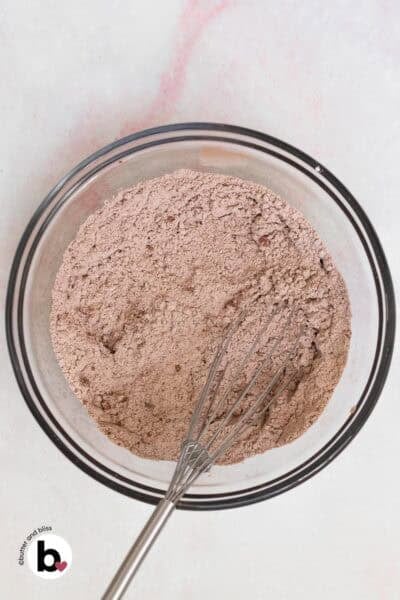
Tip! I find cocoa powder is pretty lumpy, so I like to sift it into the dry ingredients through a mesh strainer.
Add the dry ingredients to the wet, along with food coloring, and mix until thick. Scoop and roll the cookie dough into balls, place on baking sheets, and chill for 1 hour.

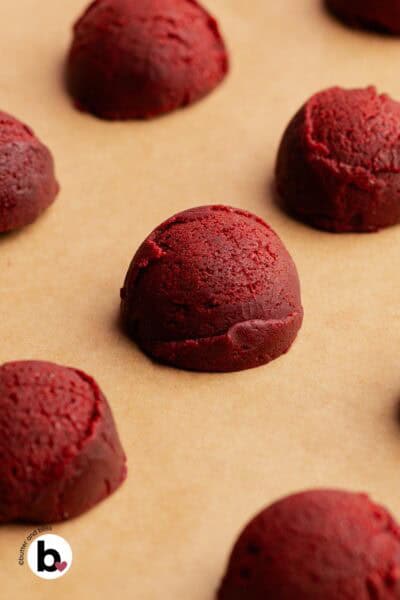
Tip! Expect a thick dough. You can chill first, then roll into balls, but the dough gets pretty firm in the fridge.
First roll the chilled cookie dough balls through the granulated sugar. Then roll in powdered sugar. Return to the baking sheets.
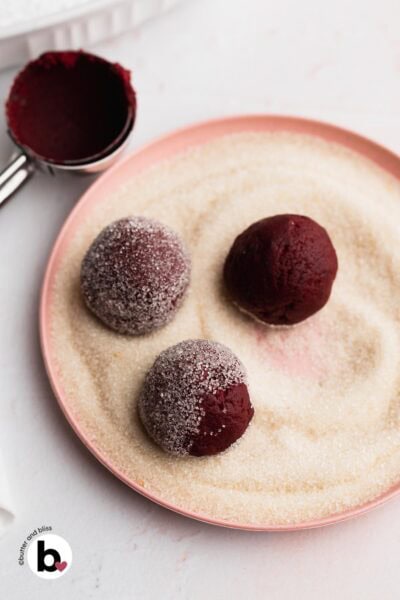
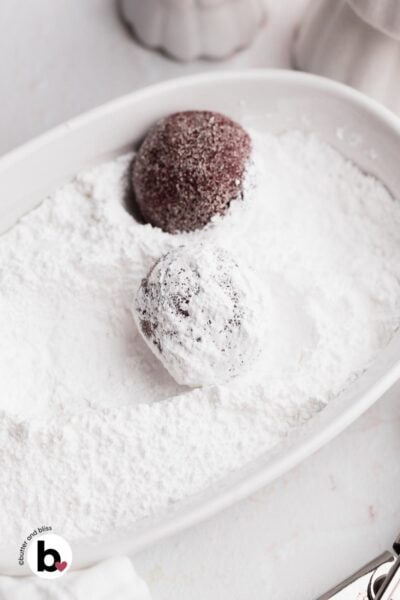
Tip! Rolling the dough balls through granulated sugar first absorbs excess moisture and keeps the powdered sugar from turning yellow when baked.
A quick 9-minute bake keeps the centers soft and chewy. And for a polished look, I use my go-to trick for all of my round small batch cookie recipes: a swirl inside a round cutter (larger than the cookie) when they come out of the oven. It tidies up any uneven edges and gives you those perfectly round, festive crinkles.
I hope these cookies find their way onto your next holiday table — or anytime that chocolate craving hits!
Did You Make It? Let’s Hear About It!
⭐⭐⭐⭐⭐
If these red velvet crinkles earn a spot in your seasonal rotation, I’d love to know. Drop a review and rating below and share how they baked up for you. 🫶

Small Batch Red Velvet Crinkle Cookies
by Erin Cernich
Equipment
Ingredients
Red Velvet Cookies
- 1 cup (105 g) all-purpose flour
- 2 tablespoons (10 g) unsweetened cocoa powder, Dutch process
- ½ teaspoon baking soda
- ⅛ teaspoon baking powder
- ¼ teaspoon salt
- ¼ cup (56.75 g) unsalted butter, room temperature
- 6 tablespoons (72 g) brown sugar, light or dark
- 2 tablespoons (24 g) organic cane sugar (or granulated sugar; plus more for rolling)
- 1 large egg
- 1 teaspoon vanilla extract
- ½ teaspoon red food coloring
- ½ cup powdered sugar (to roll the cookies)
Instructions
- Line 2 baking sheets with a piece of parchment paper.
- In a small mixing bowl, whisk together the flour, cocoa powder, baking soda, baking powder, and salt. Pro Tip – Set a fine mesh strainer over the bowl and sift the cocoa powder over the flour to remove lumps.1 cup all-purpose flour, 2 tablespoons unsweetened cocoa powder, Dutch process, 1/2 teaspoon baking soda, 1/4 teaspoon salt, 1/8 teaspoon baking powder
- Add the butter and both sugars to the 3-quart mixing bowl of a stand mixer (or medium mixing bowl to use a hand mixer). Beat on high speed until fluffy and creamy. Add the egg and vanilla. Beat on medium-high speed until smooth and creamy.1/4 cup unsalted butter, room temperature, 6 tablespoons brown sugar, light or dark, 2 tablespoons organic cane sugar, 1 large egg, 1 teaspoon vanilla extract
- Sprinkle half of the dry ingredients over the wet. Mix on low to just combine. Then add the food coloring along with the remainder of the dry ingredients. Mix until well combined and no dry streaks remain. For a deeper shade of red, add more food coloring, a couple drops at a time.1/2 teaspoon red food coloring
- Use a medium cookie scoop to scoop 14 cookies and place on the baking sheets – 7 on each. Cover the pans and refrigerate for at least 1 hour, or overnight.
- While the dough is chilling, preheat the oven to 350F degrees and adjust the oven rack to the middle position.
- Add 2 to 3 tablespoons of granulated sugar to a small shallow bowl. In another shallow bowl, add the powdered sugar.1/2 cup powdered sugar
- Remove the cookies from the fridge. Roll each first through the granulated sugar, then generously through the powdered sugar. Place the cookies at least 2 inches apart on the baking sheets (again, 7 on each sheet). One baking sheet at a time (refrigerate the other while the first batch bakes), bake for 9 to 10 minutes or until the edges of the cookies are set, and the tops are crinkled – the centers will still look soft. Note – The cookies may not start to crinkle until the last couple minutes of baking.
- Cool the cookies on the baking sheet set on a wire cooling rack for 5 minutes. Then transfer to the wire rack to cool completely. The cookies can be covered and stored at room temperature for up to 7 days.
Notes
- Serving Size – This is a small batch cookie recipe that can be doubled.
- Yield – The number of cookies you yield from the recipe will depend on the size cookie scoop you use.
- Mixer For Small Batch Cookies – A 3-quart mixing bowl for your standard mixer is ideal for making small batch cookies so the dough mixes more effectively. Plus, the small bowl works on the standard KitchenAid mixer and standard attachments.
- Cocoa Powder – I like to use Dutch process cocoa for a bold, less acidic flavor. However, natural cocoa powder will work in this recipe.
- Food Coloring – I like to use gel food color for a more saturated color.
- Chocolate Chips (Optional) – Add 1/4 cup of chocolate chips to give the cookies texture and more chocolate flavor.
- Baking – I recommend baking the cookies one cookie sheet at a time to avoid opening the oven and losing heat to rotate the pans.
- Make Ahead – The dough can be made and refrigerated for up to 3 days.
- Freezing The Dough – Chill the dough as instructed, scoop into cookie balls, and place in a freezer bag. Freeze for up to 3 months and thaw in the fridge before rolling through the sugars and baking.
- Freezing Baked Cookies – Place completely cool cookies in a freezer bag and freeze for up to 3 months. Thaw at room temperature.
Nutrition Estimates


About the Author …
Hi, I’m Erin! With years of experience baking for two in my own small household, I know about the love for desserts without the leftovers. I’ve tested, written, and photographed every one of the 300+ recipes on my website. And even had some of my desserts featured on Taste of Home, The Spruce Eats, ELLE, Parade, and more! From traditional to gluten free desserts for two, I have the recipe for you.
Click here to learn more about me →

Took this to work and my peers lost their minds, so good!!