Small Batch Candy Cane Cookies
This post may contain affiliate links. See my disclosure policy.
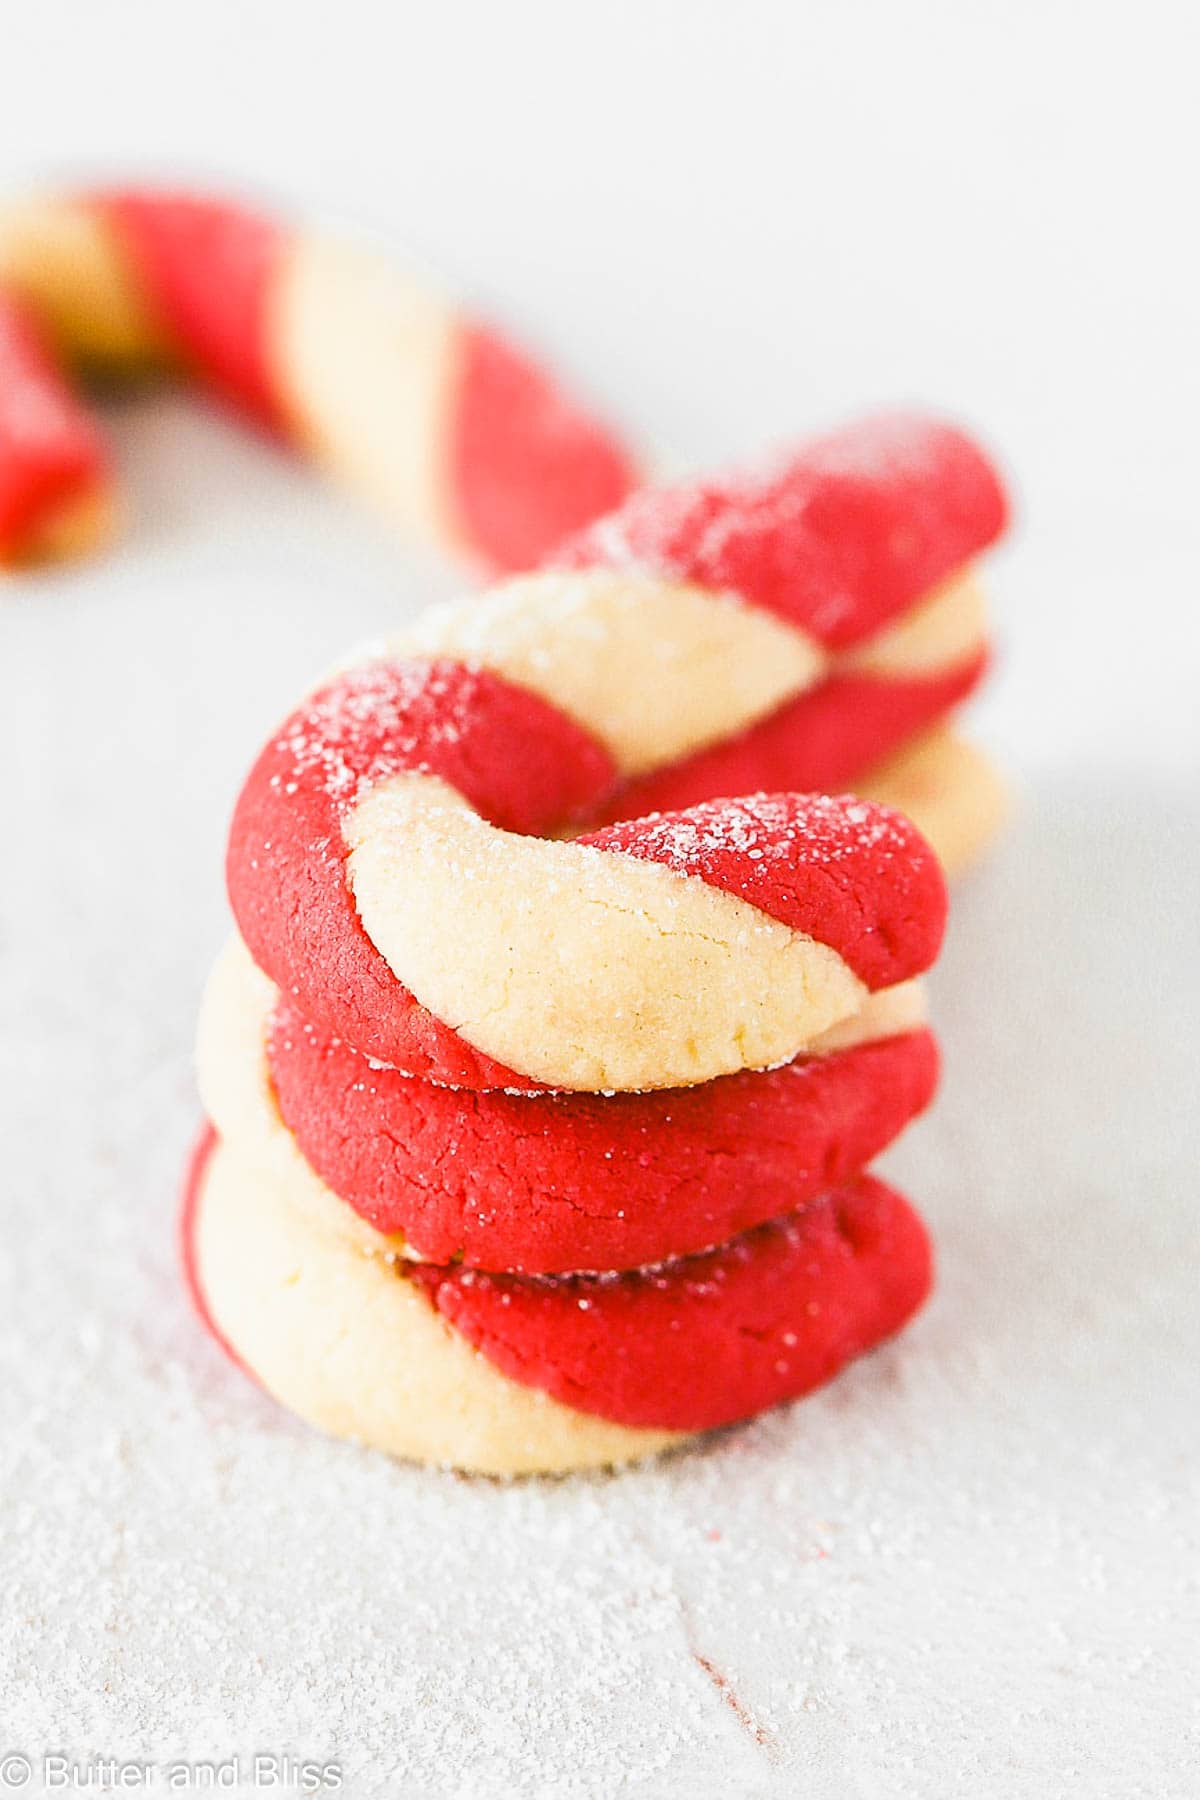
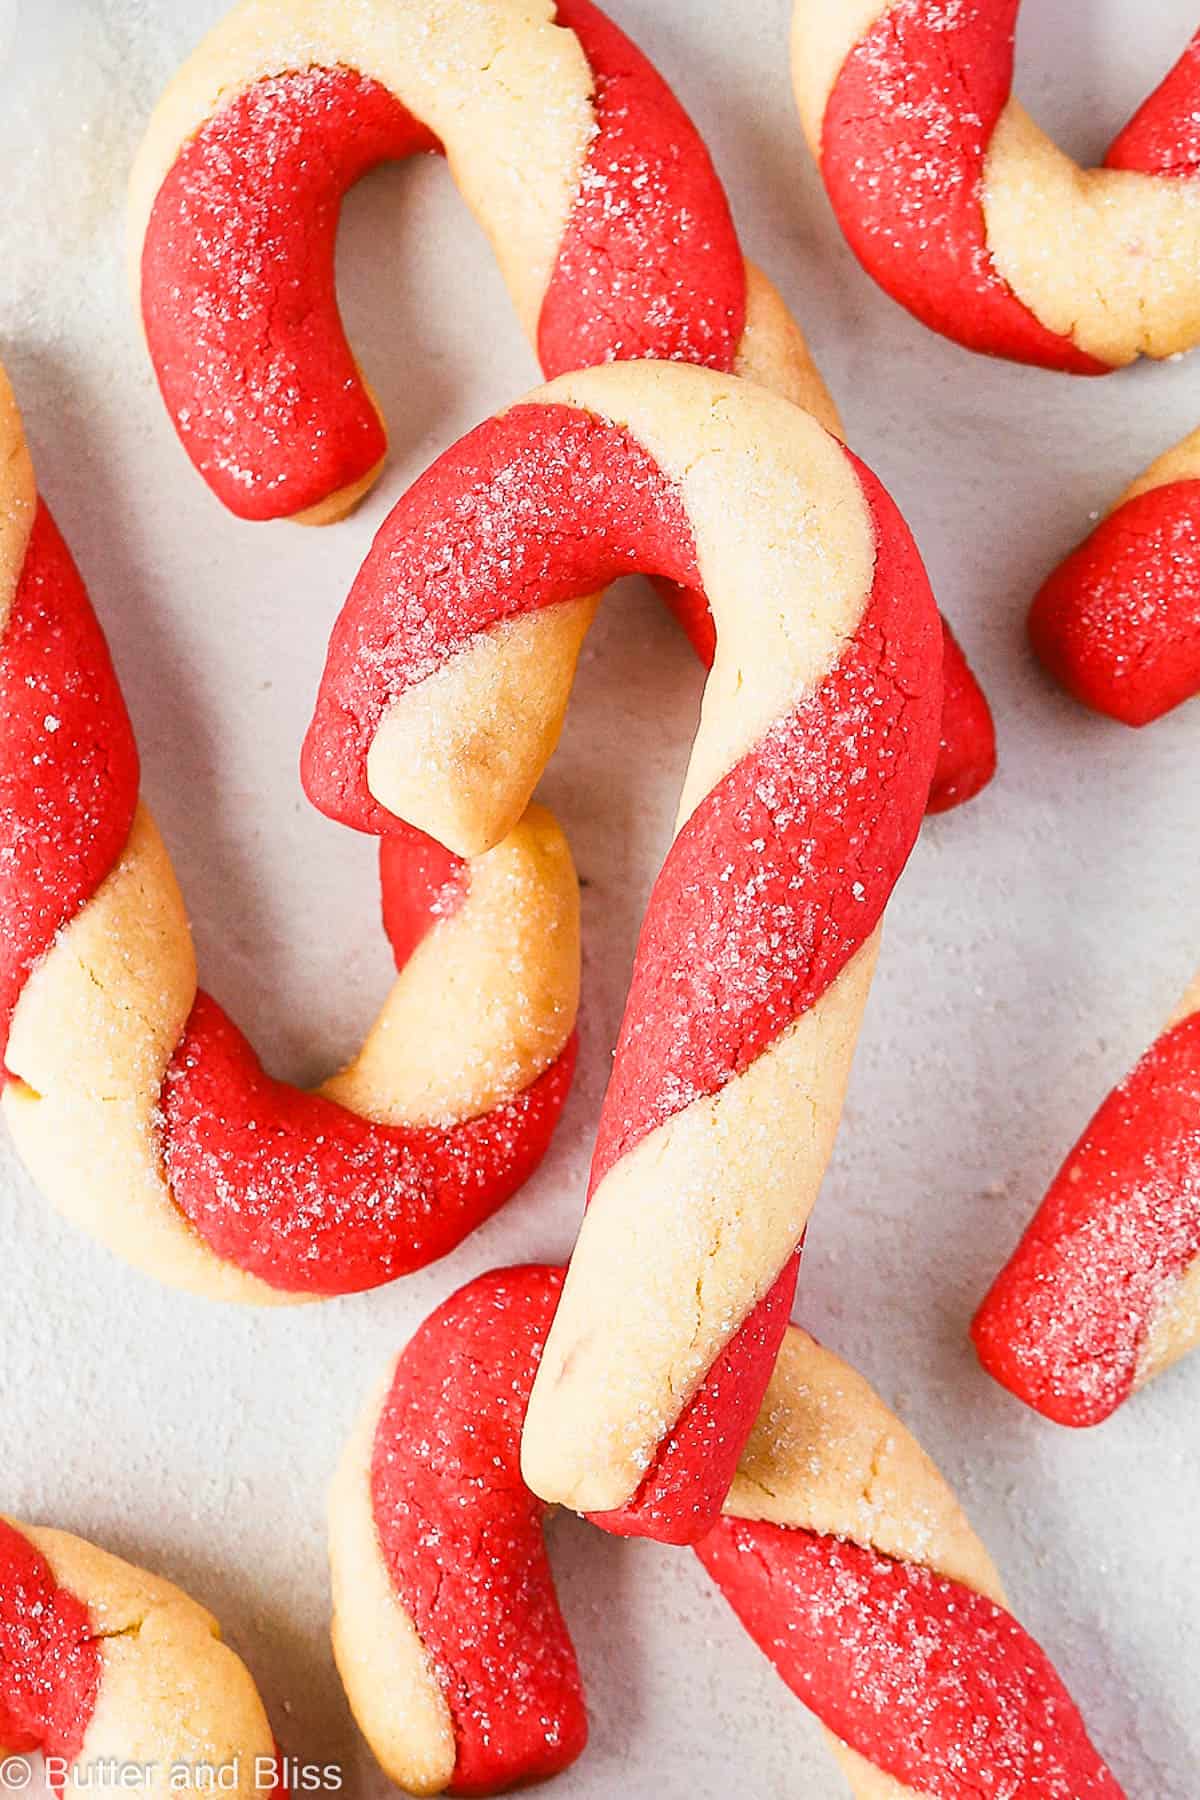
These small batch candy cane cookies are pure nostalgic holiday magic. A swirl of peppermint and vanilla dough gets twisted into festive red and white canes, baking up soft, buttery, and ready for every cookie swap or Christmas platter.
Christmas Cookie Nostalgia At Its Sweetest

These candy cookies are like a like literal reference to Christmas for me. I’ll never forget thumbing through my mom’s copy of the Cooky Book by Betty Crocker. Imagine a picture book, but filled with cookies. It’s like a baker’s dream.
We’d make these cookies and while I always wanted to adore them for their delightful shape, they always seemed to be missing ‘someting’. It wasn’t until I became the baker that I discovered what that ‘something’ was: butter.
The orginal version uses shortening. Not the most appealing, especially in cookie. Instead, I adapted my small batch butter cookies into these festive red and white striped candy canes.
They’re delicately sweet so the peppermint and vanilla really shine, with a melt-in-your-mouth texture that feels like a modern upgrade. Exactly the kind of treat that makes Christmas feel complete.
Santa is going to love these!

The Best Way to Shape Candy Cane Cookies
I like to think my technique to make the classic candy cane shape is easy. The dough is more like a shortbread dough vs. a sugar cookie dough. With that, I have a few key tips:
The dough must chill first. This gives it time to hydrate and develop flavor. Skipping it, and the dough will be crumbly and hard to work with.
Work in batches. I like to bake the cookies on two baking sheets so there is room around them to bake evenly. Therefore, start with 7 cookies first. Let the remaining dough chill.
To make the shape. Rather than trying to twist the colored dough ropes together, I find stacking the dough ropes together and then rolling to be easier. And less chance of having the dough break. If the dough feels crumbly when your shaping, pop it back into the fridge for about 10 minutes.
Chill the cookies before baking. Yes, another chill. The dough gets handled a bit to make the shape, which will warm the butter, which may make the cookies spread.
Sprinkle with sanding sugar before baking. Not required, but it does add a festive sparkle!

Did You Make It? Let’s Hear About It!
⭐⭐⭐⭐⭐
I’d love to hear if you made the cookies. Let me know in the comments below! I’d also love to hear if you have your own copy of the Betty Crocker Cooky Book? 🙂 And how many pages have you earmarked (half of my book has folded down edges)!
Small Batch Candy Cane Cookies
by Erin Cernich
Equipment
- Ruler
Ingredients
- 6 tablespoons unsalted butter, room temperature
- 6 tablespoons granulated sugar
- 1 large egg yolk, room temperature
- 2 tablespoons milk, room temperature (any kind)
- 1 teaspoon vanilla extract
- ¼ teaspoon salt
- 1 ¼ cups all purpose flour
- ¼ teaspoon peppermint extract
- 2 to 3 drops red food coloring
- white sparkling sugar (optional)
Instructions
- In the work bowl of a stand mixer fitted with the paddle attachment, add the butter and sugar. Beat on medium speed until light and creamy. Add the egg yolk, milk, and vanilla extract and beat until well combined – scraping down the sides of the bowl as needed.6 tablespoons unsalted butter, room temperature, 6 tablespoons granulated sugar, 1 large egg yolk, room temperature, 1 teaspoon vanilla extract, 2 tablespoons milk, room temperature
- Turn the mixer to low speed and sprinkle in the salt, then flour in a few increments – letting the flour mix in before adding the next increment. Scrape down the sides of the bowl as needed. After adding the last increment of flour, let the dough mix until it is no longer crumbly and a dough forms.1 ¼ cups all purpose flour, ¼ teaspoon salt
- Turn off the mixer and remove half of the dough. Gently knead the dough together with your hands to form a ball. Flatten into a disc and wrap in plastic wrap.
- With the remaining dough in the mixer, add the peppermint extract and 2 drops of red food coloring. Turn the mixer on low and beat until the food coloring starts to color the dough. Add more food coloring to get your desired color – I recommend a drop at a time. Gently knead the dough together with your hands to form a ball. Flatten into a disc and wrap in plastic wrap.¼ teaspoon peppermint extract, 2 to 3 drops red food coloring
- Refrigerate the dough discs for 2 to 3 hours.
- When ready to bake, preheat the oven to 350F degrees and adjust the oven rack to the middle position. Line 2 baking sheets with a piece of parchment paper.
- Shape the cookies 1. To make shaping, chilling, and baking more efficient, I recommend shaping 7 cookies first. While these are chilling, you can shape the next 7 and chill those while the first batch is baking.2. Use a teaspoon for each dough to not cross colors. Take 2 teaspoons of each dough. 2. Separately, roll each color of dough into a ball with the palms of your hands. 3. Roll each dough ball into a rope 5 inches long. 4. Gently press the two dough ropes together. 5. Gently hold one end, and roll the dough rope in one direction so it starts to twist and make the swirl. 7. Once you have your dough swirled, roll the rope a couple more times to smooth out any seams. 8. Gently curve the top to make the top of your candy cane. 9. Place the cookies 2 inches apart on the baking sheet. Optional – Sprinkle the cookies with sparkle sugar for a little shimmer. 10. Refrigerate the baking sheet with shaped cookies for 10 minutes. The cookies will benefit from time to chill again so they don't spread. 11. While the first batch of cookies are chilling, shape the remaining and follow the steps to chill and bake.Note – If the dough starts to get too sticky, or hard to roll without breaking, re-wrap the dough in plastic wrap and refrigerate for 10 to 15 minutes to firm up.white sparkling sugar
- Bake for 10 to 11 minutes, or until the edges are set and barely start to golden.
- Cool the cookies on the baking sheet set on a wire cooling rack for 5 minutes, then transfer to the cooling rack to cool completely. The cookies can be stored covered at room temperature for up to 1 week.
Notes
- Serving Size – This is a small batch recipe. I have not tested a larger batch. If you try it, I would recommend omitting the milk and using 1 whole egg.
- Yield – As written, the recipe will yield 14 cookies. The number of cookies will depend on how large or small you make them.
- Bake One Sheet At A Time – I prefer to bake one baking sheet at a time to get an even bake on the cookies. Otherwise, opening the oven and having to rotate pans may yield an uneven bake and it lets the heat out of the oven.
- Freezing the Cookie Dough – The cookie dough can be frozen for up to 3 months. Shape into a disc, wrap in plastic wrap, and let it chill in the refrigerator first. This will eliminate any extra moisture that may alter the texture as it freezes. Then, place in a freezer bag. Thaw in the refrigerator.
- Freezing Baked Cookies – Baked cookies can be frozen for up to 3 months. Gently place in a freezer bag and thaw at room temperature.
Nutrition Estimates


About the Author …
Hi, I’m Erin! With years of experience baking for two in my own small household, I know about the love for desserts without the leftovers. I’ve tested, written, and photographed every one of the 300+ recipes on my website. And even had some of my desserts featured on Taste of Home, The Spruce Eats, ELLE, Parade, and more! From traditional to gluten free desserts for two, I have the recipe for you.
Click here to learn more about me →
My daughter and I followed this recipe and instructions for chilling then room temperature exactly. However, when it came time to roll the ‘ropes’ for twisting the red and vanilla dough together, they kept cracking and breaking apart. The dough was at room temperature, too. It is a cute idea but honestly this recipe needs tweaking. I can see why the photo on Pinterest only has 3 candy cane cookies in it 🙂
Sorry the recipe didn’t work for you Ali. I have made some adjustments to the recipe to make shaping the cookies easier. Thanks for trying it though!
Just made these, well almost, they are chilling. I rolled and shaped before hand and they came together nicely. I like that it is a small batch as well. I don’t have to feel guilty for eating too many cookies. Can’t wait to try them.
Wonderful to hear you are trying the cookies! Thanks for visiting the blog and trying the recipe! Happy Holidays!
Hi!
Can these cookies be frozen and then defrosted when ready to serve?
Hi Jen – Yes, the cookies can be frozen. I’d recommend freezing them flat so they don’t break, and it will likely take 1 to 3 hours for them to defrost.