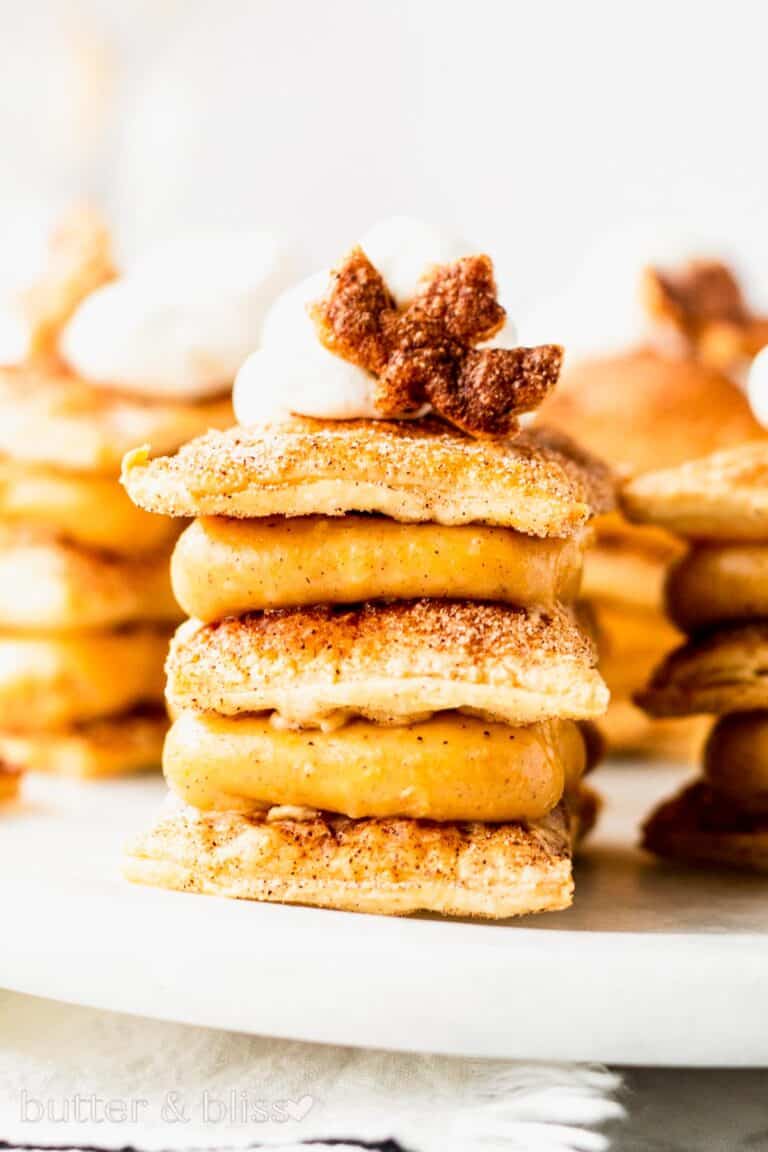
Homemade Pinwheel Danish Pastries
This post may contain affiliate links. See my disclosure policy.
This recipe for Homemade Pinwheel Danish Pastries uses an easier mixing method for making homemade Danish pastry dough. The result is still a super flaky, buttery and sweet dough to make a variety of fruit filled breakfast pastries.
Homemade Danish Breakfast Pastries
Breakfast pastries that have a sweet flaky homemade dough and are filled with homemade cherry filling – yes please! Breakfast pastries bought from the store and filled with who knows what – no thank you!
This just may be what you say after making these little delights.
Easy Yeast Bread
This recipe is adapted from the Julia Child cookbook, Baking with Julia. I chose the Danish dough because the process isn’t as complicated as some of its dough cousins:
- Easy to mix by hand – Because this is a sweet and enriched dough, it can be a little sticky. Which makes it difficult to work with a stand mixer. However, and most importantly, we don’t want to overwork the butter-heavy dough, and mixing it by hand gives us more control of this.
- No starter sponge required – A lot of elaborate yeast dough recipes require a starter sponge. It is a process and one that we don’t need to go into with this recipe.
- No fancy equipment – This dough doesn’t require fancy baskets, peels, or other bread-making equipment to proof the dough
- Pantry staple ingredients – This is an enriched dough, meaning we add a little more fat to the dough by way of milk and an egg. Aside from that, everything else we need, you should have on hand.
Is It Hard To Make Homemade Danish Dough
Making Danish pastry dough, or any dough for that matter, can be intimidating. It was for me when I first made these. What I realized when reflecting on this recipe is; the time it takes to make this dough, is what is most difficult.
That said, I highly recommend you prepare and take the time needed to make these pastries. They are not a breakfast treat that can be finished in an hour.
What to expect when making Danish pastry dough:
- Dry ingredients are mixed with cold, cold butter – Much like a Croissant, butter is a key ingredient in Danish pastry dough. And that butter needs to be cold.
- The cold, cold butter – So cold in fact, that I recommend freezing the butter before using.
- Quick method – There are a variety of methods for making the dough and incorporating the all important butter. I have provided two methods that are considered the ‘quick method’:
- Grate the cold butter (on a cheese box grater)!
- Pulse the butter with the flour in food processor.
- This is a wet dough – there is more liquid in this dough than your standard bread dough. This is what makes it an enriched dough.
- The dough is laminated – or rolled, and folded – several times – this yields the flaky layers. Much like a croissant.
- Chill the dough overnight – Doing so gives the dough time to relax and get all of the ingredients working together.
Different Shapes For Homemade Danish Pastries
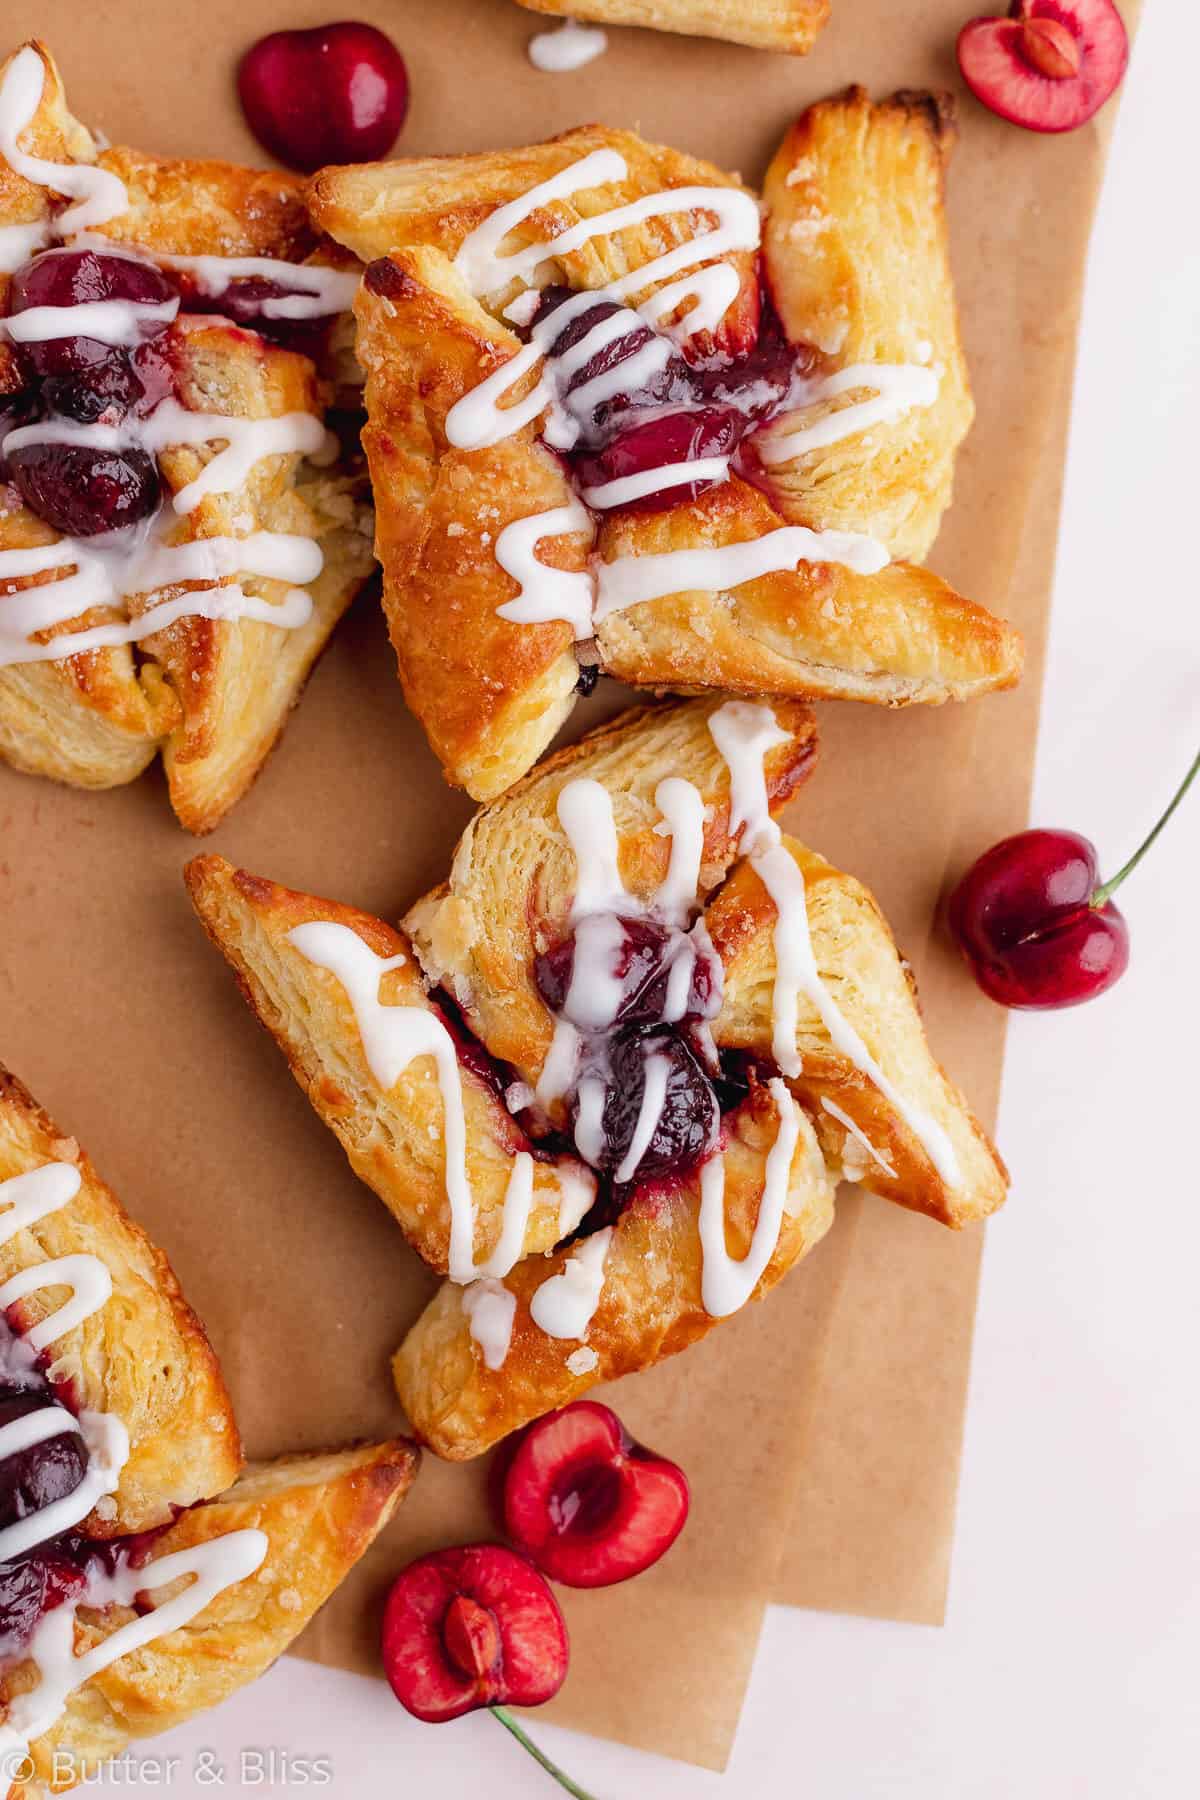
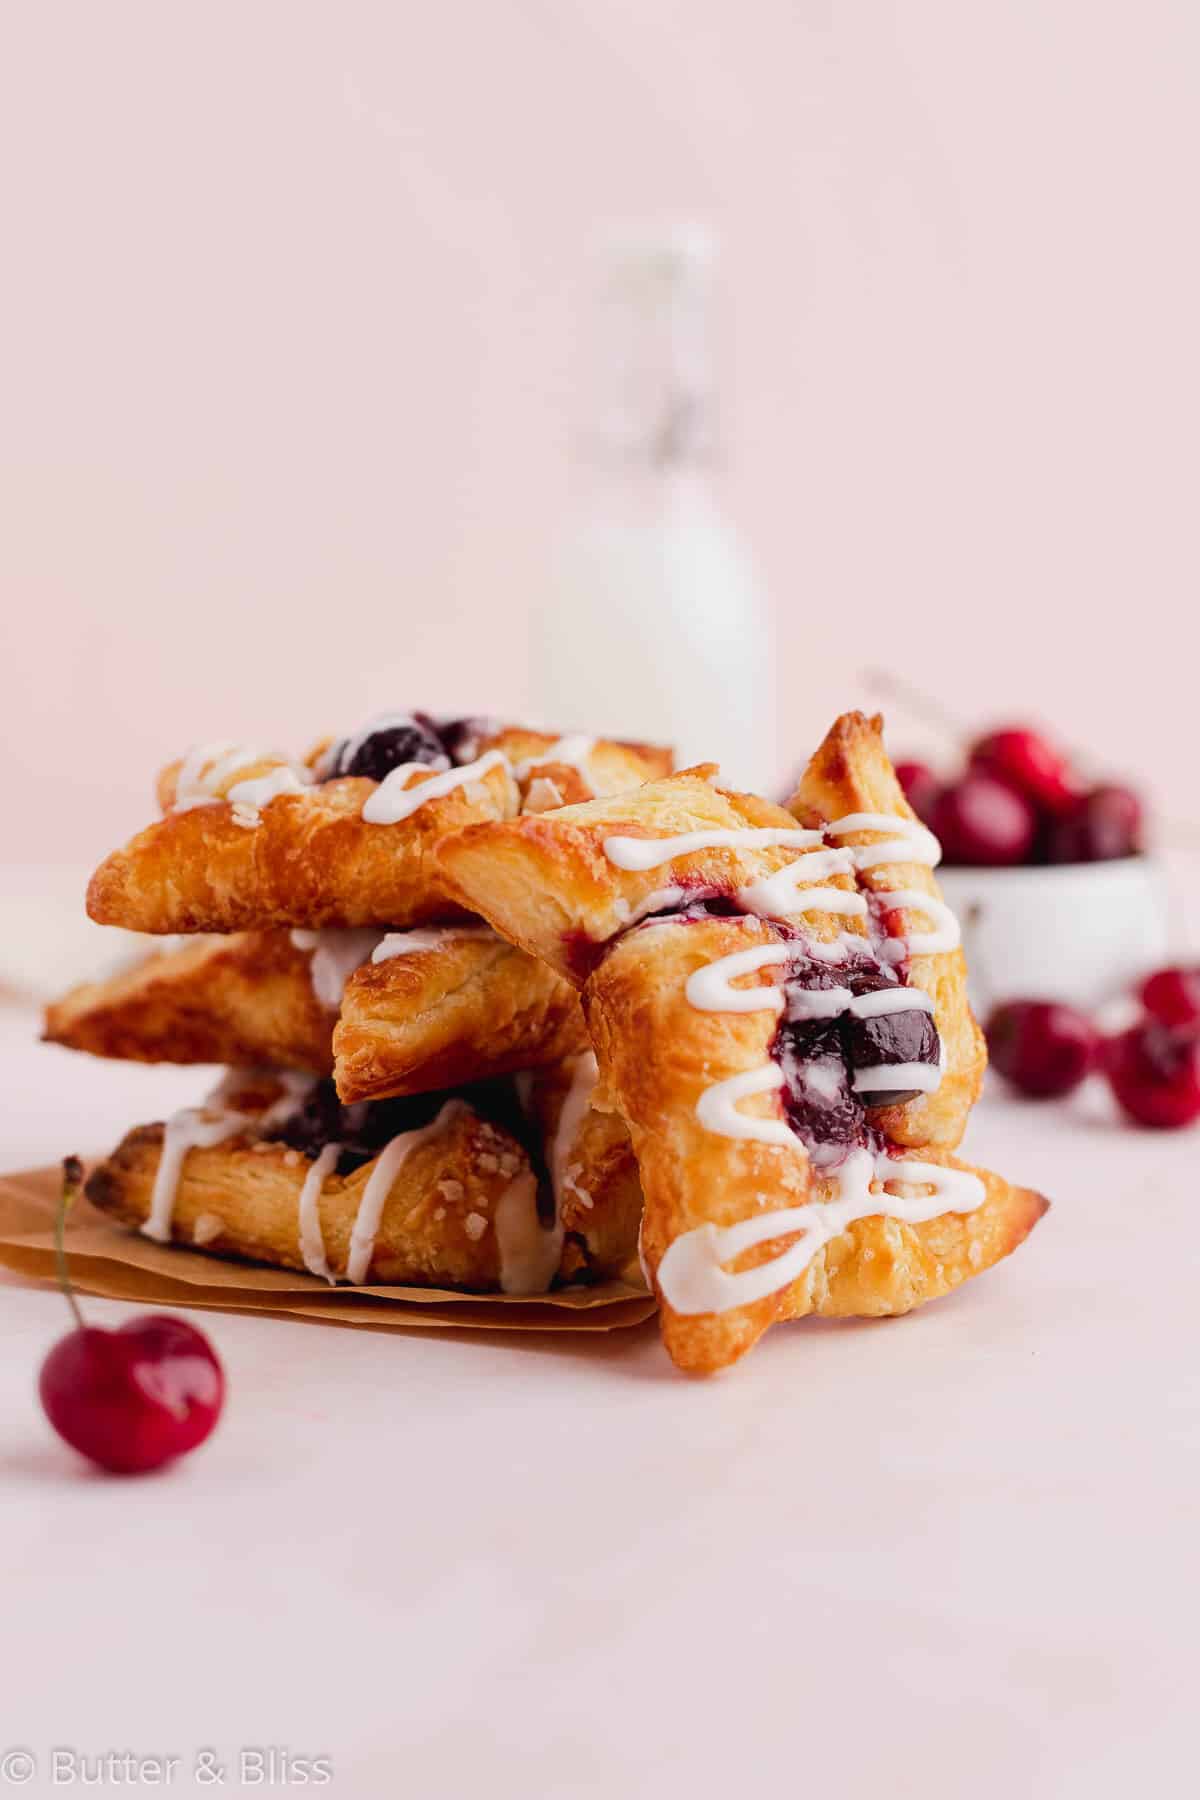
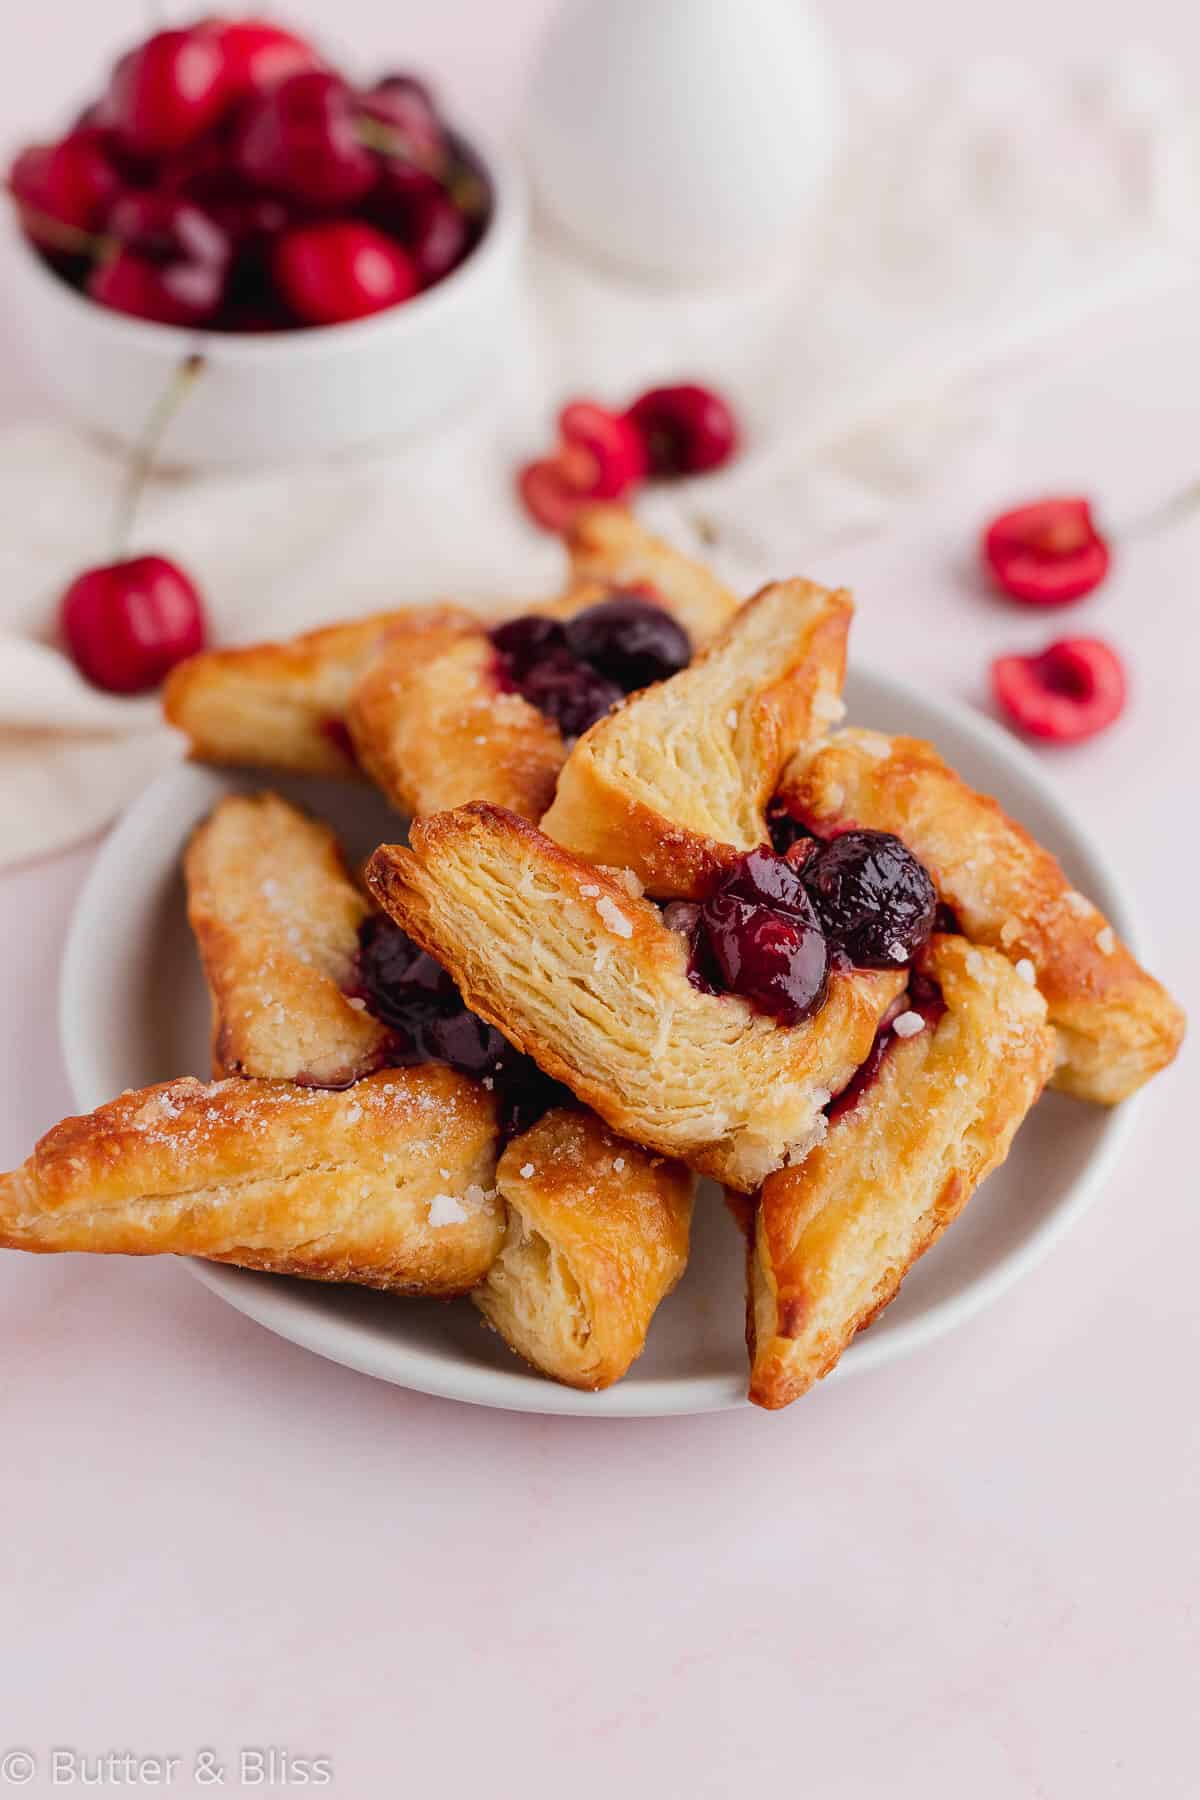
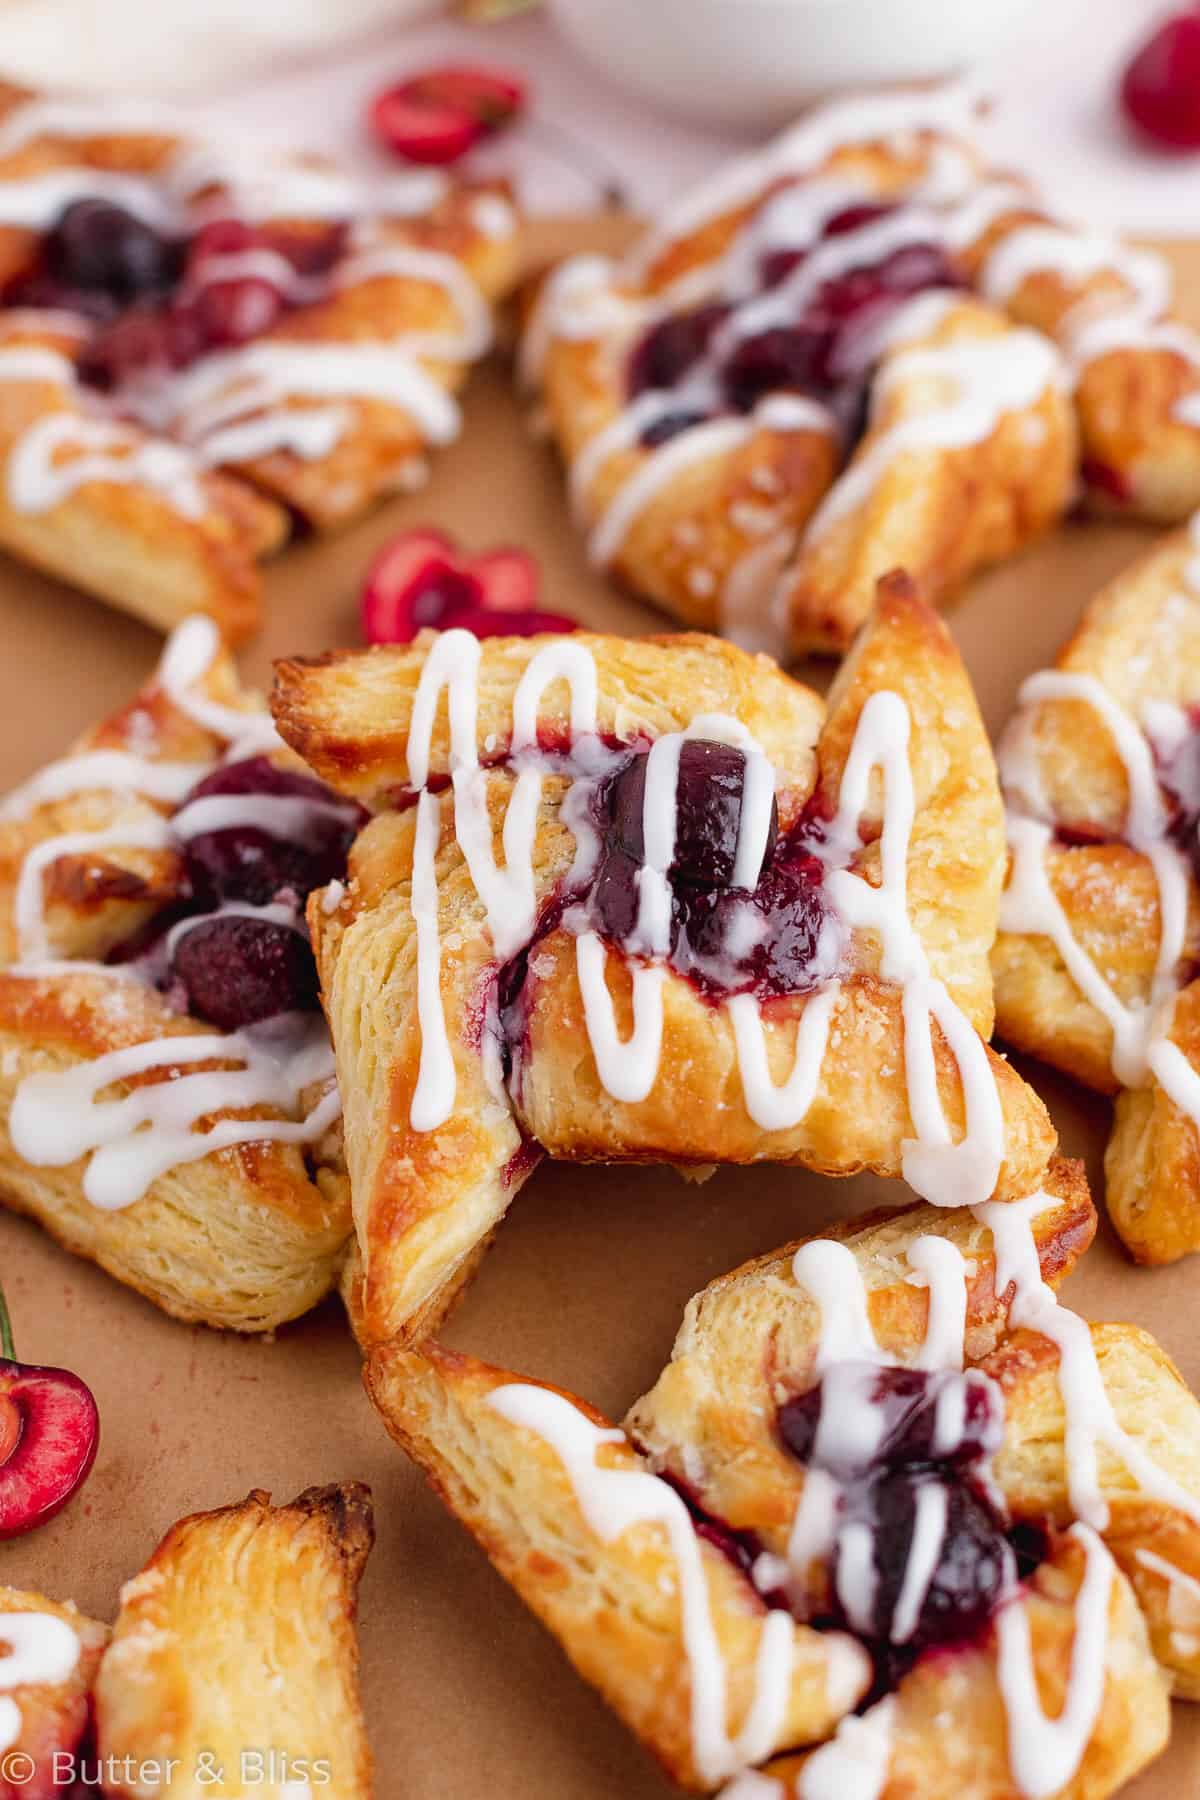
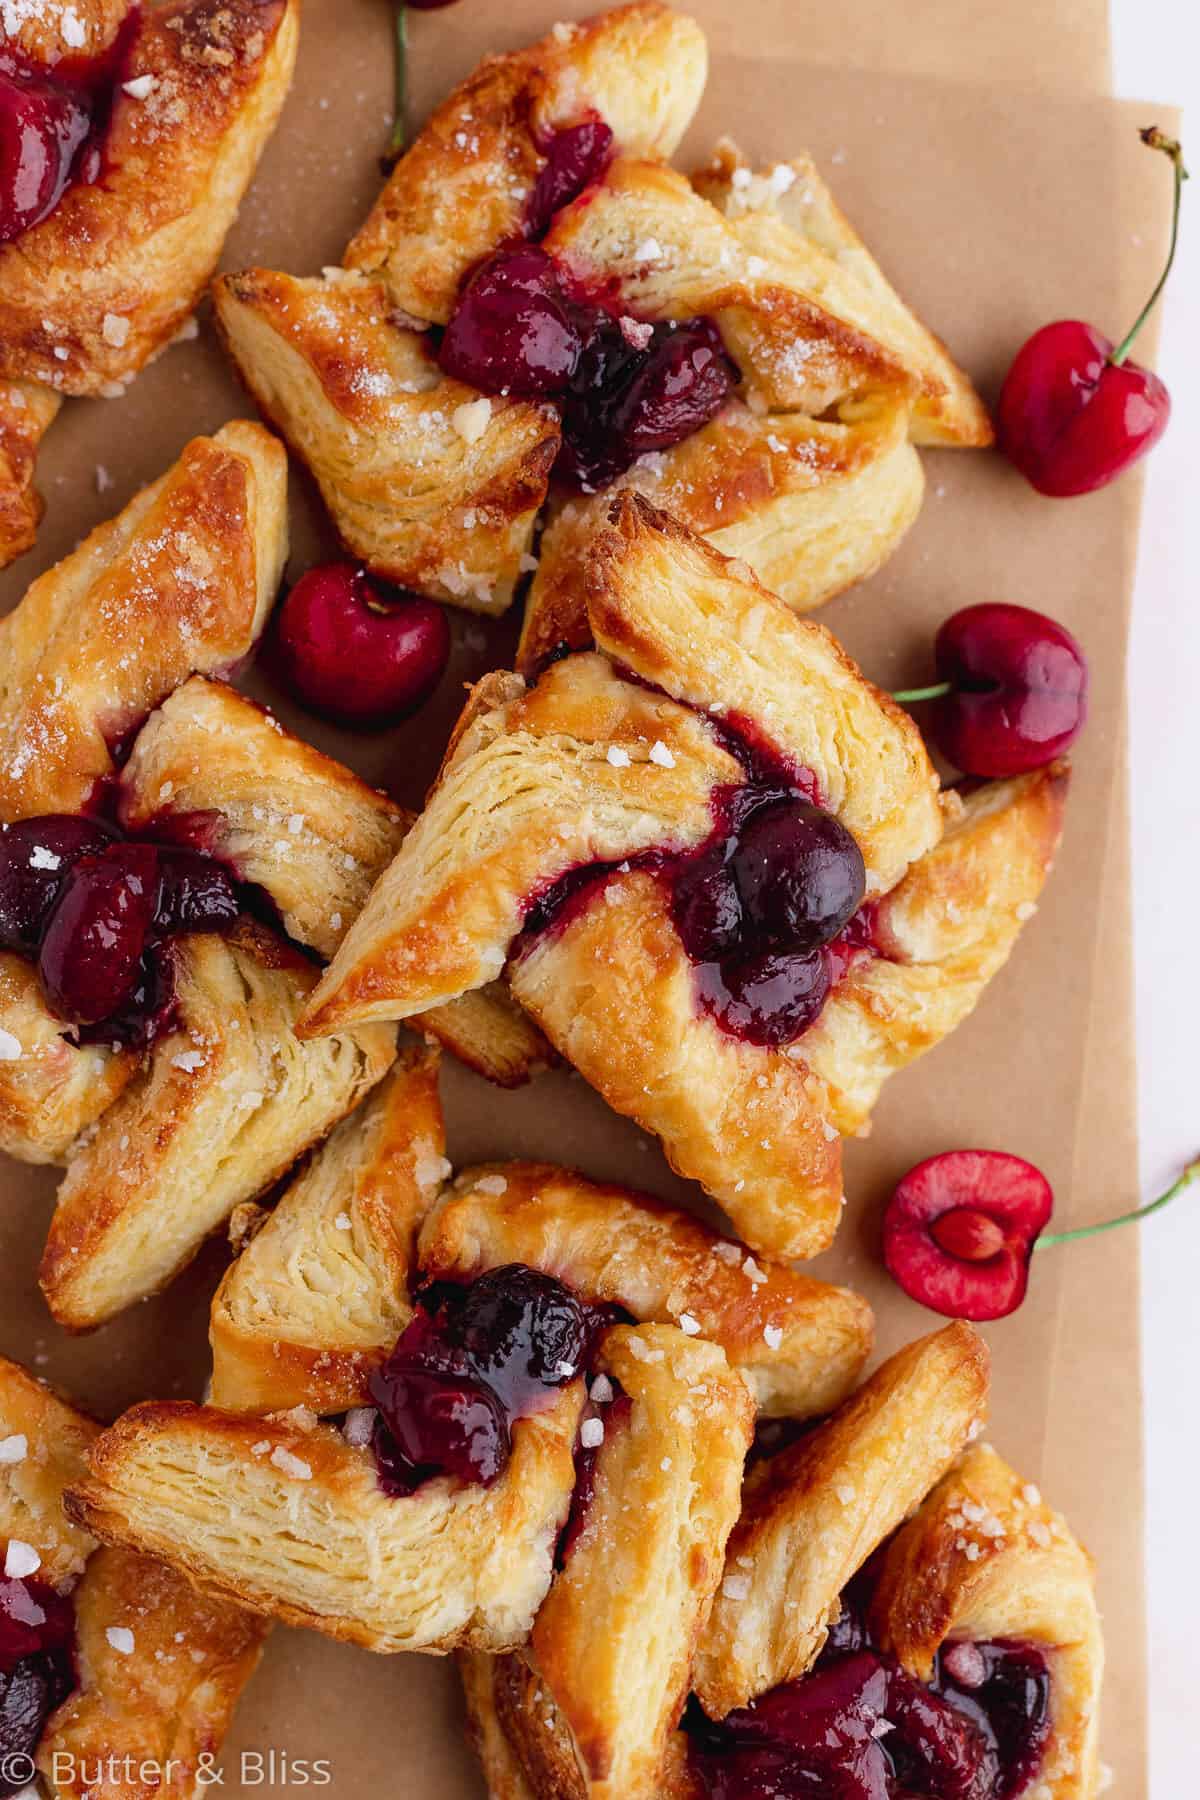
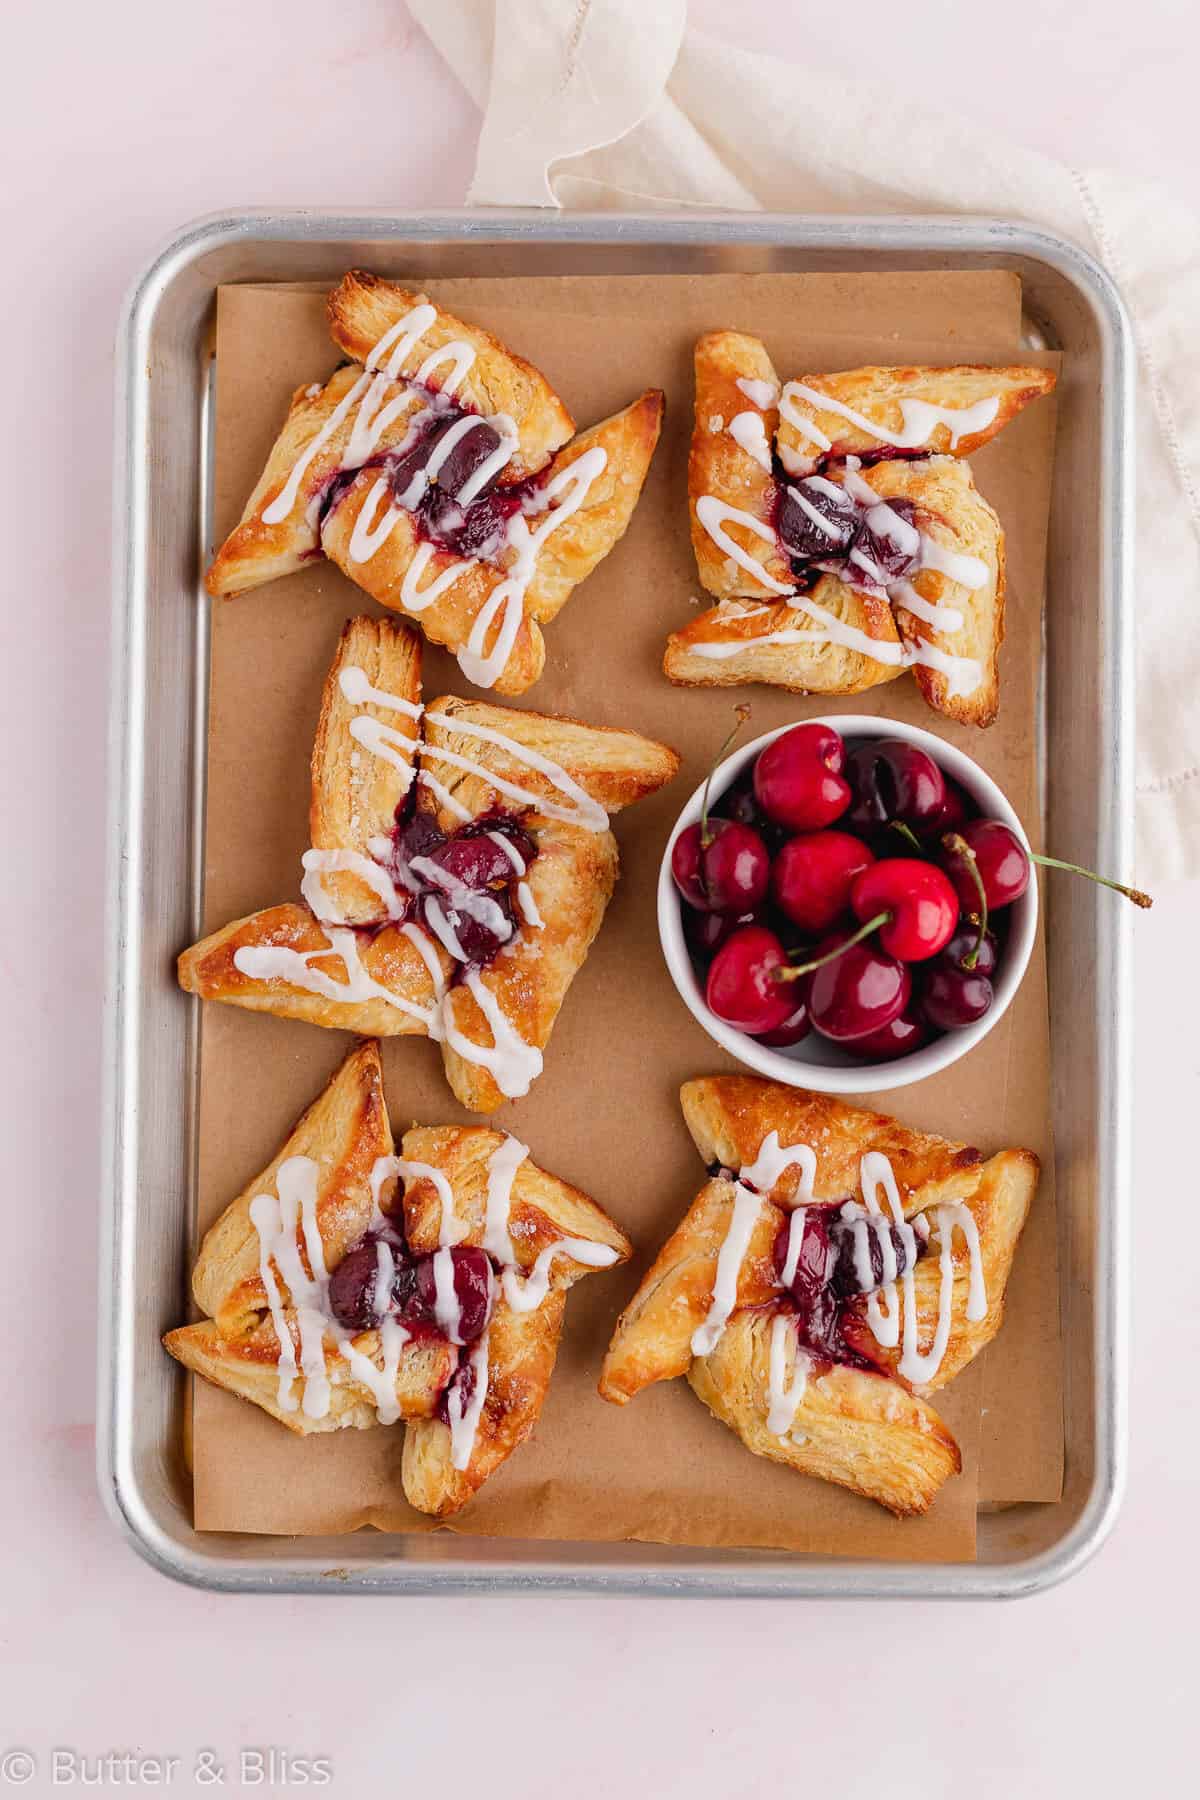
I tried a few different shapes when I was making these but found the Pinwheel shape to give me the right ratio of pastry dough and filling. The traditional Danish pastry can be made in a variety of shapes – a few below:
- Spandauer or Square – the pastry is cut into a square and each corner is folded into the middle, covering the filling
- Foldover – the dough is more of a rectangle is folded over itself like an envelope
- Packet – a square piece of dough that brings all of the corners together in the center, and is pinched together at the top.
- Kite – Slits are cut near the edges of the dough square and those thin pieces are crossed over each other to make the kite shape.
- Pinwheel – this recipe
- Danish Braid – which is one, larger pastry
It is worth noting that while researching the various shapes for Danish pastry, it seems to be pretty subjective. What some may call the Foldover, others may call the Spandauer. At the end of the day, all are equally delicious.
Ingredient Notes
- All-Purpose Flour – I have yet to test this recipe using a gluten free flour.
- Bread Flour – I like using a mix of all-purpose and bread flour for these pastries. The bread flour gives them an airy texture while still having a little ‘bite’ to them. If you don’t have (or want to use) bread flour, swap in all, all-purpose flour.
- Unsalted Butter – Good quality butter will yield a light and flaky pastry.
- Rapid Rise Yeast – Also referred to as Bread Machine Yeast. I like using Rapid Rise Yeast because I don’t have to ‘proof’ it. However, Active Yeast also works, you just have to ‘proof’ it in warm water/milk.
- Granulated Sugar – Only a little sugar to add sweetness to the dough.
- Milk – I recommend milk with a higher fat content to get a rich pastry.
- Egg – The egg makes the dough rich and tender.
- Water – Room temperature water as the base of the wet ingredients in the dough.
- Salt – Salt balances and enhances flavor.
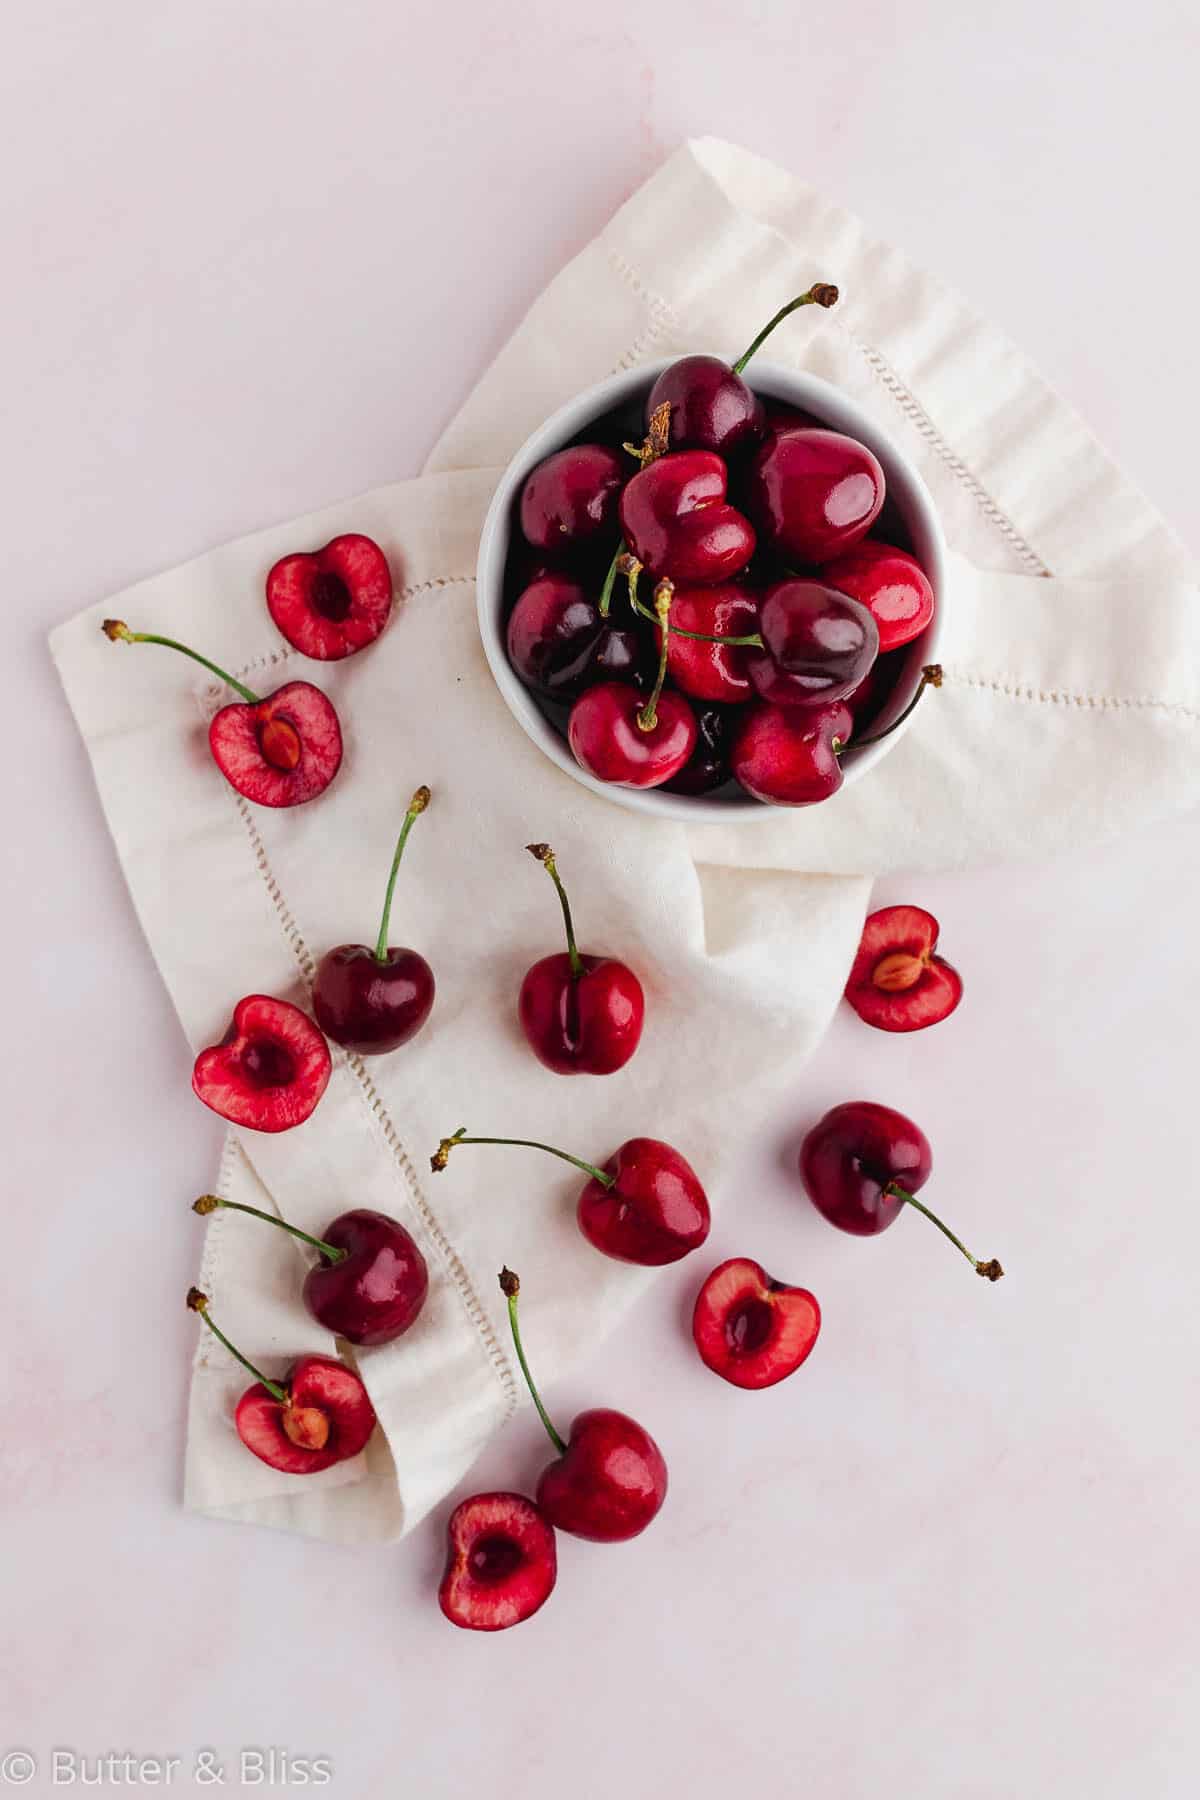
- Fresh Fruit – The filling for these pastries can be any fruit you like. Cherries are great for summer, but you could also do a combination of berries, peaches, or even just pastry cream.
- Lemon Juice – For the homemade fruit filling.
- Powdered Sugar – For the finishing glaze
- Pearl Sugar – This is optional but gives the pastries a little sparkle!
Recipe FAQ
No. You can swap out the bread flour and use all all-purpose flour. I like using bread flour in this recipe because it gives the Pinwheels an airy texture and a little ‘bite’.
The butter needs to be very cold to make flaky pastry, and I like ensuring my butter stays cold by freezing it. Butter contains water and when the cold butter hits heat, the water turns to steam. Which then creates air pockets within the flour for light, flaky layers. Otherwise, if you butter melts during any process of make the dough, the result will likely be a dense pastry.
You don’t. One other option for incorporating the butter is by pulsing the cold butter along with the flour, in a food processor.
This Danish pastry dough is sticky and will look scrappy after you mix it. You do not knead this dough! Right after all of the ingredients are mixed together, it needs to be refrigerated overnight.
My short answer is yes. This is because the dough needs time to rest, hydrate and develop flavor.
I have outlined the other pastry shapes above. With that, you can roll and fold the dough into any size. My only recommendation is the dough should not be rolled out any thicker than 1/4-inch.
More Breakfast Bread and Pastry Recipes
- Homemade Bagels
- Homemade Flaky Croissants
- Quick and Easy Homemade Buttermilk Biscuits
- Almond Croissants

Homemade Pinwheel Danish Pastries
by Erin Cernich
Equipment
- Rolling Pin
Ingredients
Danish Pastry Dough
- ¼ cup water, room temperature
- 2 teaspoons instant yeast (can also use Active Dry Yeast (see Instructions))
- ½ cup milk, room temperature
- 1 large egg, room temperature
- ¼ cup granulated sugar
- ¾ teaspoon salt
- 1 ½ cups all-purpose flour
- 1 cup bread flour
- 1 cup (2 sticks) unsalted butter, cold (freeze the sticks of butter (see Instructions))
Fresh Cherry Filling
- 2 cups fresh cherries, pitted and halved
- 2 tablespoons maple syrup
- 2 tablespoons lemon juice
Glaze
- 1 large egg white, beaten with 2 teaspoons of water (to brush the pastries before baking)
- ¼ cup powdered sugar
- 2 to 3 teaspoons milk
Instructions
Danish Pastry Dough
- If using Active Dry Yeast – Pour the water in a large mixing bowl and sprinkle the yeast over the top. Let it sit for about 5 minutes until it gets foamy and bubbly. Add the milk, egg, sugar, and salt to the yeast mixture and whisk together. Set aside.
- If using Rapid Rise Yeast – In a large mixing bowl, add the yeast, milk, egg, sugar, and salt. Whisk together until incorporated. Set aside.
- Combine the flour and butter – In a medium mixing bowl, add the all-purpose and bread flour. Grate the frozen butter on the large holes of a box cheese grater. Add the grated butter to the flour and stir with a wooden spoon until the butter flakes are just coated with flour. Note: 1.) I recommend freezing the sticks of butter because we need the butter to be extra cold. 2.) If you prefer not to grate the butter, you can use a food processor to combine the flour and butter. If so, cut the butter into slices, add to the work bowl of the food processor along with the flours, and pulse few times until the butter is about the size of large pebbles. Do not over-mix. You don't want the butter pieces to get too small.
- Pour the butter and flour mix into the wet ingredients bowl. Using a wooden spoon, gently mix, scraping the sides and bottom of bowl as needed, just until the dry ingredients are moistened. Do not over-mix. You want the butter to stay in pieces to produce a flaky pastry. The dough will be sticky and scraggly.
Chill the Dough
- Transfer the dough to an airtight covered container (like a large Tupperware). Refrigerate the dough overnight (or up to 4 days).
Fresh Cherry Filling
- While the dough is chilling, make the filling – In a medium saucepan, add the cherries, maple syrup, and lemon juice. Cook and stir over medium heat, until the cherries start to break down and release their juices. About 8 – 10 minutes. You will want to keep an eye on the cherries and stir frequently as they cook and caramelize easily. Transfer the filling to a small bowl and cool to room temperature. Cover the bowl with plastic wrap and refrigerate until ready to use.
Rolling and Folding Chilled Pastry Dough
- We are going to fold the dough 3 times – Turn the chilled dough on to a lightly floured work surface. Dust the top of dough and rolling pin lightly with flour. Using your hands, pat the dough into a rough square. Roll the dough into a square about 12-inches on a side.
- Fold the dough into thirds, like a business letter, and turn it so the closed fold is to your left (like the spine of a book). Note: 1.) If at any time, the dough gets too soft to roll and starts sticking to your rolling pin, cover it with plastic wrap and place it in the refrigerator for 5-10 minutes to chill. 2.) Lift the dough off the work surface after every few rolls to make sure the dough is not sticking to the surface.
- Roll the folded dough again – this time into rectangle about 12-inches wide by 18-inches long. Note: A sewing tape measurer or wooden ruler are great to have on hand to measure the dough. Fold the dough rectangle into thirds again, turning it so the closed fold is to your left (like the spine of a book).
- Roll the folded dough again – this time into a into a square about 12-inches on a side. Fold the dough into thirds, like a business letter.
- Cut the dough in half. Wrap each piece in plastic wrap and refrigerate it for at least 30 minutes, or for up to 2 days. Note: I like to cut the dough in half to make the final roll and assembly easier. If you choose not to cut the dough in half, the size of the rectangle on the final roll will be larger (12-inches x 16-inches).
Assembling the Pinwheels
- This recipe demonstrates the Pinwheel shape. There are other Danish pastry shapes like the Spandauer, Packet, Kite, or Square (to name a few).
- Line 2 baking sheets with parchment paper and set aside. In a small bowl, whisk the egg white with 2 teaspoons of water.
- Unwrap one of the chilled dough pieces (keep the other in the fridge until ready to use). Place the chilled dough onto a lightly floured work surface. Dust the top of dough and rolling pin lightly with flour. Roll the dough into an 8-inch x 12-inch rectangle. Trim the edges as needed with a sharp knife (or pizza cutter), to even them out.
- Make 6, 4-inch dough squares – One the 8-inch side of the rectangle, make one (1) cut mark at 4 inches. Then, on the 12-inch side of the rectangle, make two (2) cut marks at every 4 inches. Use a sharp knife or pizza cutter to cut the dough into 6, 4-inch squares, using your cut marks as your guide.
- Filling and shaping the dough squares – Remove the cherry filling from the fridge. Transfer your dough squares to one of the prepared baking sheets – spacing them evenly apart. Shape and fill one pastry at a time. Spoon about 2 teaspoons of the cherry filling into the center of the dough square.
- At each corner of the square, use a sharp knife (or pizza cutter) and cut a 1-inch diagonal slash from the corner towards the center.
- Brush every other dough point with some of the beaten egg white. Lift each of those points and gently press them together to join them at the center of the pastry – this makes the pinwheel shape. Repeat the filling and shaping for the remaining dough squares.
- Preheat the oven to 400F degrees and adjust the oven rack to the middle position.
- Cover the baking sheet with the prepared pastries with a kitchen towel or plastic wrap. Let the pastries rest at room temperature for 30 minutes. Although the pastries won't double in size, they will look and feel puffy. Note: To keep the pastries and filling from sticking to the towel or plastic wrap, place a small cup on the baking sheet that is taller than the pastries, to keep the towel/plastic wrap from touching them. I use a large roasting bag and slide the baking sheet inside of it. It is large enough to puff up so it doesn't touch the pastries.
- Brush the rested pastries with more of the egg white. You can also top them with pearl sugar. Bake for 8 – 10 minutes, or until lightly golden. While the first batch of pastries are baking, you can repeat the process for the other dough half.
- Transfer the baked pastries to a wire rack.
Glaze
- In a small bowl, whisk together the powdered sugar and milk. Add more milk (a splash at a time), until you reach a consistency that is smooth and can be piped (or sprinkled). Pour the glaze into a small Ziploc bag, and snip one of the corners to create a small opening. Pipe the glaze on top of the cooling pastries in random lines. Serve the pastries warm, or at room temperature.
- The pastries are best served the day they are made. Enjoy!
Notes
- Bread Flour – If you don’t have bread flour, you can use all all-purpose flour. I like the bread flour because it gives the pastries an airy texture.
- Butter – You can either do the grated butter method, or food processor method and get the same result. I choose to grate my butter because I don’t like cleaning all the parts for the food processor!
- Keep the dough cold – If at any time while you are rolling and folding the dough, the dough starts to get sticky, just cover it and put it back in the refrigerator for 10 minutes.
- Rolling the dough – When you are rolling the dough, lift the dough up off your work surface after every few rolls, to make sure the dough is not sticking to the surface.
- Keeping the Pinwheel shape – Pinch every other tip together to seal them together. There may be some tips that separate when baking. If this happens, you can ‘push’ the points back together as soon as they come out of the oven.
- Cool the pastries, slightly – Let the pastries cool before adding the glaze otherwise, it will just melt off.
Nutrition Estimates
TRY THESE SMALL BATCH RECIPES NEXT!


About the Author …
Hi, I’m Erin! With years of experience baking for two in my own small household, I know about the love for desserts without the leftovers. I’ve tested, written, and photographed every one of the 300+ recipes on my website. And even had some of my desserts featured on Taste of Home, The Spruce Eats, ELLE, Parade, and more! From traditional to gluten free desserts for two, I have the recipe for you.
Click here to learn more about me →