Kalamata Olive and Onion Bread
This post may contain affiliate links. See my disclosure policy.
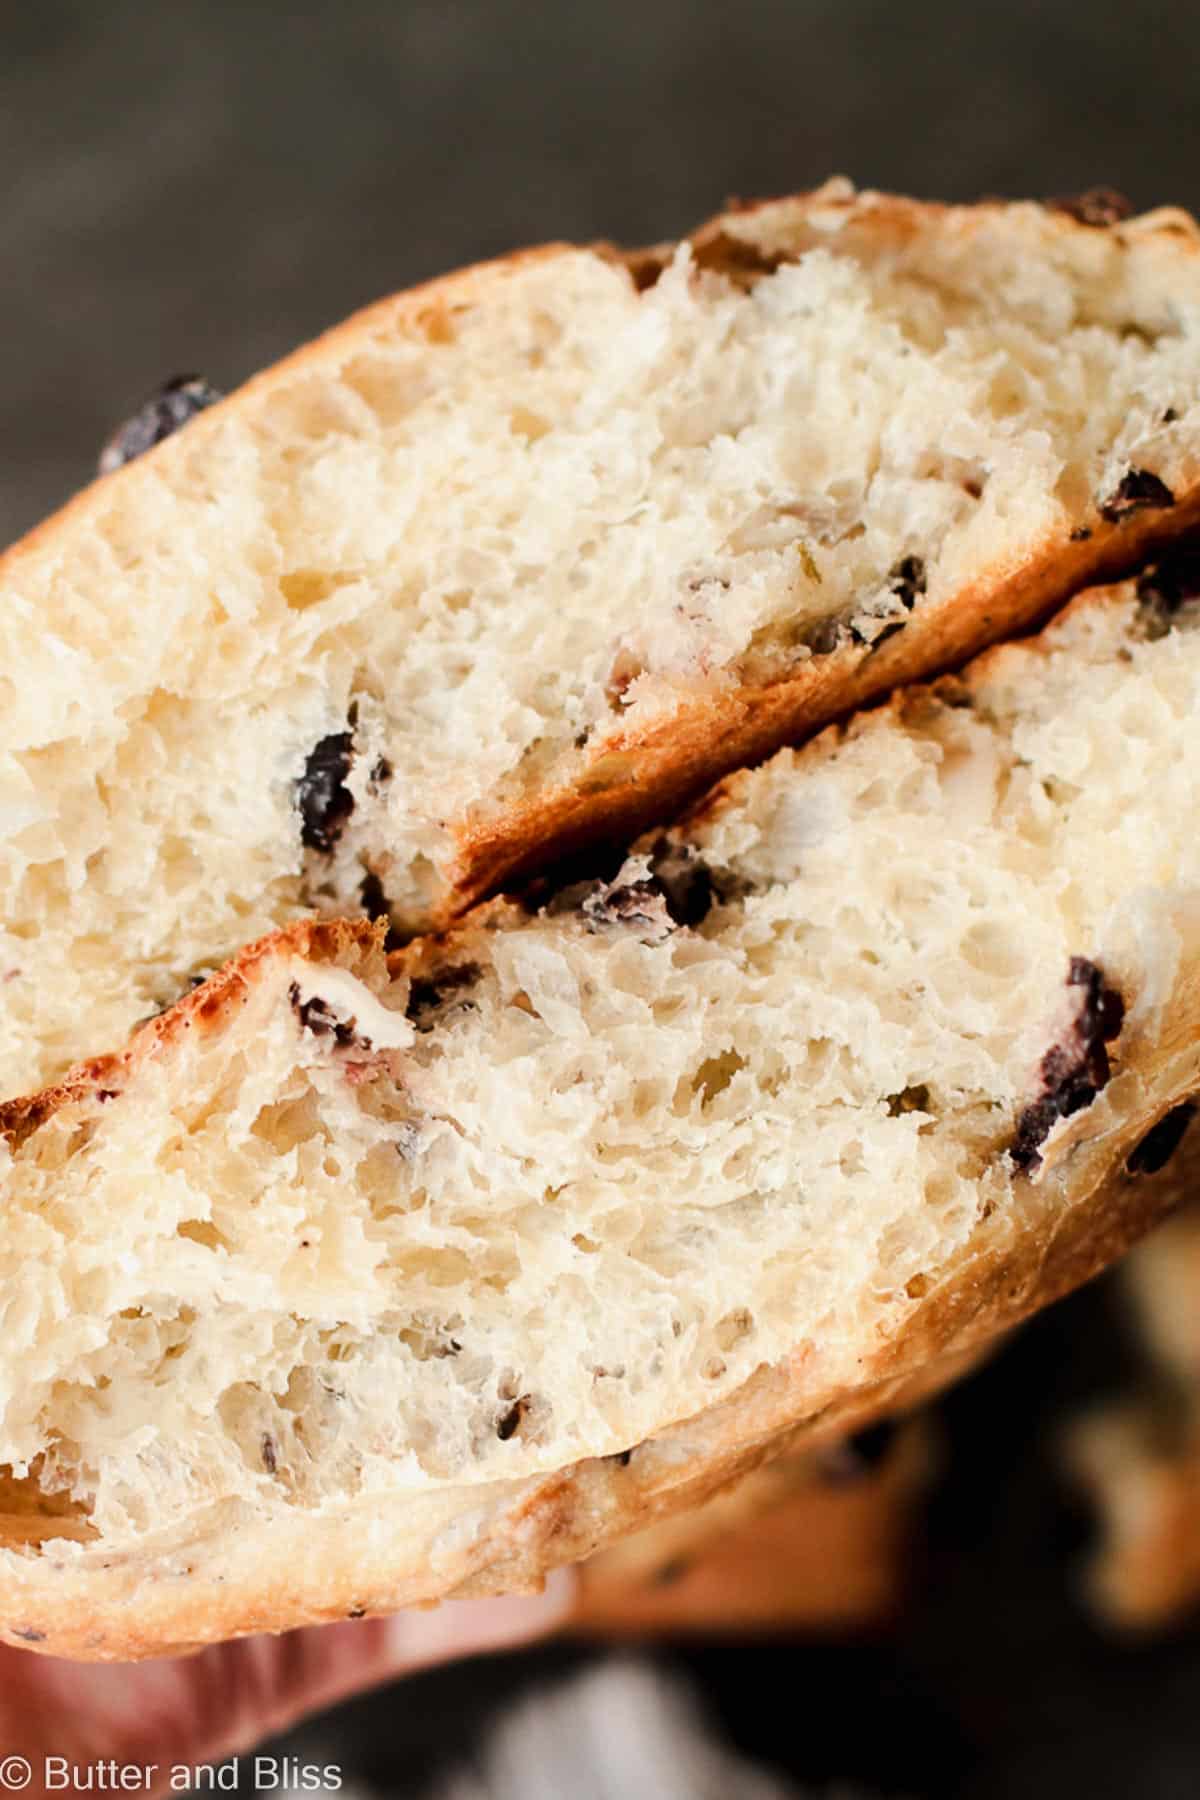
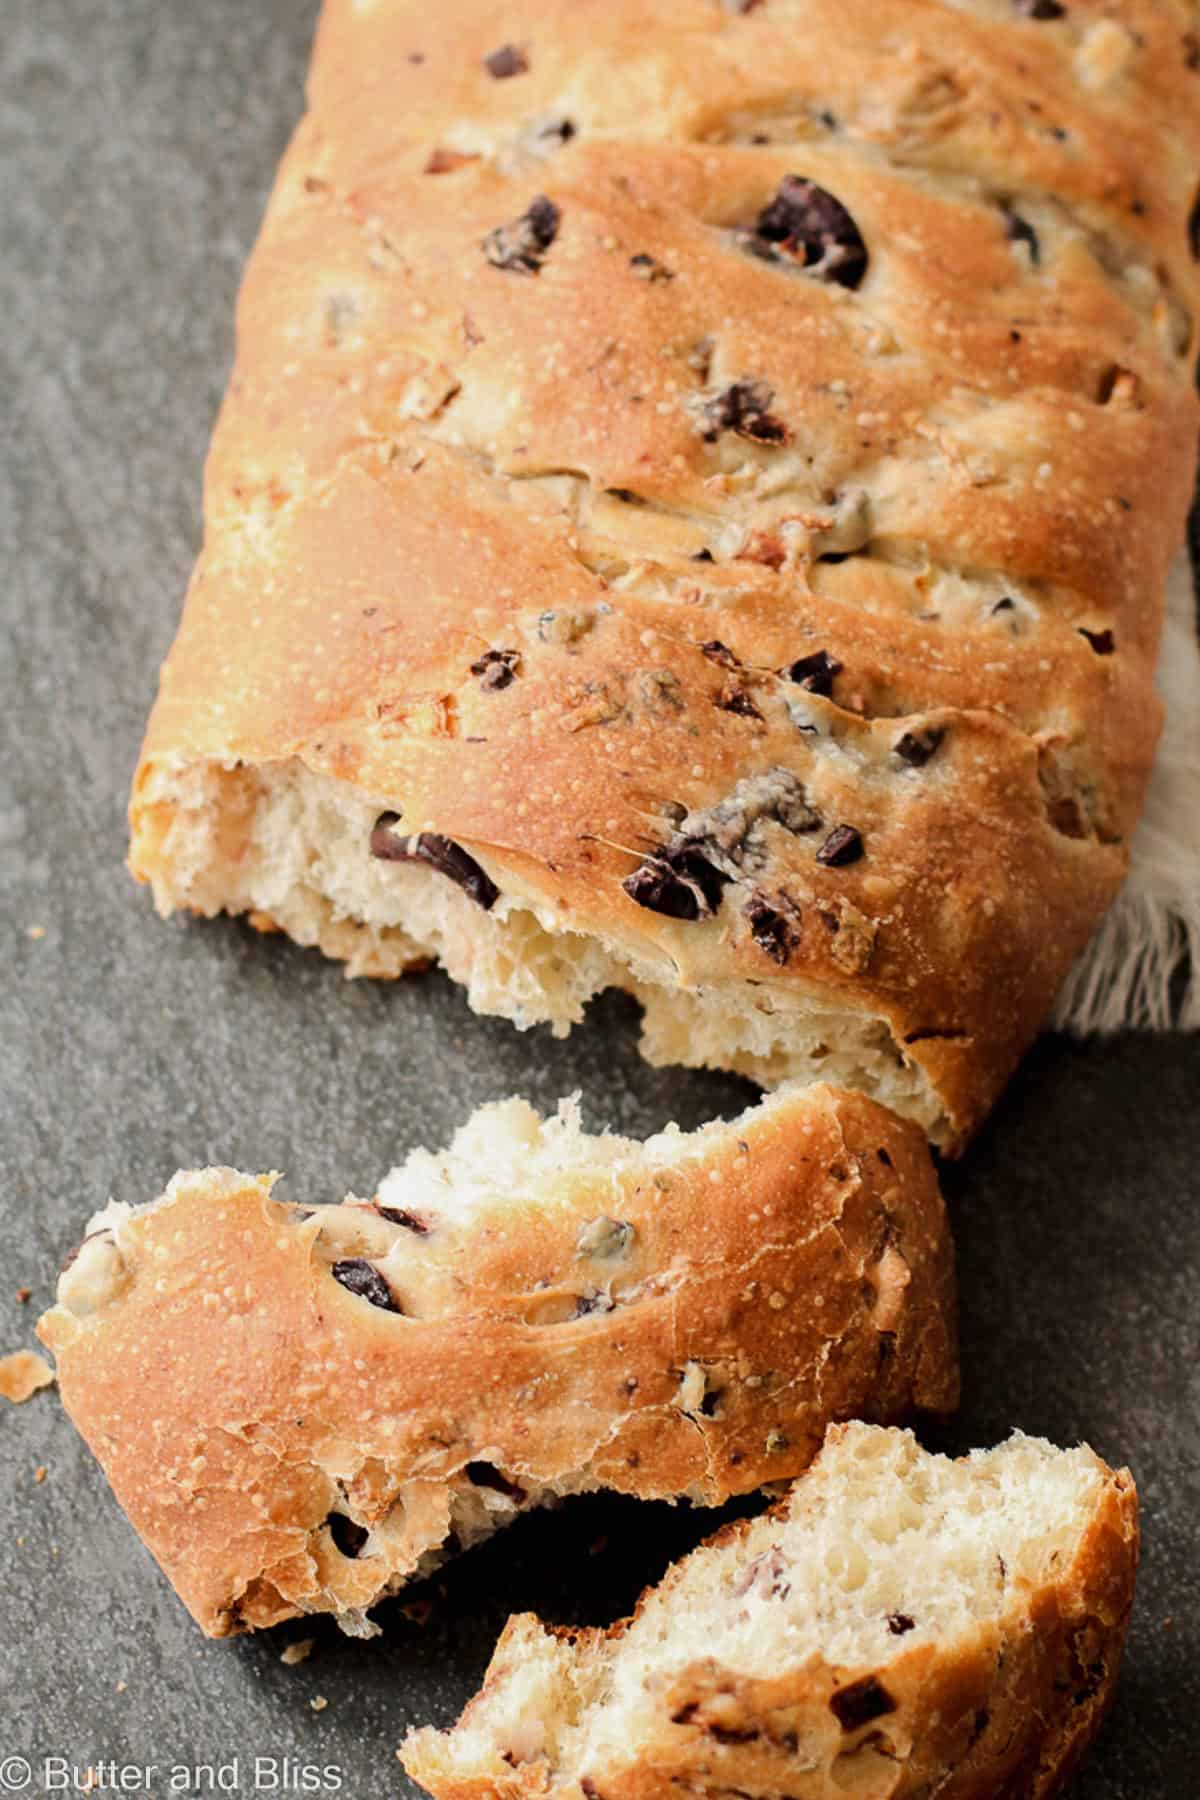
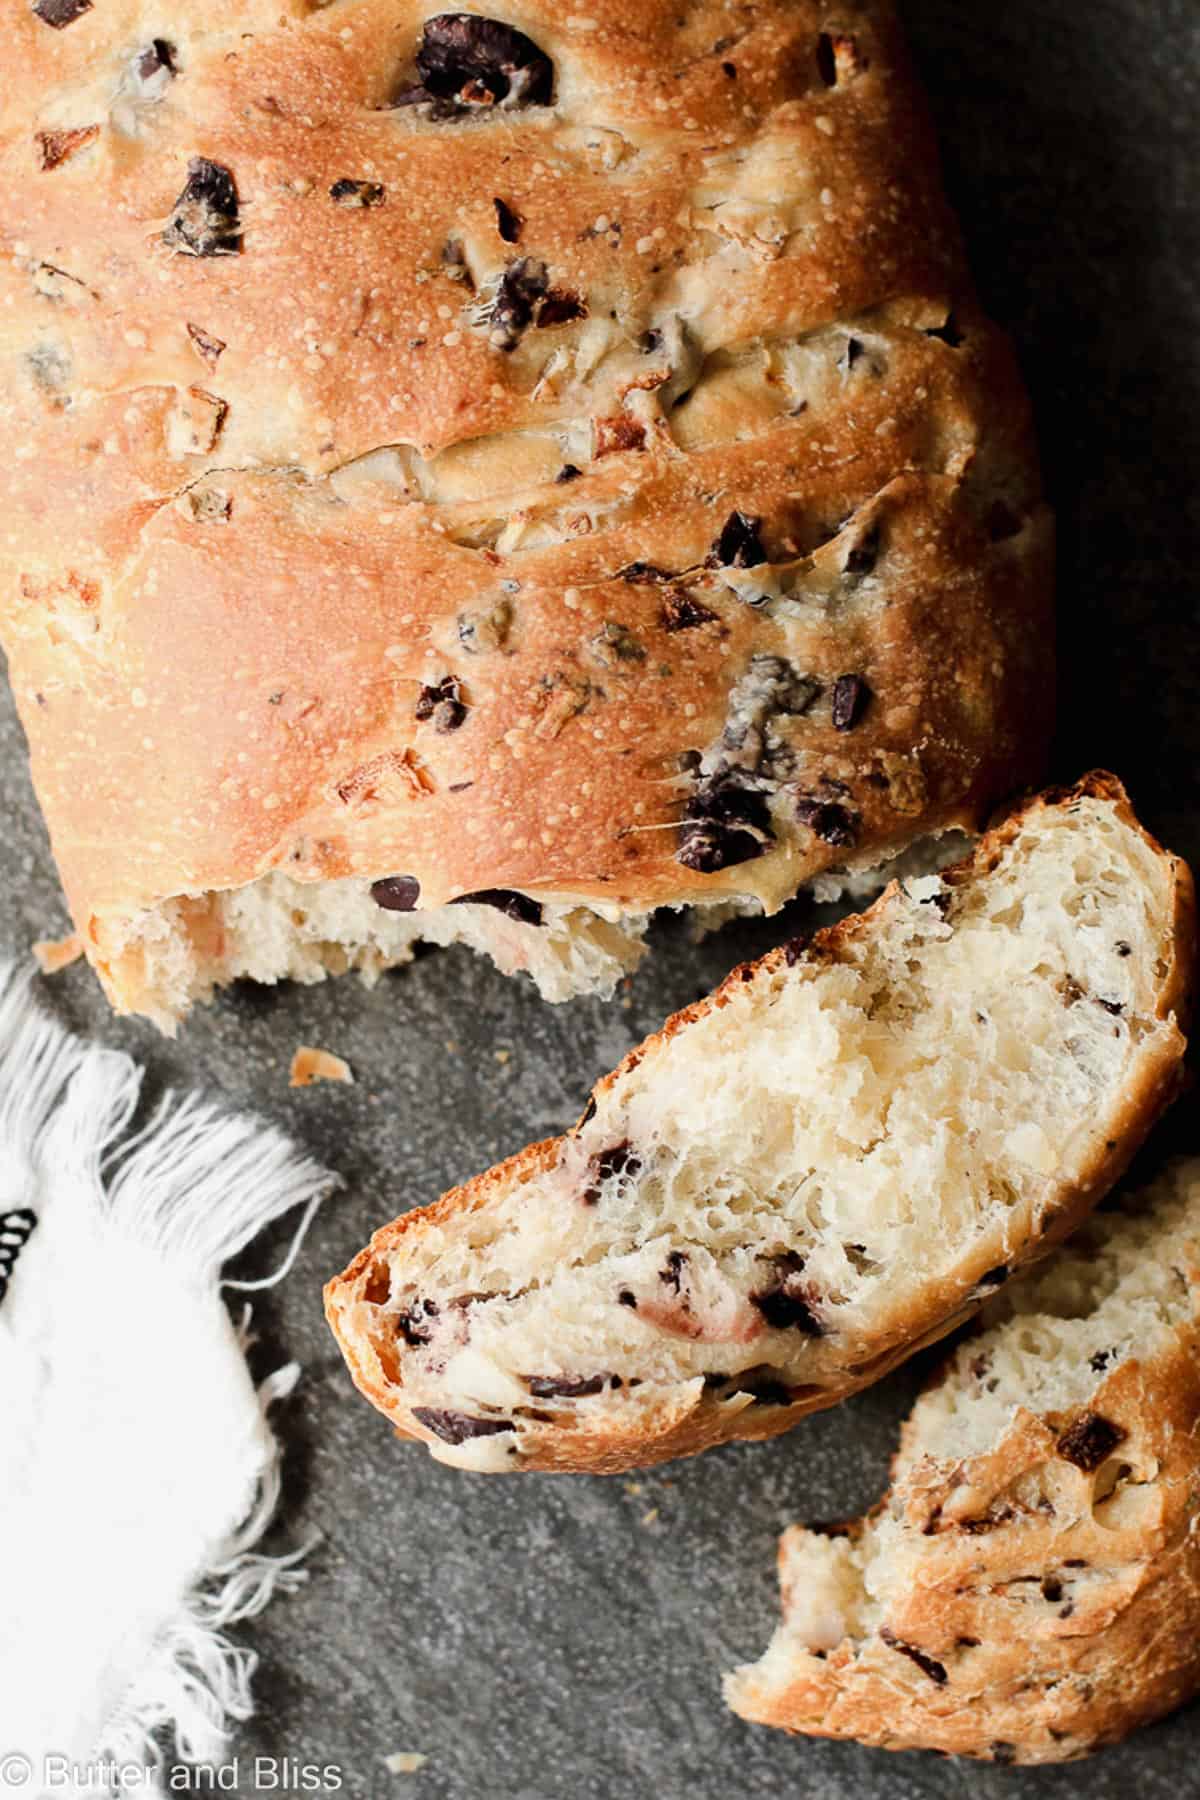
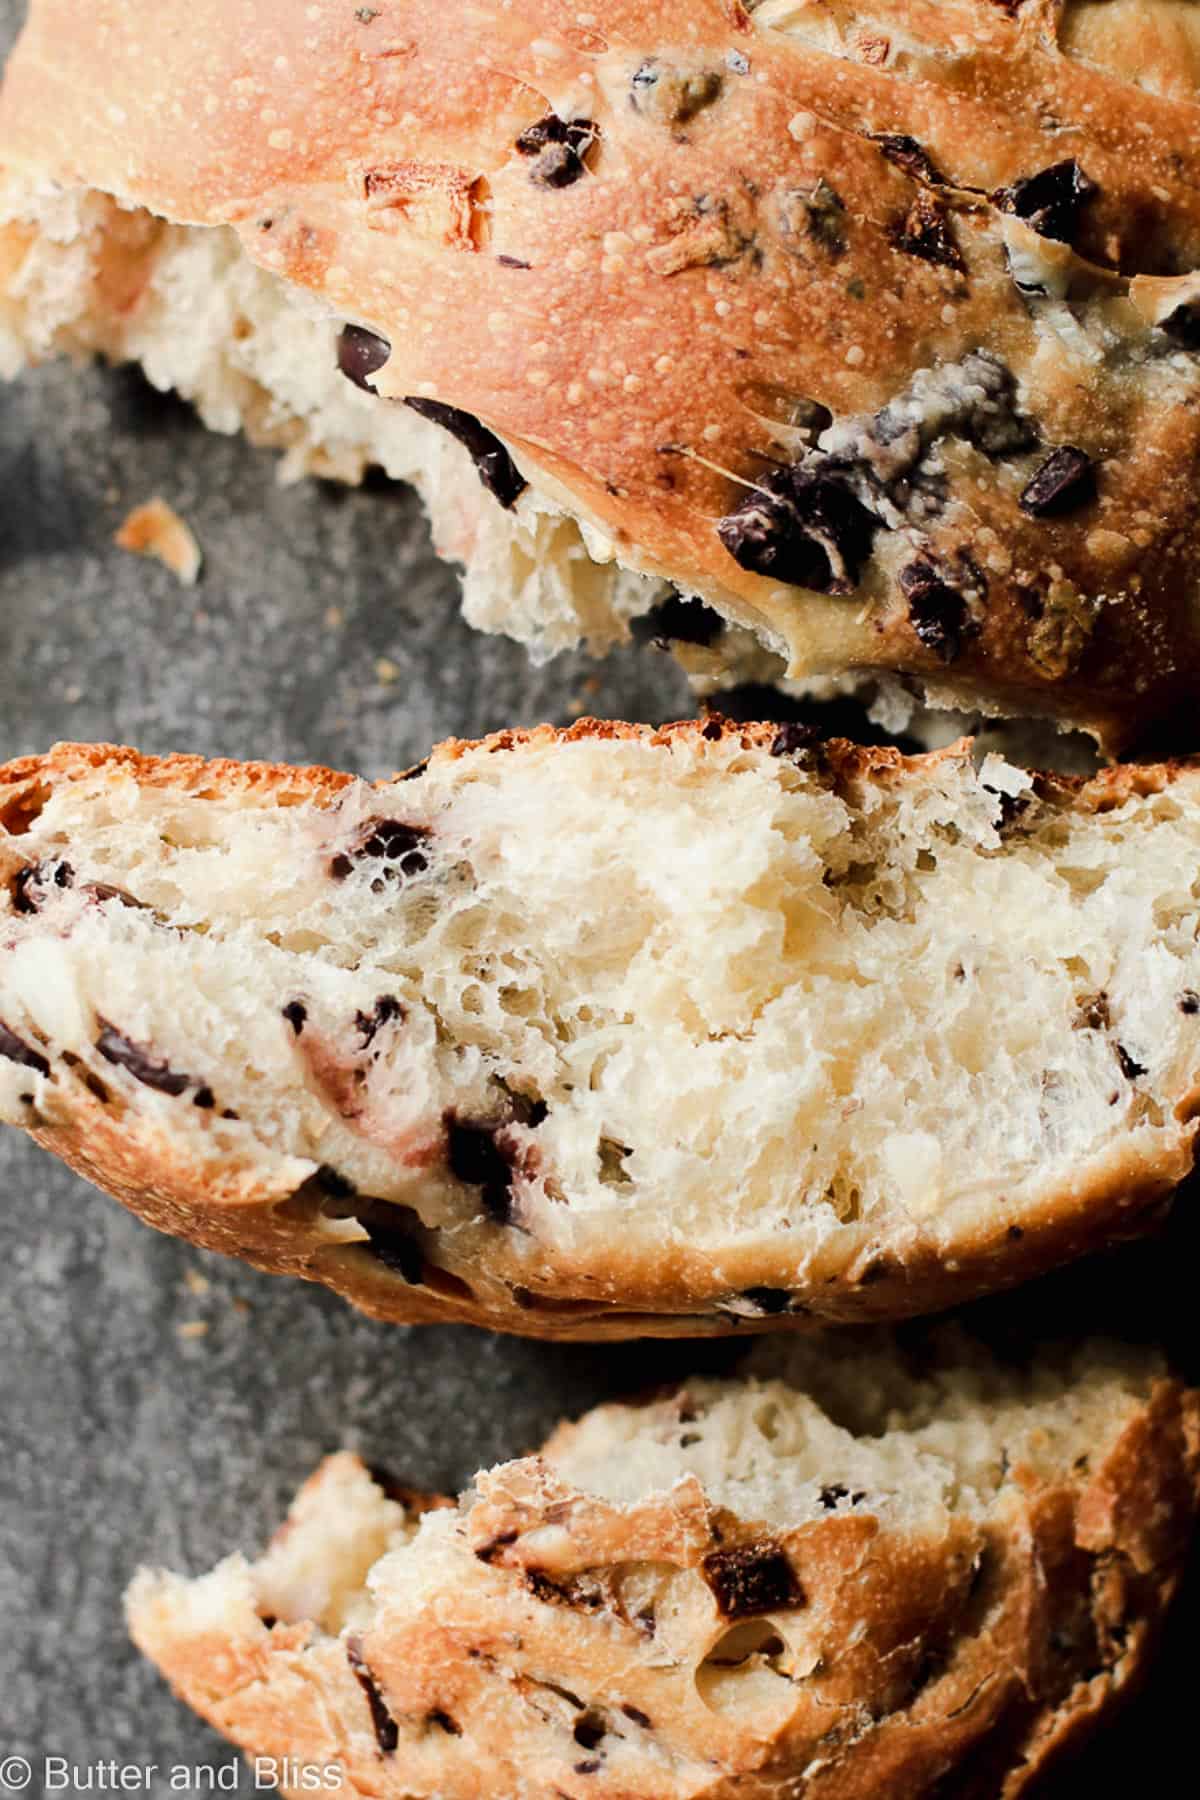
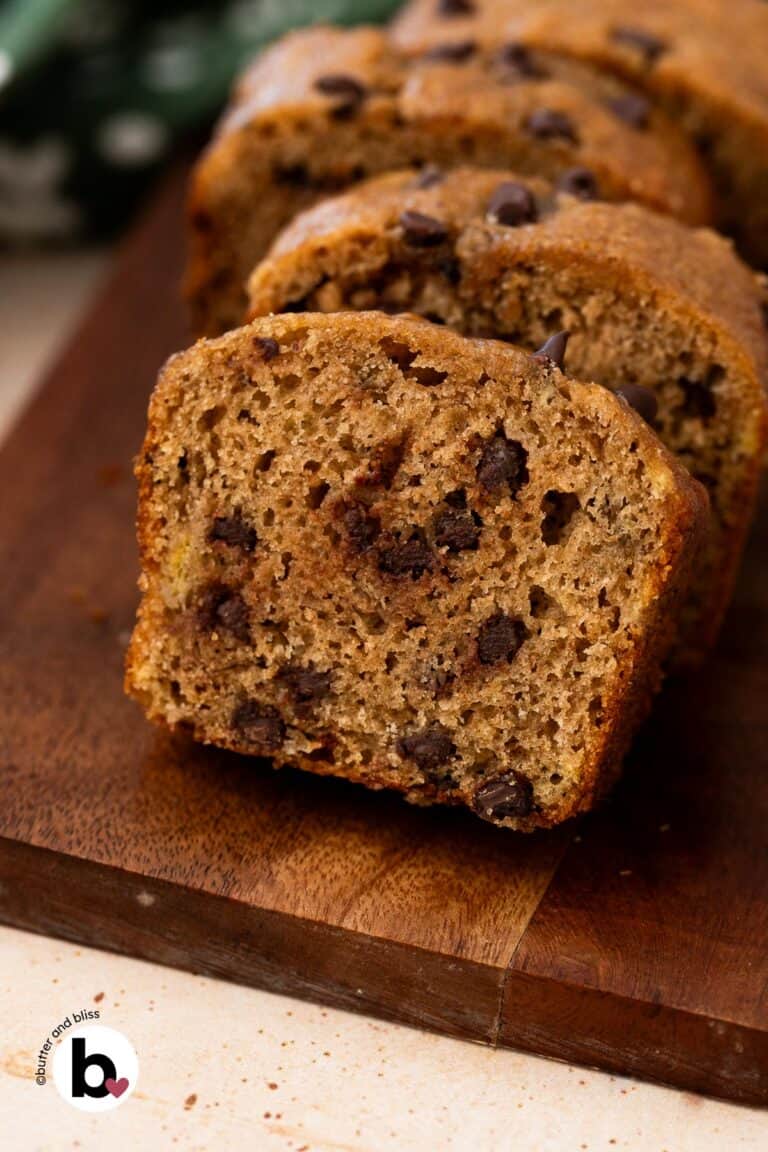
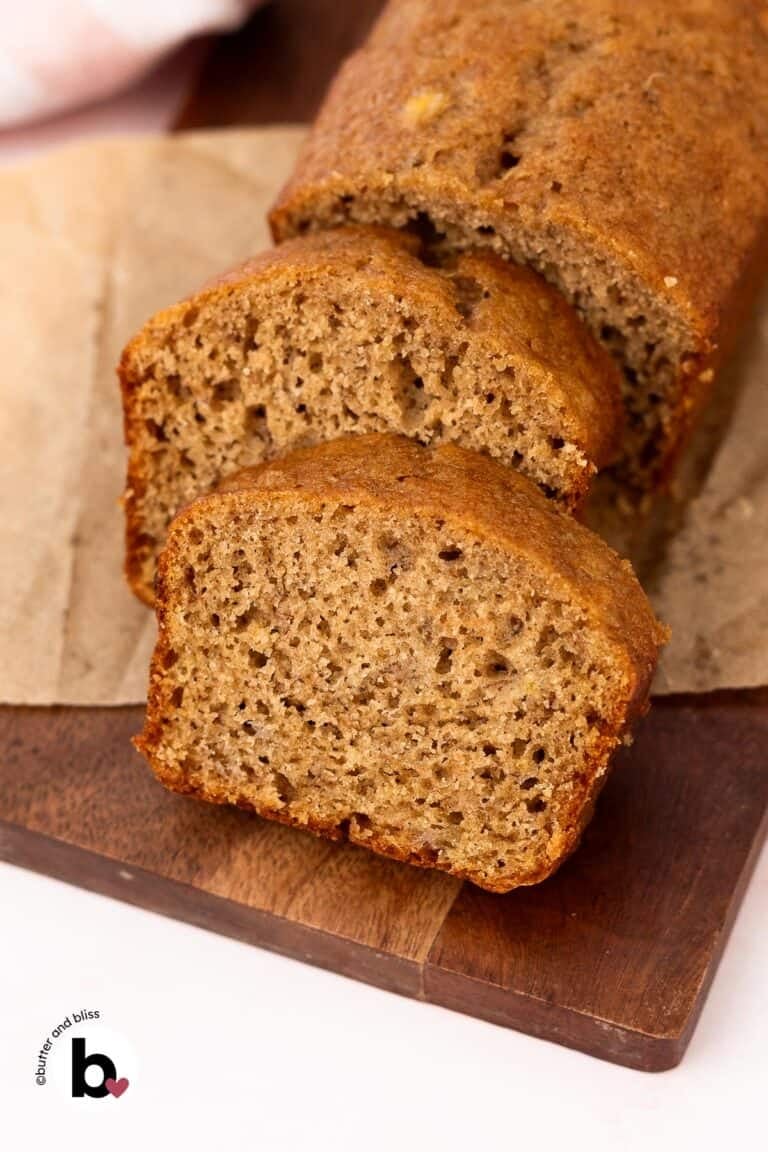
This flavorful kalamata olive and onion bread showcases briny kalamata olives, savory onions, oregano, and salt. A combination worthy of accompanying your next soup or salad! With a crispy exterior and soft, airy interior, the small batch loaf is easy to make and great for beginner bread-makers.
Homemade Kalamata Olive Bread
I adapted this kalamata and onion bread recipe from Paul Hollywood’s Corriander, Olive and Onion Bread. If you don’t have his How To Bake cookbook, I highly recommend it! Not only does he share delicious bread recipes, but there is also an abundance of tips and tricks when it comes to baking bread at home.
The most difficult part of making this olive bread is waiting for the dough to proof. Like most of my small batch bread recipes, I try to keep it easy. The Irish soda bread with cheddar and seasoned soft pretzels are delicious examples. No fancy shaping or mixing methods are required to make the bread. But, if you want to try your hand at a more elaborate bread recipe, try my seasoned homemade bagels next!
I originally published this recipe in 2019. I have updated the post and recipe with additional tips and refreshed photos.
Everything To Love About This Bread
- It’s easy to make – We let the stand mixer do all of the mixing for this olive bread.
- Full of flavor – Kalamata olives and onions are a recipe for something delicious and savory.
- Great for beginner bread-makers – Because we let the mixer do most of the work and the ingredients are easy, this is a great recipe if you are just starting with making bread!
- Crusty exterior – It doesn’t get much better than a flaky, crusty bread exterior. Perfect for dunking or using as a homemade spoon!
- Airy interior – What is a great contrast to the crispy exterior of the bread? A pillowy soft interior. The melt-in-your-mouth kind of soft!
Helpful Tips
- Take note of the temperature and humidity – If it is dry or hot, you may need more water when making the dough. You will know the dough is properly hydrated once all the flour has been picked up from the sides of the mixing bowl.
- Proof in a warm place – For the dough to adequately double in size, it needs to rest in a warm place. If you have a proof setting on your oven, that works great. Otherwise, you can set the bowl with the dough in a warm cabinet or on top of your refrigerator.
- Score the dough – We use kitchen scissors to cut deep gashes along the top of the kalamata olive bread so the bread doesn’t bake with large cracks. It also prevents large air pockets from forming inside the loaf.
- Use a roasting bag to proof the loaf – Placing the dough in the bag will prevent a skin from forming and keep the temperature regulated. A large turkey roasting bag works great!
- How to test if the bread is done – A good way to know if the bread is done is to tap the bottom and it should sound hollow. Just be careful – the bread is hot!
Kalamata Olive And Onion Bread
by Erin Cernich
Ingredients
- ½ cup kalamata olives (drained, dried and chopped)
- 1 small onion (peeled and chopped)
- 2 teaspoons dried oregano
- ¾ cup water, room temperature (1/4 cup to activate the yeast)
- 1 ¼ teaspoons active dry yeast (or instant, see Notes)
- 1 ½ cups bread flour
- 1 teaspoon salt
- 1 ½ tablespoons extra virgin olive oil
Instructions
- Coat the inside of a medium bowl with olive oil. Set aside.
- In a small bowl, stir together the chopped olives, onions and oregano.1/2 cup kalamata olives, 1 small onion, 2 teaspoons dried oregano
- In a small liquid measuring cup, add 1/4 cup of water and the yeast. Sprinkle a pinch of sugar on top. Stir and set aside until the yeast becomes foamy – about 5 to 8 minutes.3/4 cup water, room temperature, 1 ¼ teaspoons active dry yeast
- In the mixing bowl of your stand mixer fitted with the dough hook, add the flour, salt, olive oil, half of the remaining water and the foamy yeast mixture. Mix on low speed until the ingredients are just combined, then turn up the speed to medium-high. Continue to add the remaining water a little at a time, until all of the flour has been picked up from the sides of the bowl. You may need more or less water.1 ½ cups bread flour, 1 teaspoon salt, 1 ½ tablespoons extra virgin olive oil, 3/4 cup water, room temperature
- Continue to mix the dough on medium-high speed for at least 5 minutes. The dough will slap the sides of the bowl, which is ok. The dough should be soft and smooth after about 5 minutes.
- Transfer the dough to the oiled bowl. Cover with plastic wrap and a dry kitchen towel and set in a warm area to proof for 60 to 90 minutes, until the dough has doubled in size.
- Tip the dough onto a lightly floured surface. Add the olive mixture and knead the dough until they are evenly distributed through the dough. There is a lot to mix in and it will become easier to mix as you continue to knead.
- Put the dough back into the bowl, cover again and let proof again for another 30 minutes. Line a baking sheet with parchment paper and set aside.
- Tip the dough back onto a lightly floured surface and flatten it into a rough rectangle with your hands. Then roll the dough up like a sausage. Place the dough on the prepared baking sheet and use kitchen scissors to cut deep grooves perpendicularly along the top of the dough.
- Slide the baking sheet inside of a clean plastic bag (a large turkey roasting bag works great!) and proof again for 1 more hour, or until it has at least doubled in size and springs back quickly when poked with your finger.
- While the dough is in its last proof, preheat the oven to 425F degrees and adjust the oven rack to the middle position.
- Remove the baking sheet from the proofing bag. Bake the bread for 30 minutes or until it sounds hollow when you tap on the bottom. Cool on a wire rack. Enjoy the bread slightly warm or at room temperature.
Notes
- Serving Size – This is a small batch bread recipe that can be doubled.
- Yield – The loaf of bread will yield 6 to 8 slices, depending on how large you make the slices.
- Yeast – Active dry yeast (that needs to be proofed in water), or instant yeast (no water required) will work. If using instant yeast, add it along with the flour, on opposite sides of the bowl from the salt. Salt can inhibit the yeast if it comes in direct initial contact.
- Olives – Use any olive you like.
- Spices – Additional dry seasonings and spice can be added. Garlic powder would be delicious!
- Storage – The bread is best enjoyed the day it is baked. Store leftovers in a paper bag.
- Freezing – Wrap the bread tightly in a freezer bag for up to 3 months. Thaw at room temperature and reheat in a warm (200F degree) oven.
Nutrition Estimates
TRY THESE SMALL BATCH RECIPES NEXT!


About the Author …
Hi, I’m Erin! With years of experience baking for two in my own small household, I know about the love for desserts without the leftovers. I’ve tested, written, and photographed every one of the 300+ recipes on my website. And even had some of my desserts featured on Taste of Home, The Spruce Eats, ELLE, Parade, and more! From traditional to gluten free desserts for two, I have the recipe for you.
Click here to learn more about me →
I am assuming that you slide the bread out of the cooking bad before baking it. I only ask because I have been seeing some really strange ways of baking bread lately.
Thanks Sharon
Hi Sharon – Yes, take the bread out of the bag before baking it.
Hi Erin! Your bread looks amazing. I have a few questions, though:
1) Can I double the recipe?
2) Can I use instant yeast?
Thanks!
Hi Flo – I’ve never doubled the recipe, but that should work. And instant yeast will work as well – just mix it in with all of the dry ingredients. Hope you enjoy the bread!
Is the 1 1/4 teaspoons of yeast the correct amount for this recipe?
Hi – Yes. It is a small batch loaf.