Chocolate Covered Strawberry Cake Truffles
This post may contain affiliate links. See my disclosure policy.
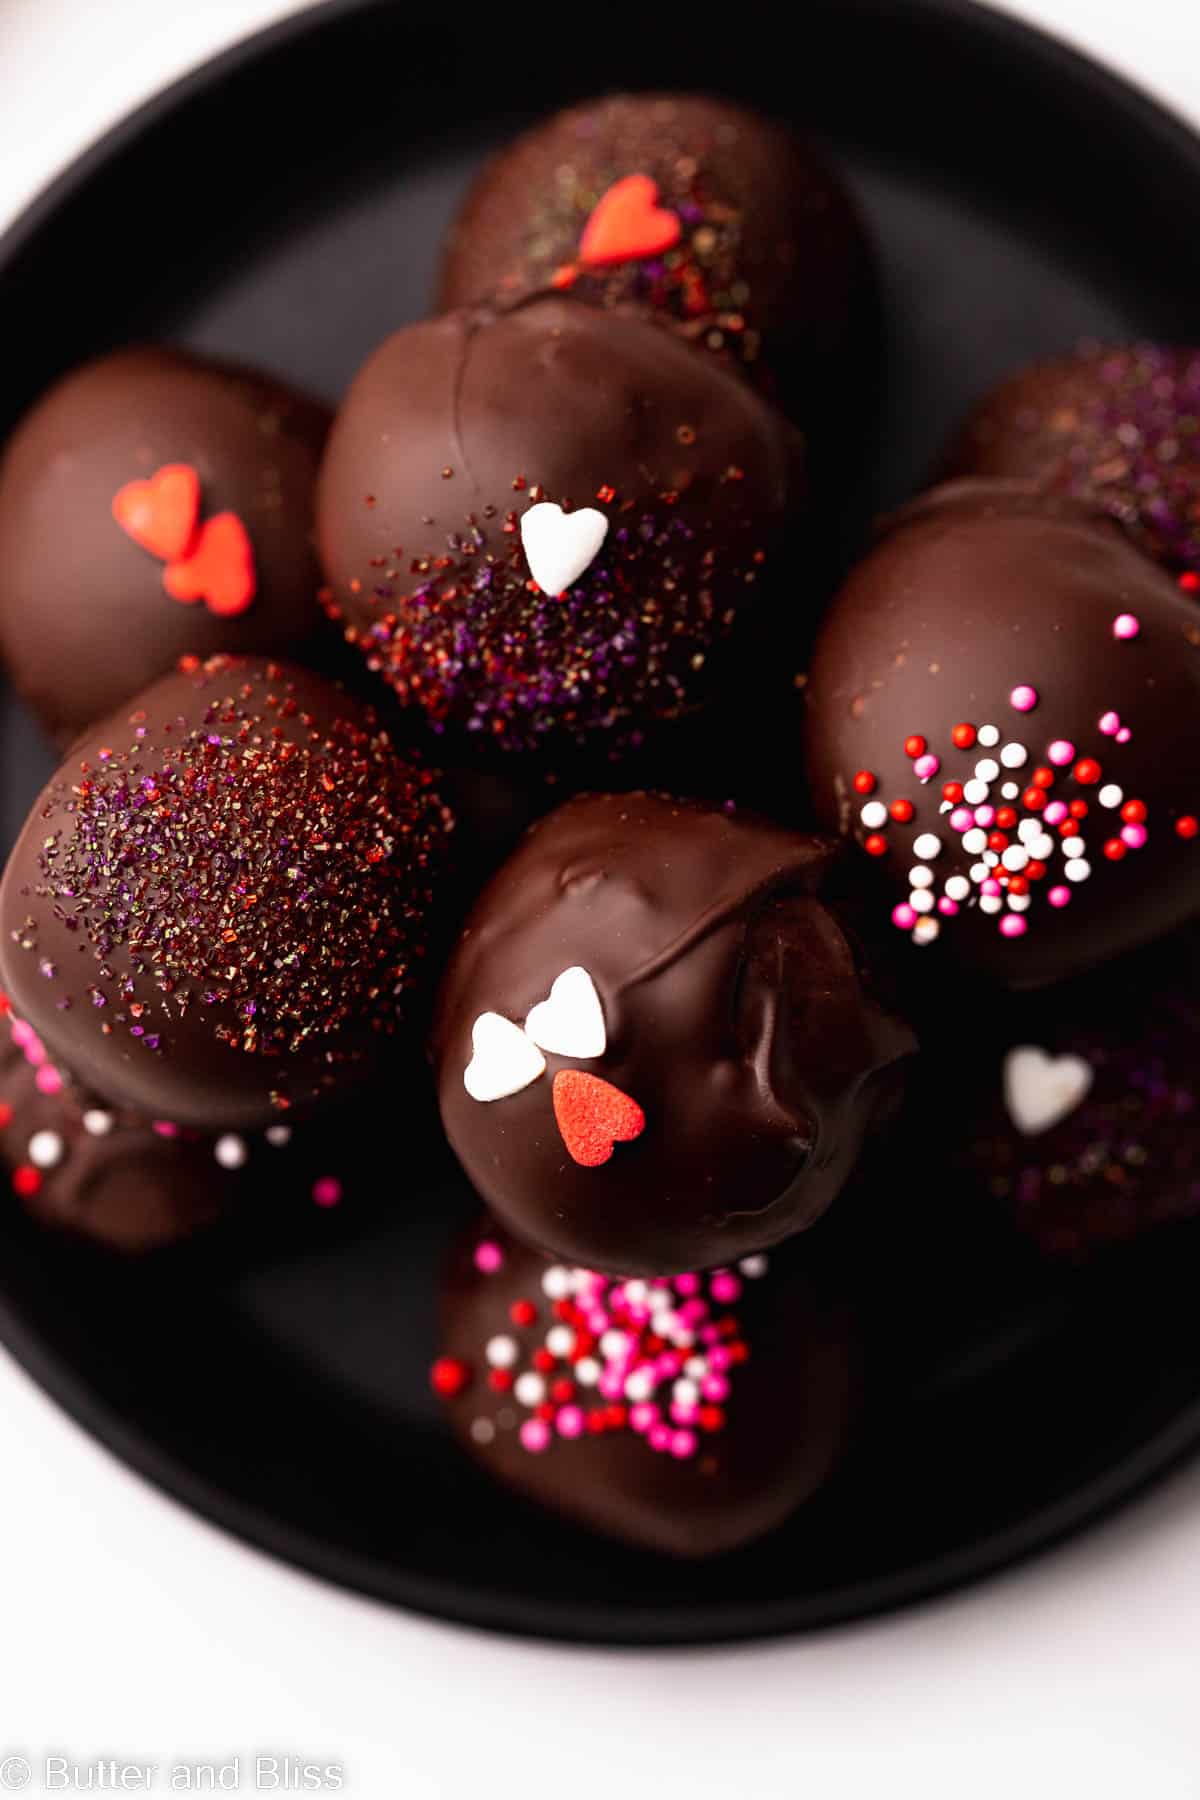
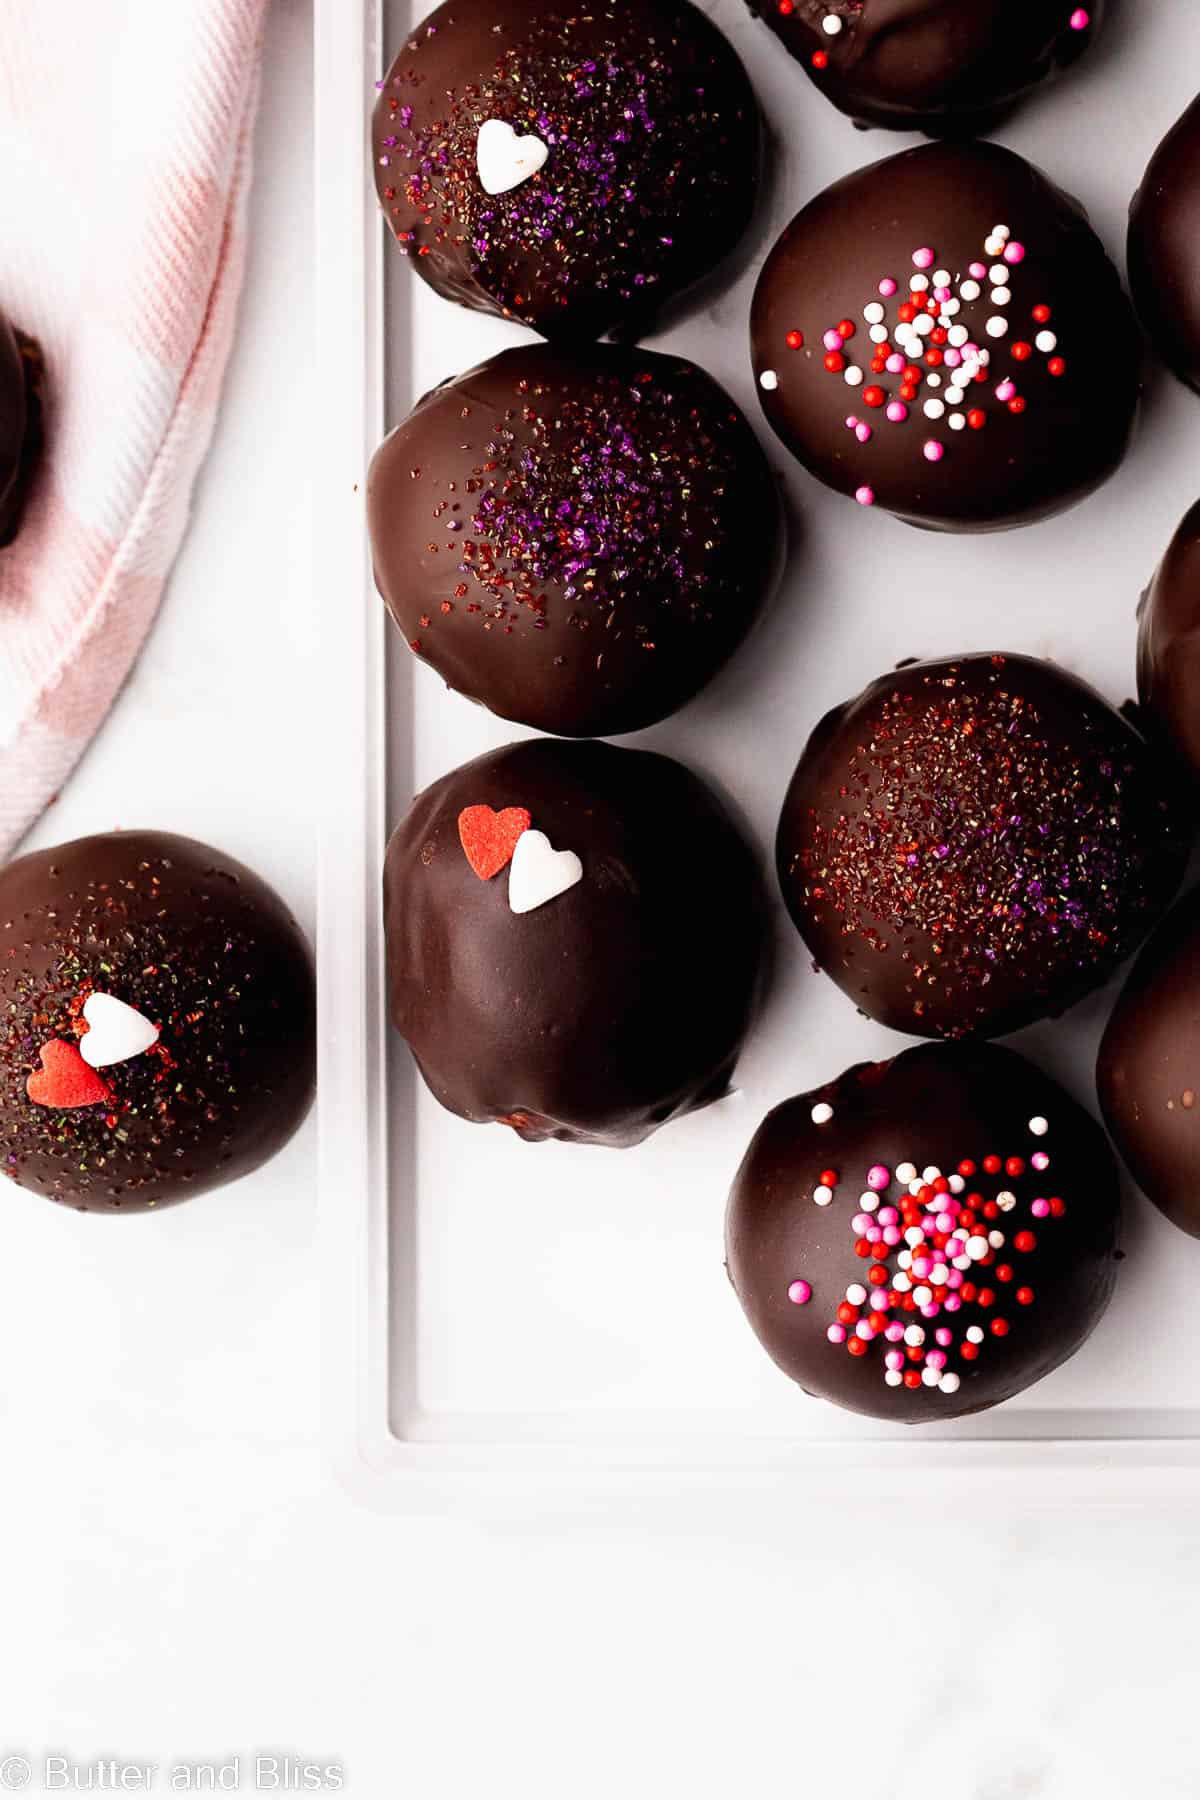
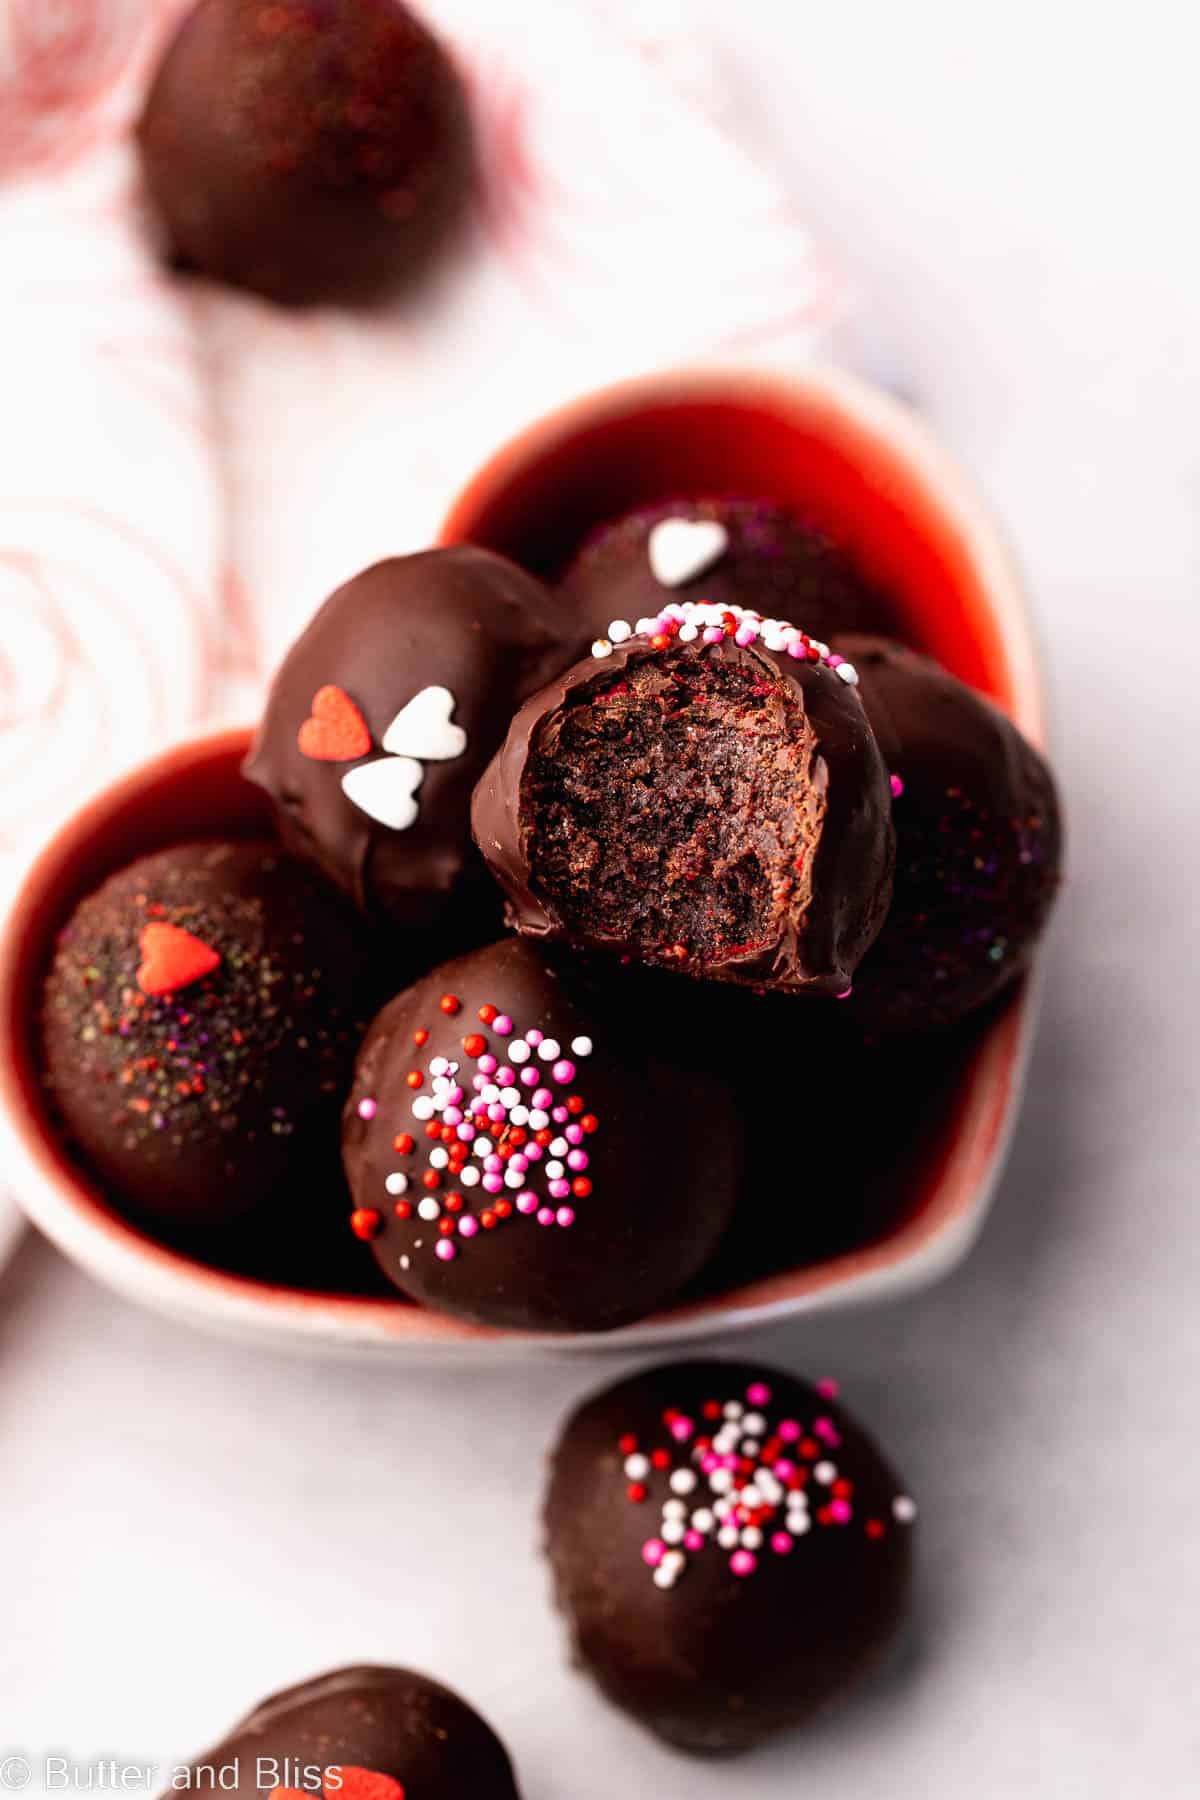
Chocolate covered strawberry cake truffles combine everything you love about a frosted cake with the bite-sized convenience of a decadent candy. Make the cake truffles with traditional or gluten free cake mixed with your favorite frosting. The truffles are finished with a roll through strawberry powder, a snappy chocolate shell, and festive sprinkles to celebrate any special occasion!

Chocolate Covered Strawberry Cake Truffles
Cake truffle, cake pop, cake bites, candy – these little treats can take on a range of names. For this recipe, I’m sticking with cake truffles because we aren’t putting them on a stick and their decadence parallels candy. Much like a toasty s’mores truffles or caramel apple popping candy truffle.
- Start with the cake – For gluten free truffles, use either my chocolate small batch gluten free cake and vanilla small batch gluten free cake. For regular truffles, my small vanilla cake and easy chocolate mini cake are the best!
- Mix with frosting – The cupcakes are crumbled and then mixed with vanilla butter free frosting.
- Coat with flavor – I love to use freeze-dried fruit to impart flavor without altering texture. Freeze-dried strawberries are a perfect pairing with chocolate.
- Finish with a chocolate shell – Melted chocolate keeps the cake truffles intact and gives them that signature truffle candy feature.
Why You’ll Love These Little Cake Bites
- Use Cake Scraps – If you ever find yourself making heart-shaped mini cakes or testing cake recipes (guilty!), cake truffles are a great way to use the extra cake.
- Pick Your Flavor – The different truffle components mean you can select different flavors for each. But, if you want to keep each one chocolate, no judgment here!
- Candy Quality – When you stir cake crumbs with creamy frosting, you are going to get something pretty indulgent. Then you cover it with chocolate. Now you have a treat that has all the makings of candy!
- Bite Size Treats – Ever have a craving for cake, frosting, and chocolate, but want just a little taste? That is these cake truffles! And their petit size makes it hard to stop at just one.
Ingredients
- Cake or Cupcakes – I’ve linked the chocolate and vanilla cupcake recipes in the recipe card.
- Frosting – The butter-free vanilla frosting in this recipe is a delicious option, but you can also use store-bought.
- Chocolate – For melting chocolate to use as a coating, my preference is a good quality chocolate baking bar because it will melt smoother. Otherwise, chocolate chips will work.
- Freeze-Dried Strawberries – Or any freeze-dried fruit you like.
- Sprinkles – Cake truffles are almost begging to be adorned with festive sprinkles. Which also makes this a highly versatile dessert for any special occasion.
Flavored Cake Truffles
The strawberry powder covering the truffles is magnificent. Between the cake, frosting, and chocolate coating, the truffles are indulgent. And while that is acceptable, it is nice to have a bright moment in the dessert.
Fruit inherently adds a sweet sharpness that complements the rich chocolate. You get layers of flavor and a dessert that is more than one note of flavor.
You can find the fruit in packages typically in the nut aisle at the grocery. It may seem like a small amount, but I assure you that once it is ground to powder, you will get a few uses out of it.

HelpfulTips
- Use a cupcake recipe – For a small batch of truffles, a small batch cupcake recipe is ideal. Otherwise, you can use a layer cake with more frosting.
- Cool the cupcakes completely before adding the frosting – We don’t want the frosting to melt when you mix it in.
- Don’t fret about the ratio of cake to frosting – Use your personal preference for how you want the texture to be. More frosting equals a softer and fudgier truffle.
- Cake truffles are a great way to use up cake scraps – If you are making cake cut-outs and shapes like the mini chocolate marshmallow cakes.
- Chill the cake truffles after you roll them – The cake bits should be chilled before dunking into the chocolate coating. This will keep the cakes from disintegrating and the chocolate will adhere better.
- Chill the truffles – again- after you coat them in the chocolate – The chocolate will need some time to set and get firm.
how To Make A Cake Into A Truffle
Making cake truffles is easy. There are a few components that go into the truffles, but it isn’t any different than making a cake.
- Cake or Cupcake – Any cake or cupcake recipe will work. For example, make fall-inspired cake truffles with pumpkin small batch and gluten free cupcakes or spice gluten free small batch cupcakes.
- Frosting – Get creative with the flavor combos. Caramel butter-free frosting, chocolate butter-free frosting, or even cinnamon and maple cream cheese frosting will work to serve as the binder in the cake truffles.
- Chocolate Coating – The chocolate shell that enrobes the cake bites is no different than the chocolate on the thin mint cookies or peppermint patty brownies.
- Extra Flavor – To add additional layers of flavor, rolling the truffles through freeze-dried fruit powder is an easy option.
The ratio of cake to frosting is truly a personal preference. For example, if you prefer a gooey center, you’ll want to add a little extra frosting. From there, it is just a matter of assembling the cake truffles.

Recipe FAQ
I think it is a matter of personal preference. Add as much frosting to the cake crumbs as you like!
You can! Cake pop sticks can be used to make actual cake pops. You may want to dip the end of the stick in the melted chocolate before inserting it into the truffle to ensure it stays put.
I recommend storing the cake truffles covered in the refrigerator. This way the chocolate will stay firm.
Yes! Wrap tightly in plastic wrap then slide into a Ziploc bag. Freeze the truffles for up to 3 months. Thaw in the refrigerator when ready to serve.

Chocolate Covered Strawberry Cake Truffles
by Erin Cernich
Equipment
Ingredients
Vanilla Butter Free Frosting
- 3 tablespoons unsweetened canned coconut cream, full fat (refrigerated overnight)
- 3 tablespoons cold pressed refined coconut oil
- 1 ¼ cups powdered sugar
- ½ teaspoon vanilla extract
- ¼ teaspoon salt
- 3 to 4 tablespoons freeze dried strawberries, ground to powder (for rolling the cake truffles)
Chocolate Coating
- ½ cup semi-sweet chocolate (chips or baking bar)
- ½ teaspoon cold pressed refined coconut oil
Instructions
Cakes
- Select a homemade cake from the blog, and prepare per the recipe. Allow to cool completely. Or, usea a store-bought cake.
Vanilla Butter Free Frosting
- For best results, refrigerate the can of coconut milk overnight. This causes the coconut solids and liquid to separate in the can. We are only using the coconut solids. Tip – For the leftover coconut milk, use it in smoothies, or to make whipped coconut cream.
- In a small saucepan, add the coconut solids, coconut oil, and 1 tablespoon of the powdered sugar. Heat the mixture until the coconut solids and oil have completely melted. This should only take about 2 to 3 minutes. Do not boil. The mixture will resemble creamy soup.3 tablespoons unsweetened canned coconut cream, full fat, 3 tablespoons cold pressed refined coconut oil
- Transfer the mix to a small mixing bowl. Cool the mixture in the refrigerator until it is completely cool. This may take anywhere from 15 to 30 minutes. The mixture should still be liquid when you add the powdered sugar.
- Using a handheld mixer fitted with the whisk attachments, add a 1/2 cup of the powered sugar, vanilla, and salt to the frosting mixture. Start at low speed to incorporate the powdered sugar and avoid having it spray everywhere. Turn up the speed to high and beat for 1 minute. At this point, the frosting will look sticky and gooey.1 ¼ cups powdered sugar, ½ teaspoon vanilla extract, ¼ teaspoon salt
- Continue to add a 1/4 cup of powdered sugar at a time – beating for at least 1 minute after each addition. With the final addition, beat the frosting for an additional 2 to 3 minutes, until it is fluffy, light, and creamy. The frosting should be thick and creamy and resemble the store-bought frosting you buy in the small tubs at the grocery.
- If the frosting still looks loose, you can 1.) continue to beat the frosting for a couple more minutes, as this incorporates air into the frosting. If that doesn't work, 2.) add more powdered sugar in tablespoon increments, or 3.) refrigerate it for about 10 minutes, then beat for a couple more minutes until it thickens.
- The frosting is ready to use right away or can be refrigerated. If refrigerating, the frosting will firm even more. Allow refrigerated frosting to come to room temperature and stir/mix to fluff before using.
Make The Cake Truffles
- In small shallow dish, add the freeze dried strawberry powder. Set aside.3 to 4 tablespoons freeze dried strawberries, ground to powder
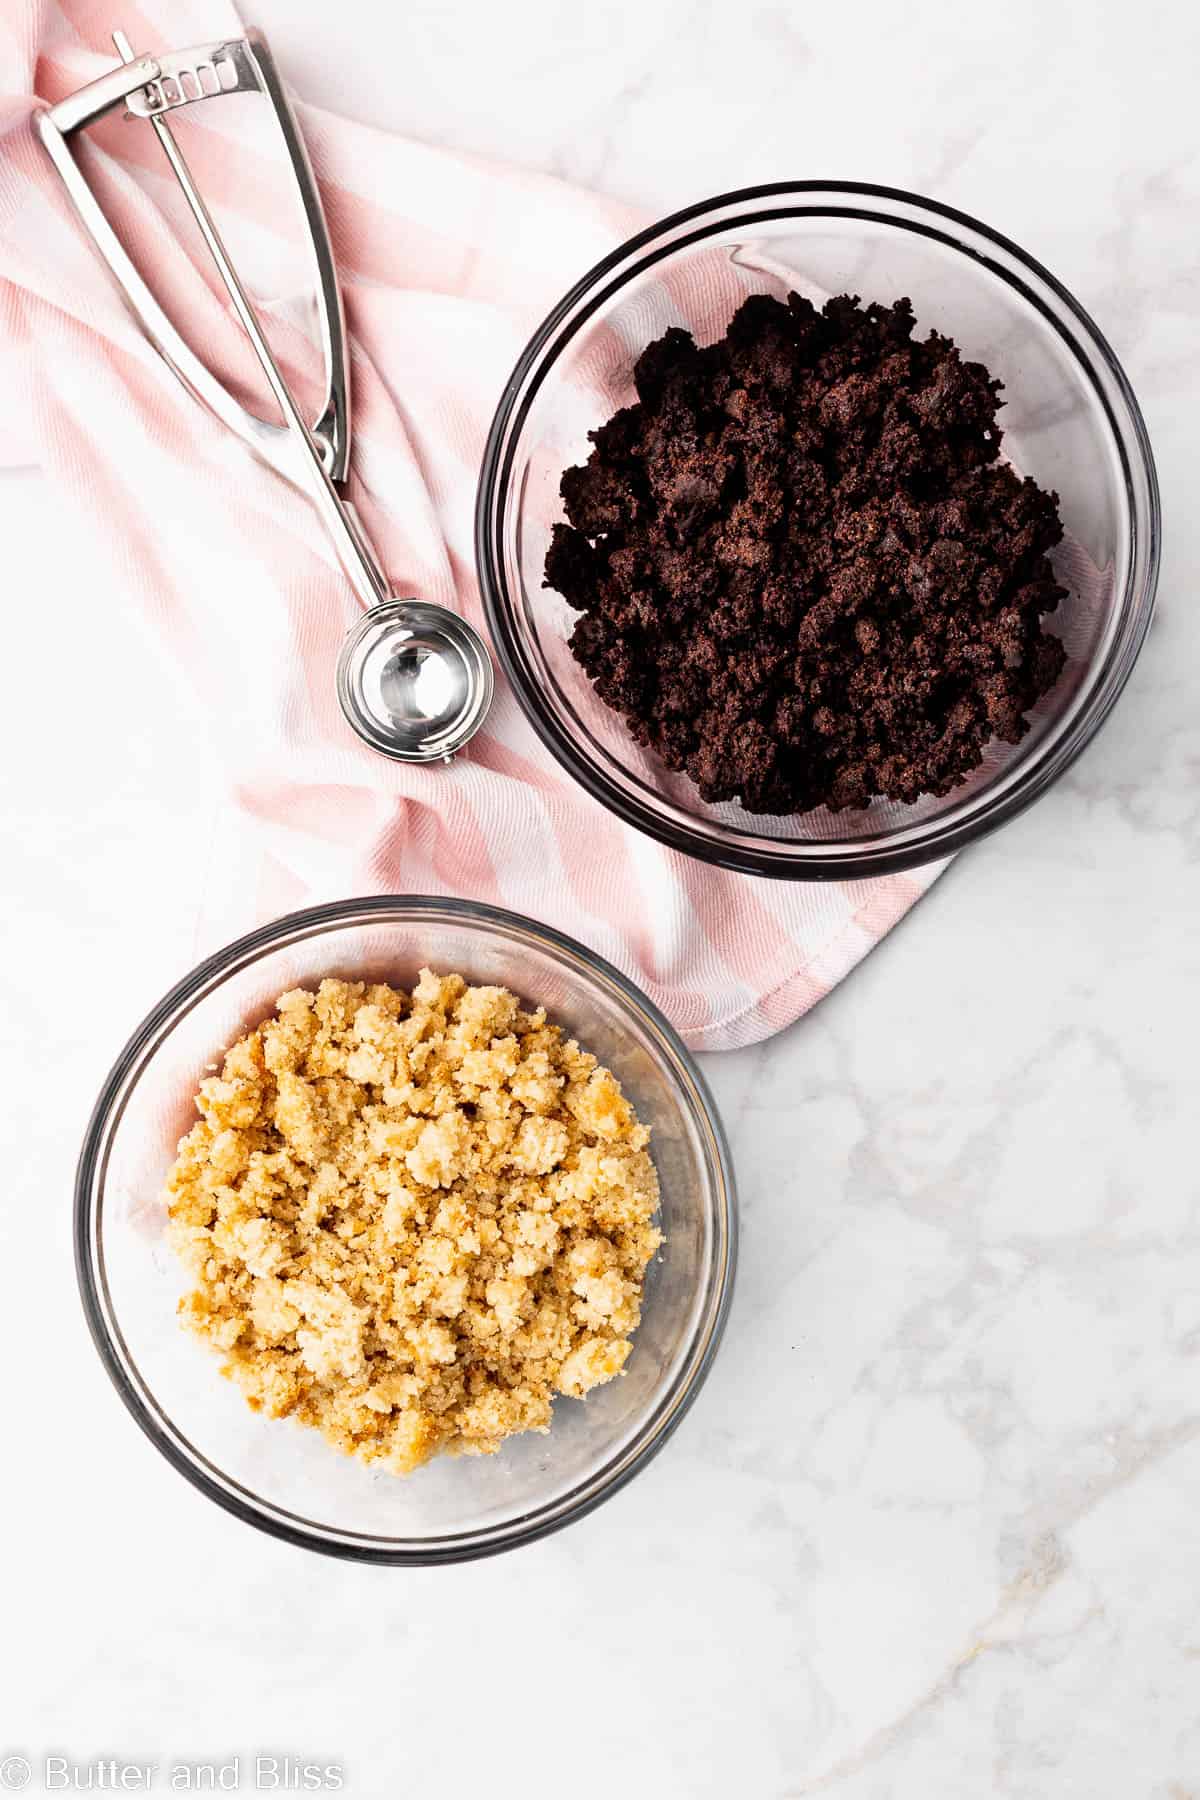
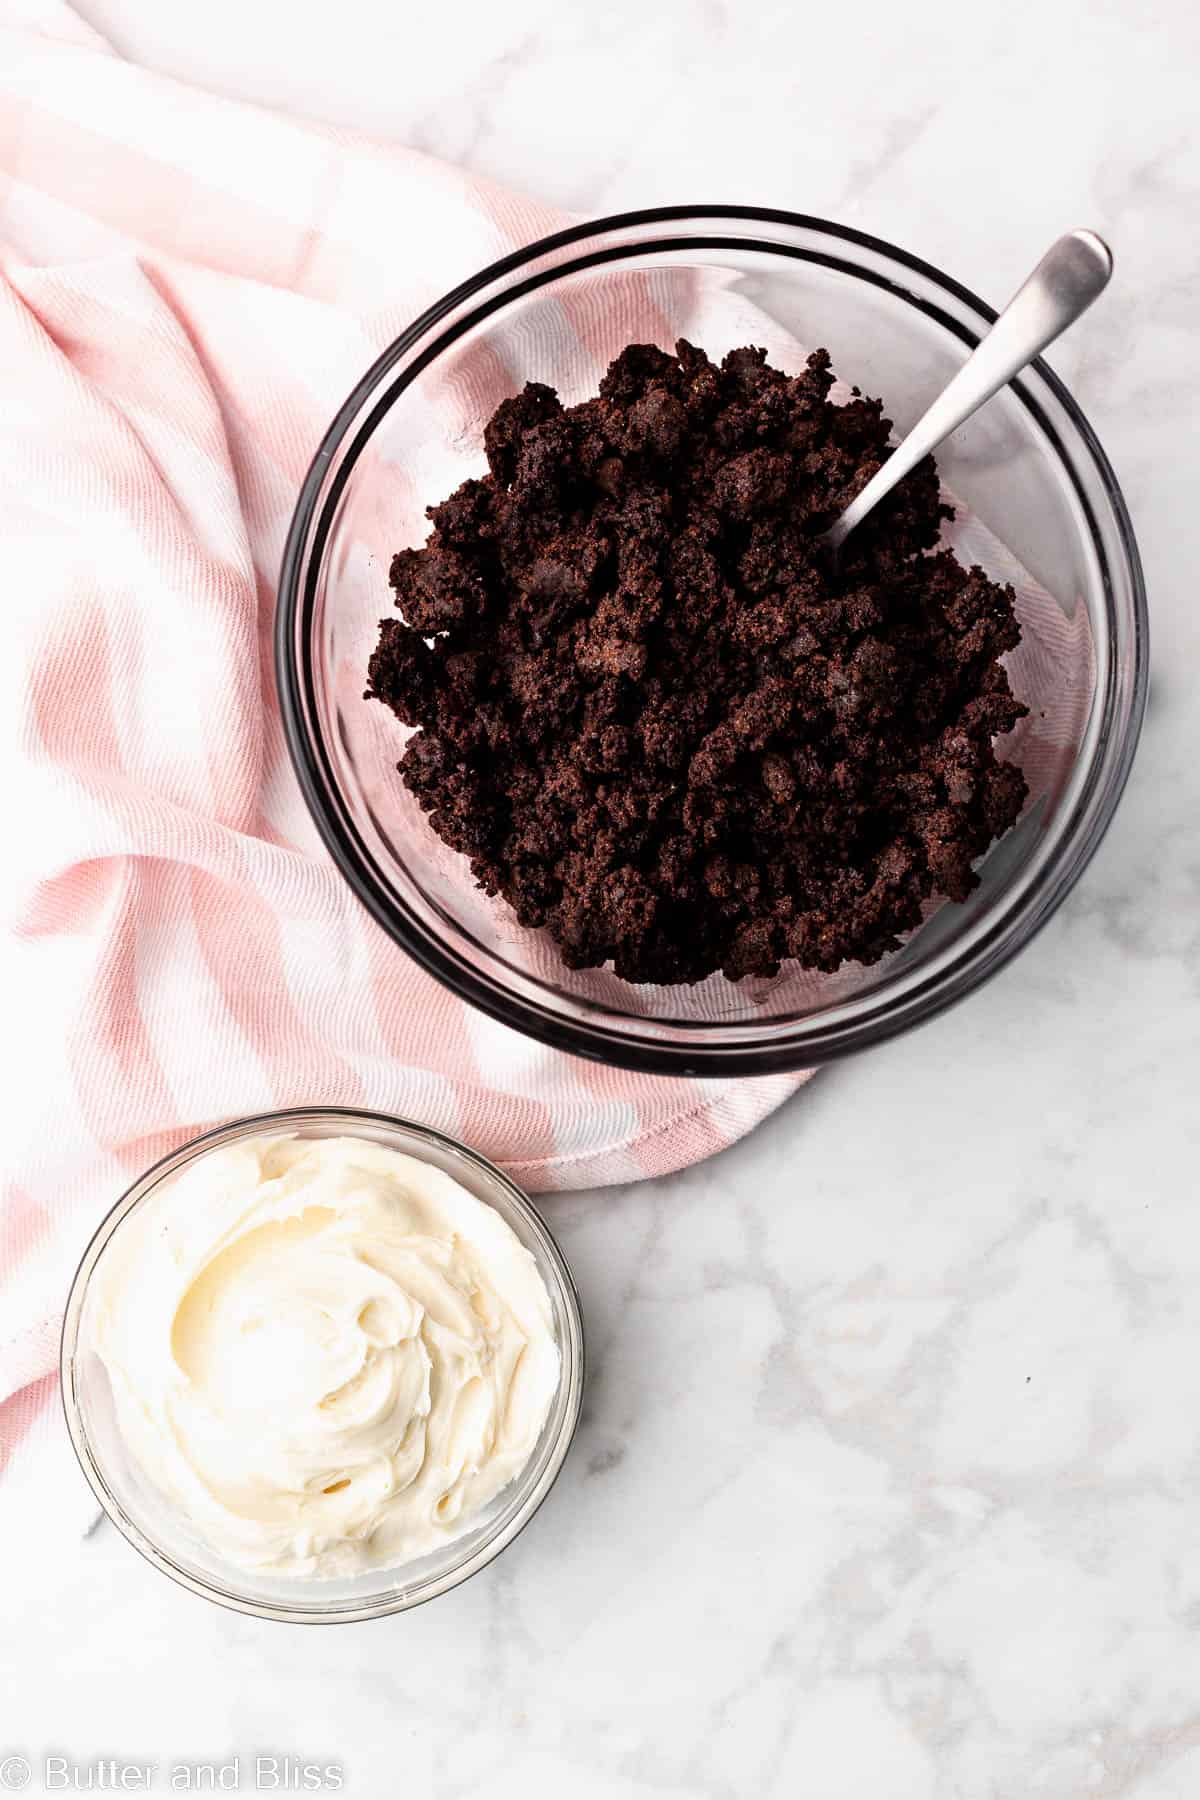
- In separate small mixing bowls, crumble the cooled chocolate and vanilla cupcakes. To each bowl, add at least 5 tablespoons of the prepared frosting. You can add more frosting in 1 tablespoon increments if you want your cake truffles to be more 'gooey'. Stir the frosting into the cake crumbs until the crumbs are completely moistened by the frosting.
- Using a small cookie scoop (I use a #50 scoop, but you can go even smaller), scoop the cake batter and roll into a ball between the palms of your hand. Next, roll the cake truffles through the freeze dried strawberry powder. Note – Reserve the strawberry powder to roll the chilled truffles through an extra time before coating with chocolate. This is optional.
- Place the rolled cake truffles on a baking sheet lined with parchment paper. You should get at least 12 cake truffles per cake flavor, for a total of 24.
- Chill the cake truffles for at least 2 hours. The truffles must be chilled to make dipping into the chocolate coating easy.
Chocolate Coating
- Add the chocolate and coconut oil to a glass liquid measuring cup. In the microwave, melt the chocolate in 15 second intervals, stirring after each, until the chocolate is mostly melted. Little bits are ok as they will melt in the residual heat.½ cup semi-sweet chocolate, ½ teaspoon cold pressed refined coconut oil
- chocolate tips1. A baking bar melts smoother and my recommendation, but chocolate chips will also work. 2. For melting the chocolate – you can melt it in the microwave, or use the double boiler method. 3. If the chocolate firms up as you are dipping the truffles, simply reheat it in the microwave for a few seconds.
- Optional – Roll the chilled cake truffles through the reserved strawberry powder one more time.
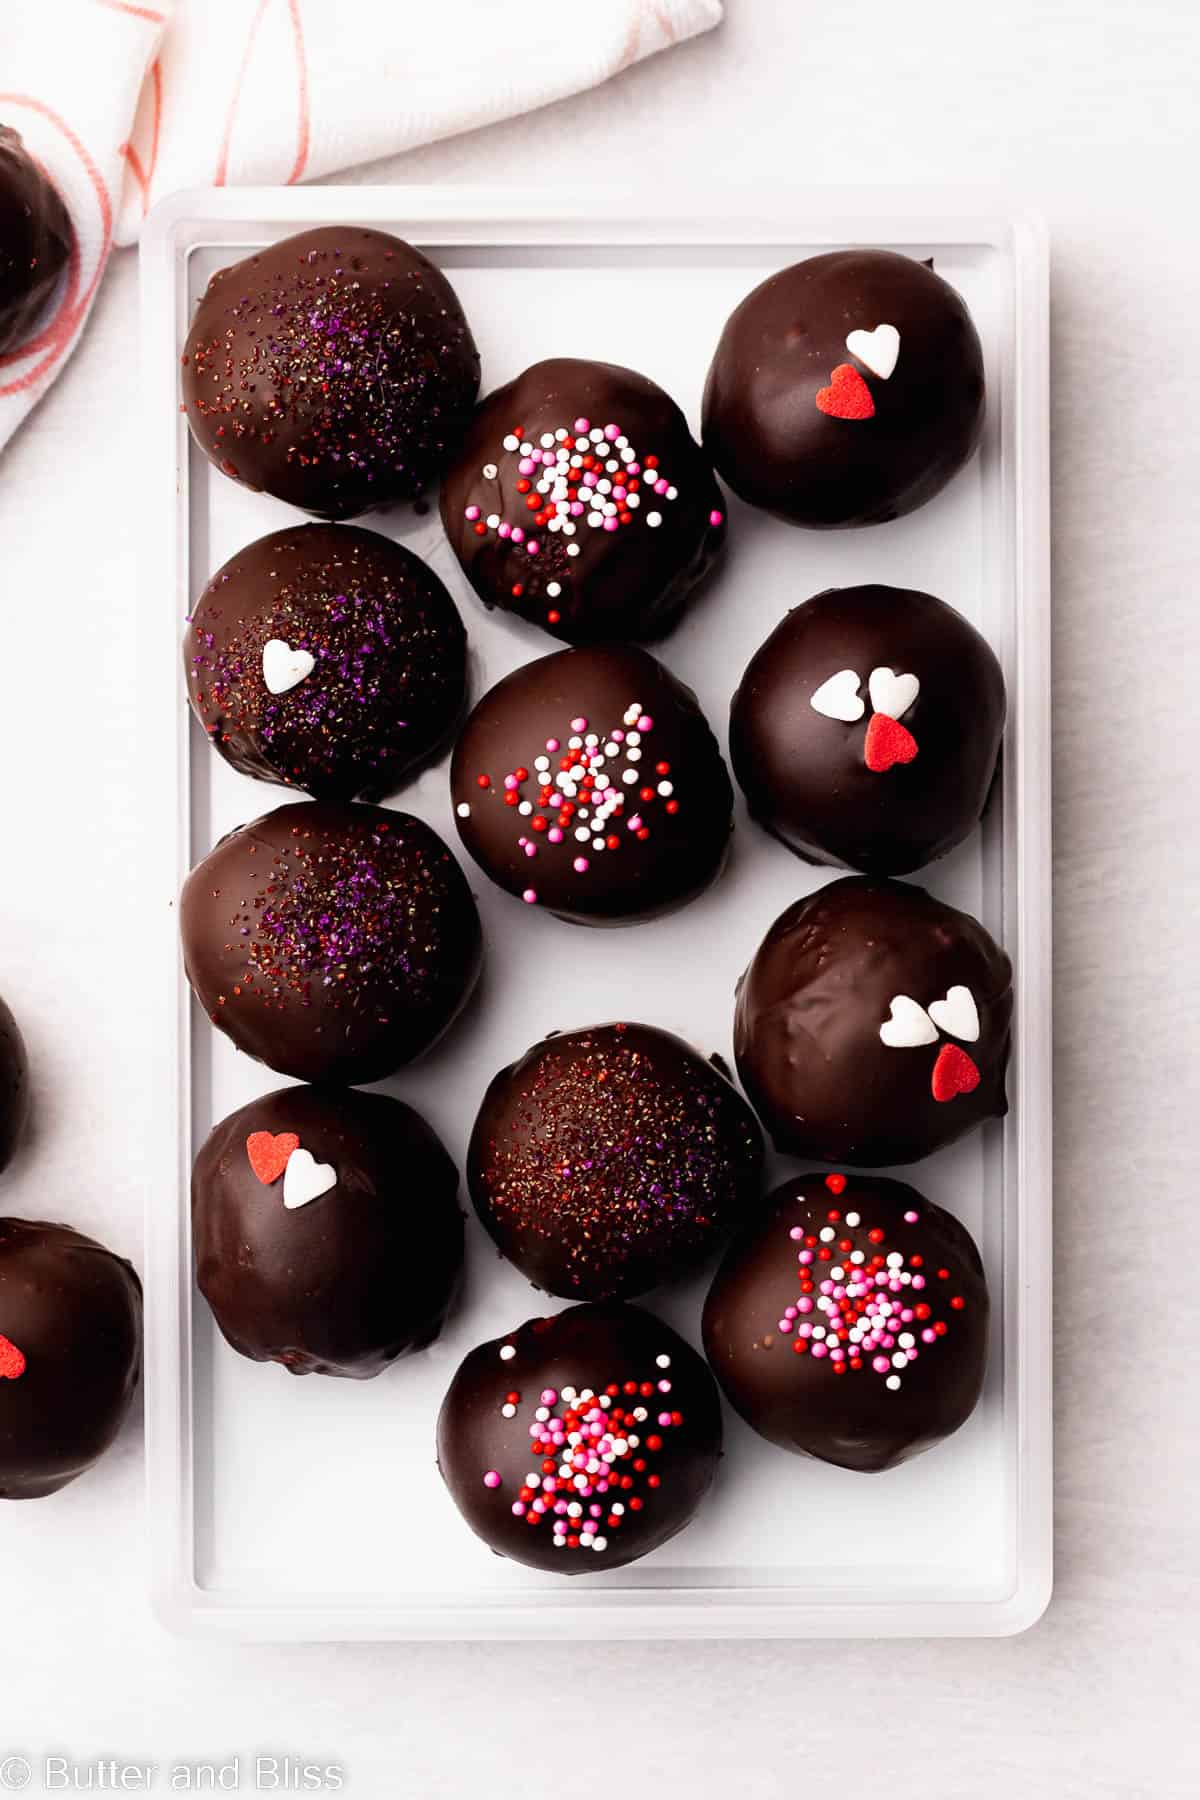
- To coat the cake truffles, place a truffle on a large fork. Dunk it into the chocolate and roll it around as necessary to thoroughly coat it. Remove from the chocolate and set back on the baking sheet. Decorate with sprinkles (if using), then place the finished cake truffles back into the refrigerator for 15 to 30 minutes for the chocolate to set up.
- Store the cake truffles in the refrigerator so the chocolate stays hard. Enjoy!
Notes
- Cake Flavors – The cake truffles can be made with any cake or cupcake flavor you like.
- Frosting – Visit the original vanilla frosting recipe post for FAQ’s, tips, and to troubleshoot as necessary.
- Leftover Frosting – You may have a little frosting leftover – depending on how much you used. Place in an airtight container and refrigerate for up to 2 weeks.
- Chocolate – I recommend semi-sweet chocolate so the truffles aren’t too sweet. However, use any chocolate you prefer.
- Dipping Chocolate – A fork will work to dunk the truffle into the chocolate. However, these candy dipping tools make it so easy!
- Freeze Dried Strawberries – Using the strawberry powder is optional, but highly recommended for extra flavor. Other freeze dried fruit will also work – raspberry, peach, mango, etc.
- Make Cake Pops – Use cake pop sticks to make cake pops. I recommend dabbing a little melted chocolate on the end of the stick before inserting into the truffle so it stays put.
- Special Occasion Dessert – Use different sprinkles to make these festive for birthdays, anniversary’s, Christmas, Valentine’s Day, Easter, etc.!
Nutrition Estimates
TRY THESE SMALL BATCH RECIPES NEXT!


About the Author …
Hi, I’m Erin! With years of experience baking for two in my own small household, I know about the love for desserts without the leftovers. I’ve tested, written, and photographed every one of the 300+ recipes on my website. And even had some of my desserts featured on Taste of Home, The Spruce Eats, ELLE, Parade, and more! From traditional to gluten free desserts for two, I have the recipe for you.
Click here to learn more about me →